Reservety
Inventory 32 steps

Generate and Print Barcodes

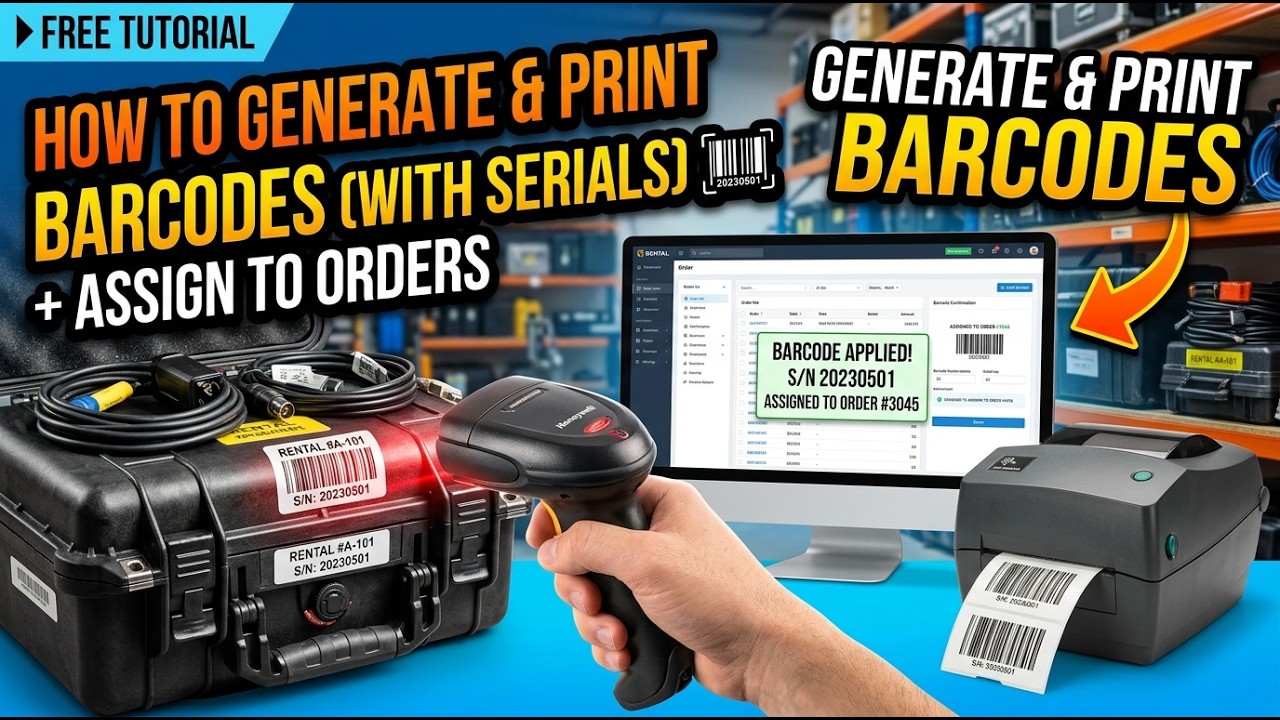
In this guide, you'll learn how to generate and print barcodes for rental products with serial numbers. Barcodes allow quick item assignment to orders via scanner or smartphone, saving time during order preparation.
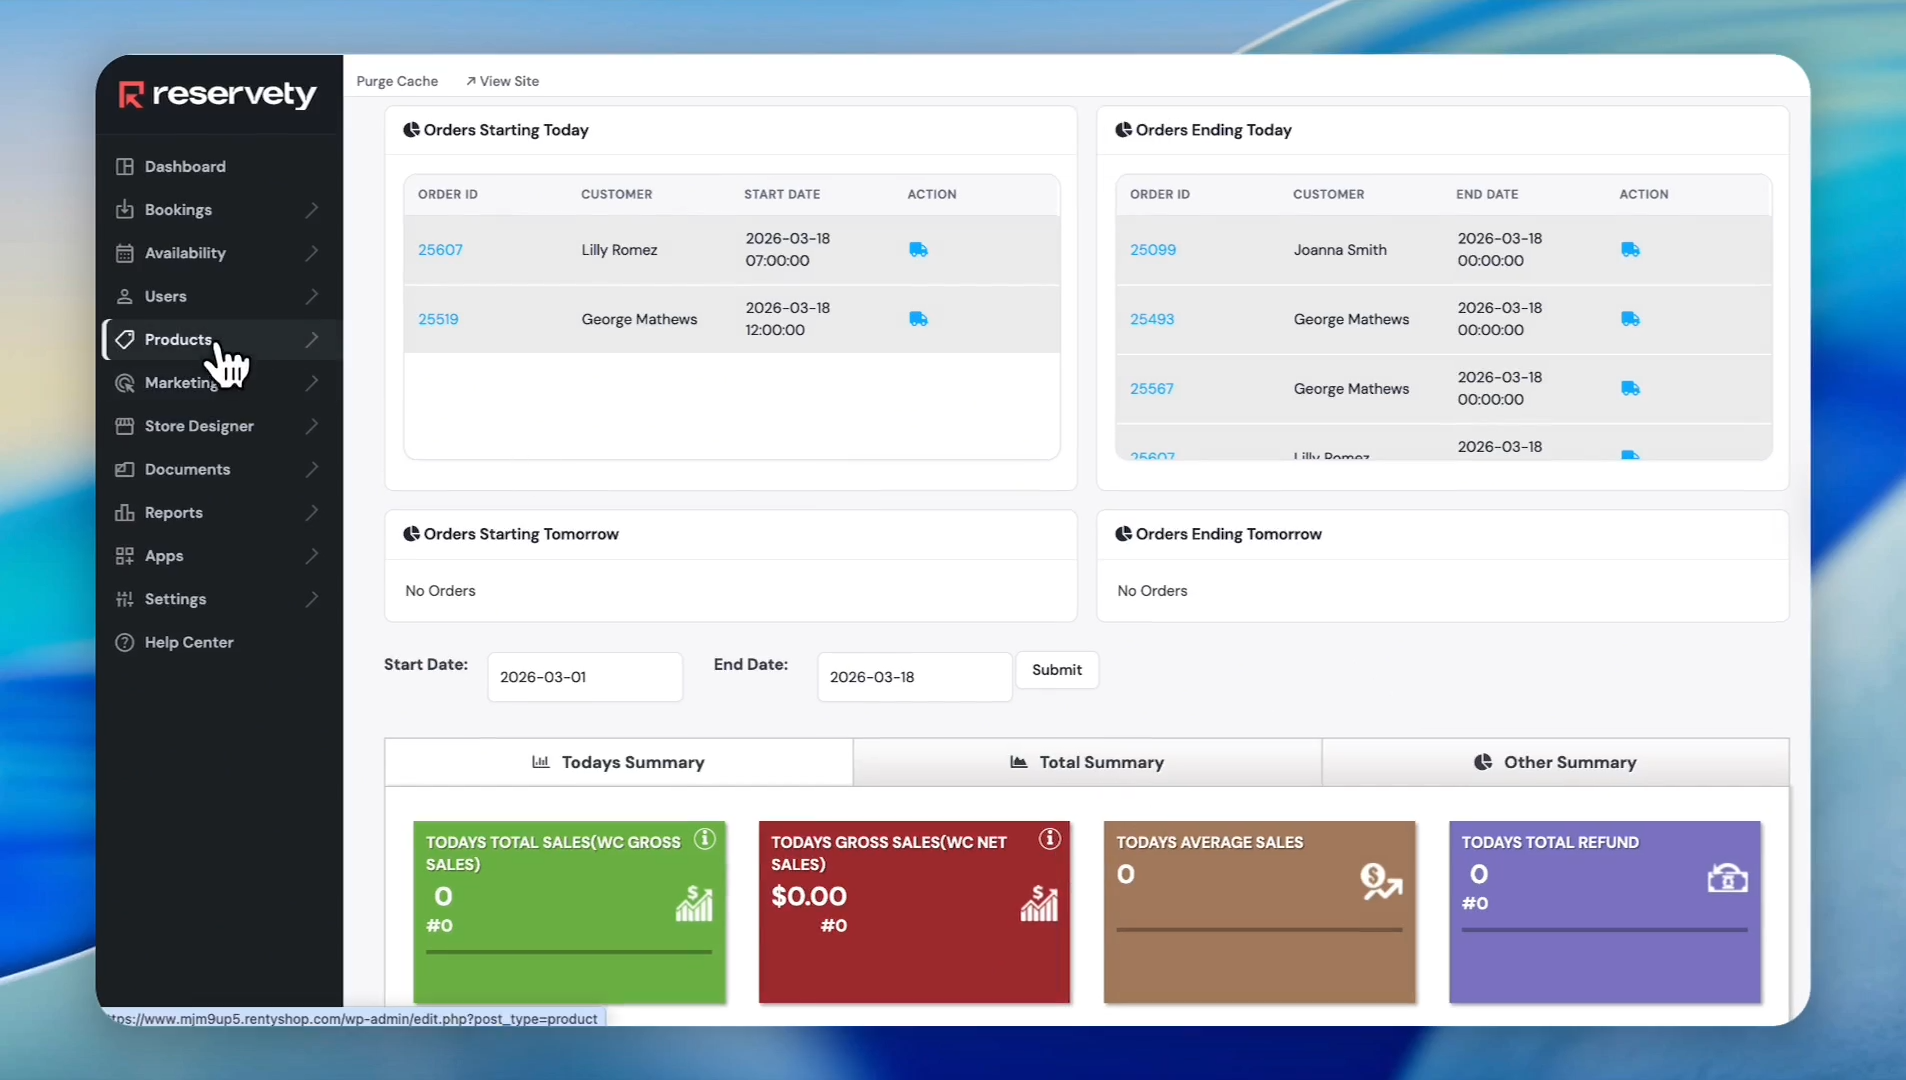
Video thumbnail
Watch the video walkthrough

Step-by-step guide

1
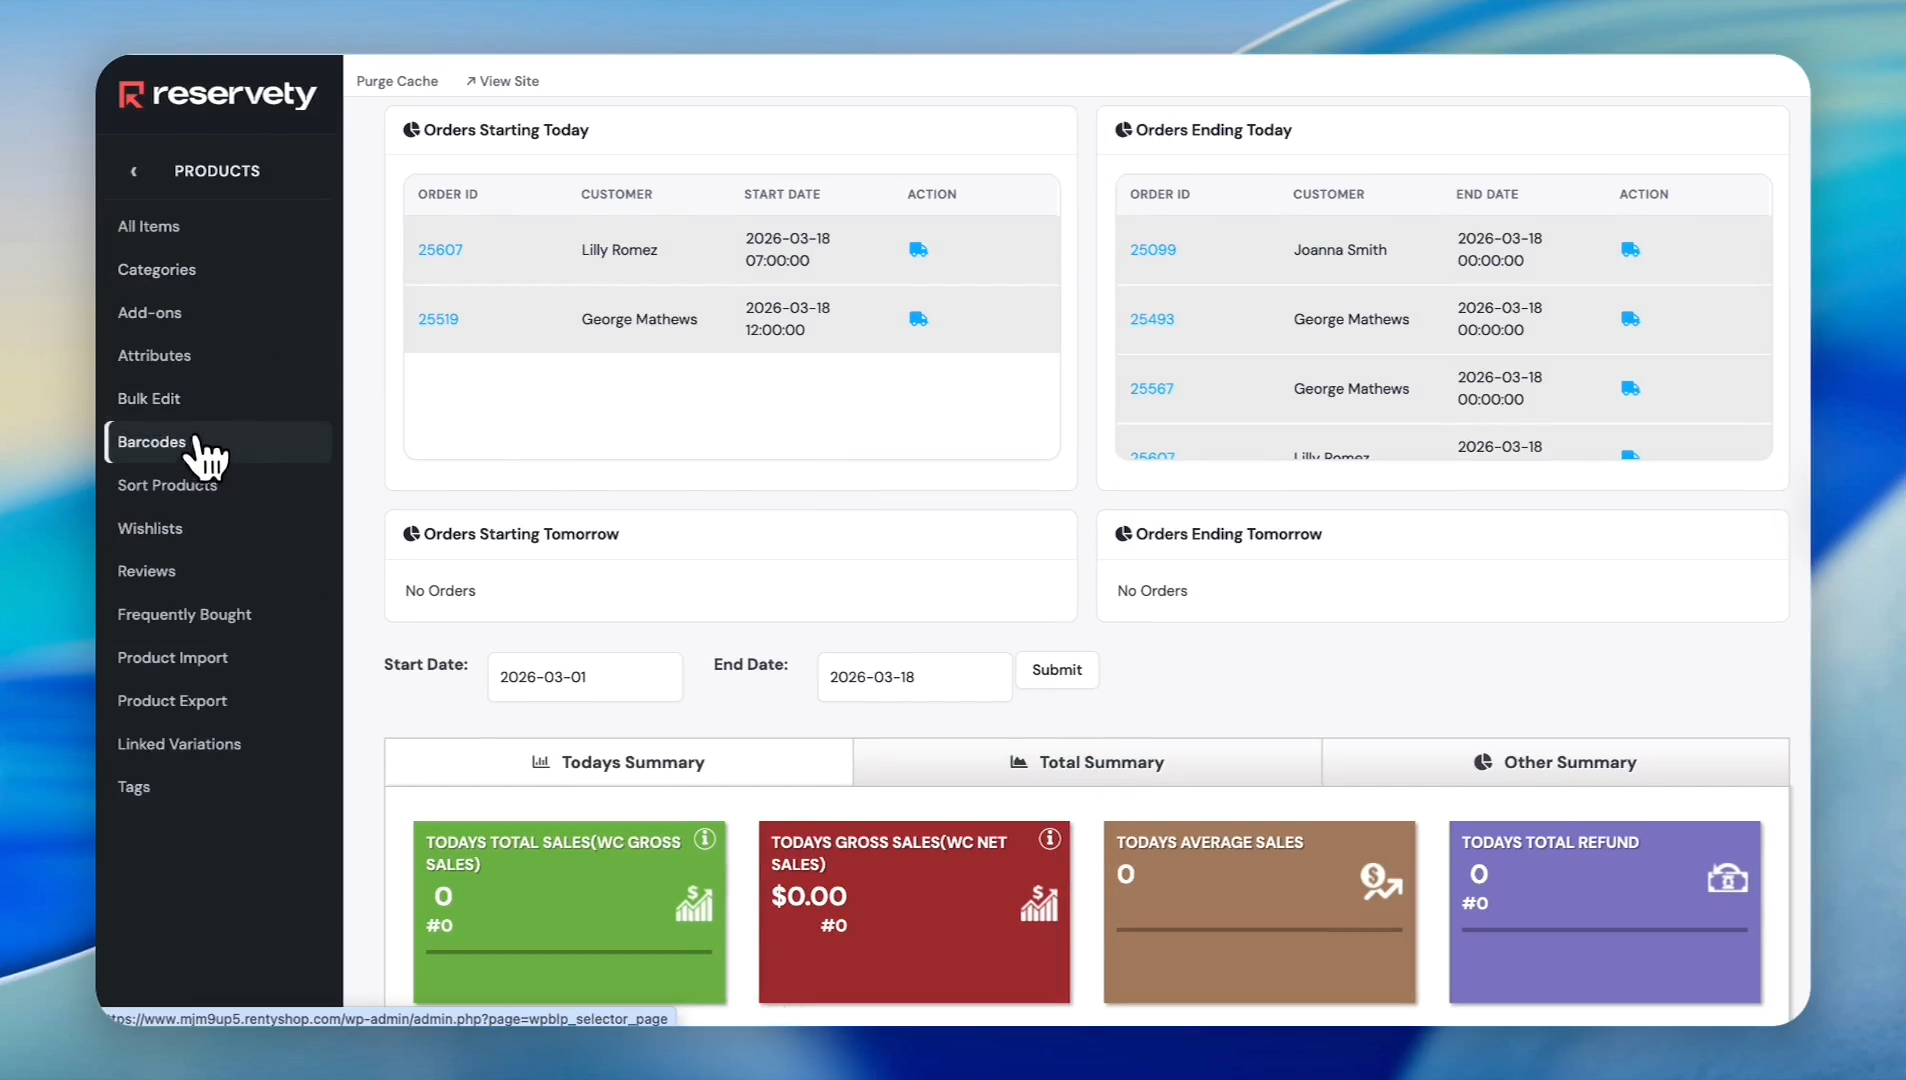
Log in to your rental dashboard, then click Products in the left sidebar.
Step 1
2
Click on Barcodes.
Step 2
3
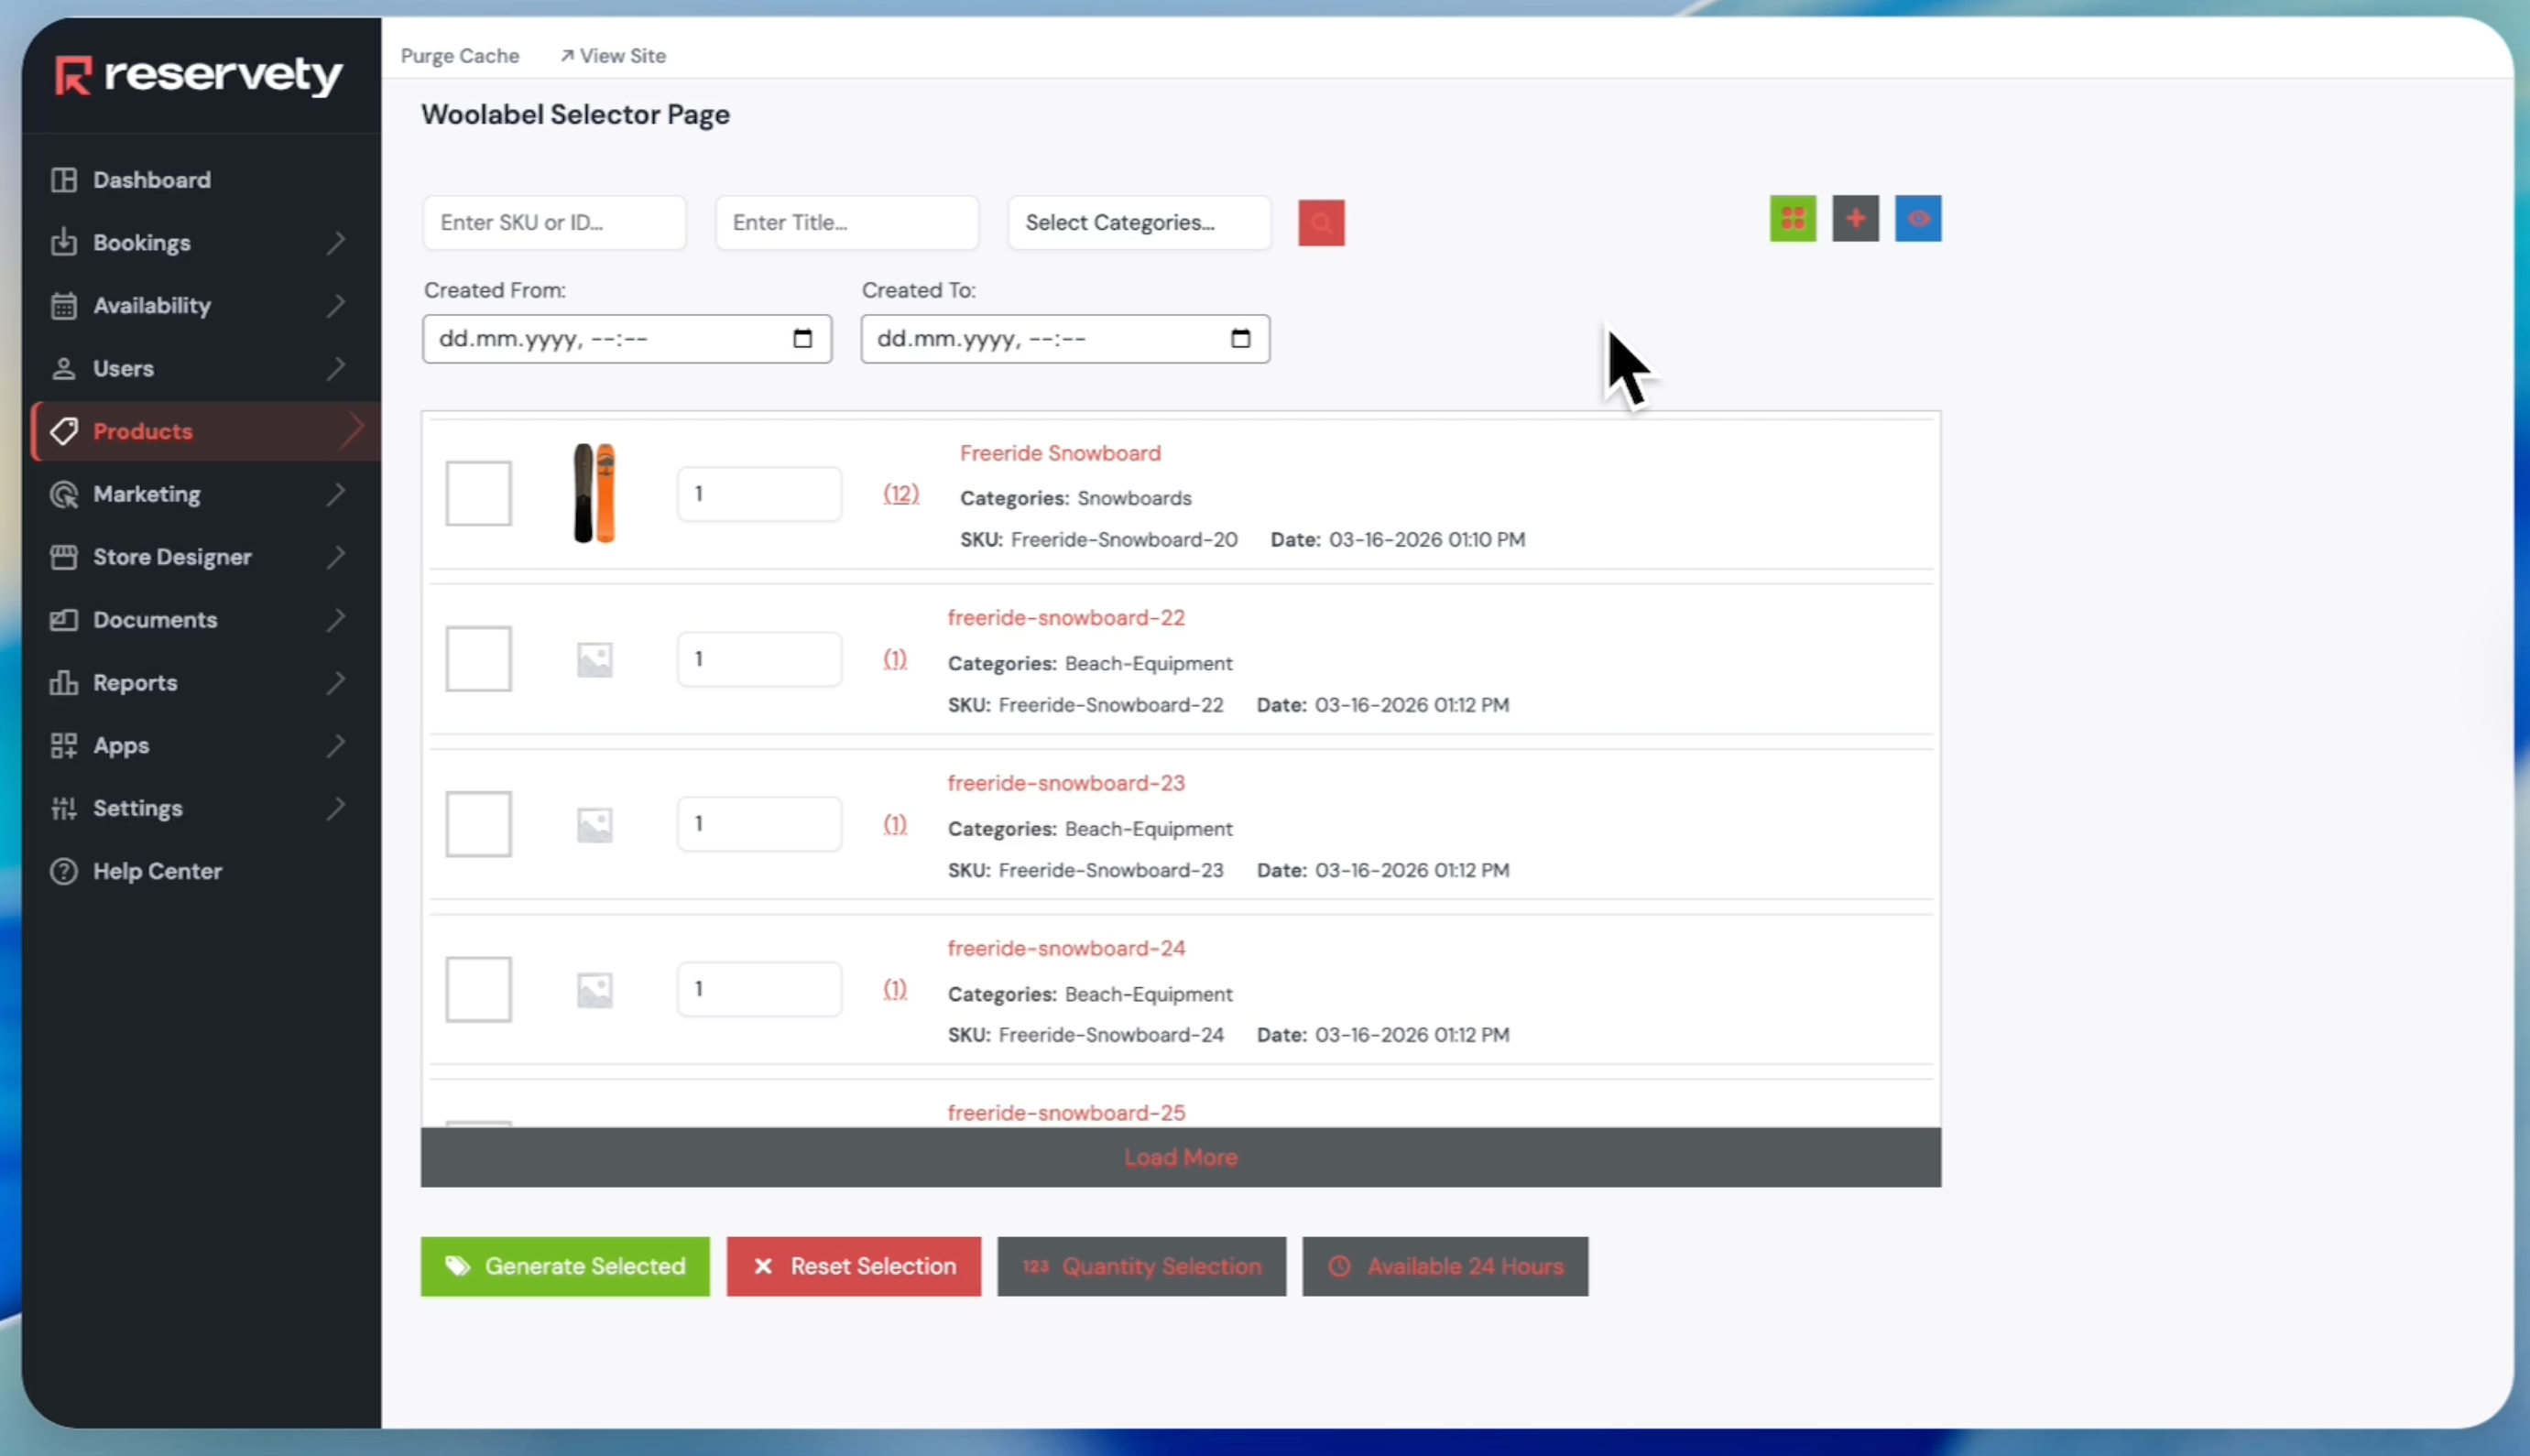
On this page, you will see all your rental products along with their serial numbers.
Step 3
4
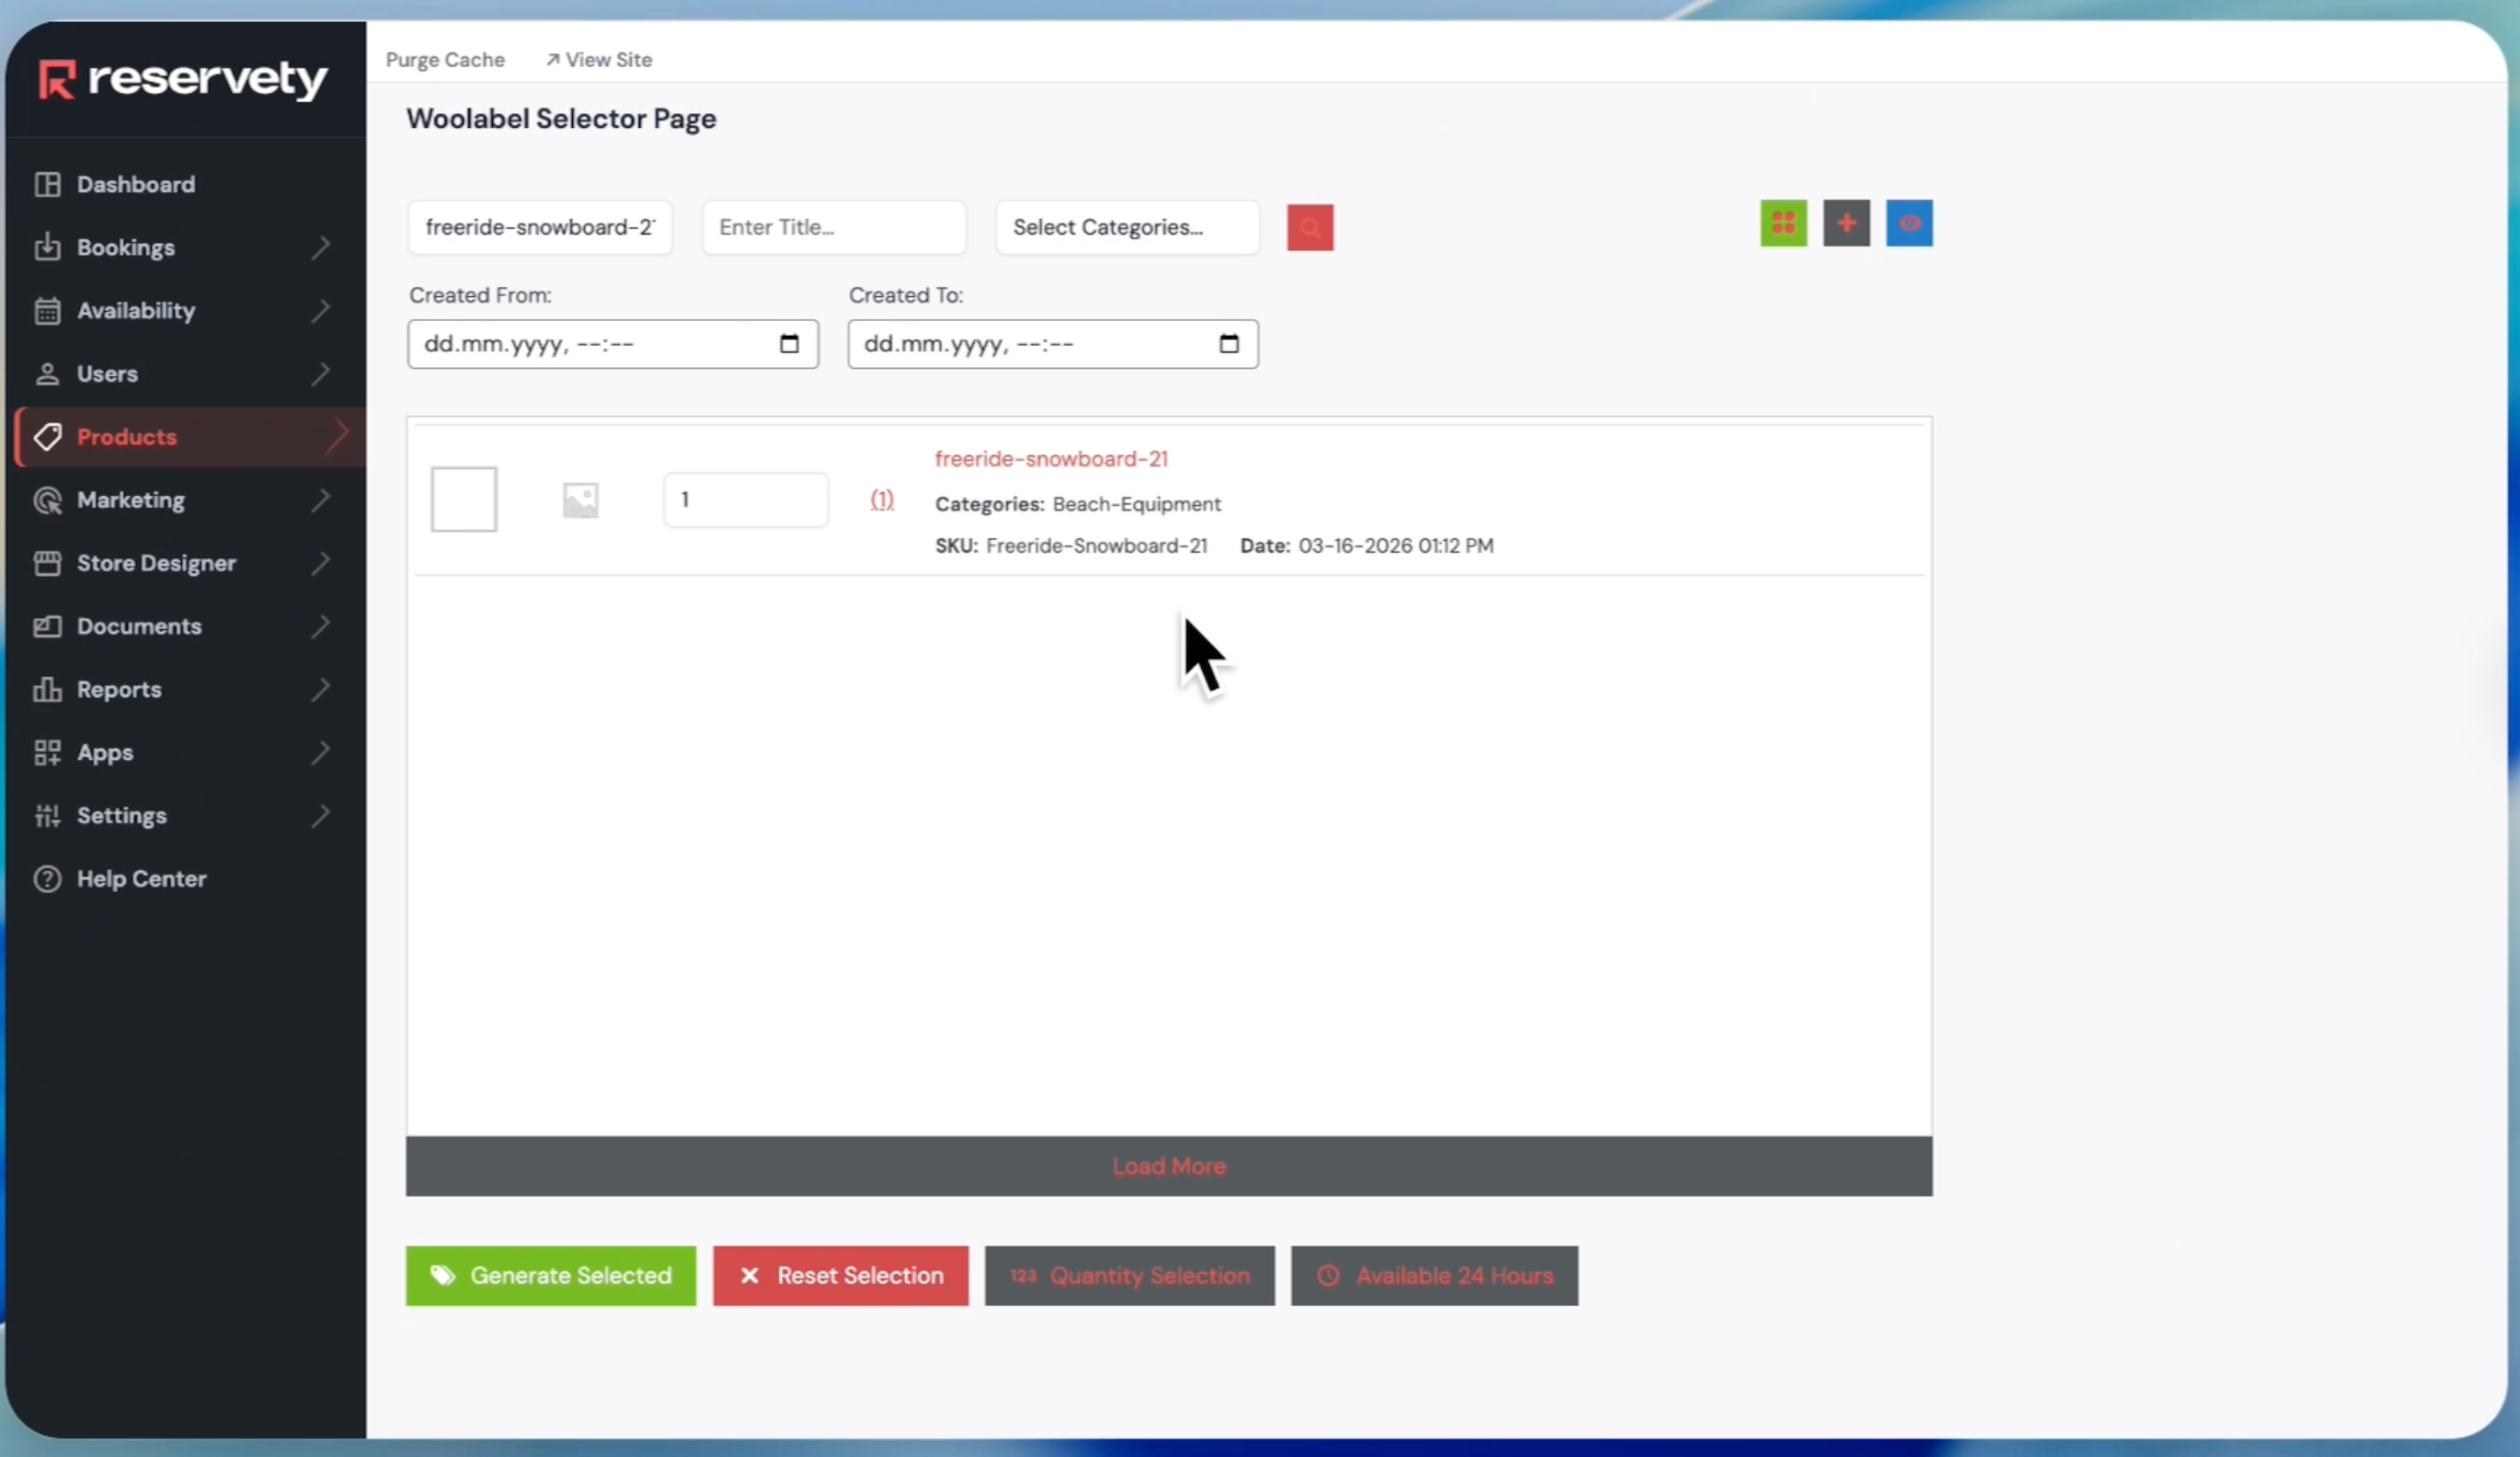
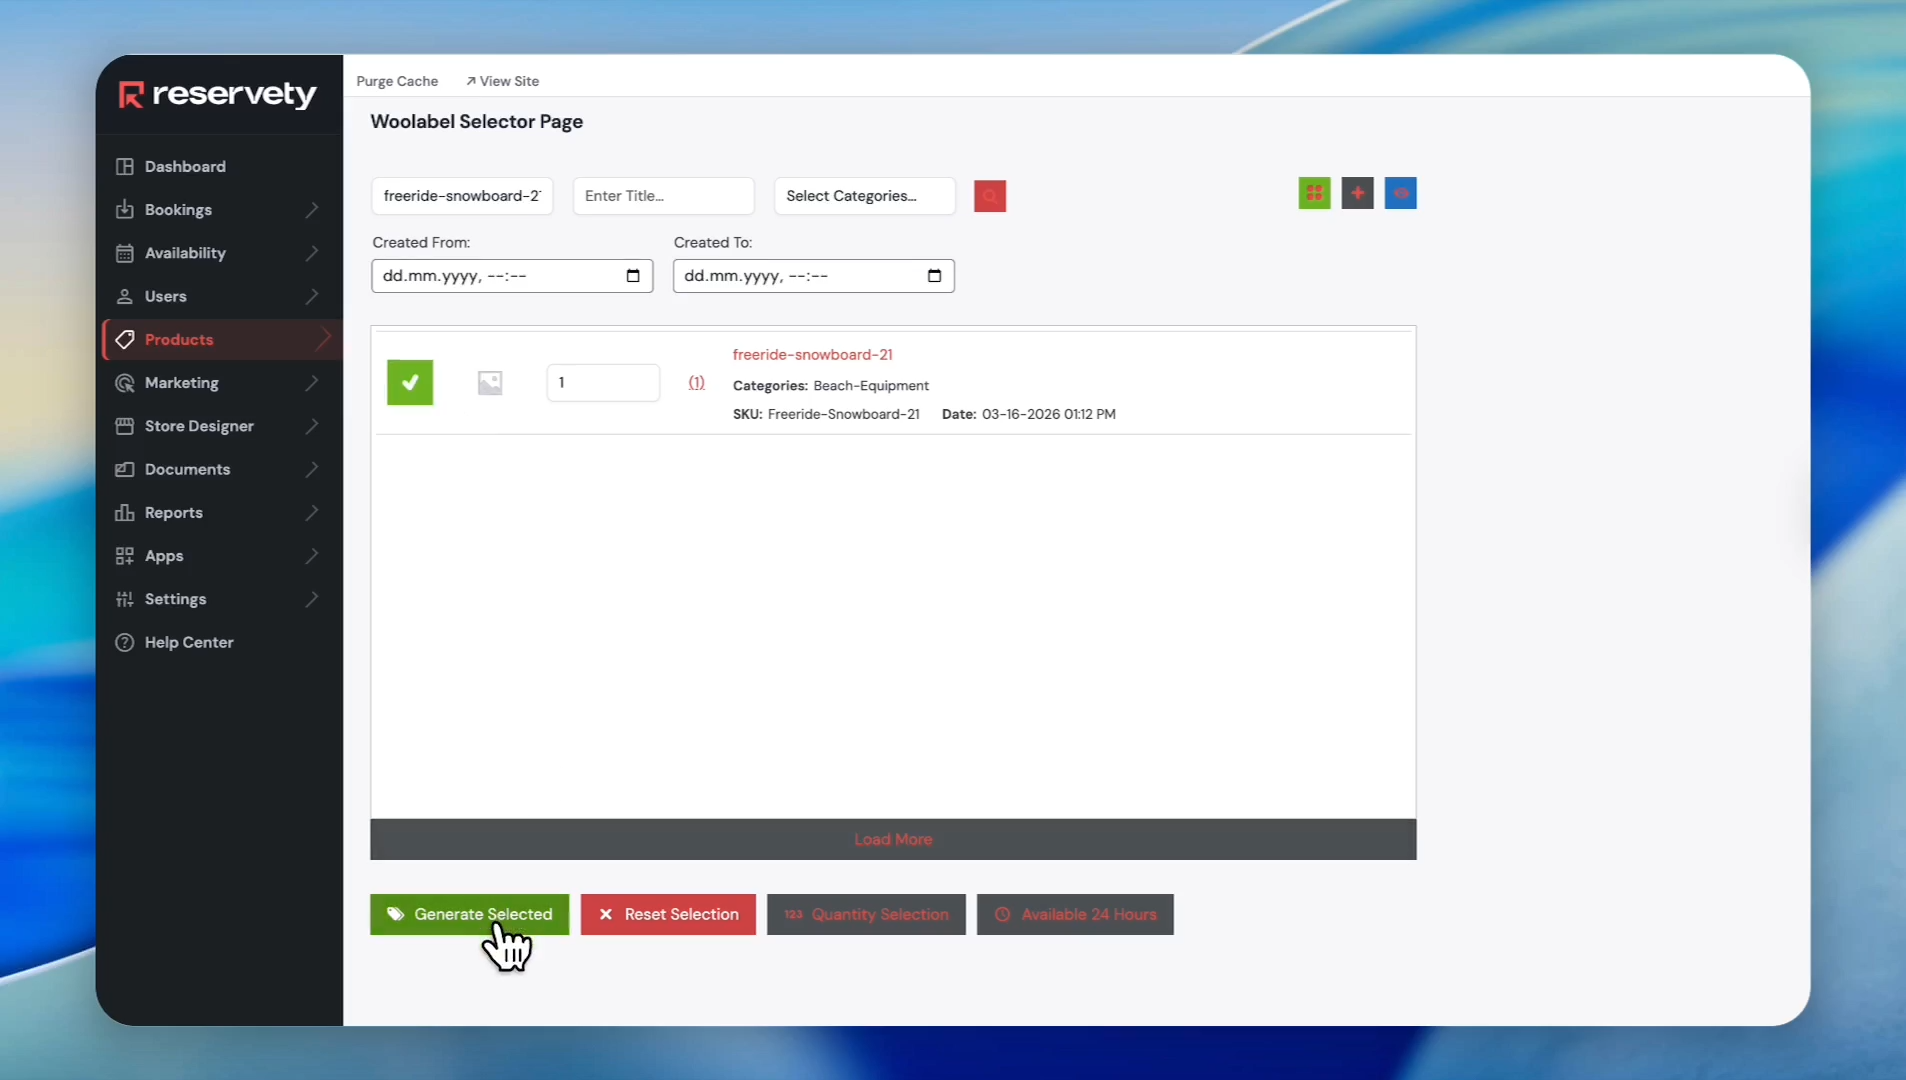
To add a barcode to a specific product, enter the SKU code or ID in the Enter SKU or ID field. For example, we entered freeride-snowboard-21.
Step 4
5
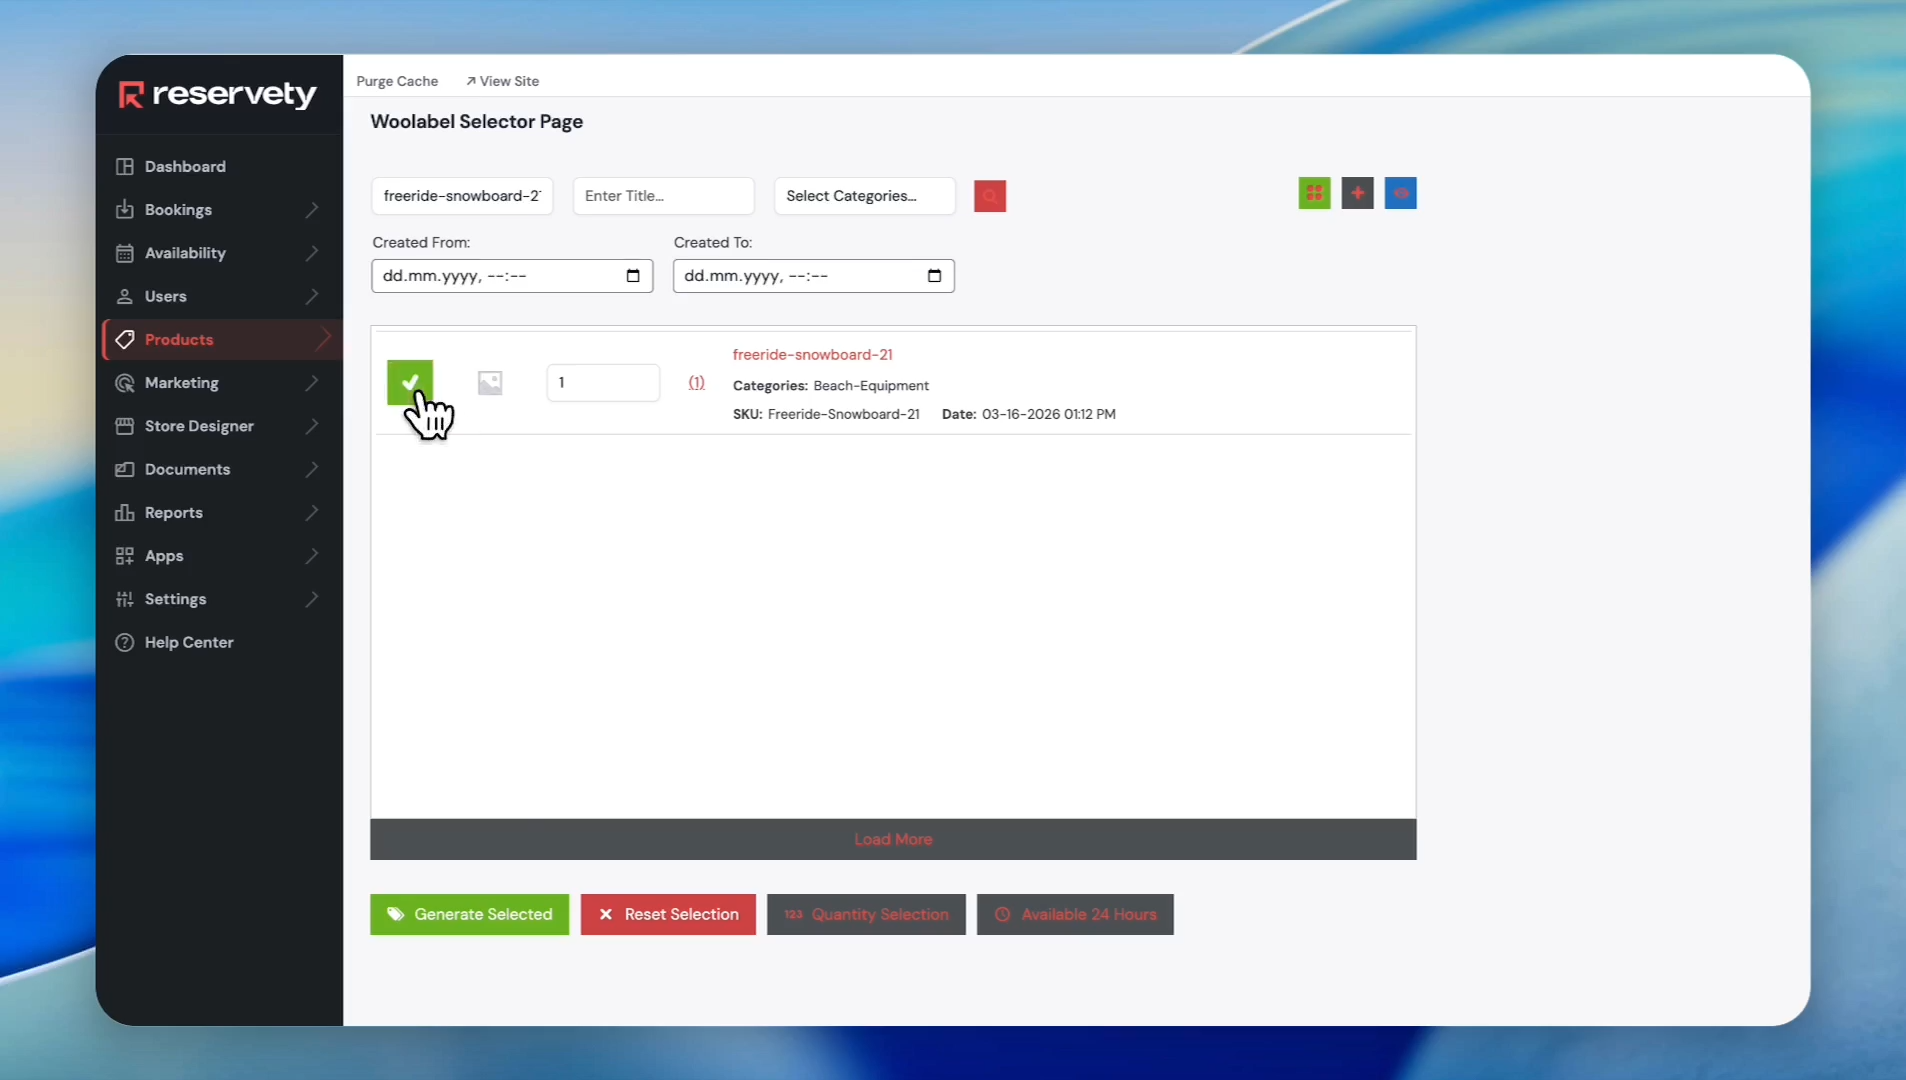
Click the checkbox next to the product.
Step 5
6
Click the Generate Selected button.
Step 6
7
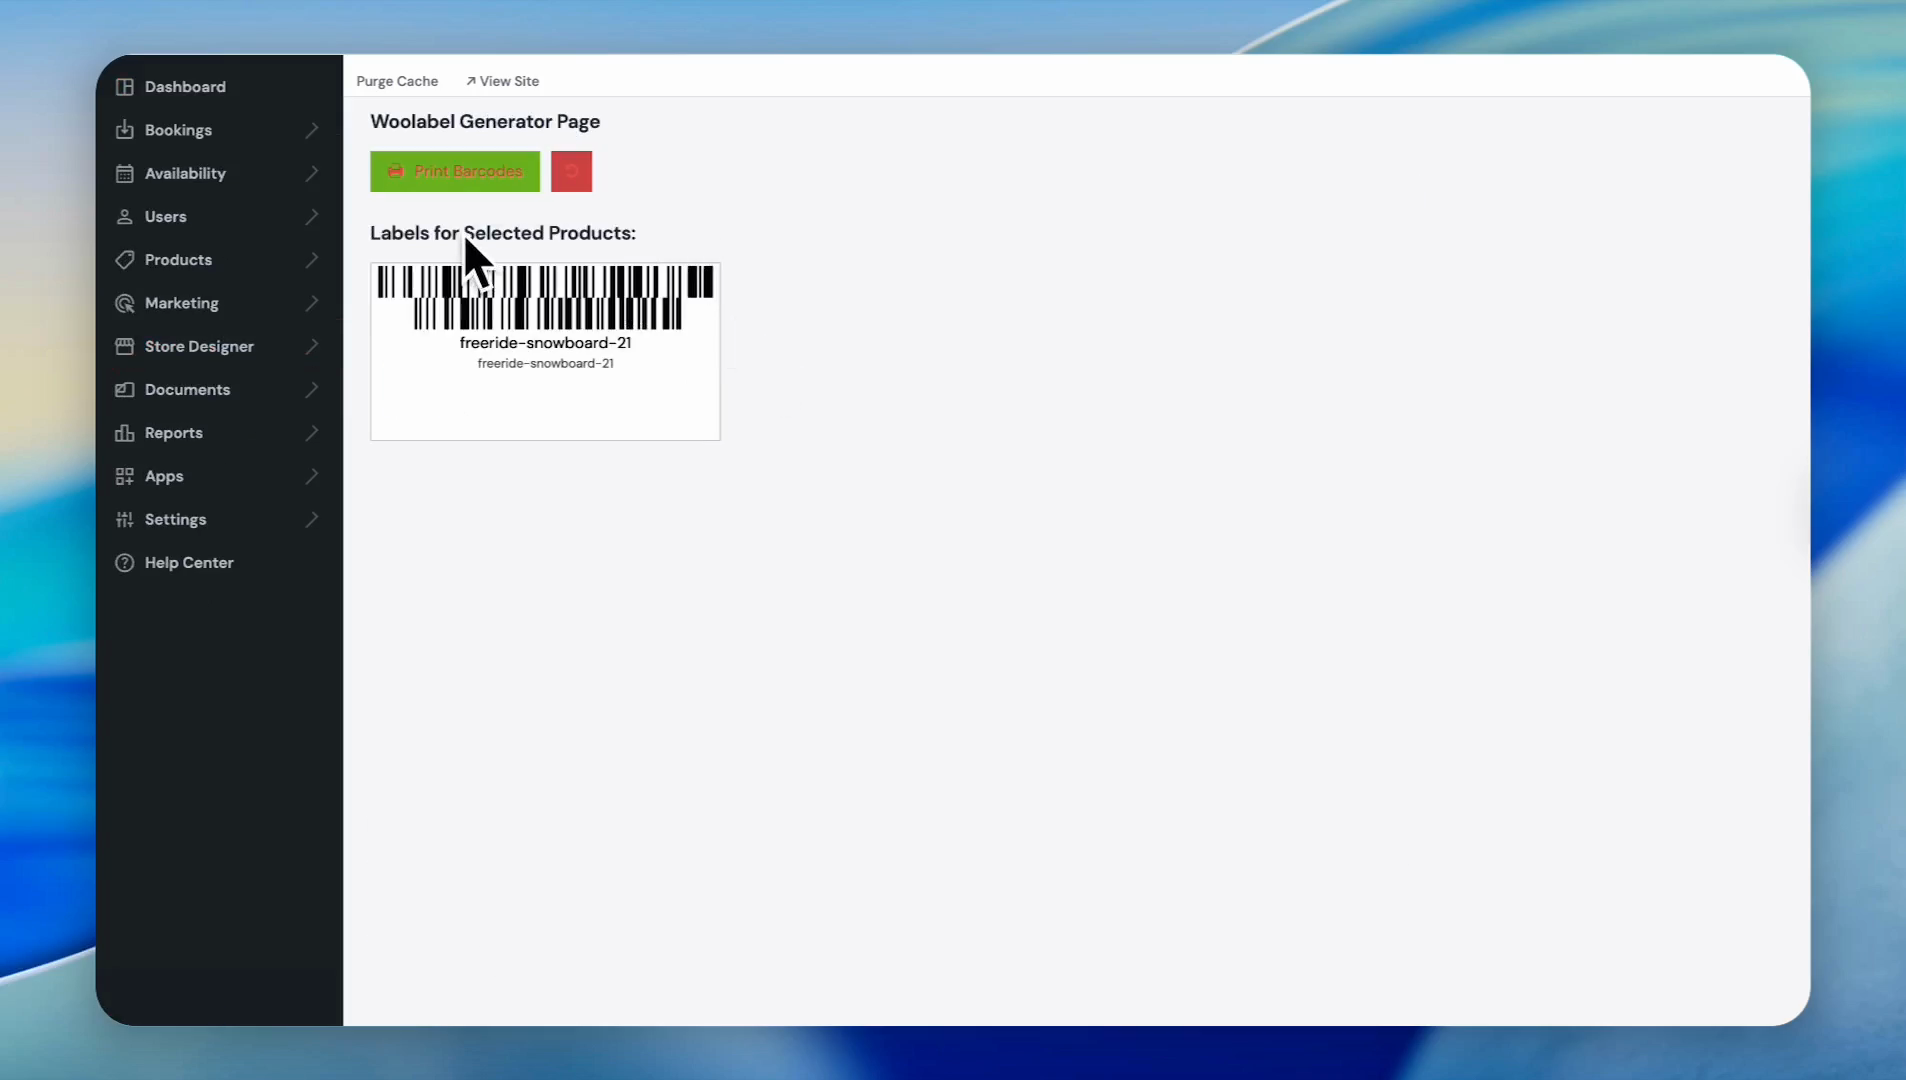
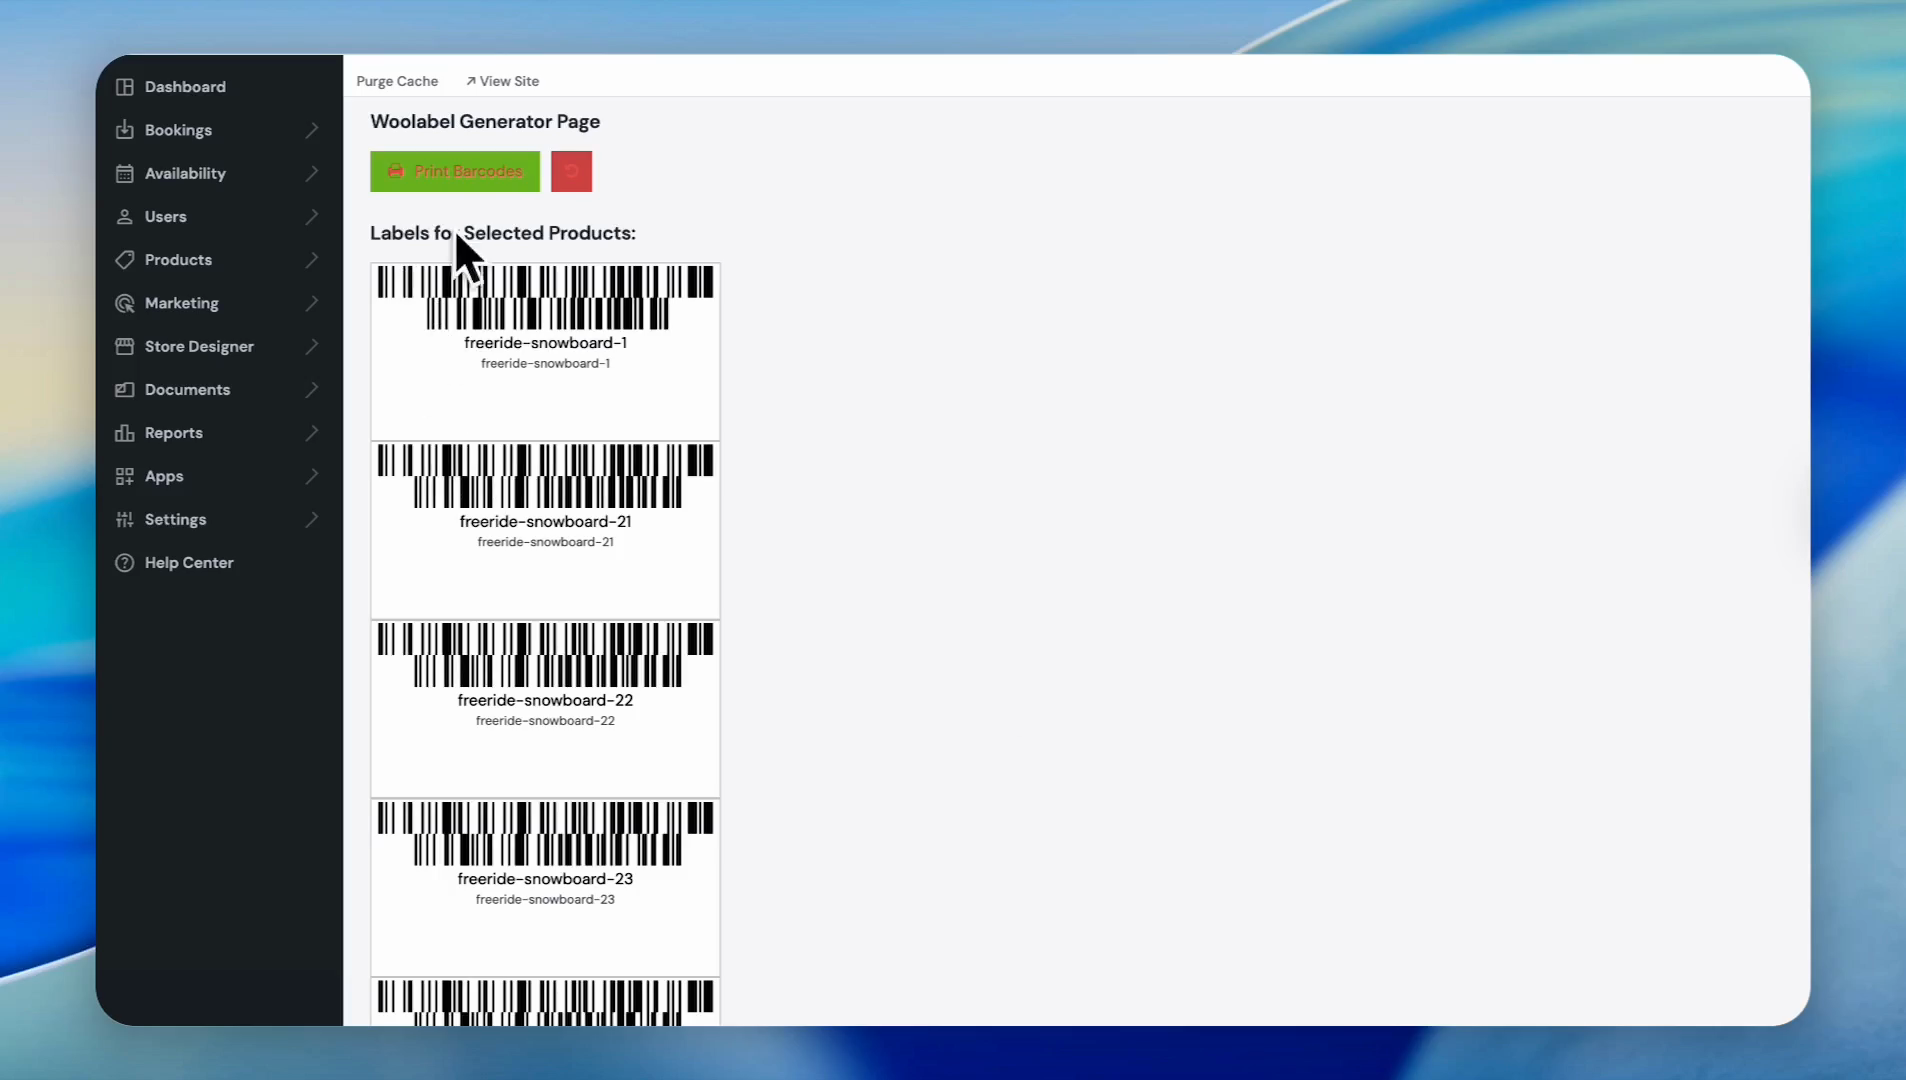
The system generated a barcode for the selected serial. You can print it by clicking the Print Barcodes button.
Step 7
8
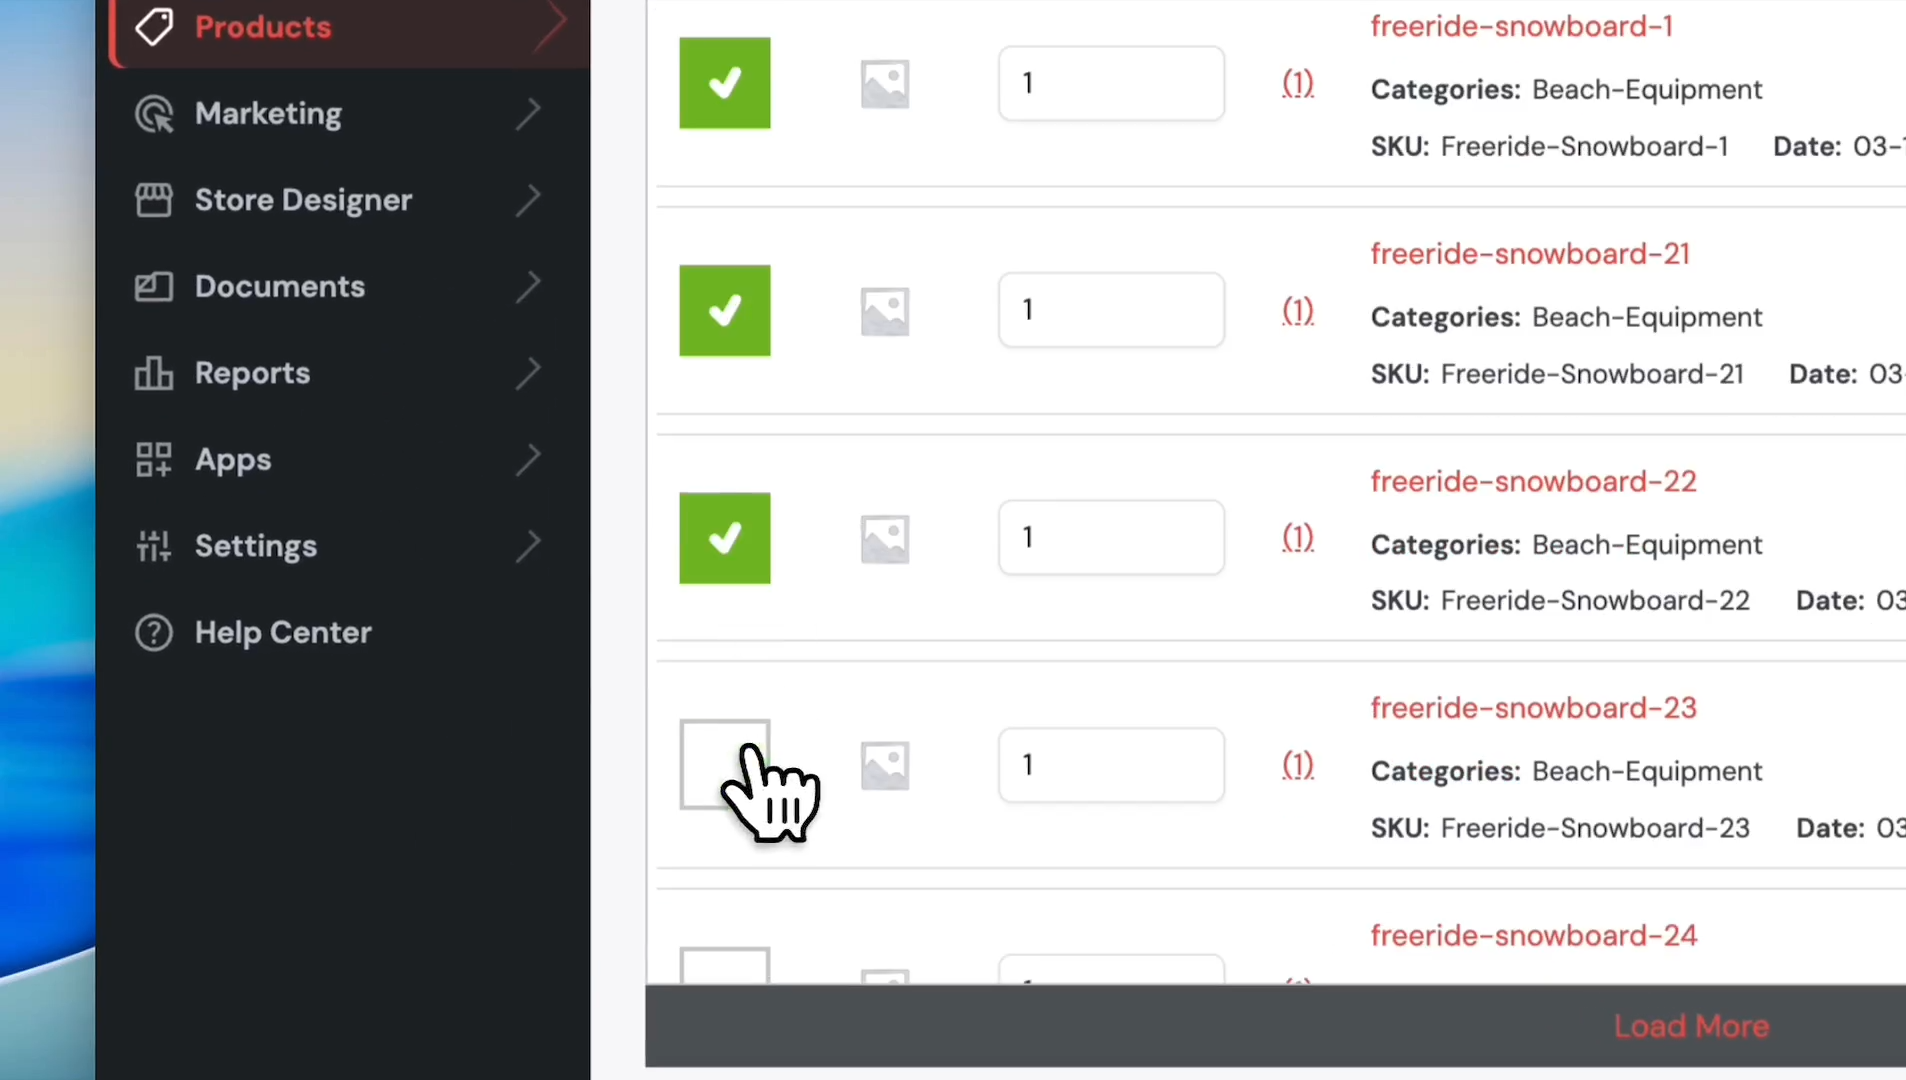
Now, let's create multiple barcodes. Select a product by clicking the checkbox next to it. We selected multiple serials this time.
Step 8
9
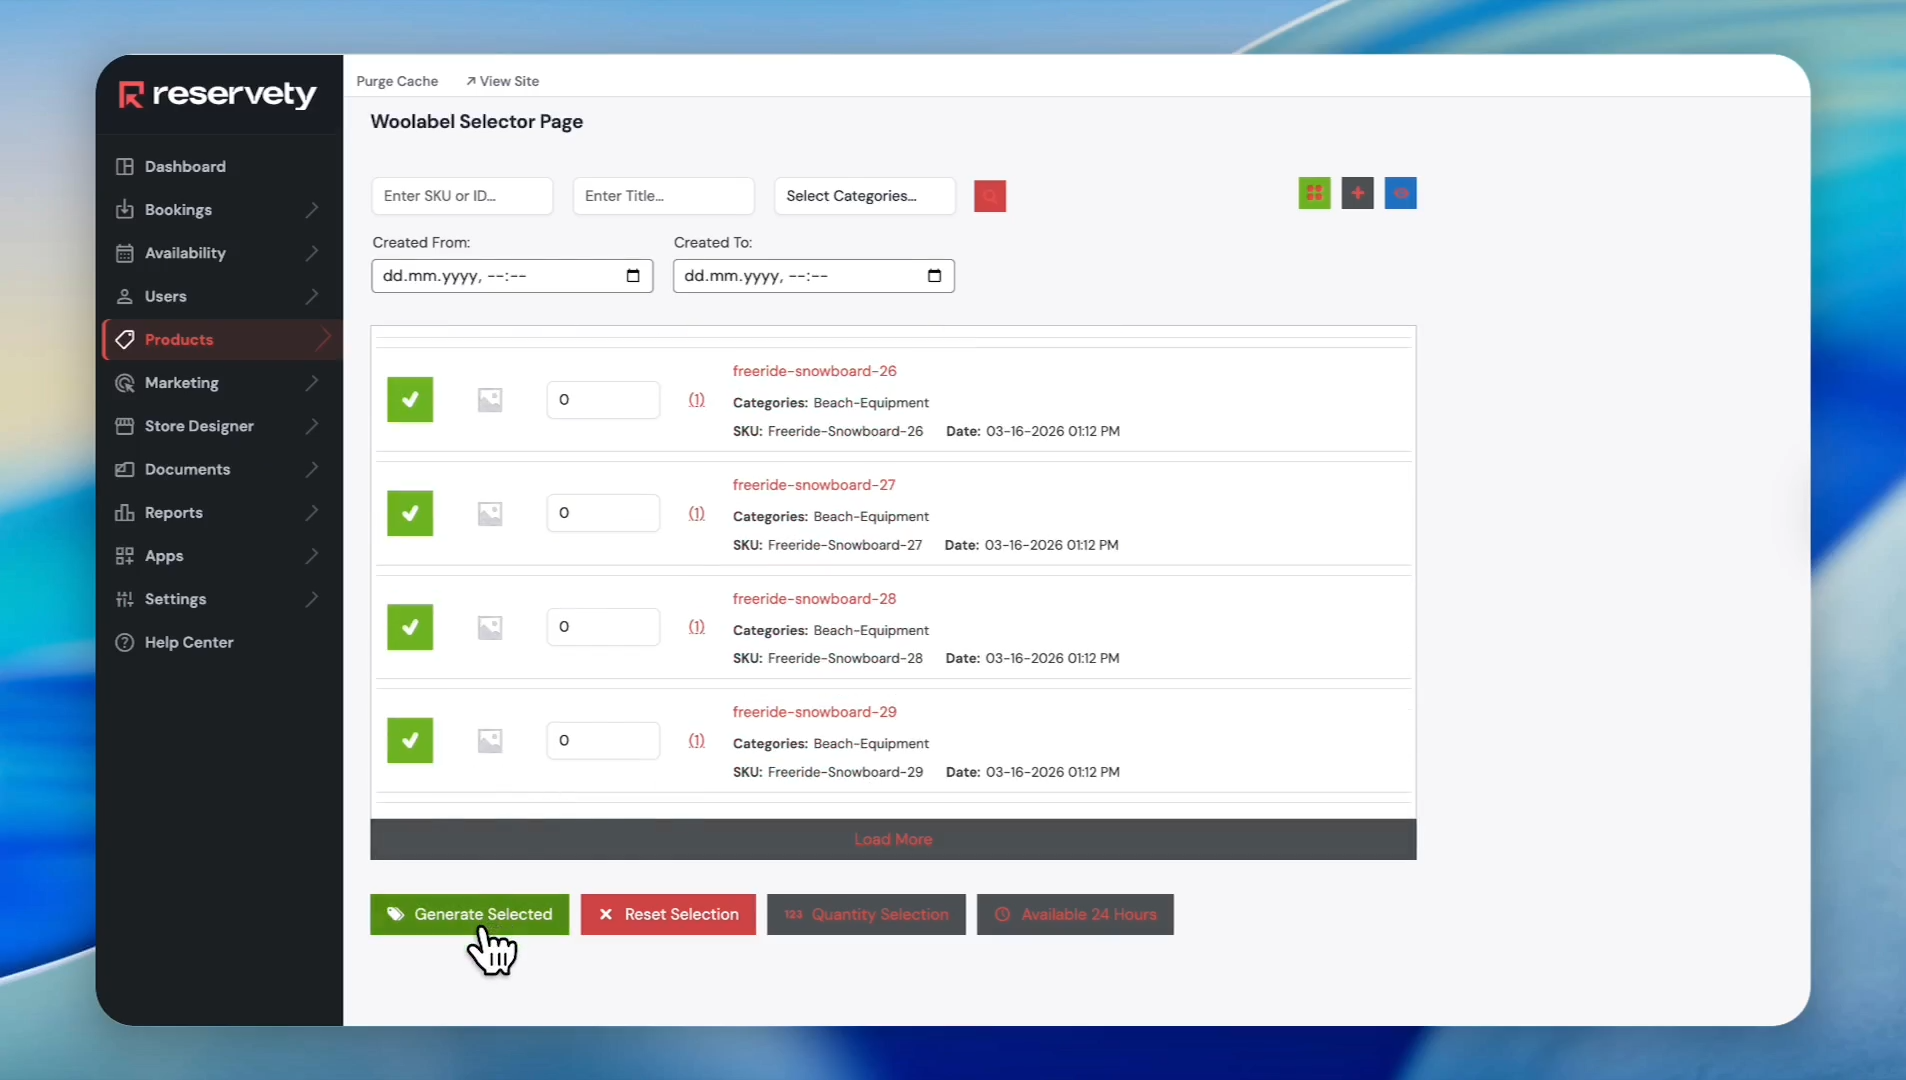
Click the Generate Selected button.
Step 9
10
The system generated multiple barcodes. You can print them by simply clicking on the "Print Barcodes" button.
Step 10
11
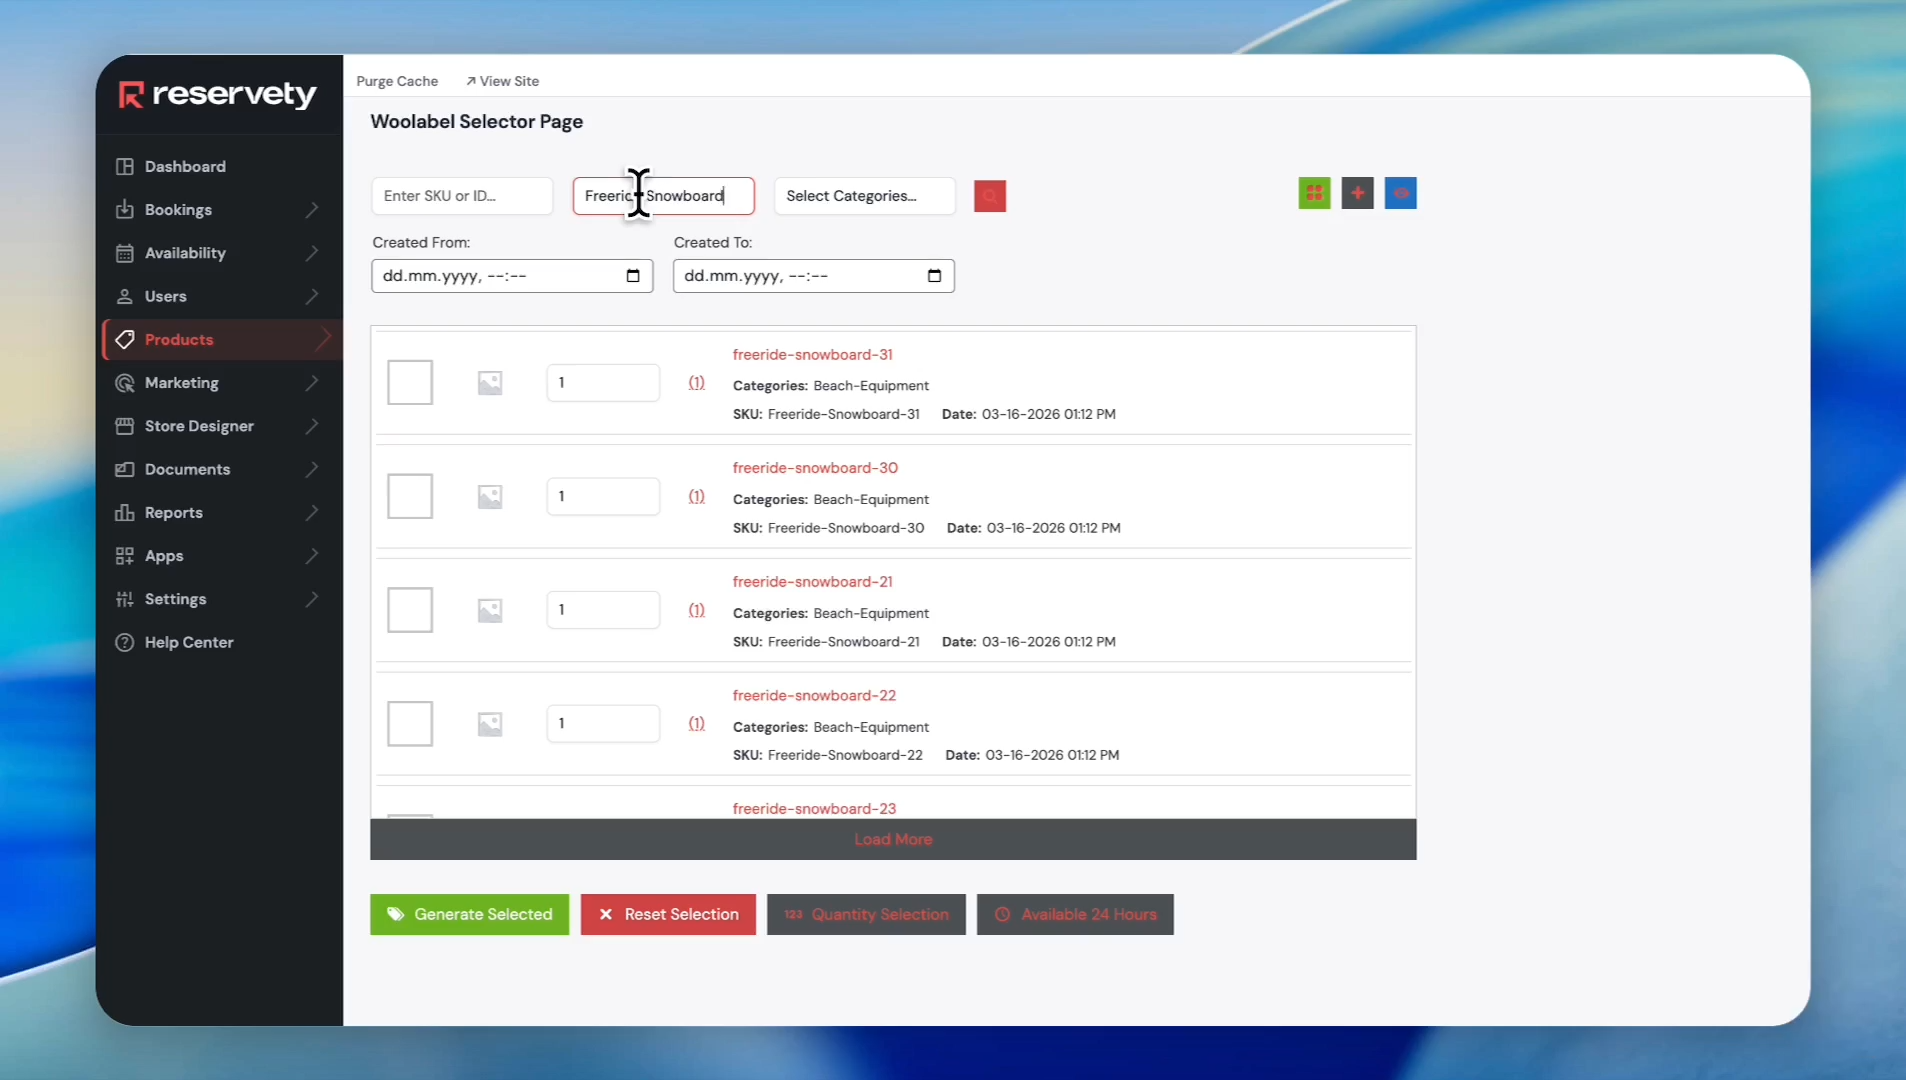
Let's discuss the filters at the top. You can also find products by entering their title.
Step 11
12
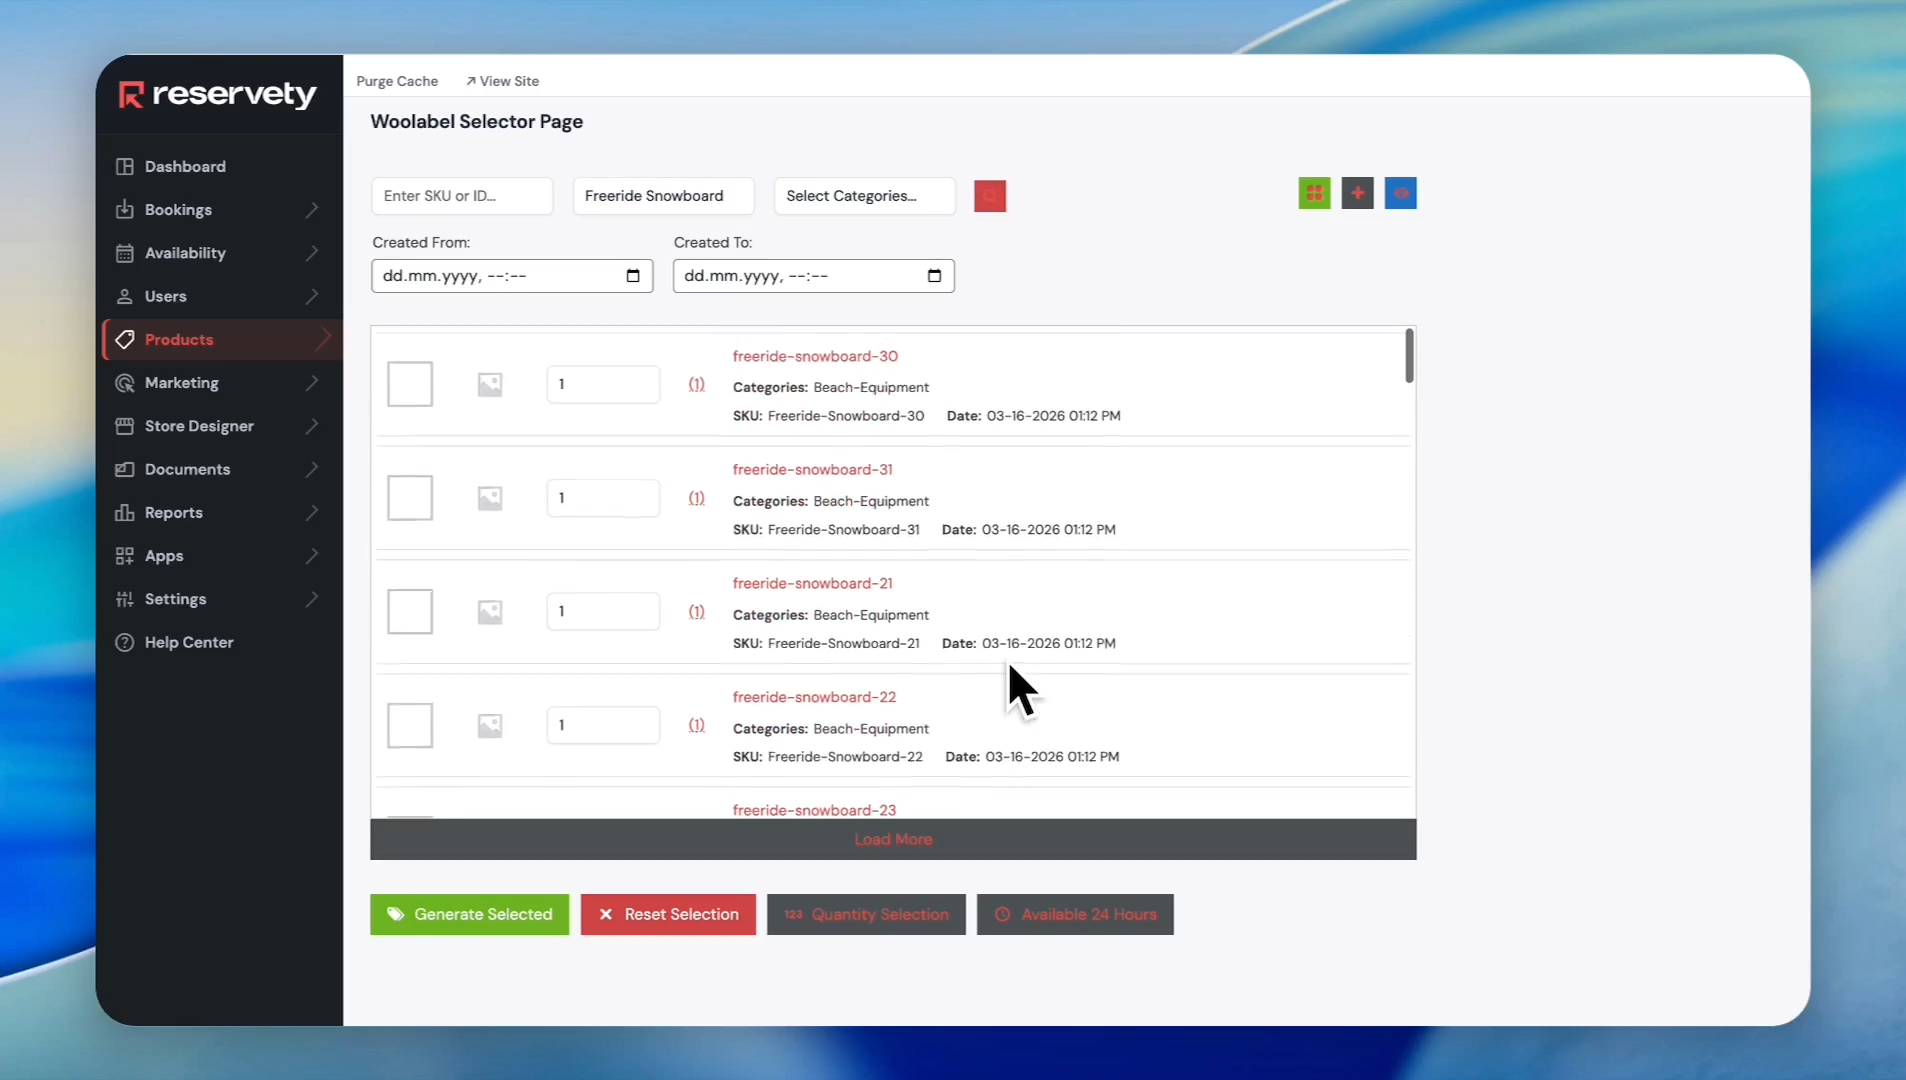
For example, we typed "Freeride Snowboard" and clicked the search icon. The system generated a list of products with serial numbers belonging to Freeride Snowboard.
Step 12
13
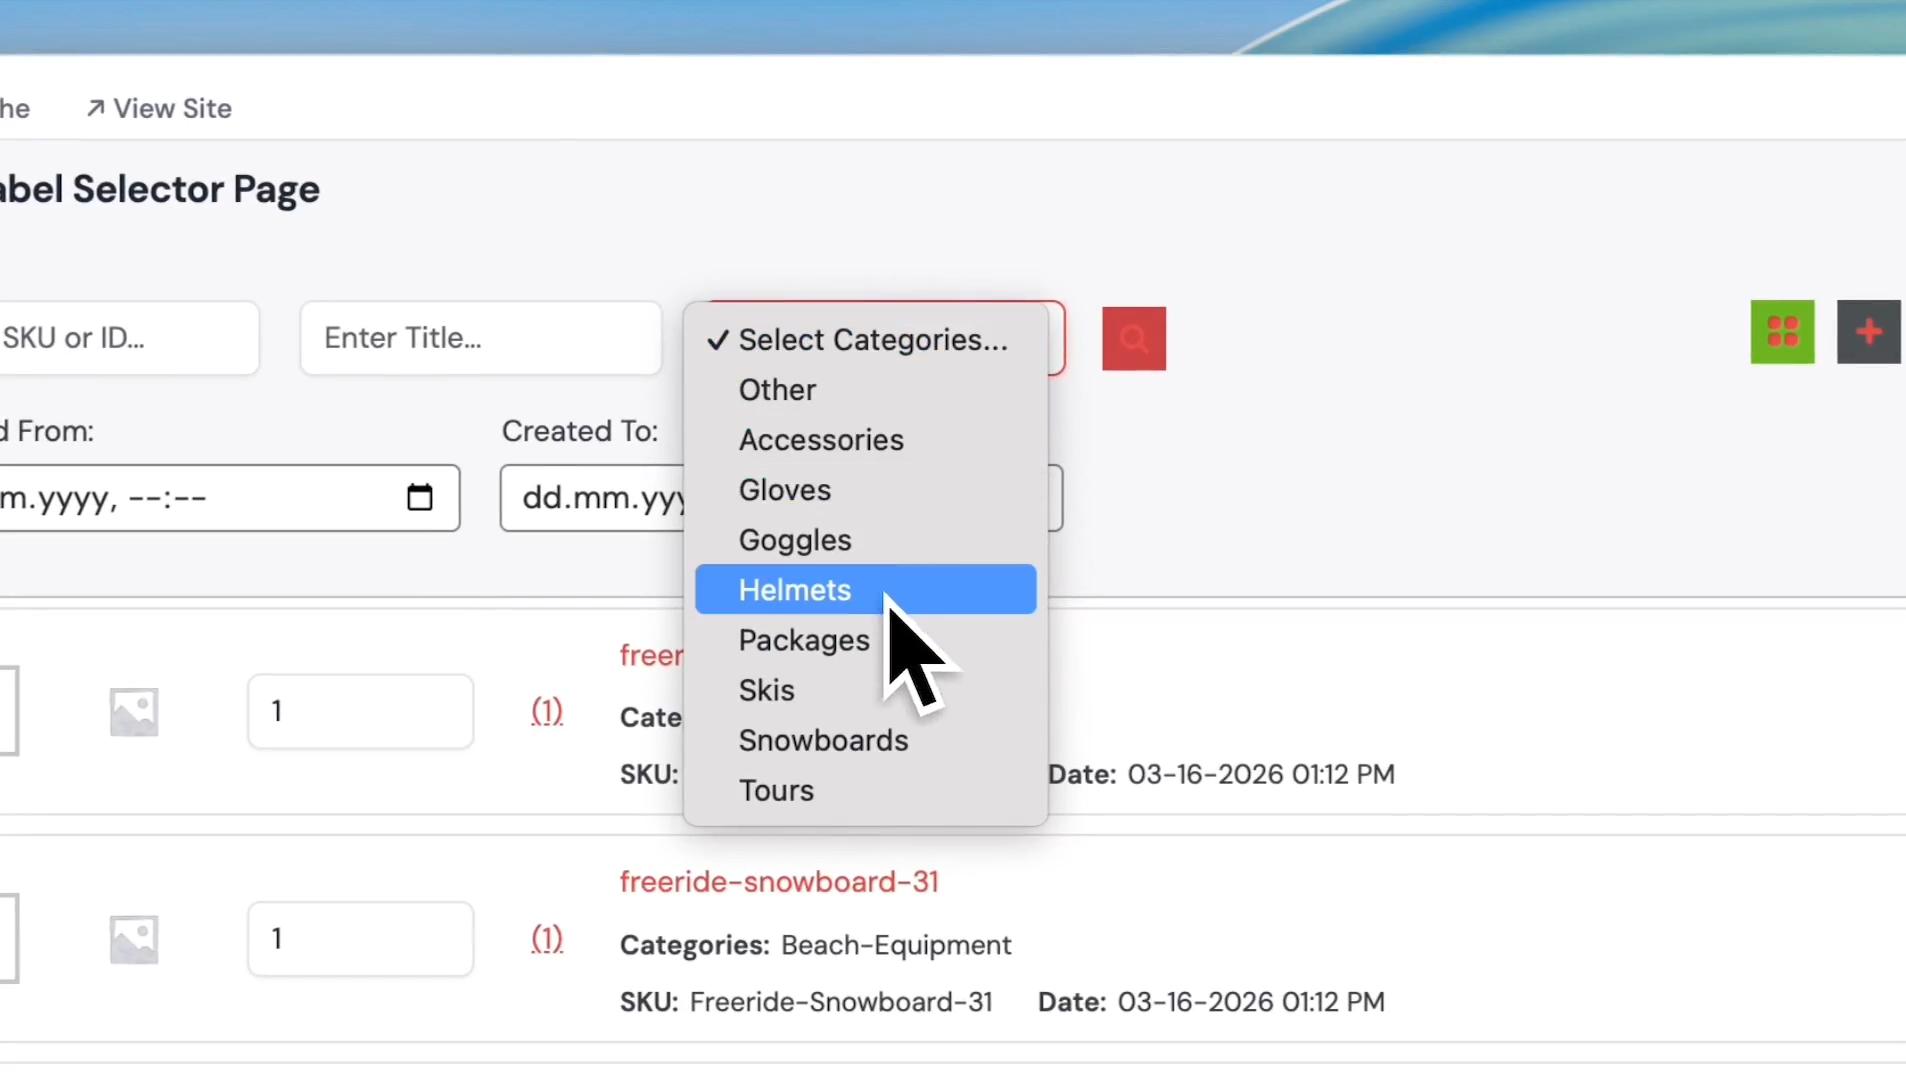
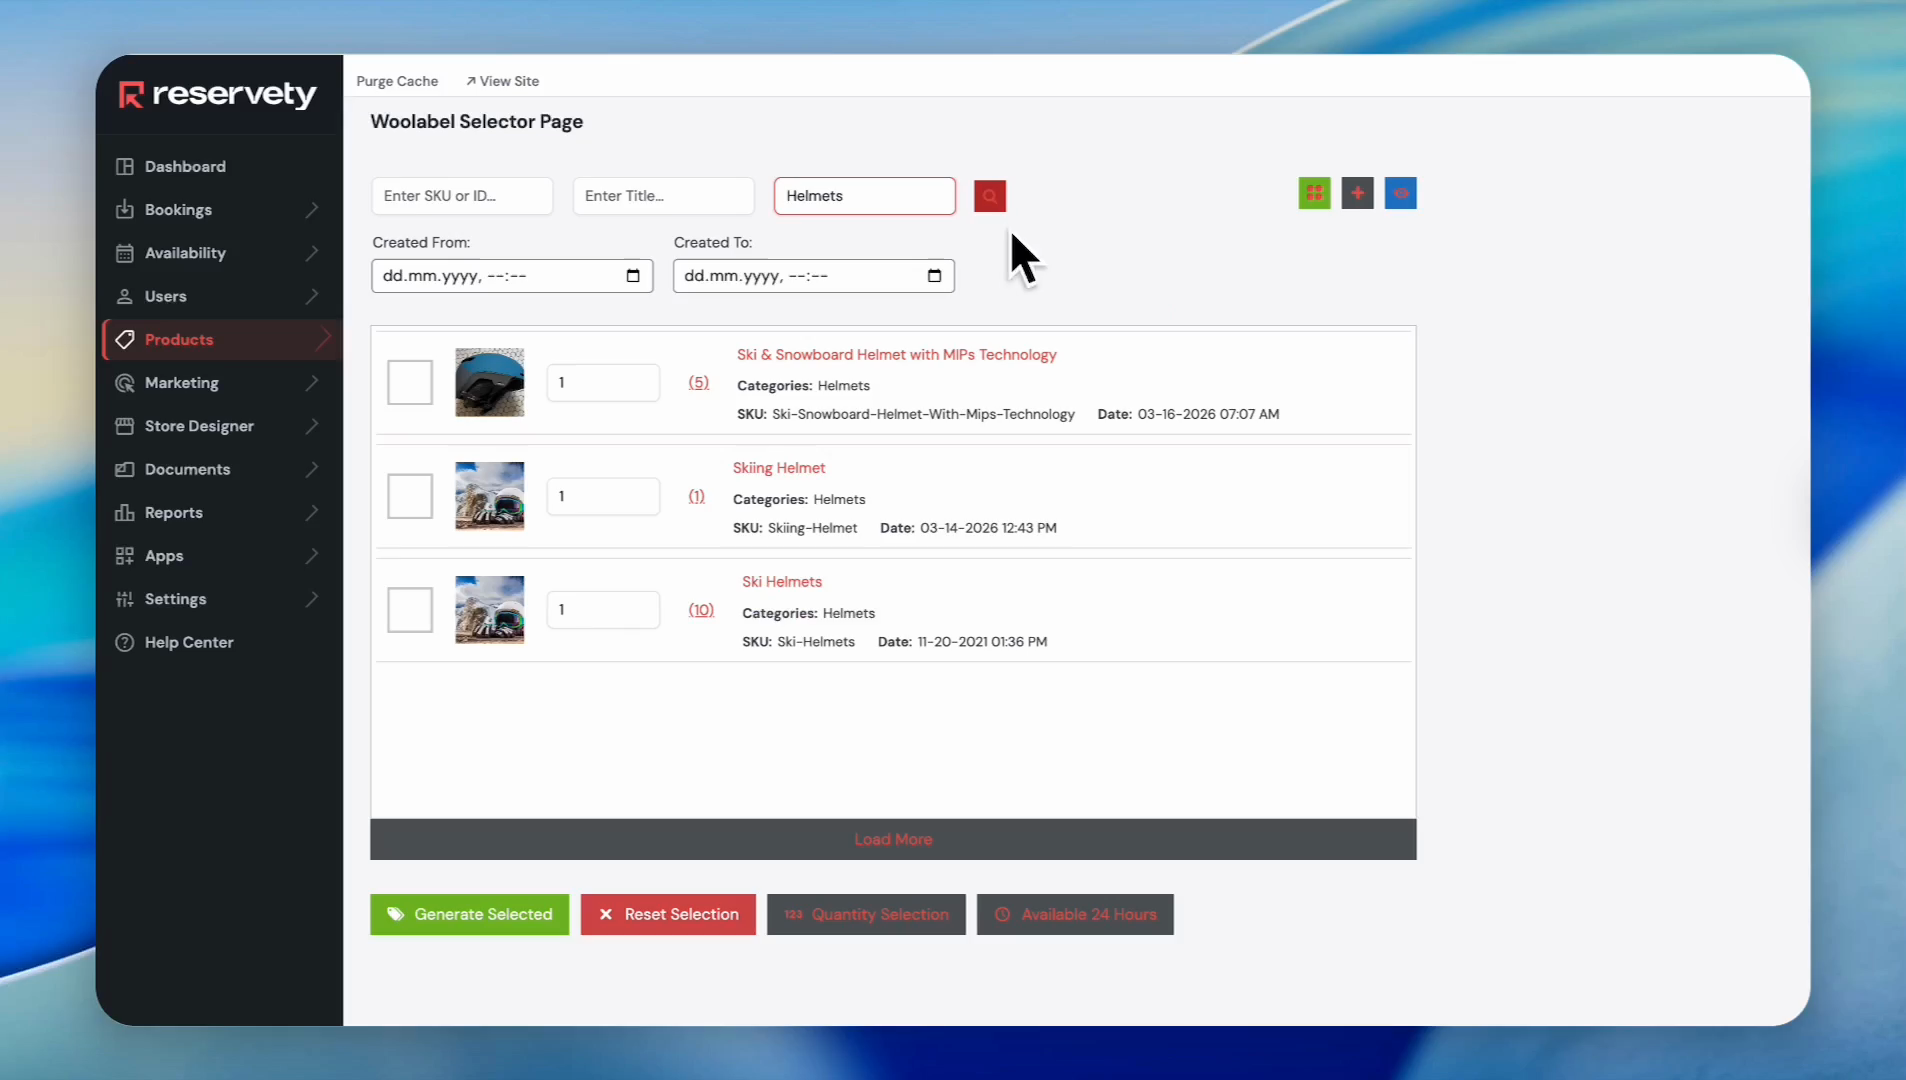
Additionally, you can find products for barcode generation by selecting a category from the drop-down menu. For example, we selected Helmets from the category list.
Step 13
14
Click the search button to filter by the selected category.
Step 14
15
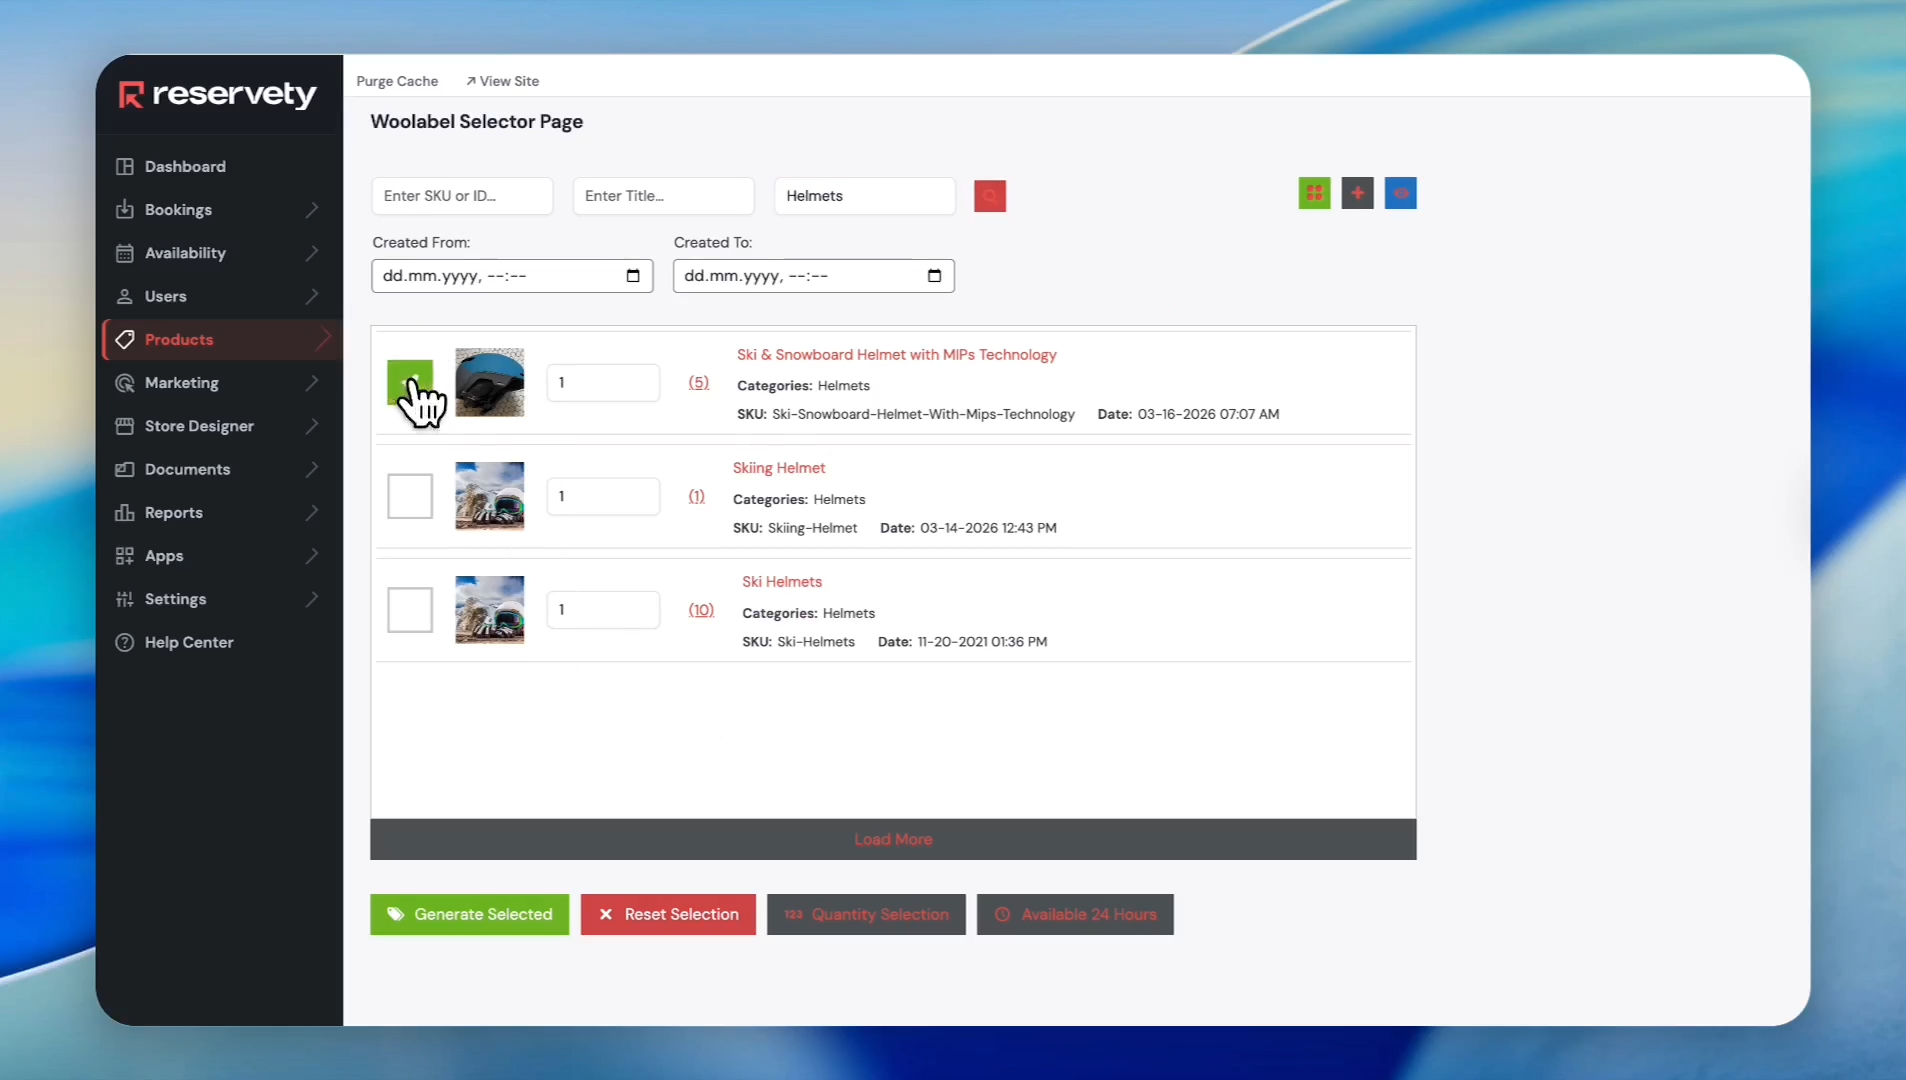
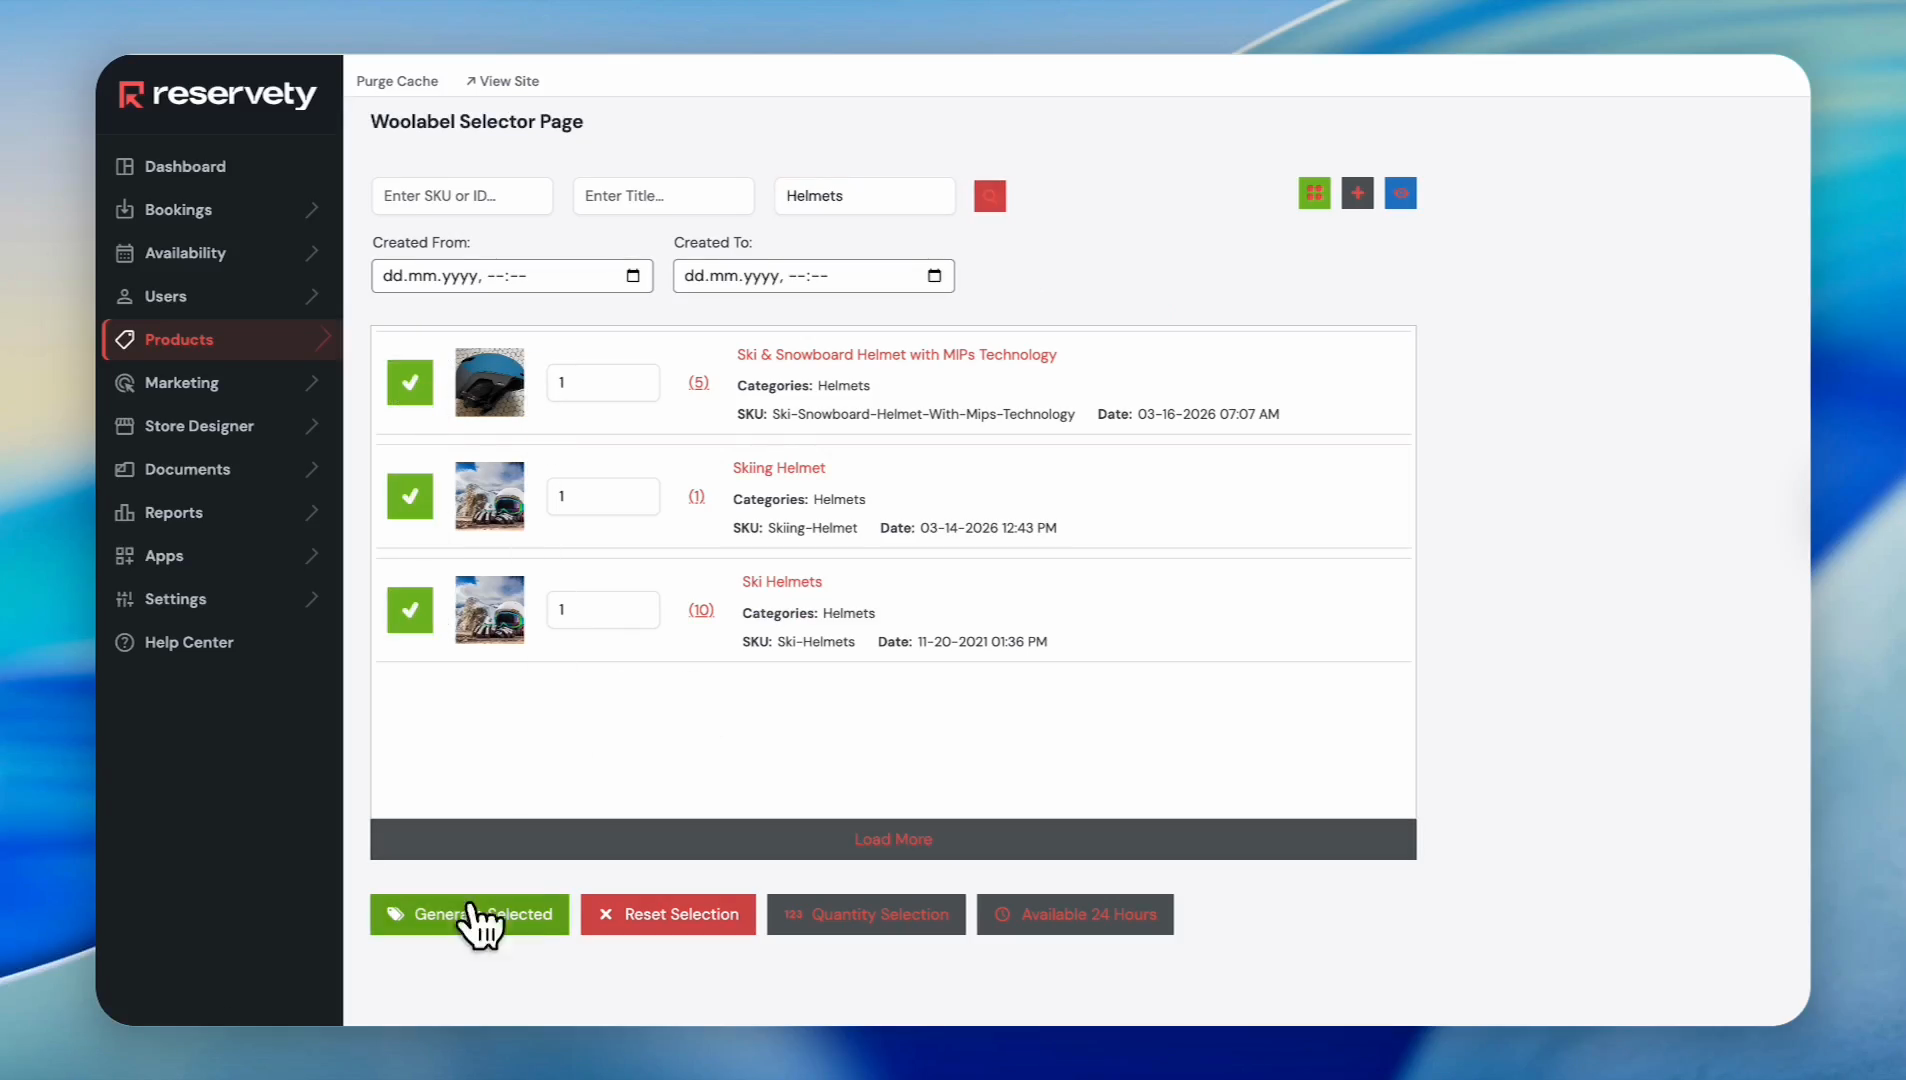
The list of products under the Helmets category appears. You can assign barcodes to these products by clicking the checkboxes.
Step 15
16
Then click the Generate Selected button.
Step 16
17
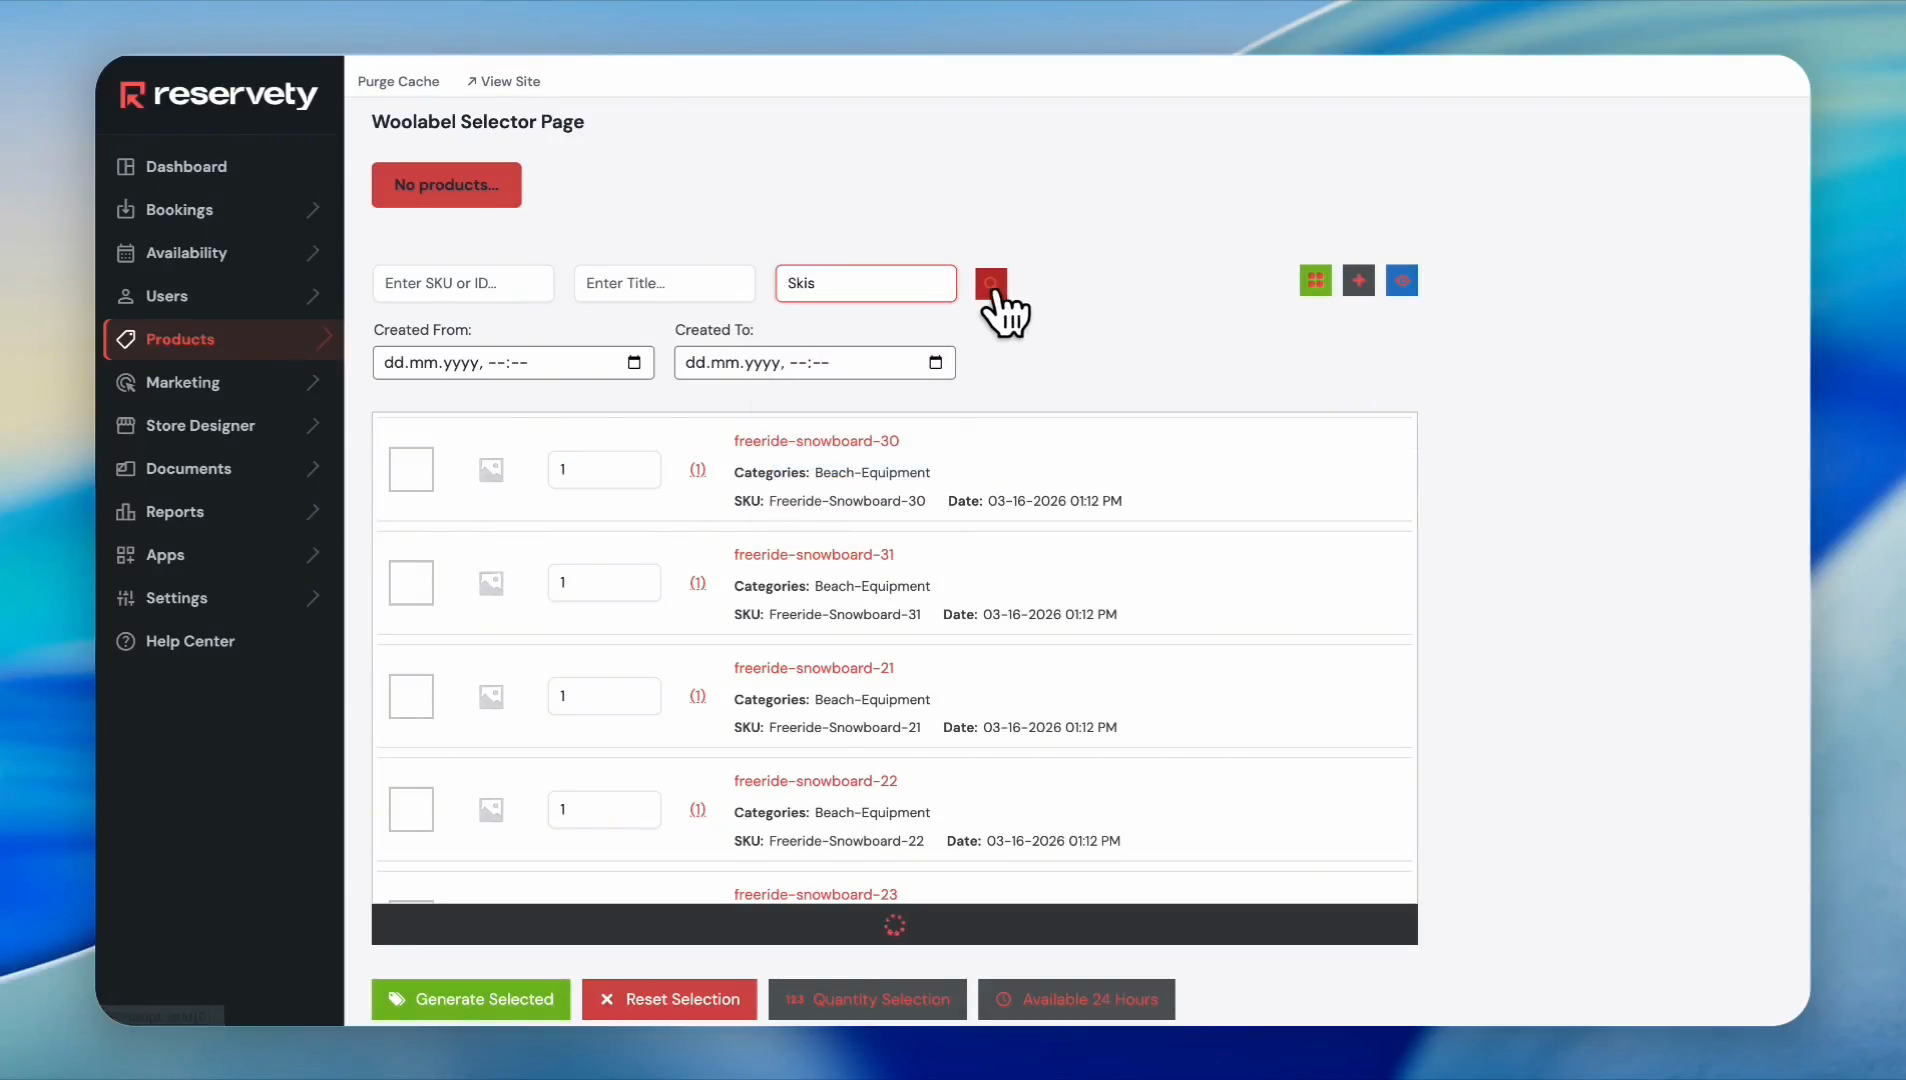
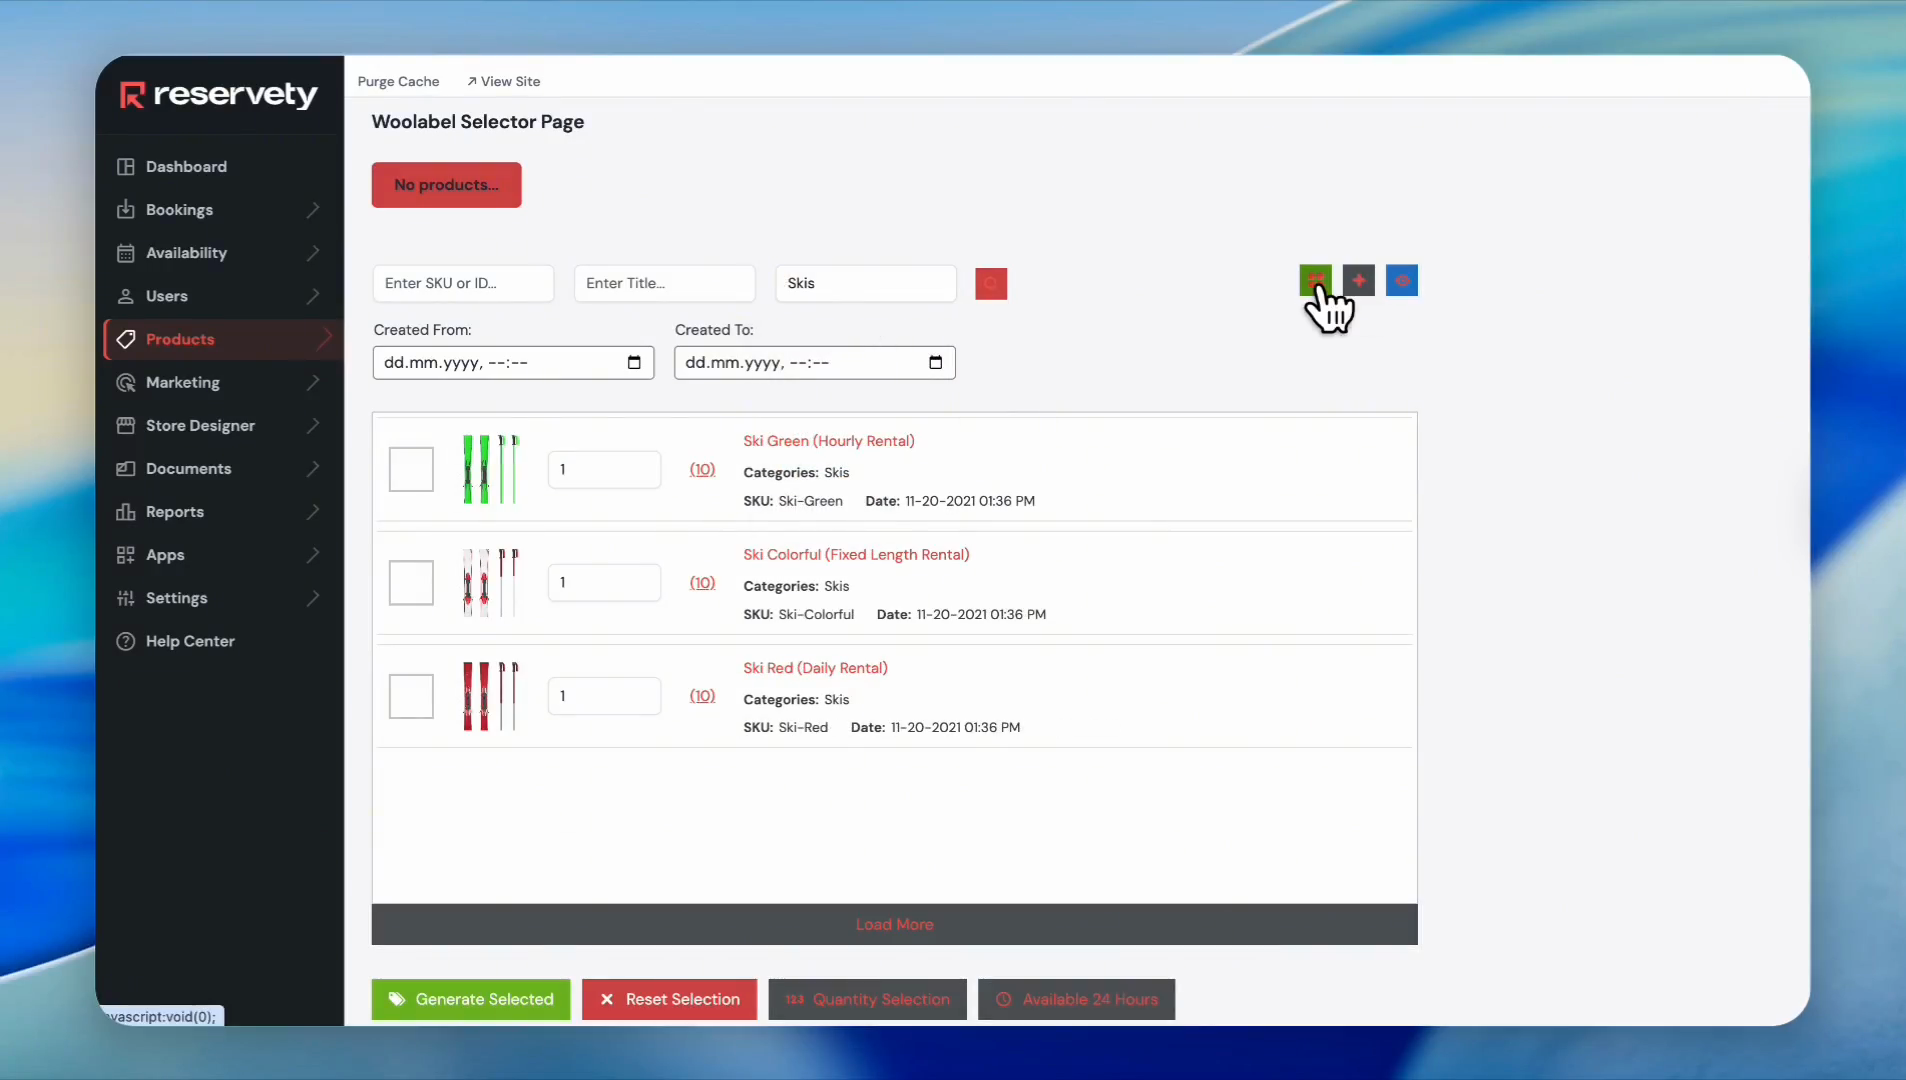
Let's discuss the fast selection feature. For example, we selected Skis from the category and clicked Search.
Step 17
18
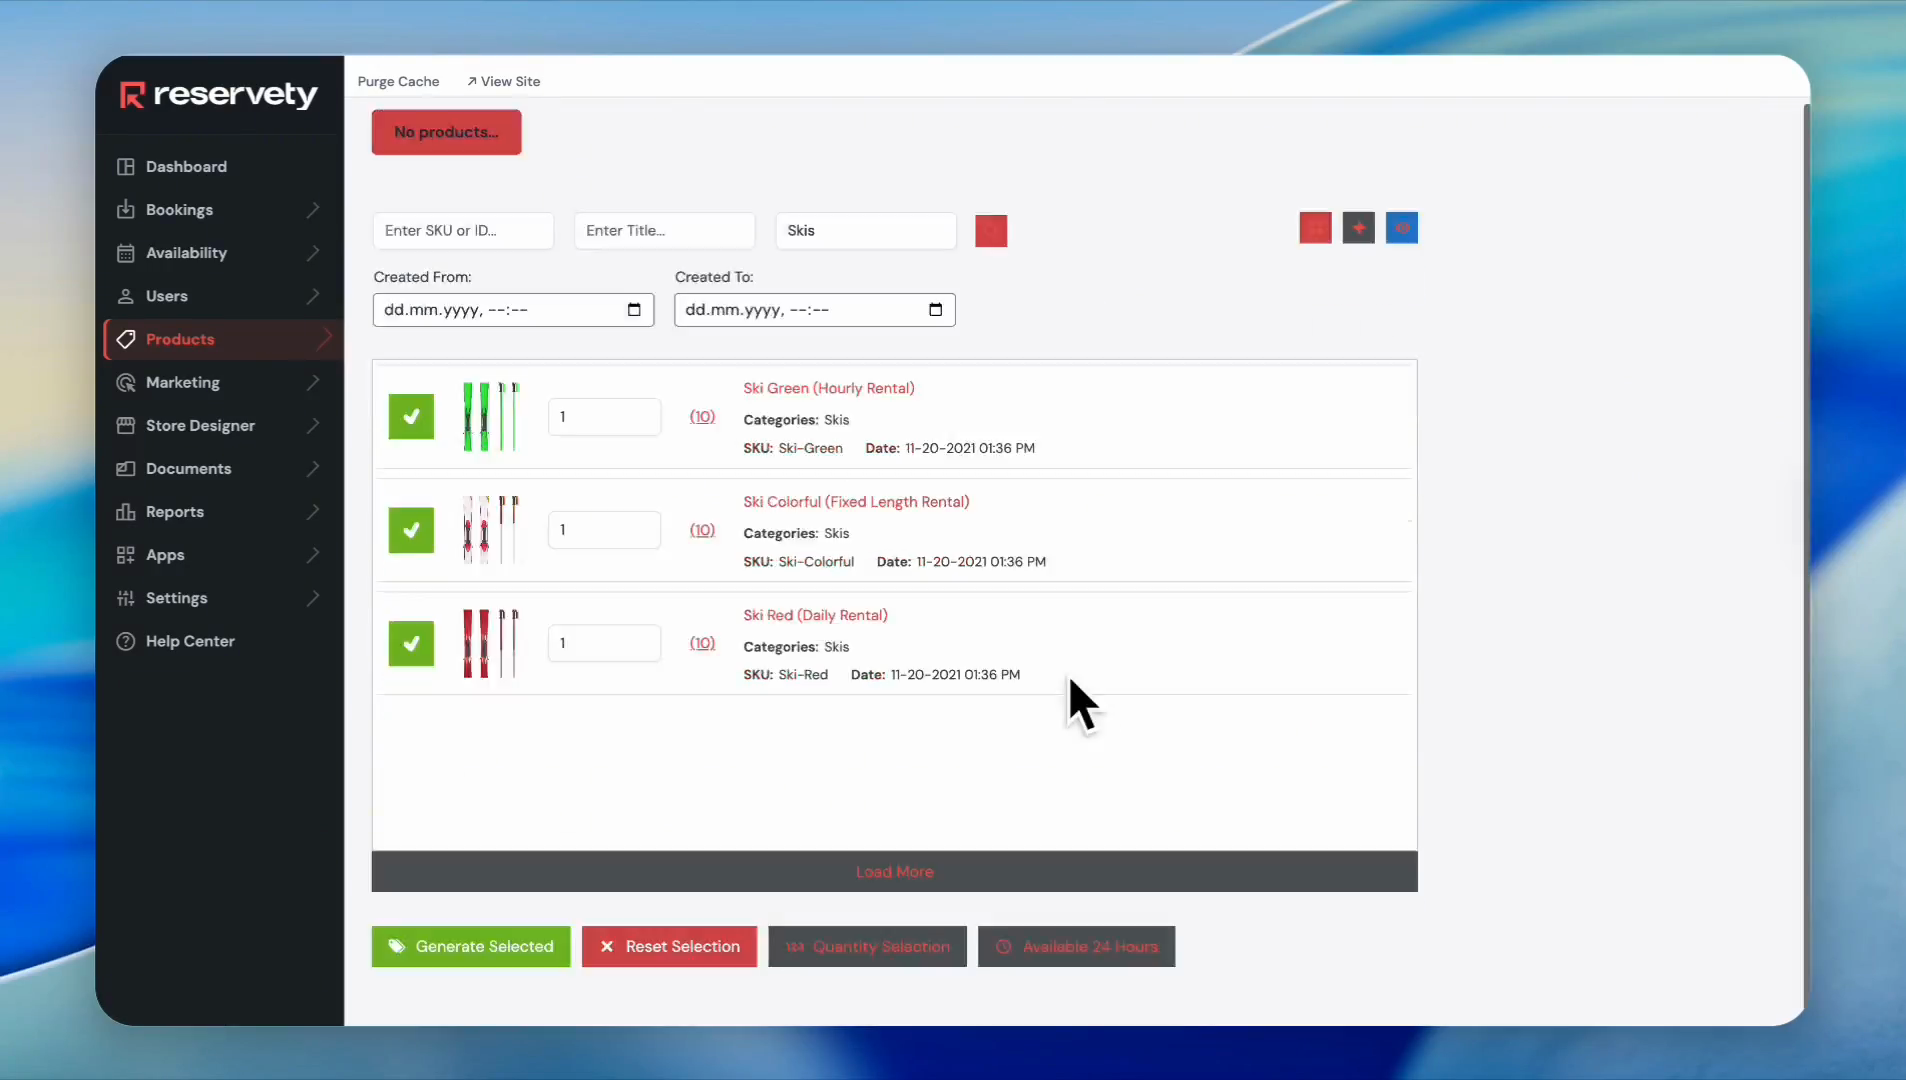
The system displays all products under Skis. To select all of them, click on the green box here. This process avoids you from having to put a check mark on all the serials manually.
Step 18
19
Click the Generate Selected button.
Step 19
20
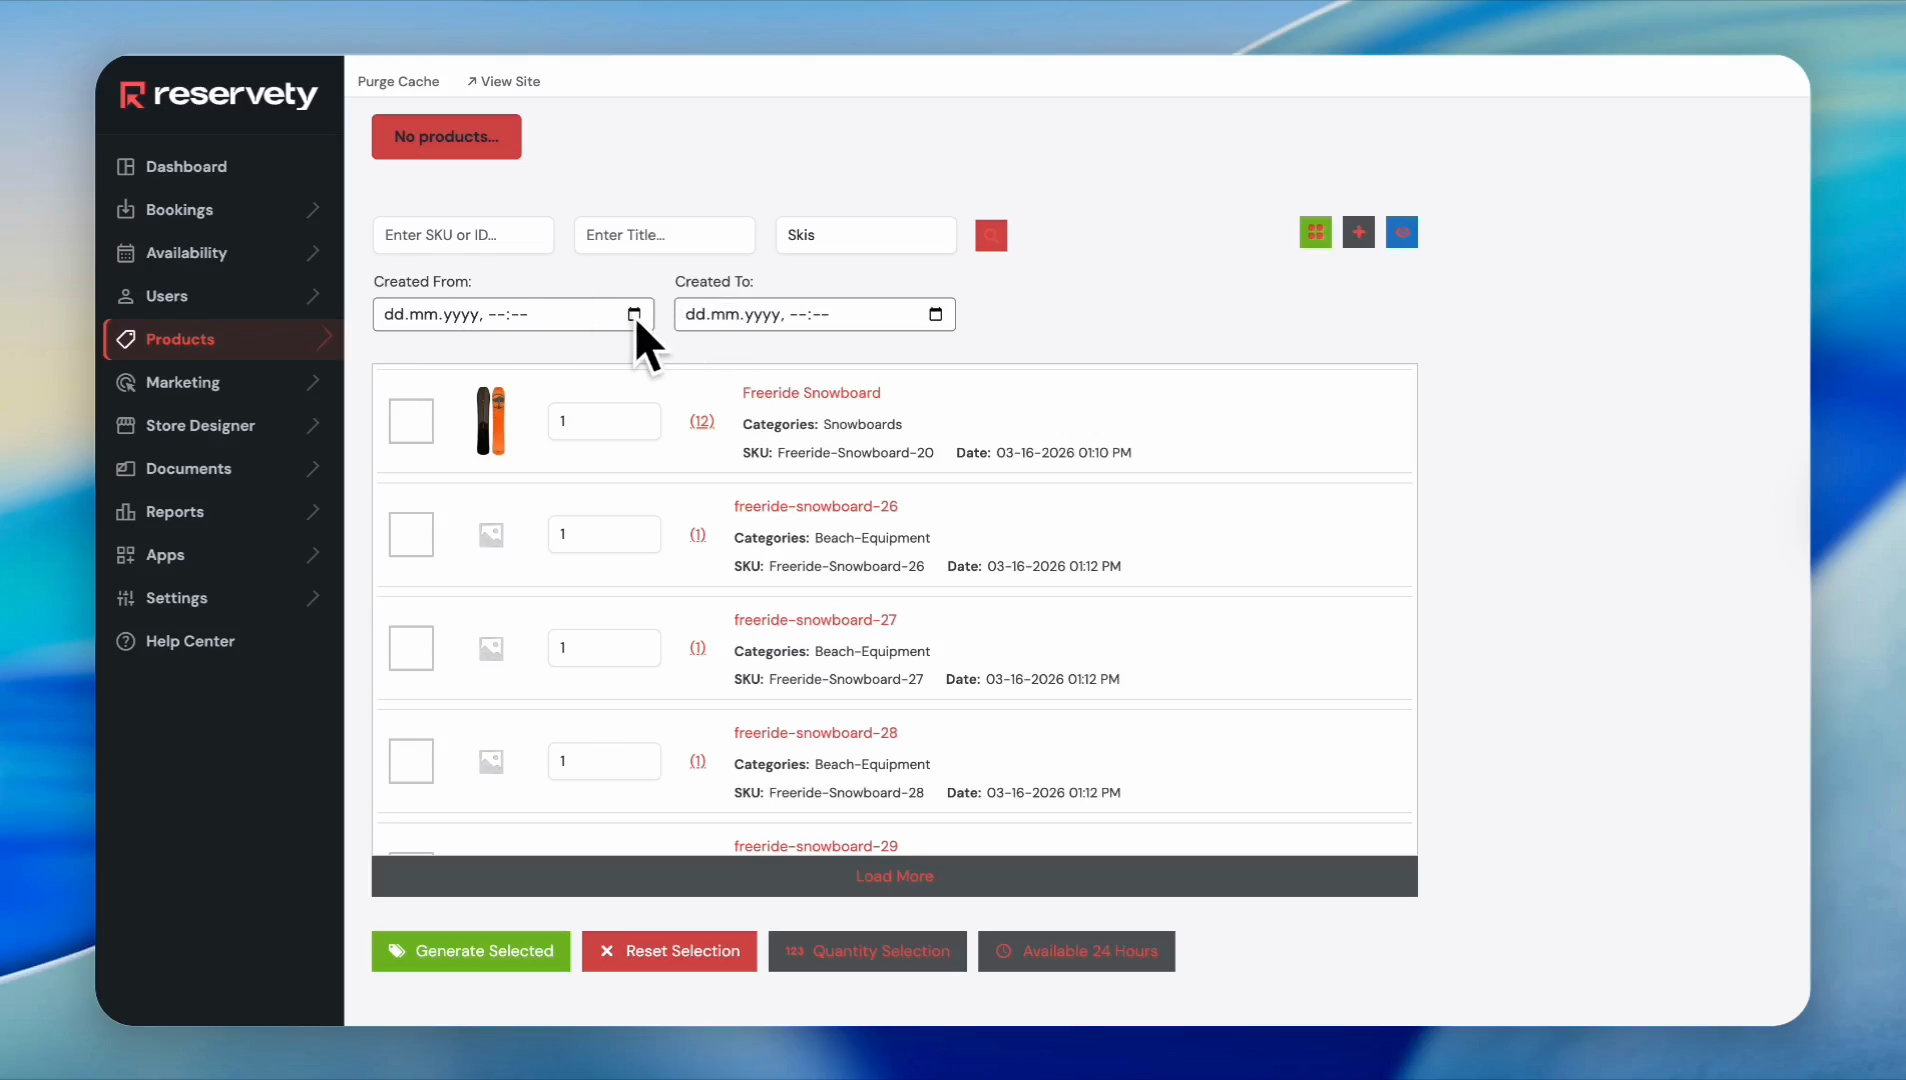
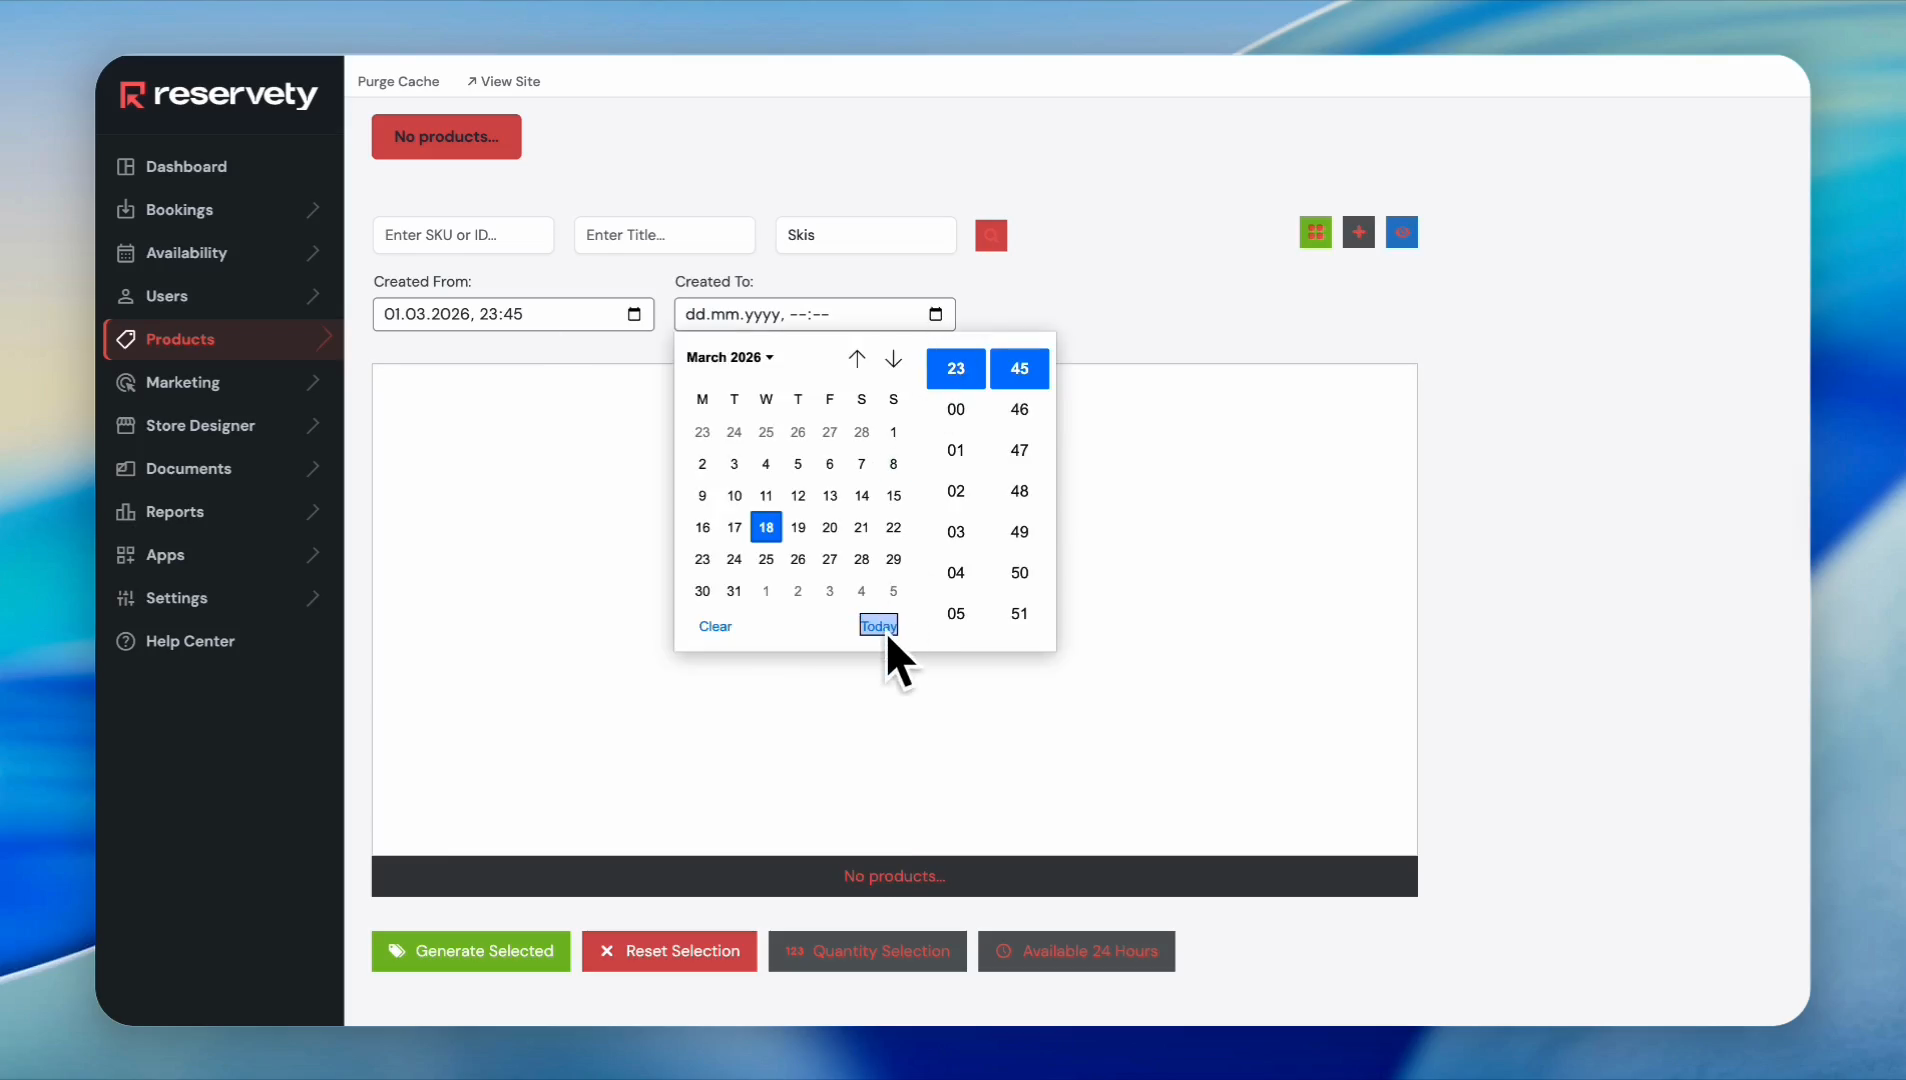
The system also lets you select products added within specific time ranges.
Step 20
21
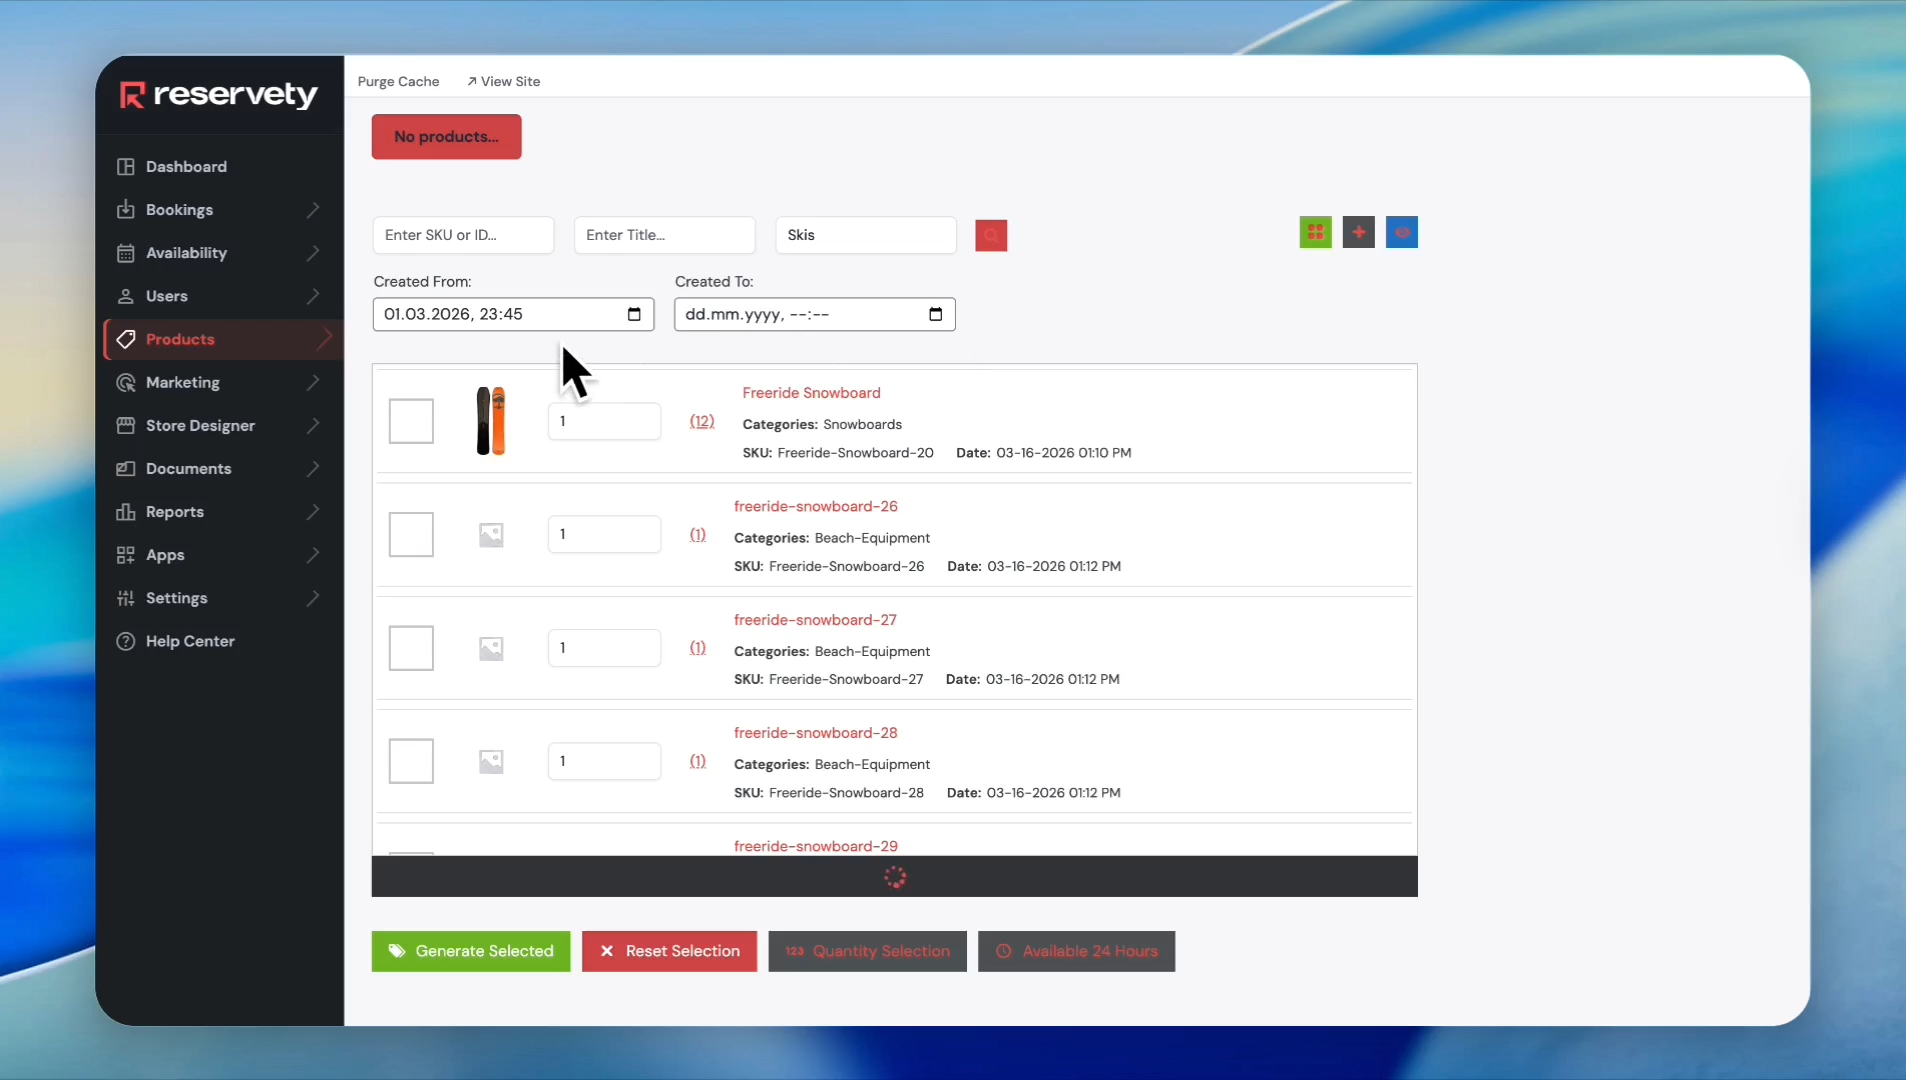
For example, to print a barcode for products added between March 1st and today, click the calendar icon in the Created From field and enter March 1.
Step 21
22
Then enter the date for the "Created To". Click on today's date in the calendar.
Step 22
23
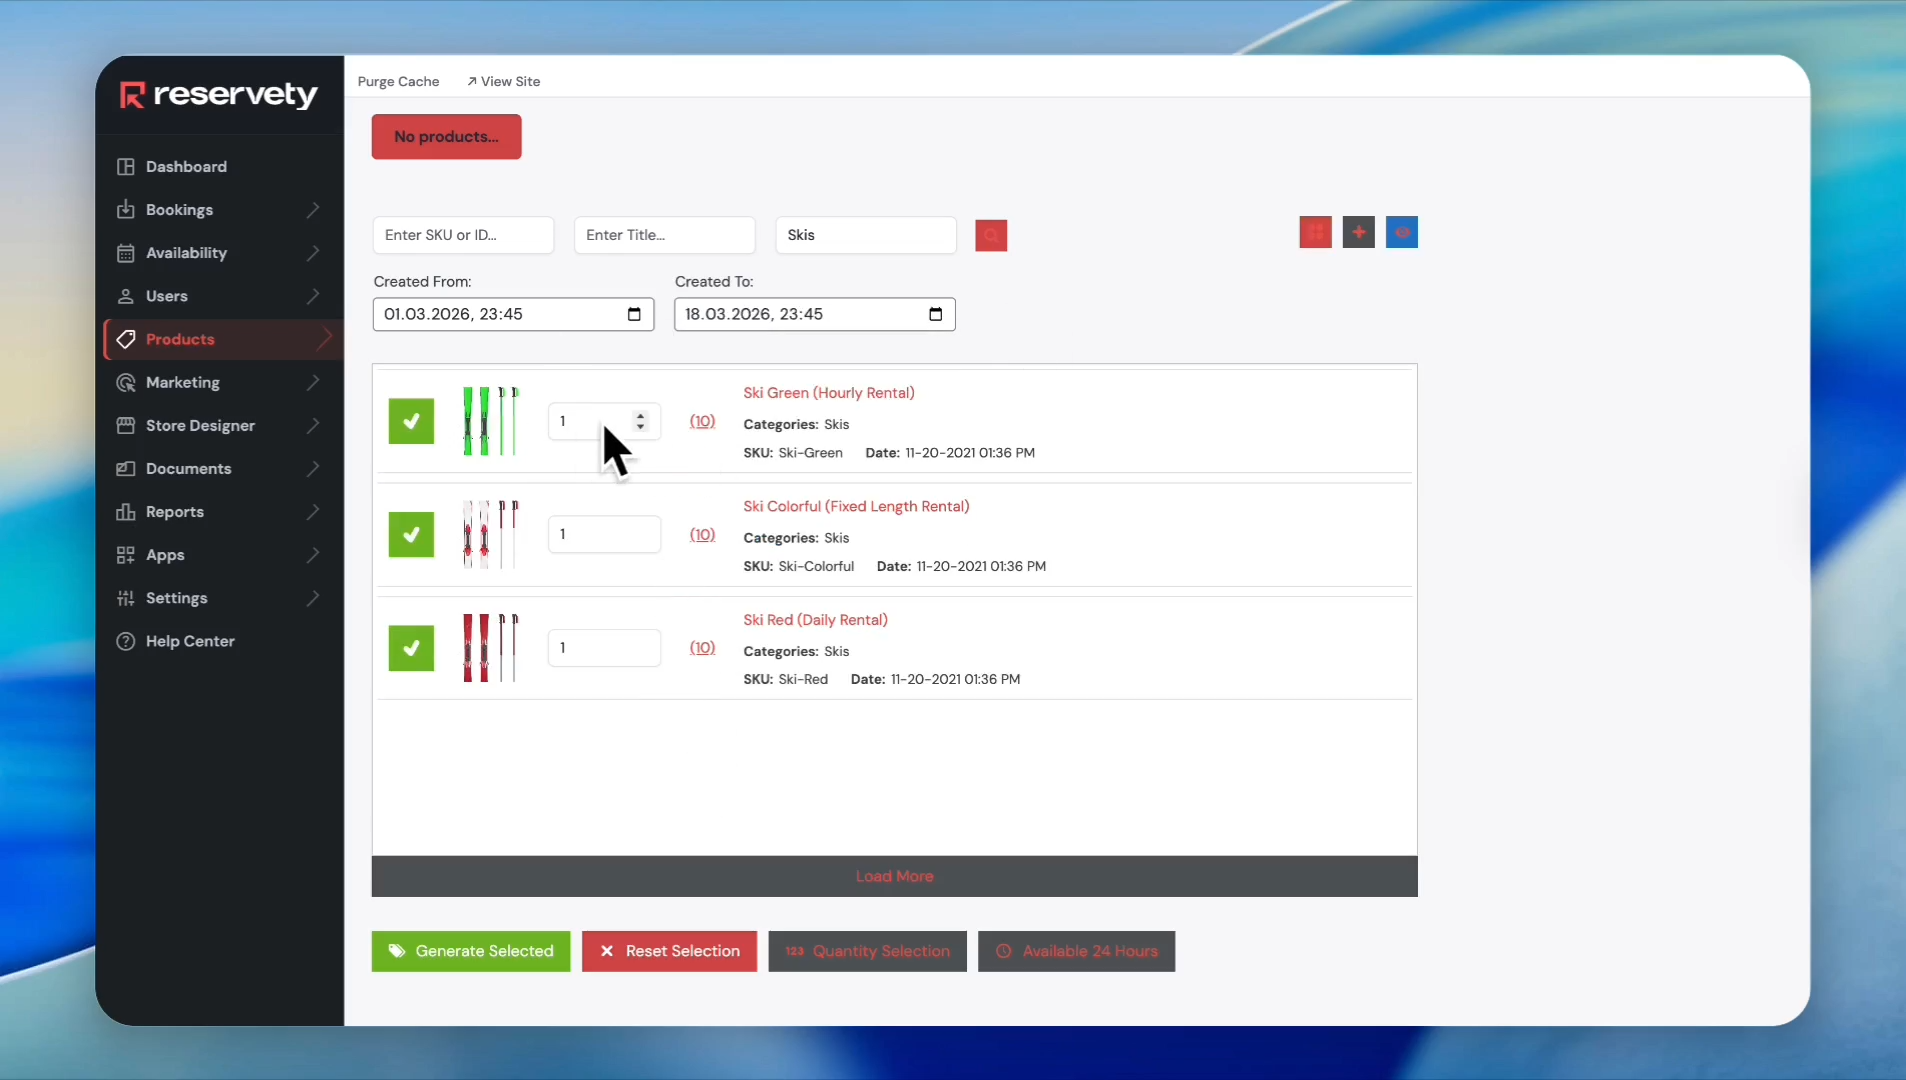
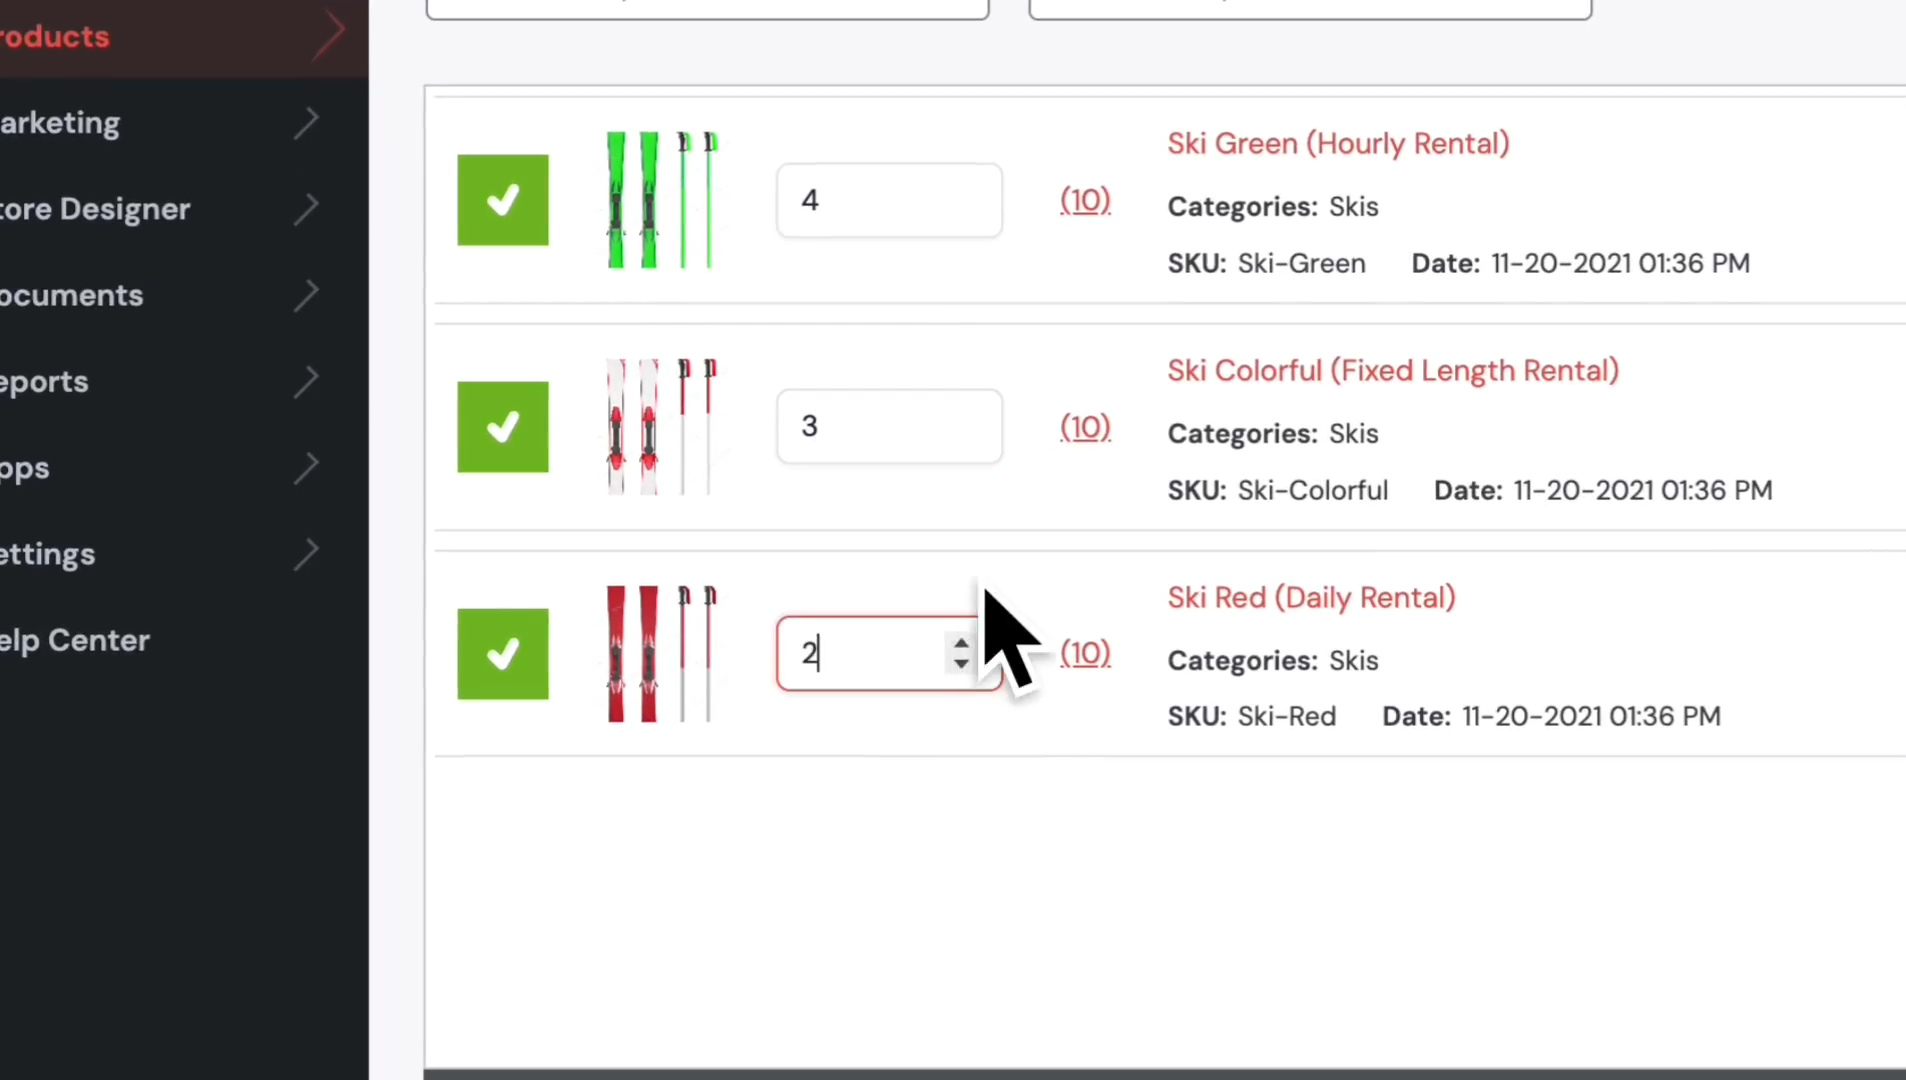
You can also increase the number of barcodes to print.
Step 23
24
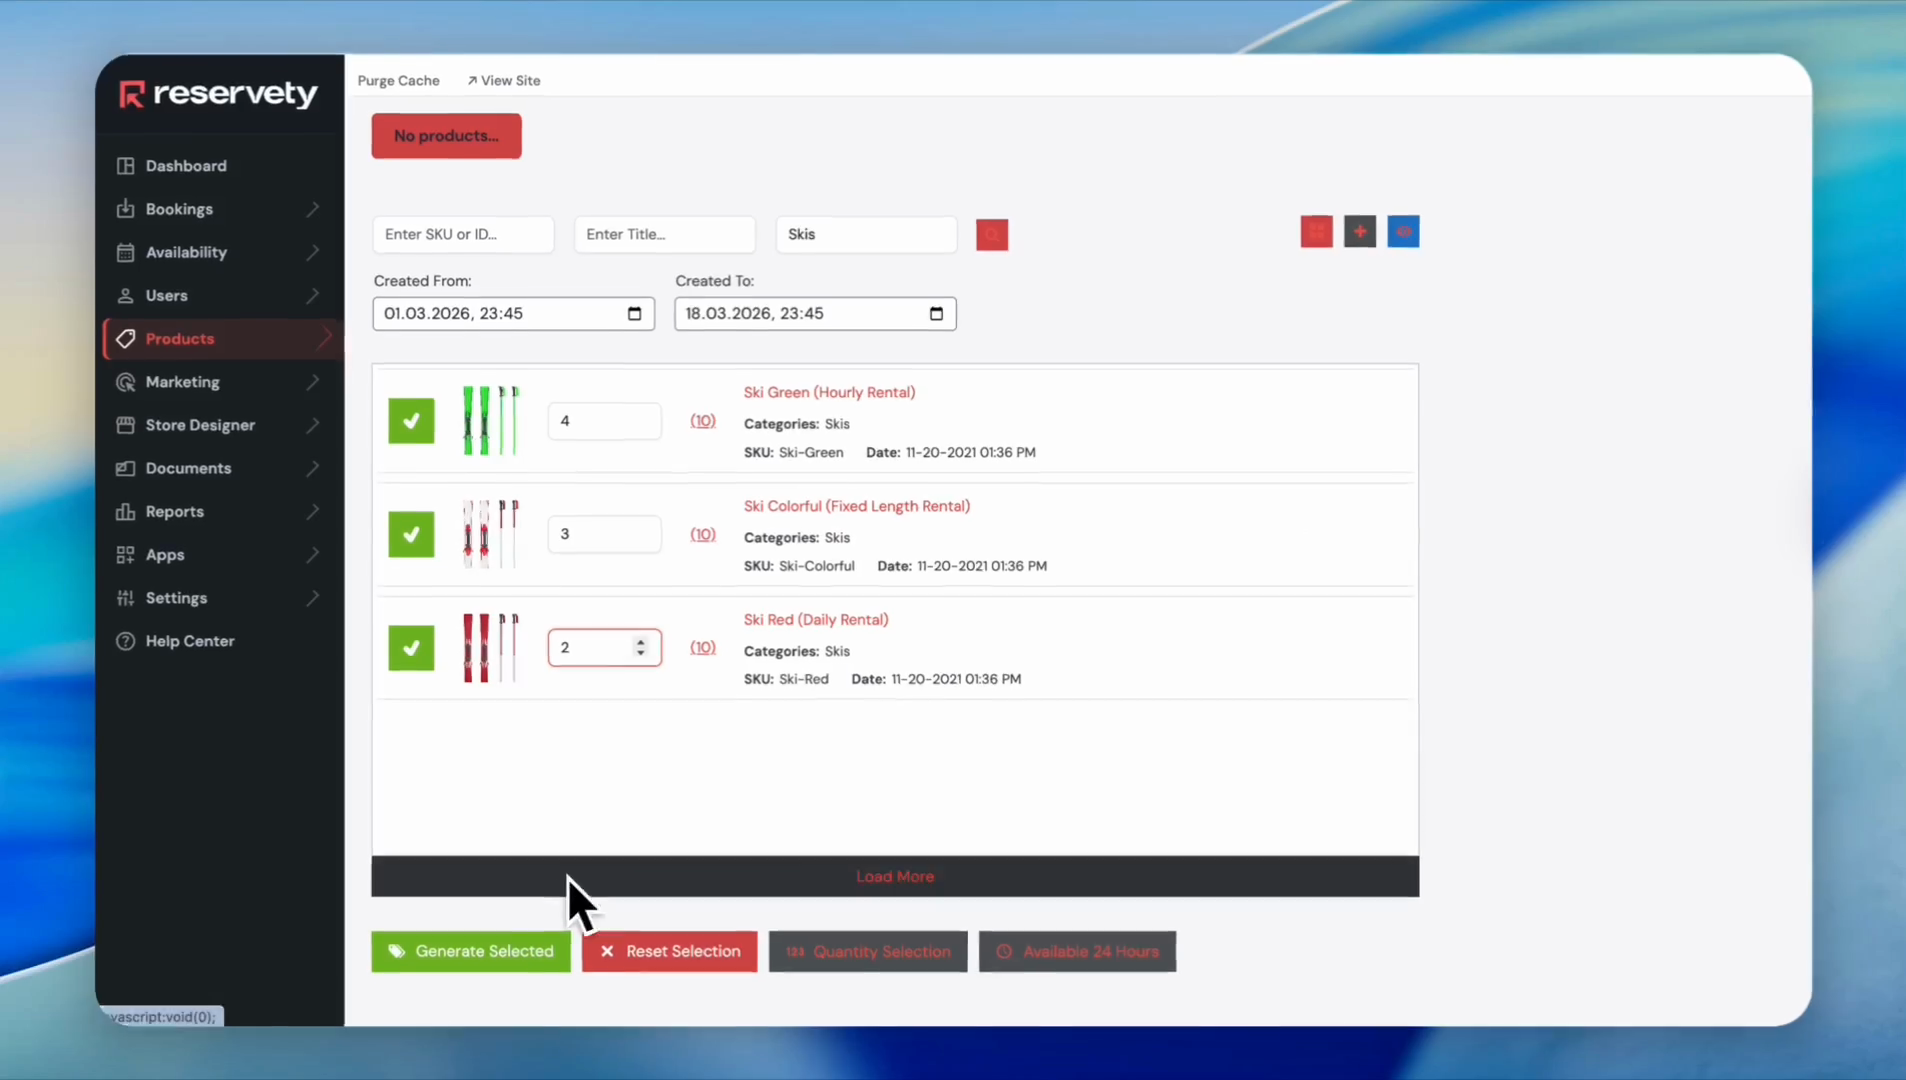
For example, let's say we want four pieces from the first barcode, three from the second, and two from a third.
Step 24
25
Click the Generate Selected button.
Step 25
26
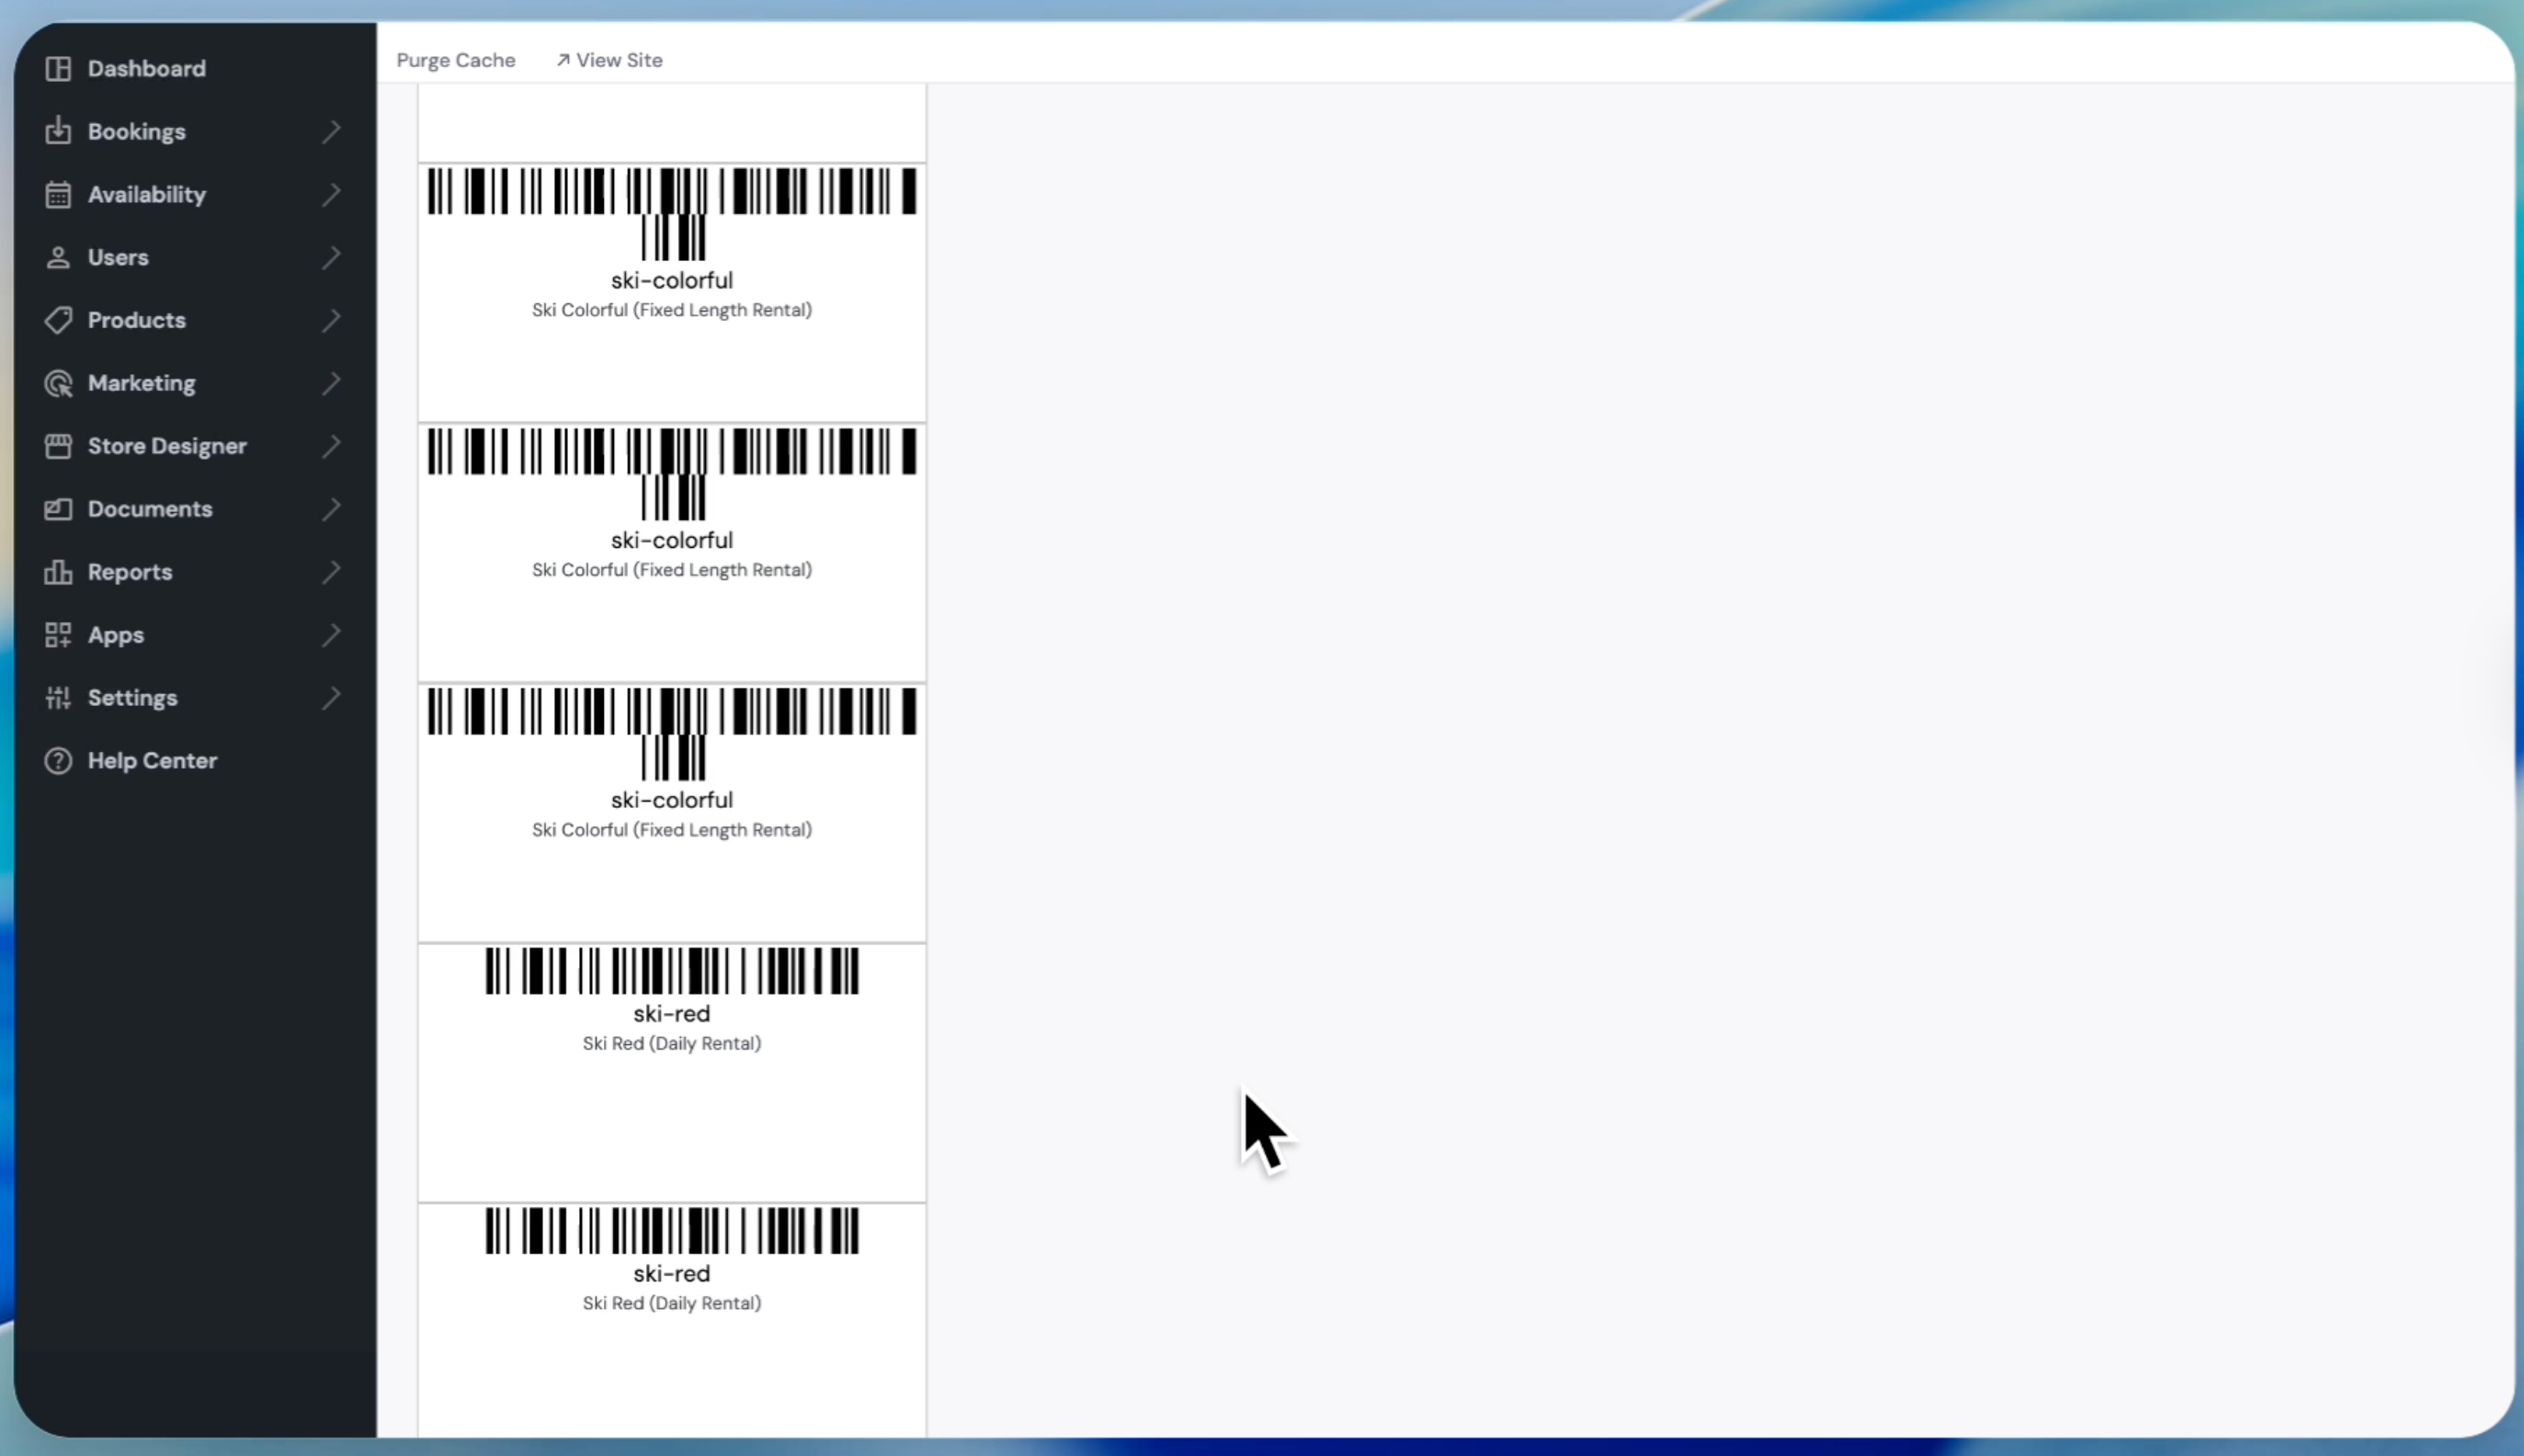
You can print them and attach them to your products.
Step 26
27
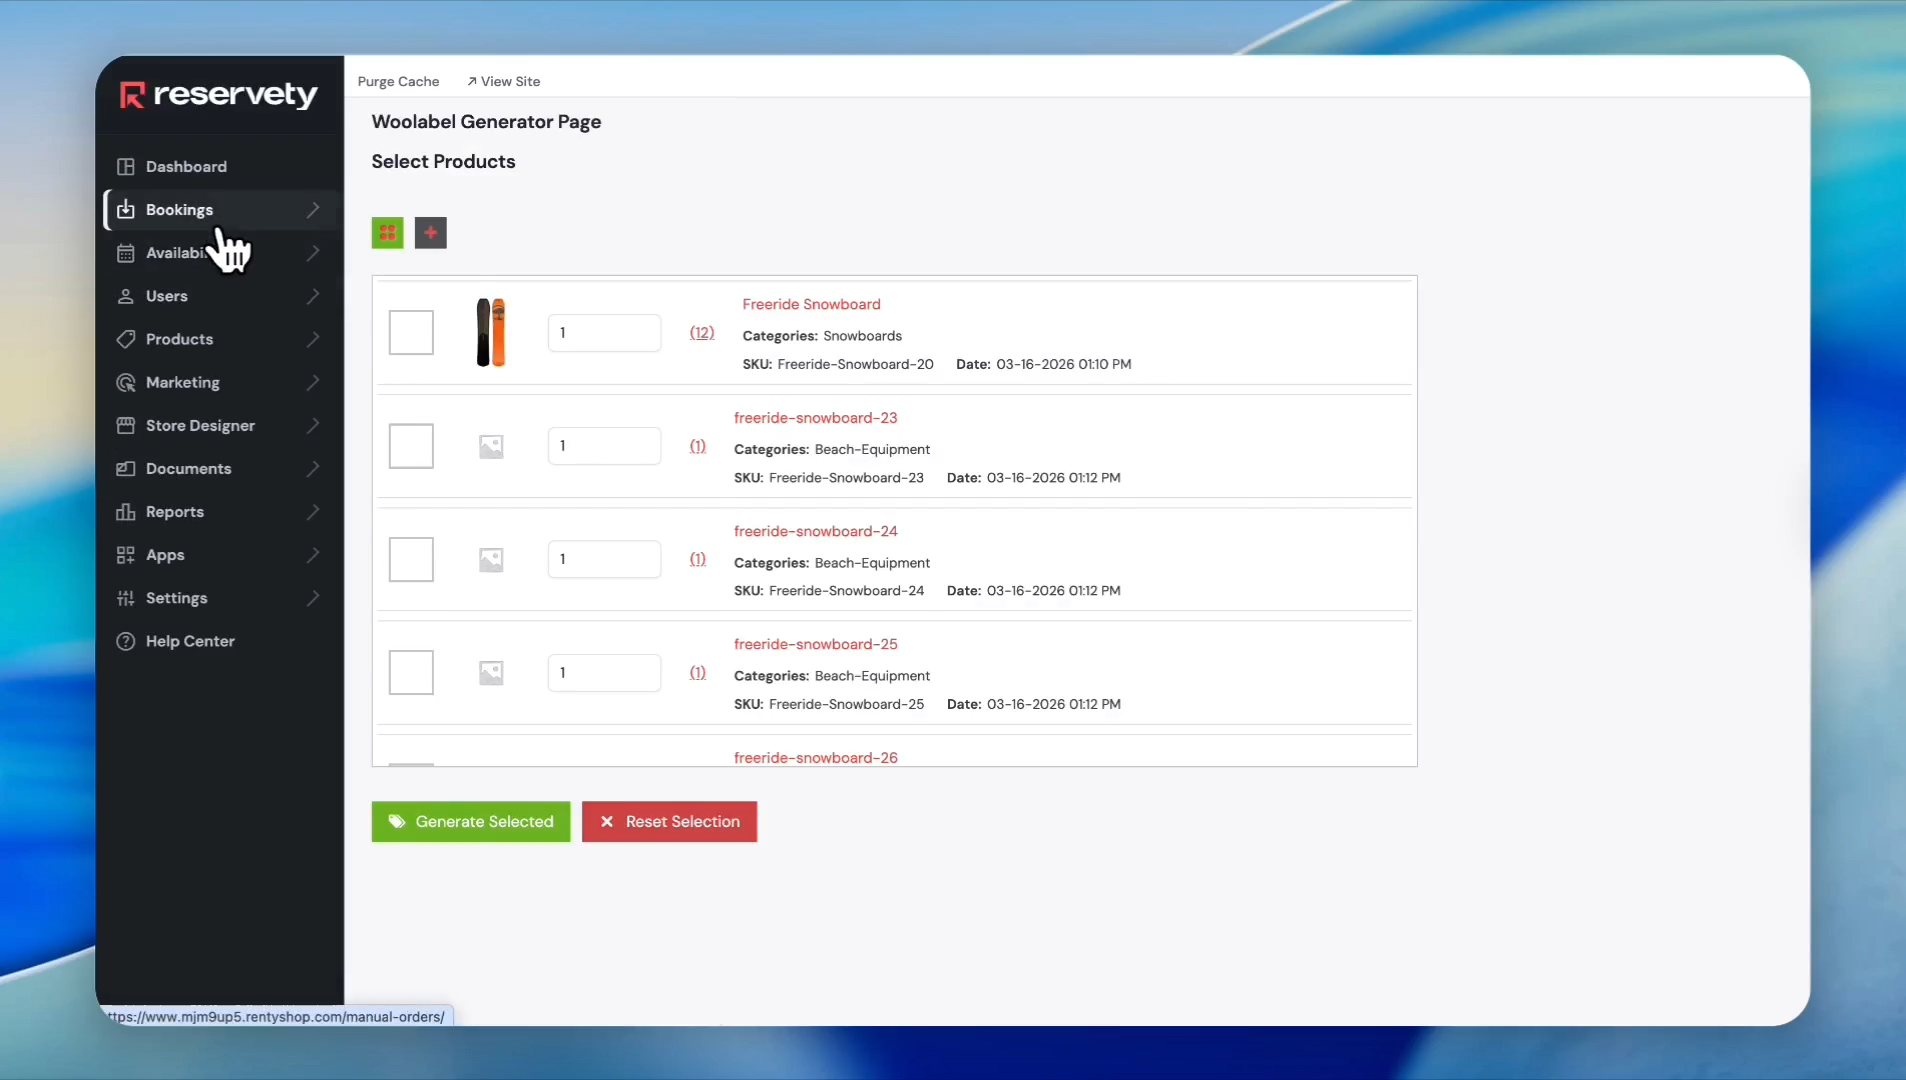
Click on Bookings in the left sidebar menu.
Step 27
28
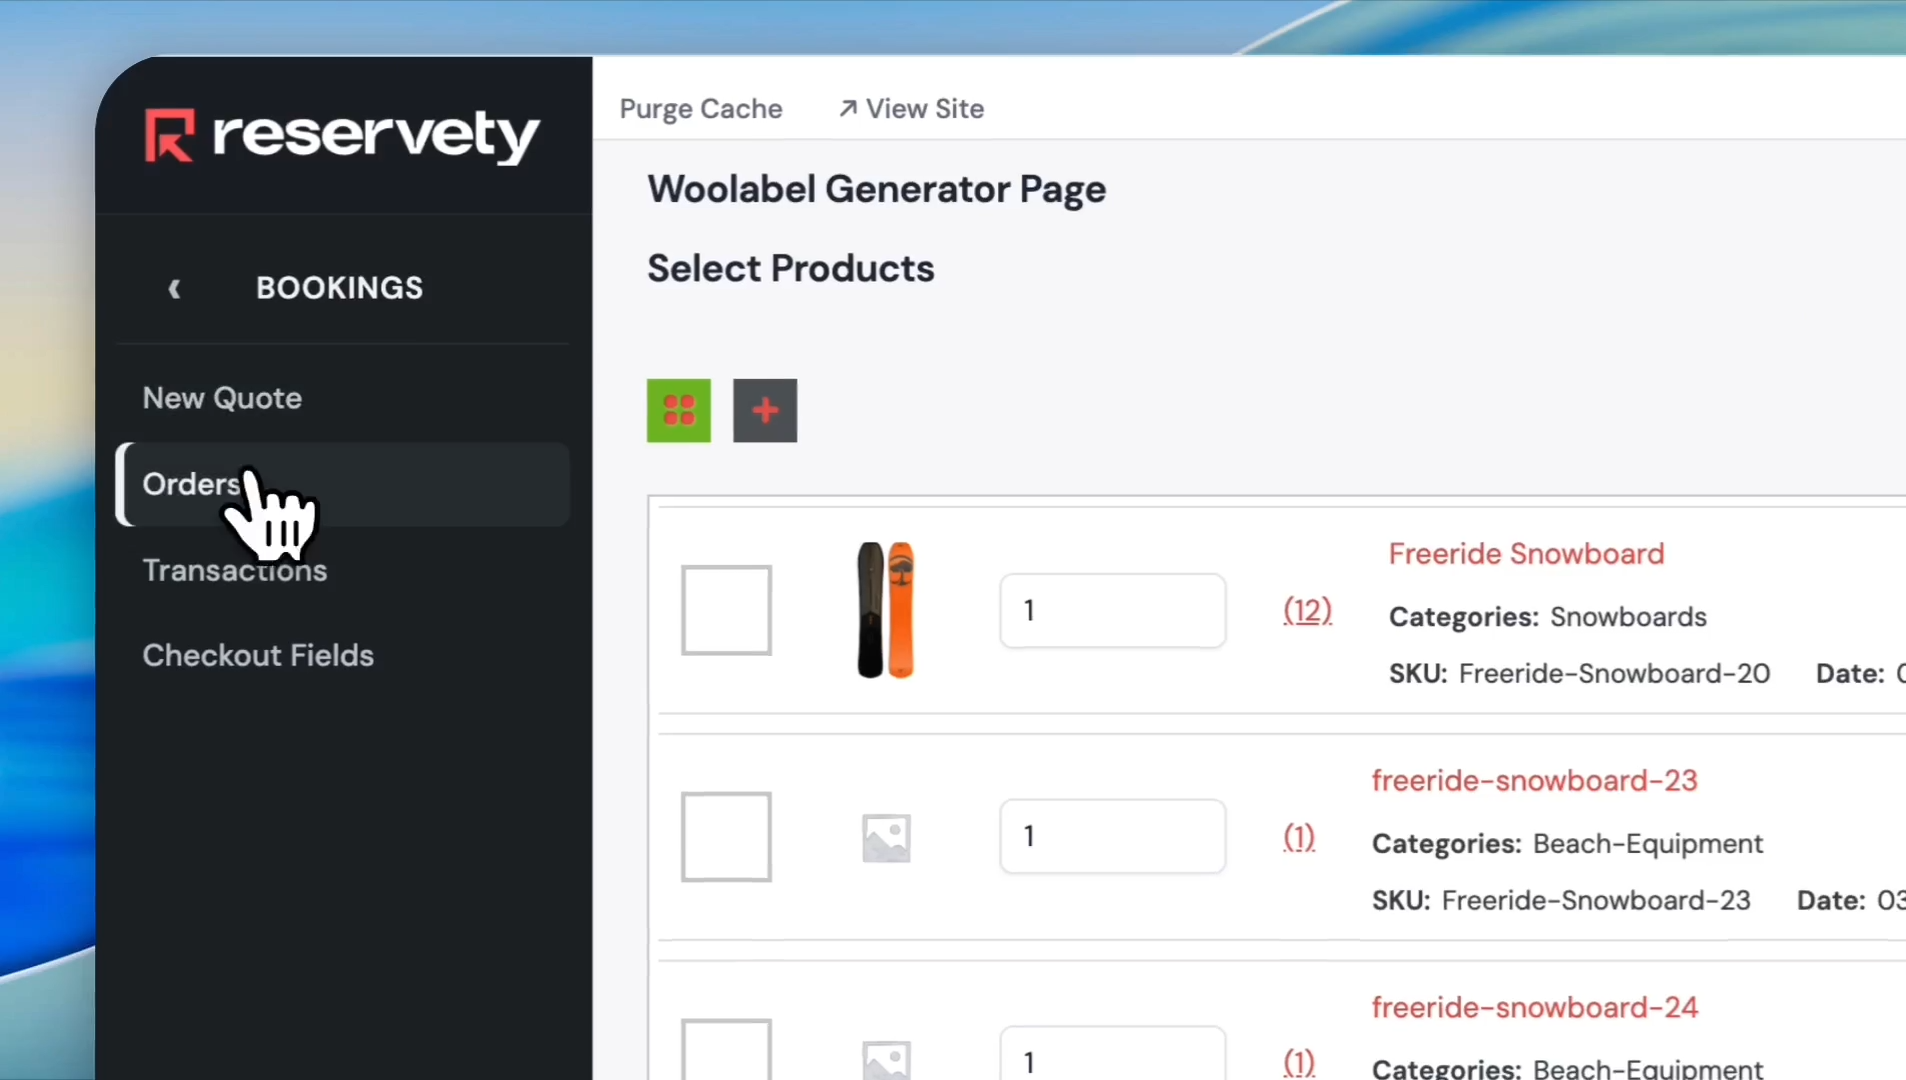
Click on Orders from the dropdown menu.
Step 28
29
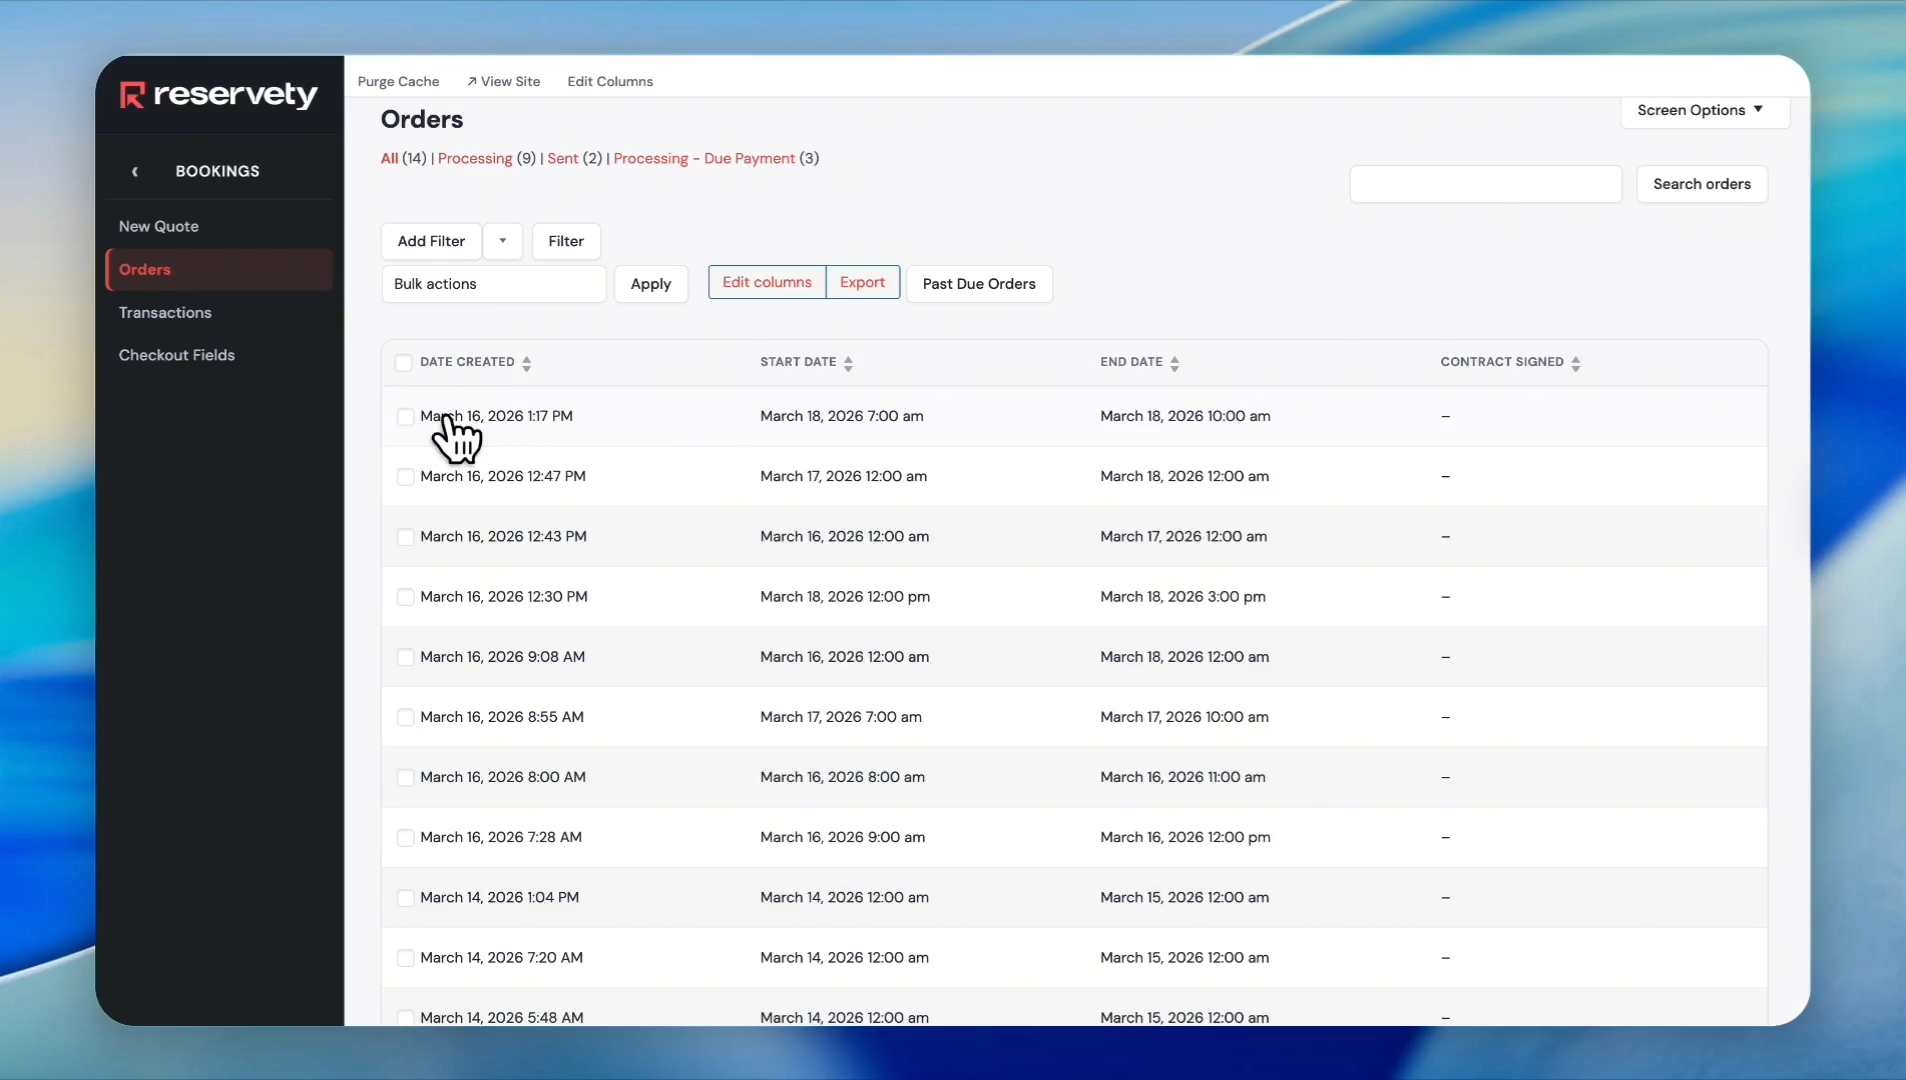
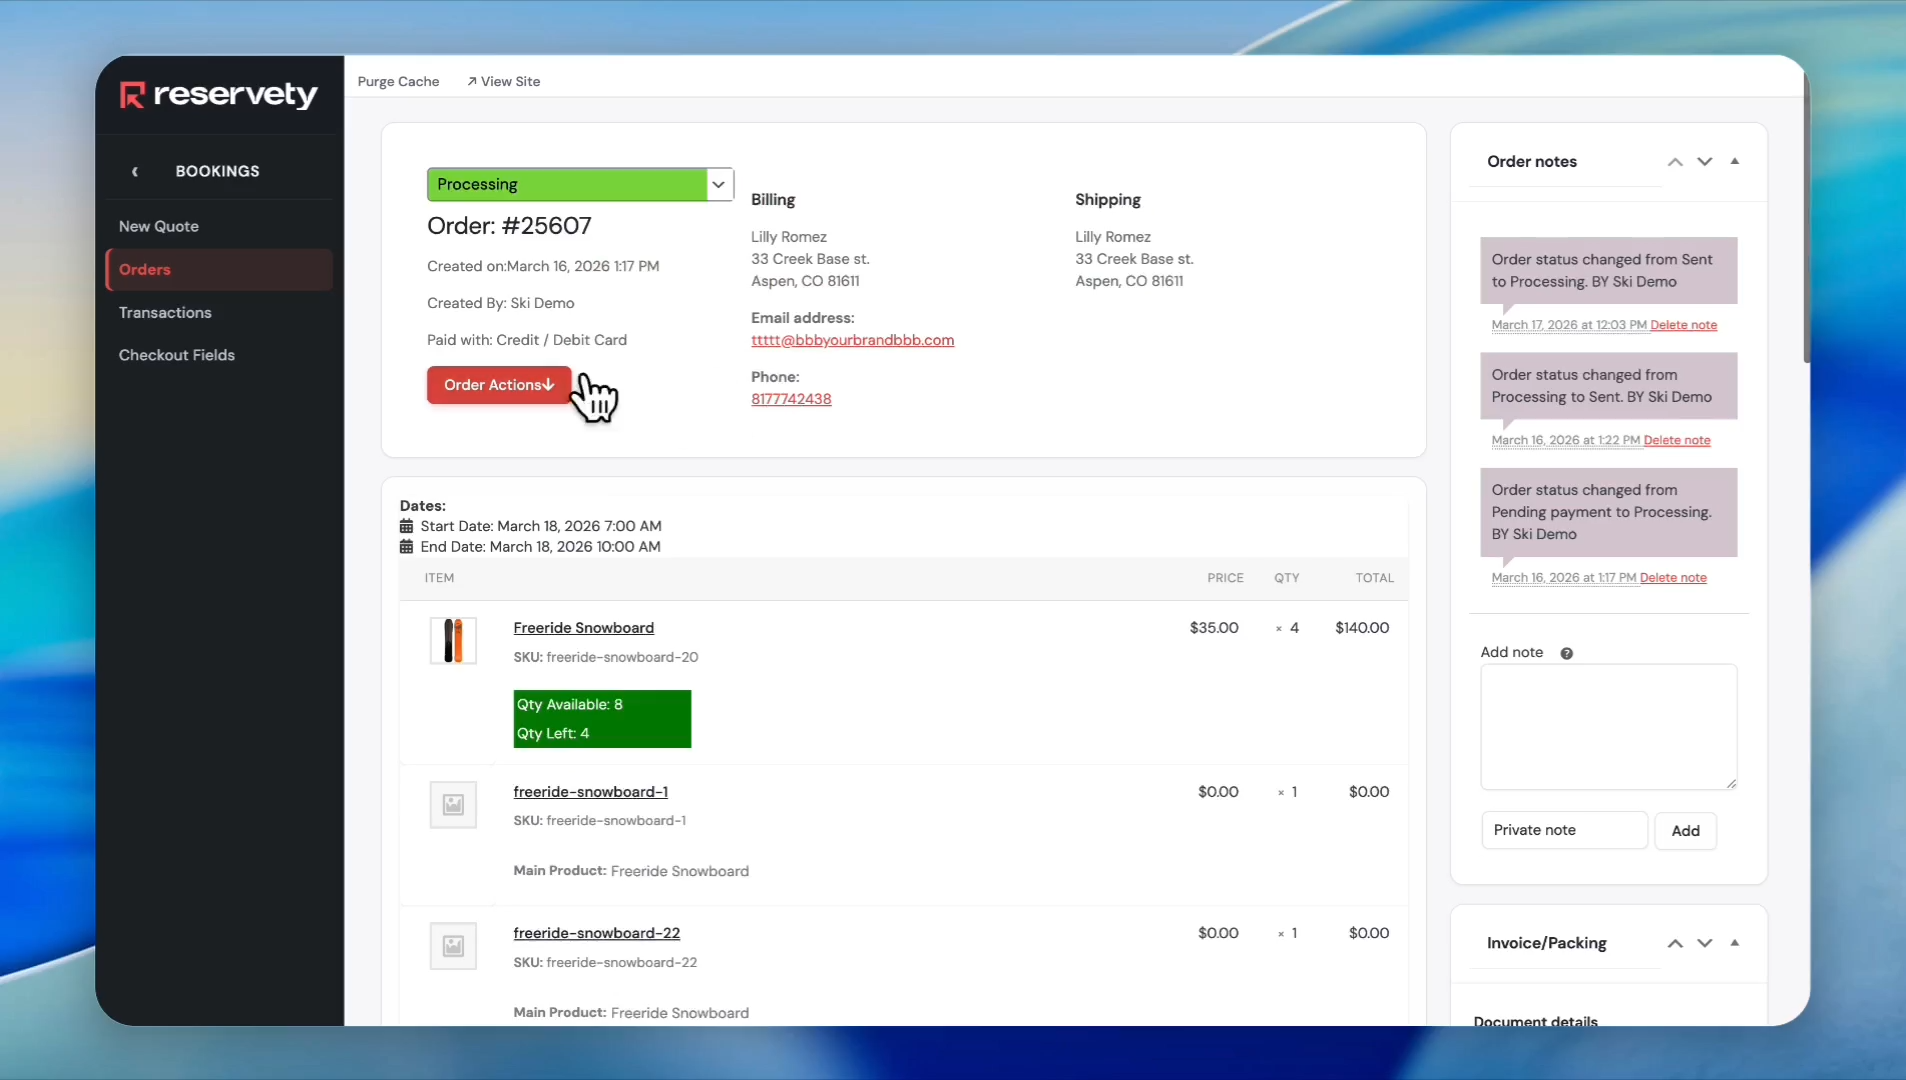
Click the order you plan to prepare.
Step 29
30
Click the Order Actions button.
Step 30
31
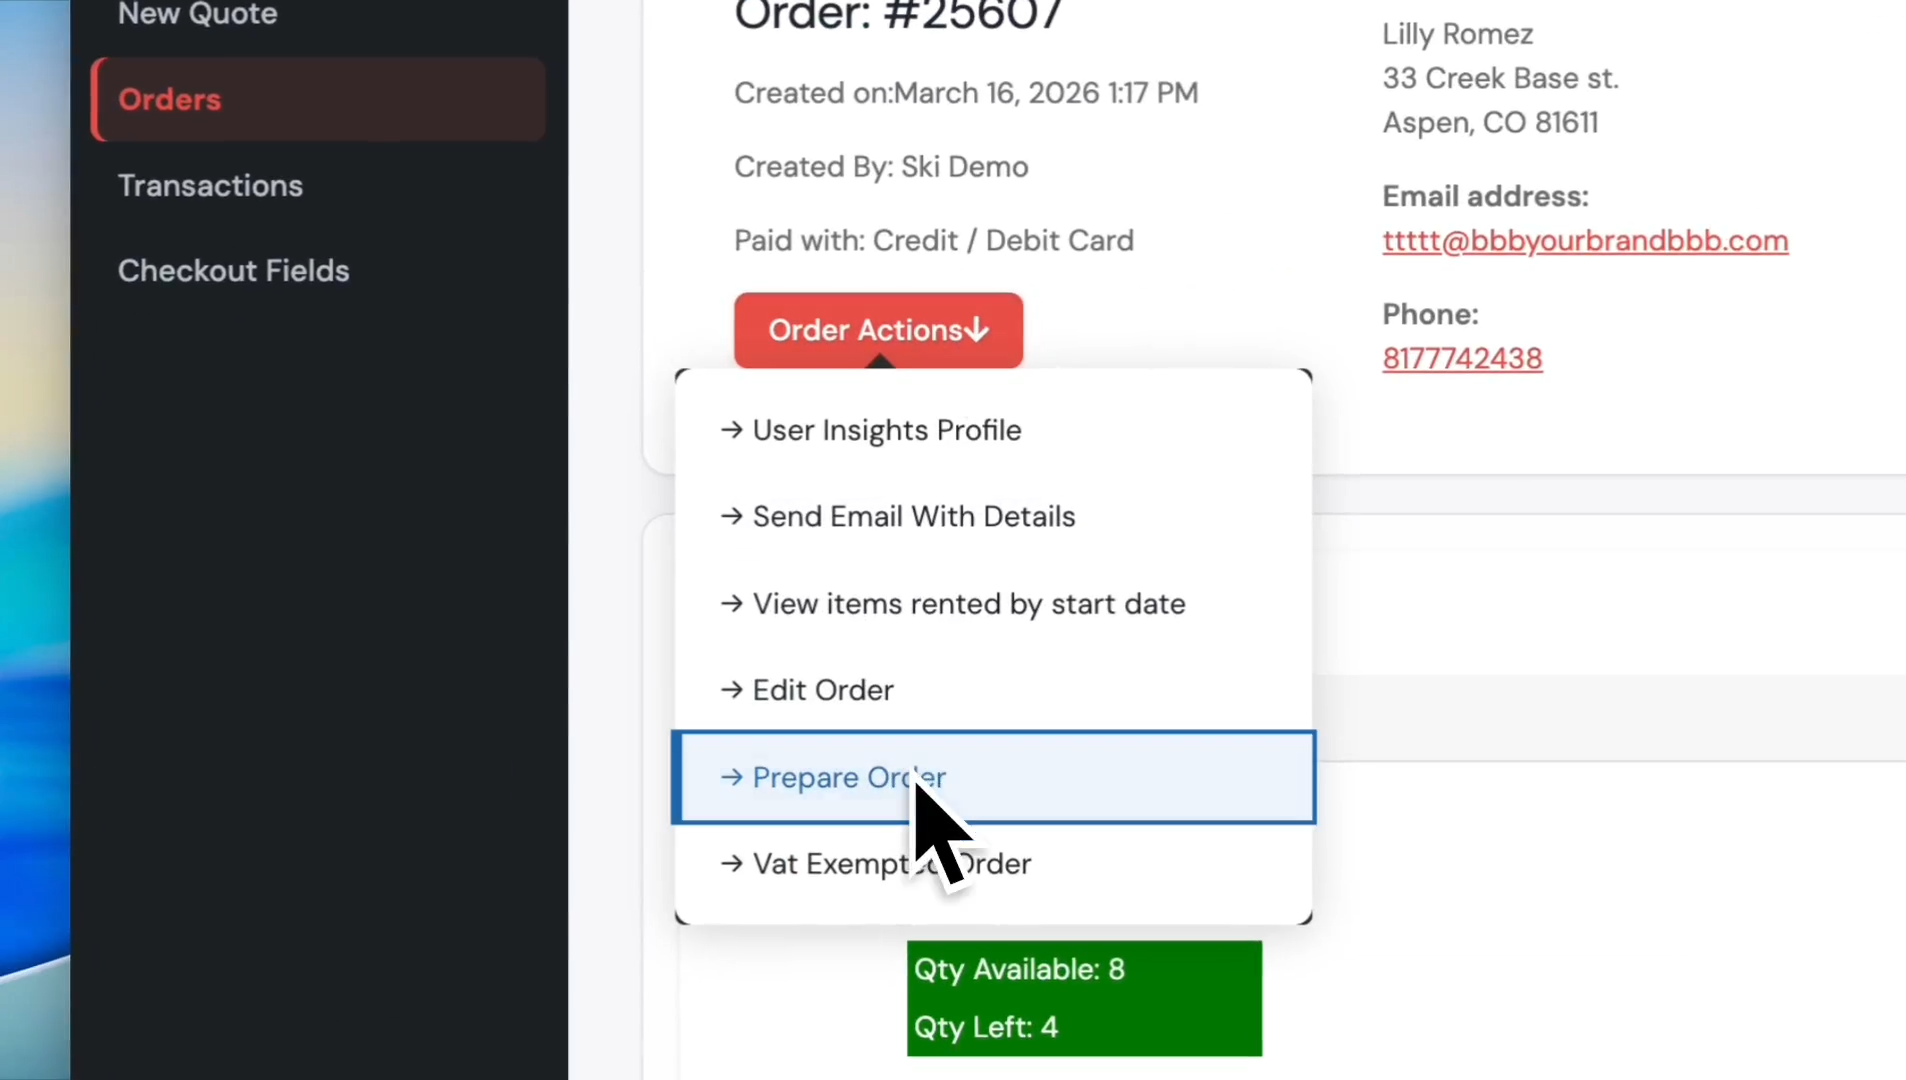
Click on Prepare Order from the dropdown menu.
Step 31
32
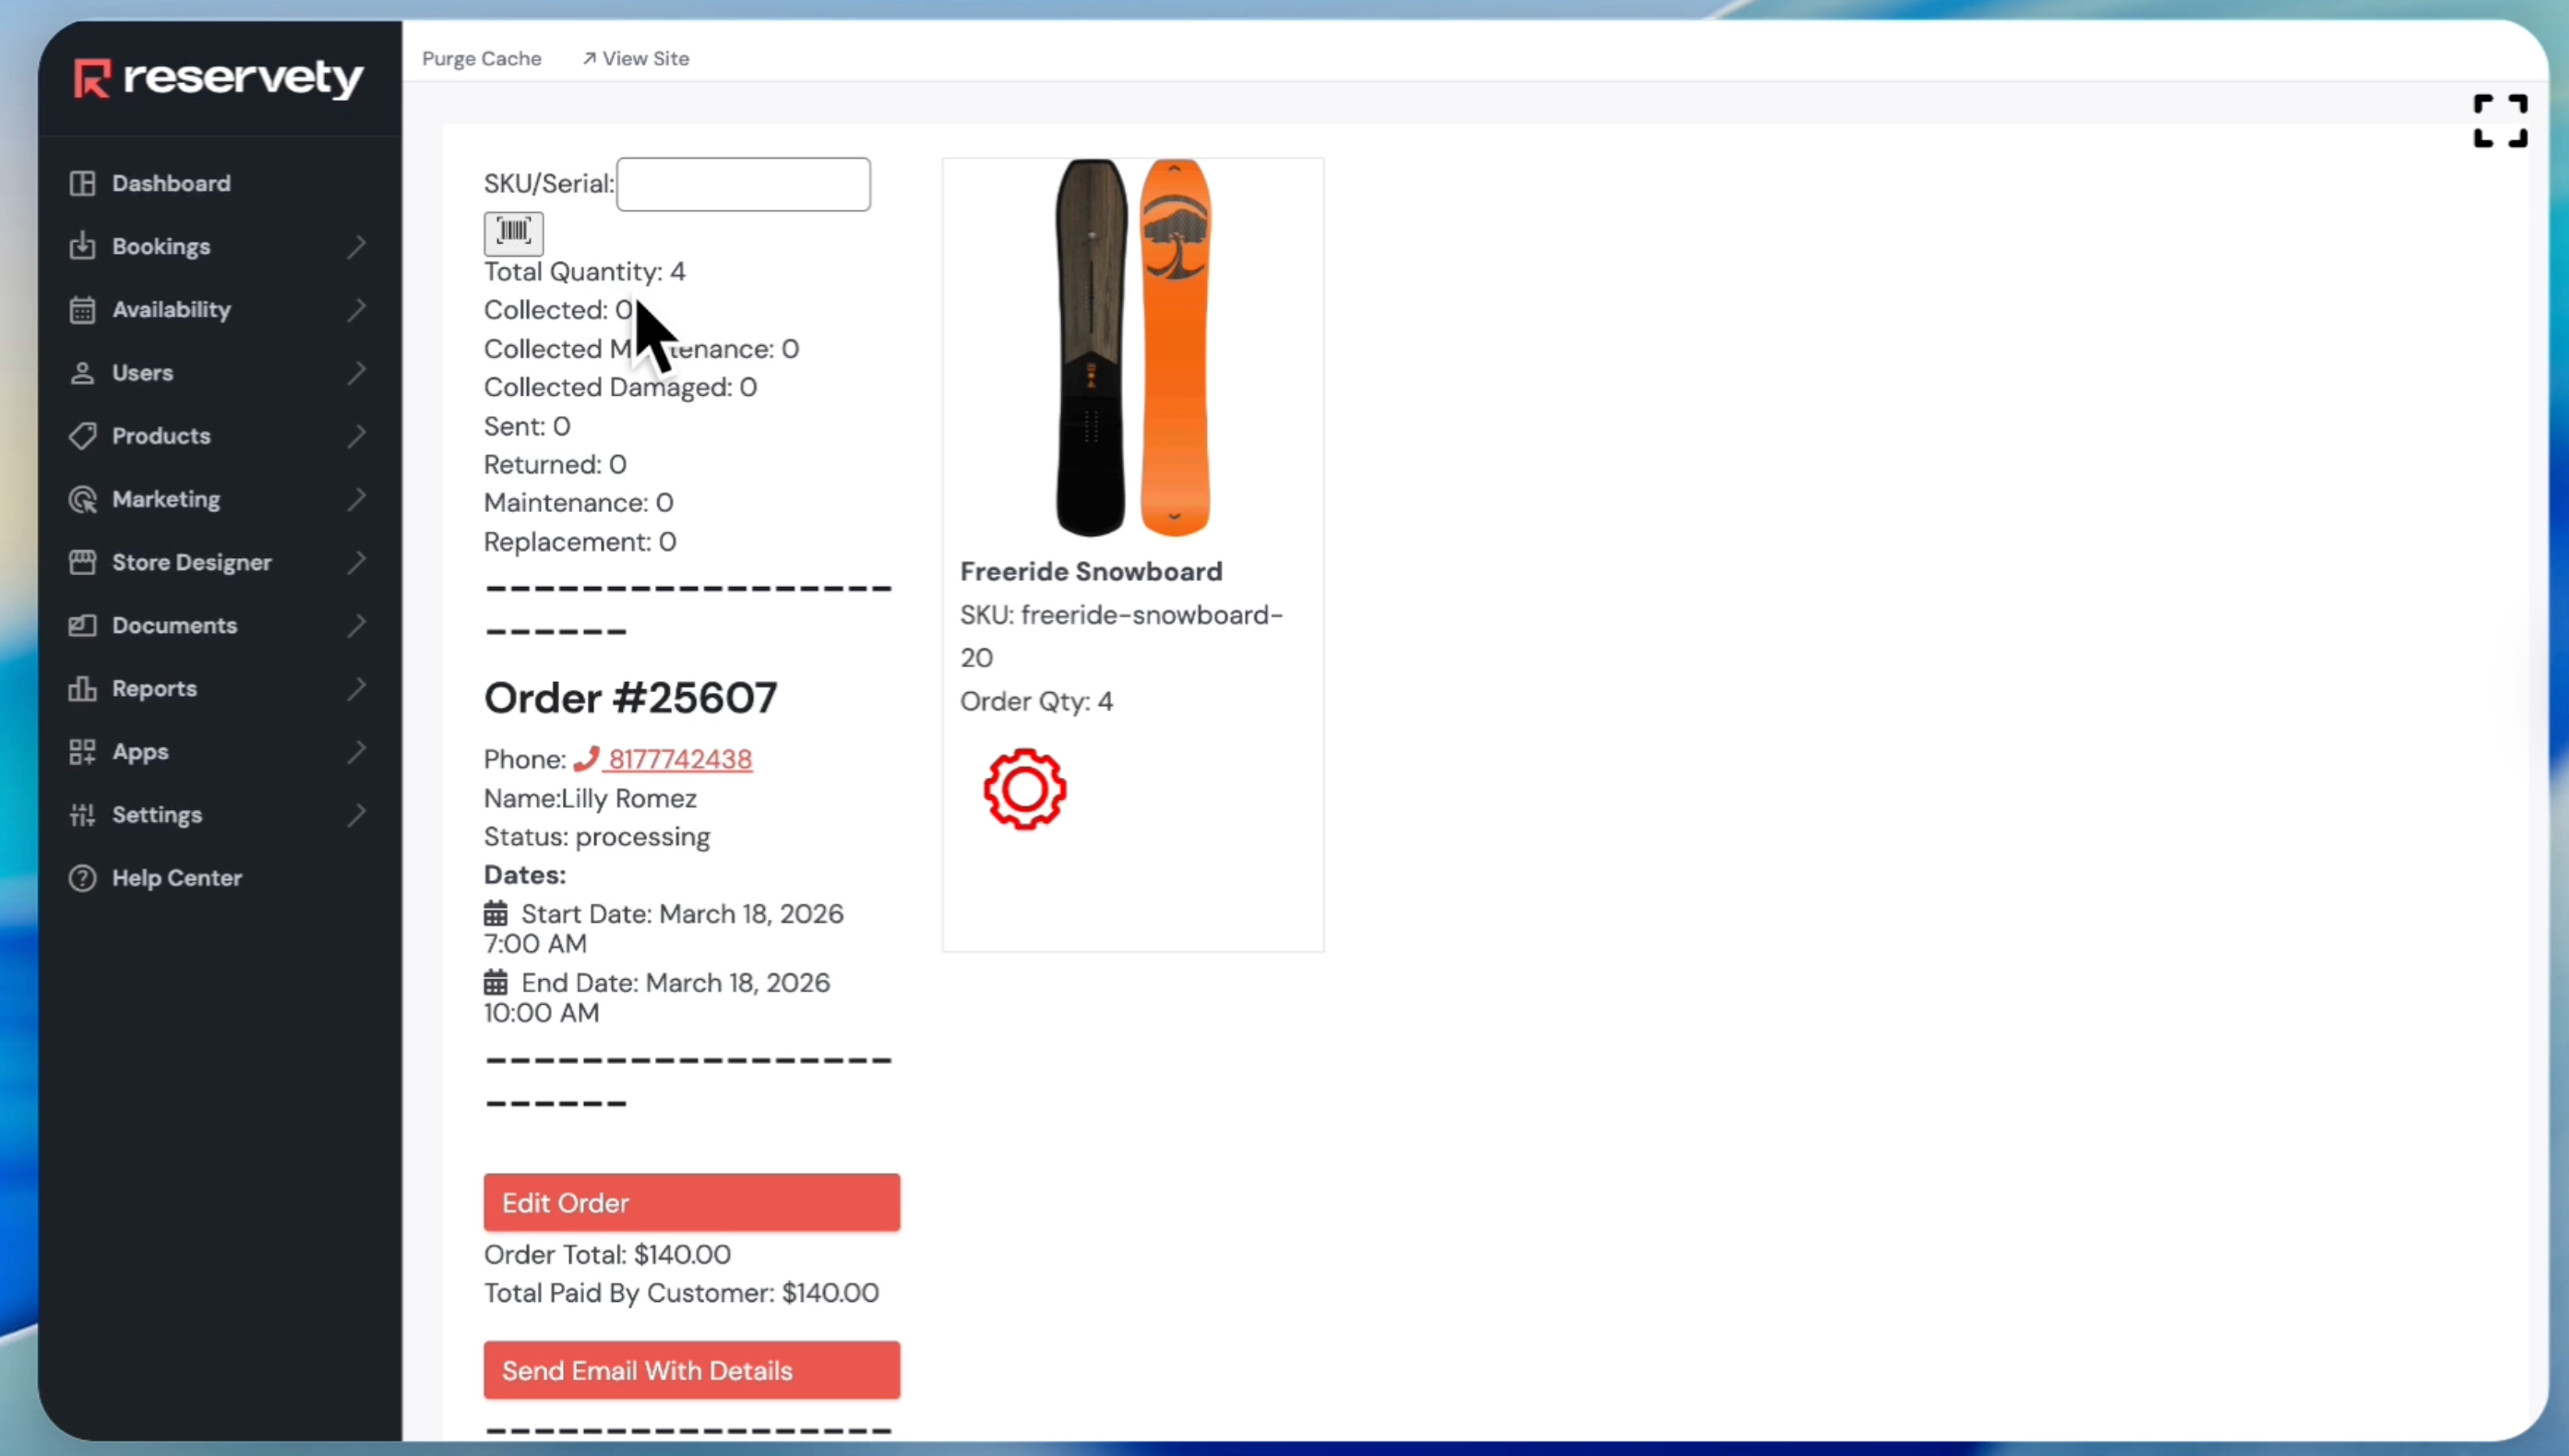
If you printed a barcode for this snowboard and attached it to the product, you can use your barcode scanner or phone to scan it. The product will then be automatically added to the order. You will need to scan four products for this order, since the order quantity is four. The process saves time because you won't have to manually enter products to order.
Step 32
🛎️

Don't see what you need?

Remember, your plan includes Concierge Support. You don't need to learn technical settings. Just message us, and Ashish will configure it for you.

Chat with Support