Reservety
Marketing 36 steps

Create and Deliver Gift Cards

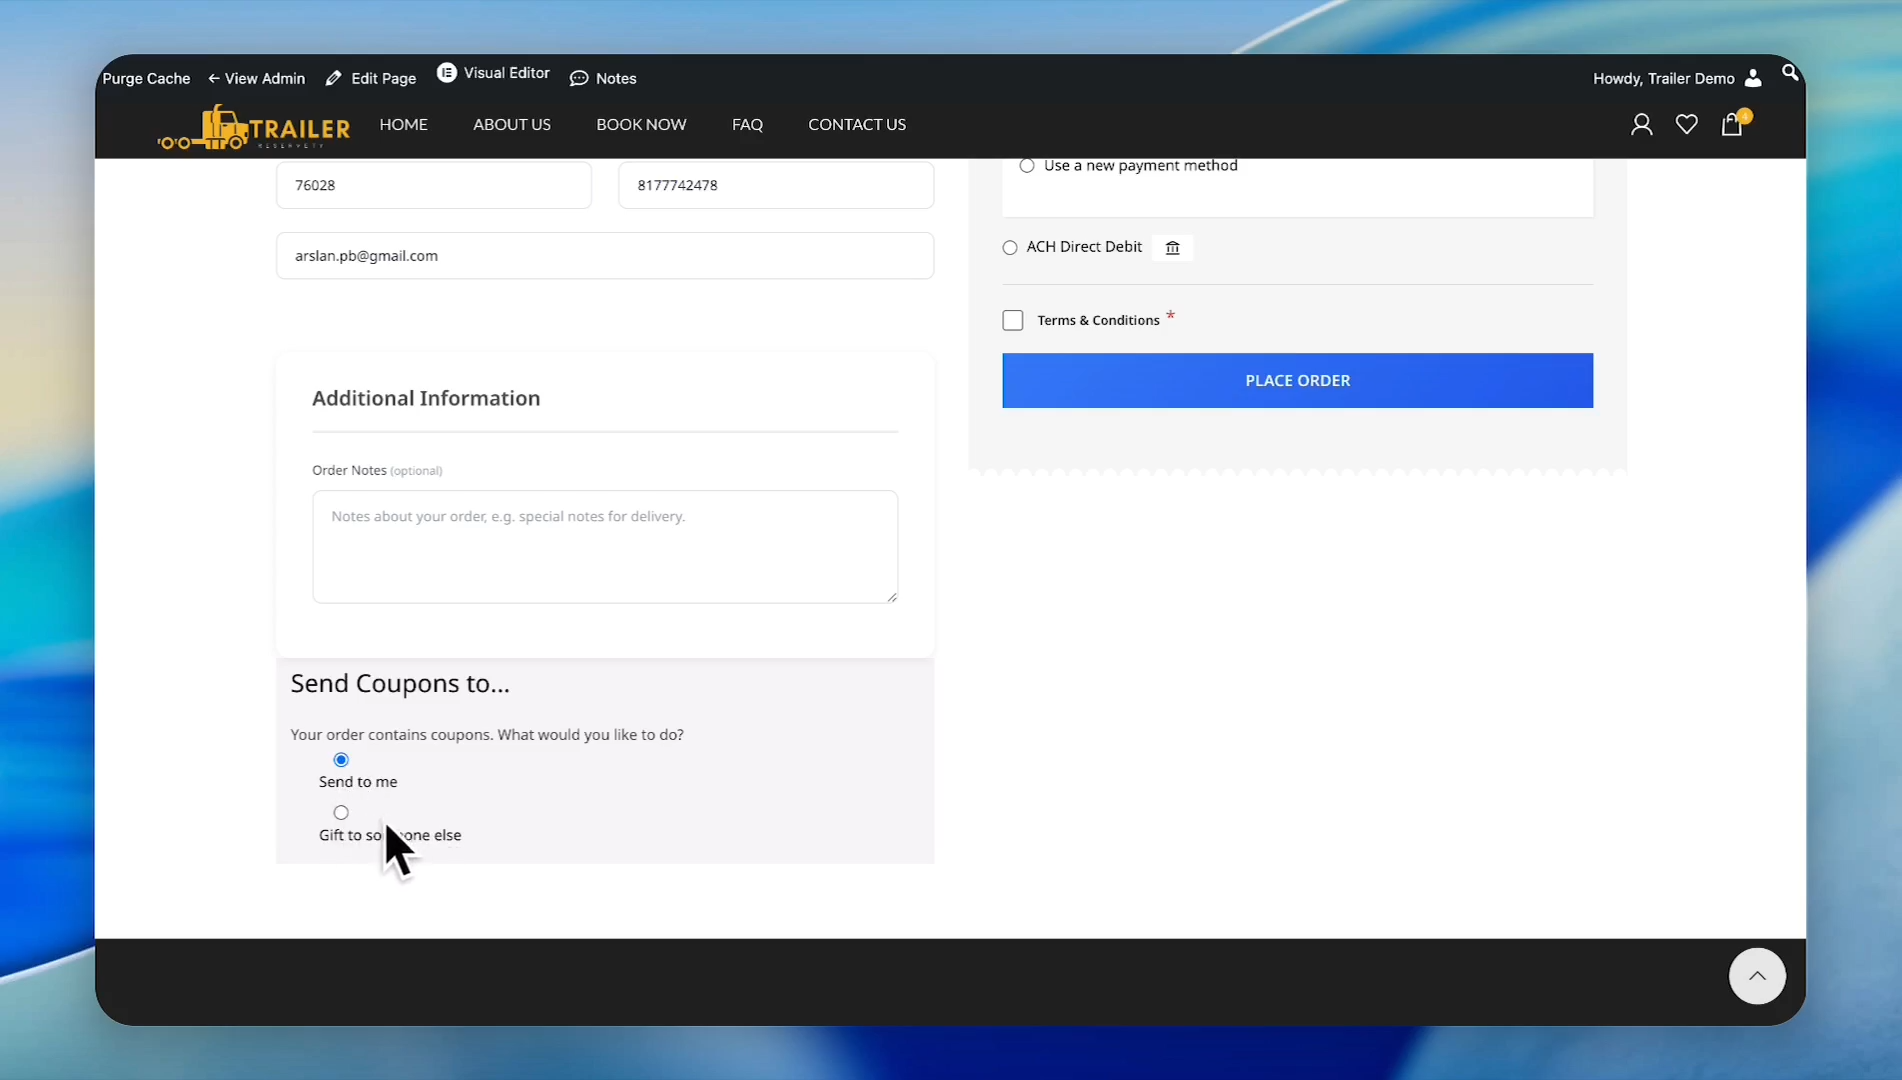
In this guide, you'll learn how to create and deliver gift cards using Reservety. Covers setting up a gift card as a coupon, adding it as a product, purchasing, choosing delivery amounts, sending electronically, and applying during checkout.

Video thumbnail
Watch the video walkthrough

Step-by-step guide

1
Click on Marketing in the left sidebar.
Step 1
2
Click on Coupons.
Step 2
3
Click the Add new coupon button.
Step 3
4
Name the coupon, and add a description. Then, click the Discount type dropdown.
Step 4
5
Select Store Credit / Gift Certificate from the dropdown menu.
Step 5
6
In this example, we will not enter an amount for the gift card, so we will leave the "coupon amount" field at 0.
Step 6
7
Click the checkbox for Coupon value same as products price. When checked, it generates a coupon with a value equal to the products price.
Step 7
8
Click the Publish button.
Step 8
9
Click on the coupon expiry date and time to set an expiry date for your gift card. We do not want to set an expiry date, so we will leave the coupon expiry date and time as they are.
Step 9
10
Click the Publish button.
Step 10
11
In the left sidebar, click Products.
Step 11
12
Click All Items, then click the Add new product button.
Step 12
13
Name the product and add a description
Step 13
14
Select a category for your giftcard.
Step 14
15
If you don't have a category for gift cards, click on "Add New Category" to create one.
Step 15
16
Click the Set product image button.
Step 16
17
Select an image for your gift card.
Step 17
18
Click the Set product image button.
Step 18
19
In the Item Types section, click the Is Bookable Product toggle to set it to No.
Step 19
20
Scroll down and click on the Pricing tab.
Step 20
21
Go to the coupon section, click on the Search for a coupon... field.
Step 21
22
Type the name, find the coupon you created earlier, and click on it.
Step 22
23
Click on the Tax status dropdown menu and select "none." Because we do not want to tax the gift card
Step 23
24
Since we want to deliver the gift cards electronically, check the Virtual checkbox.
Step 24
25
Then, click the Publish button in the top-right corner.
Step 25
26
Click the View product link at the top of the page.
Step 26
27
Our gift card is clearly displayed on our website. Suppose we want to get 4 x $50 gift cards. Write 50, and click the plus button to increase the quantity to 4.
Step 27
28
Click the ADD TO CART button.
Step 28
29
Click the CHECKOUT button.
Step 29
30
On the checkout page, ensure the amount is correct. We have four $50 gift cards, totaling $200. There are no taxes because we chose not to tax the gift cards
Step 30
31
Fill out the customer information and find the section labeled "Send coupons to." This section is where you choose where to send the gift cards. You can send it to yourself or to someone else. If you want to send it to someone else, click the "Gift to someone else" radio button.
Step 31
32
When you choose the "Gift to someone else" option, you have two options: "Send to one person" or "Send to different people".
Step 32
33
In this tutorial, we will select the Send to one person radio button. Enter the person's email and write a personalized message.
Step 33
34
Click the Terms & Conditions checkbox and hit the "Place Order" button.
Step 34
35
Recipients will get the gift card in their email inbox and copy and paste the code to spend on items. Or they can keep the credits in their account until they make future purchases.
Step 35
36
As you can see, we applied the gift card to the test order, and it worked perfectly.
Step 36
🛎️

Don't see what you need?

Remember, your plan includes Concierge Support. You don't need to learn technical settings. Just message us, and Ashish will configure it for you.

Chat with Support