Reservety
Settings 57 steps

Create Multiple Locations and Warehouses

In this guide, you'll learn how to set up multiple locations or warehouses for rental products and assign inventory to each one. Manage stock across storage facilities or pickup points, and allow customers to choose their preferred location when booking.
Video thumbnail
Watch the video walkthrough

Step-by-step guide

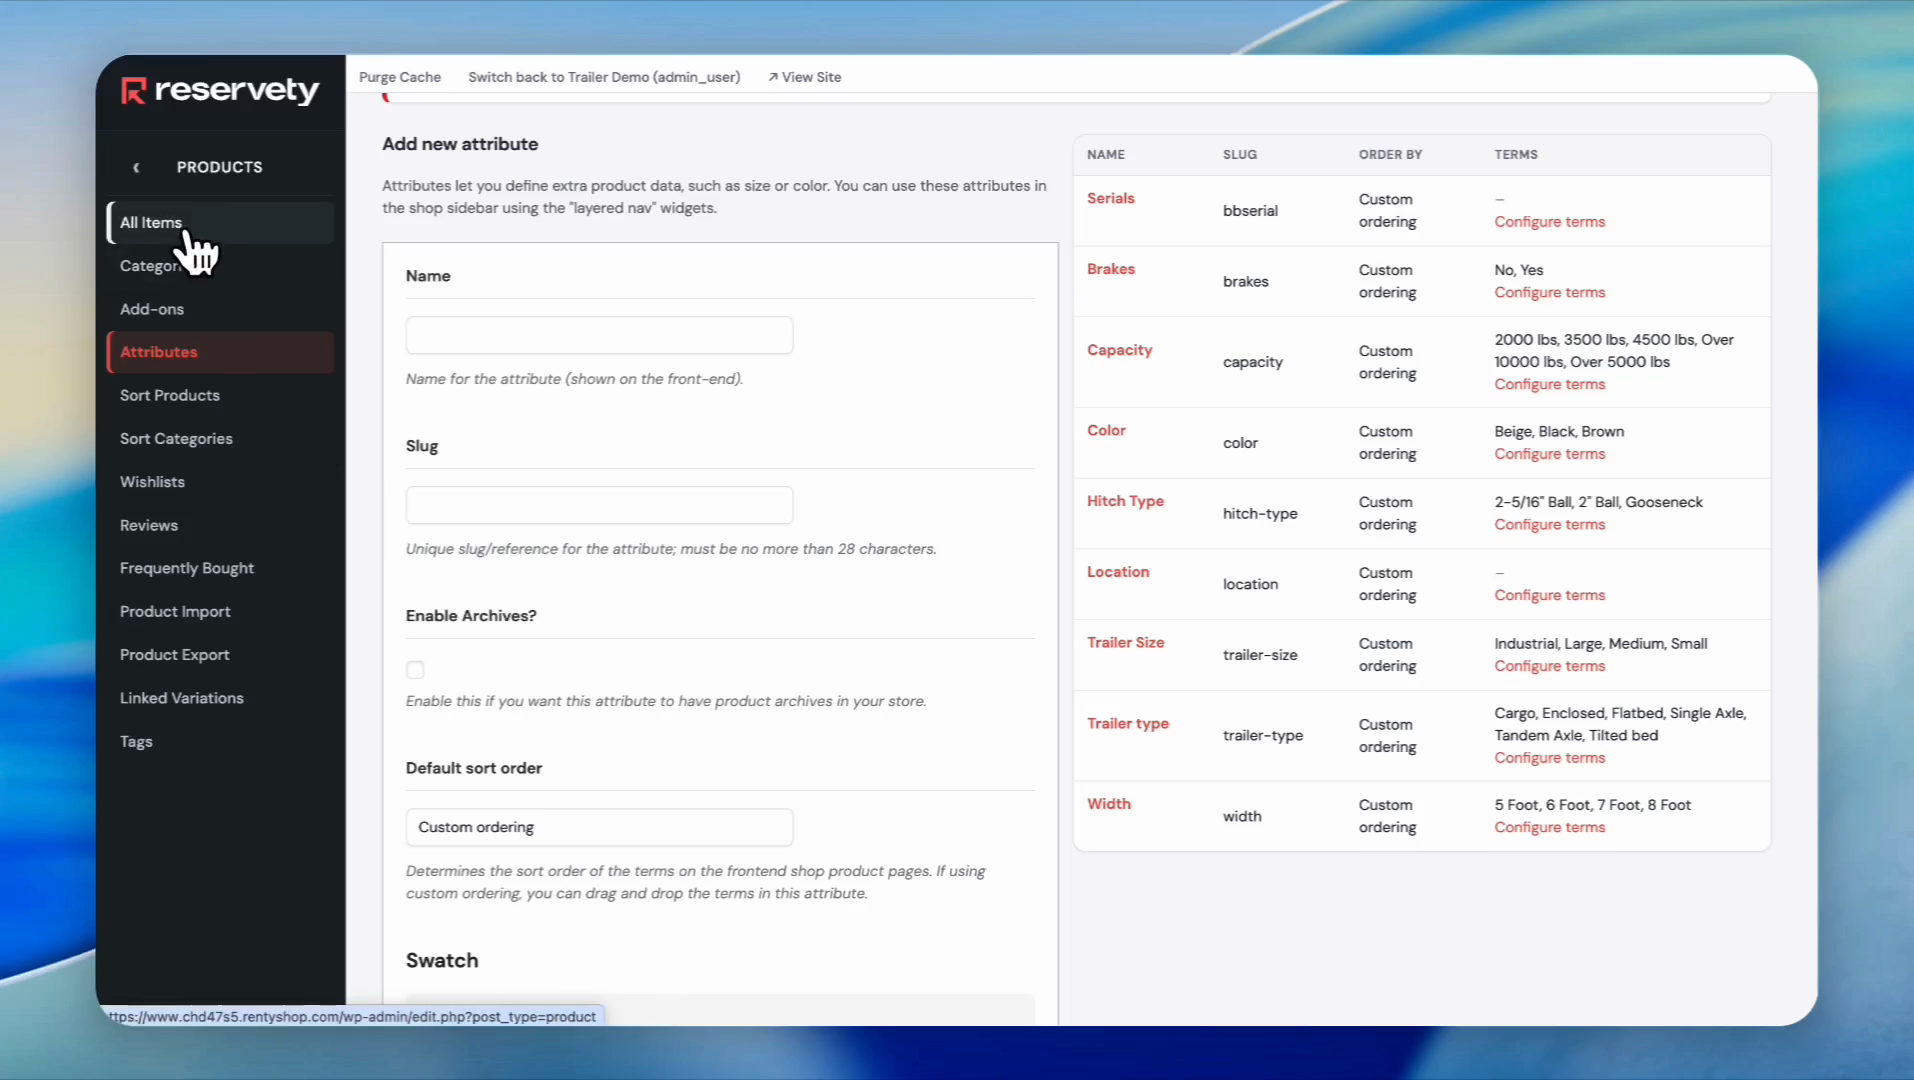
1
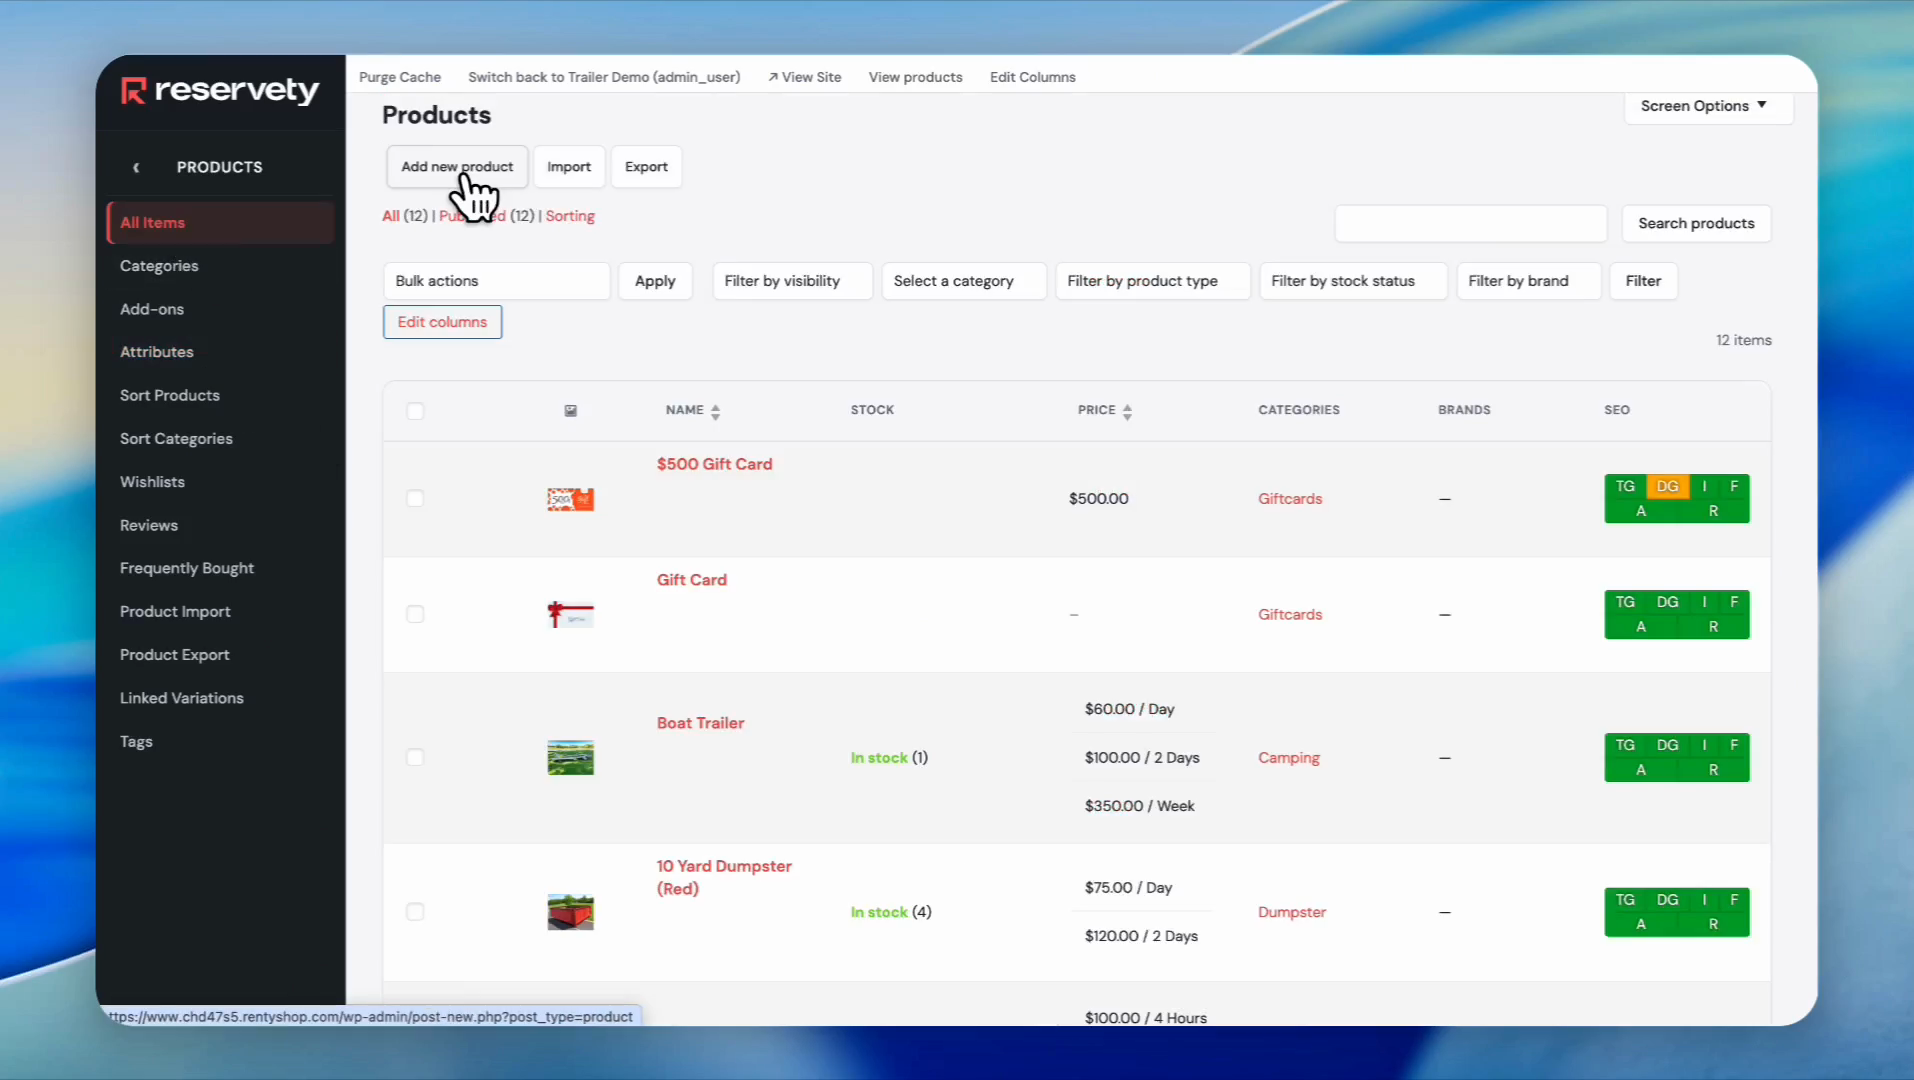
Click on All Items.
Step 1
2
Click on Add new product.
Step 2
3
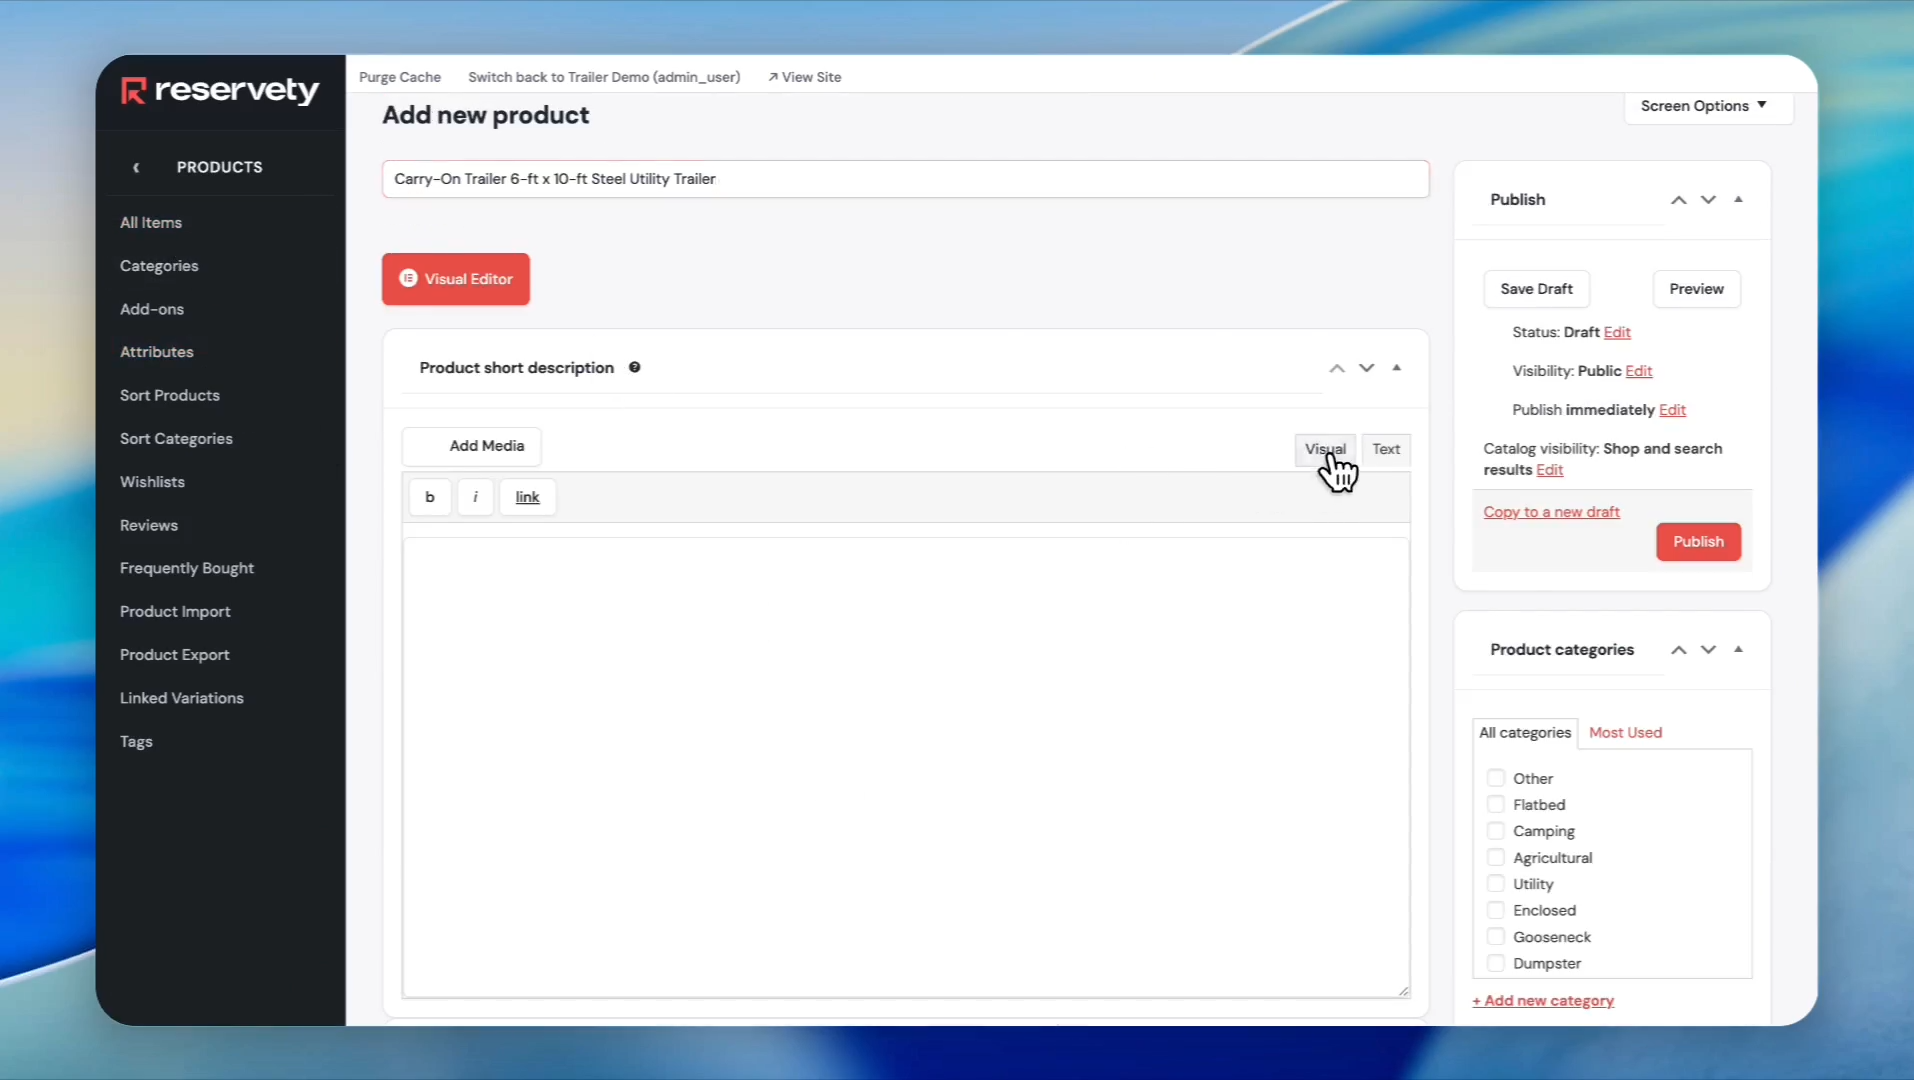
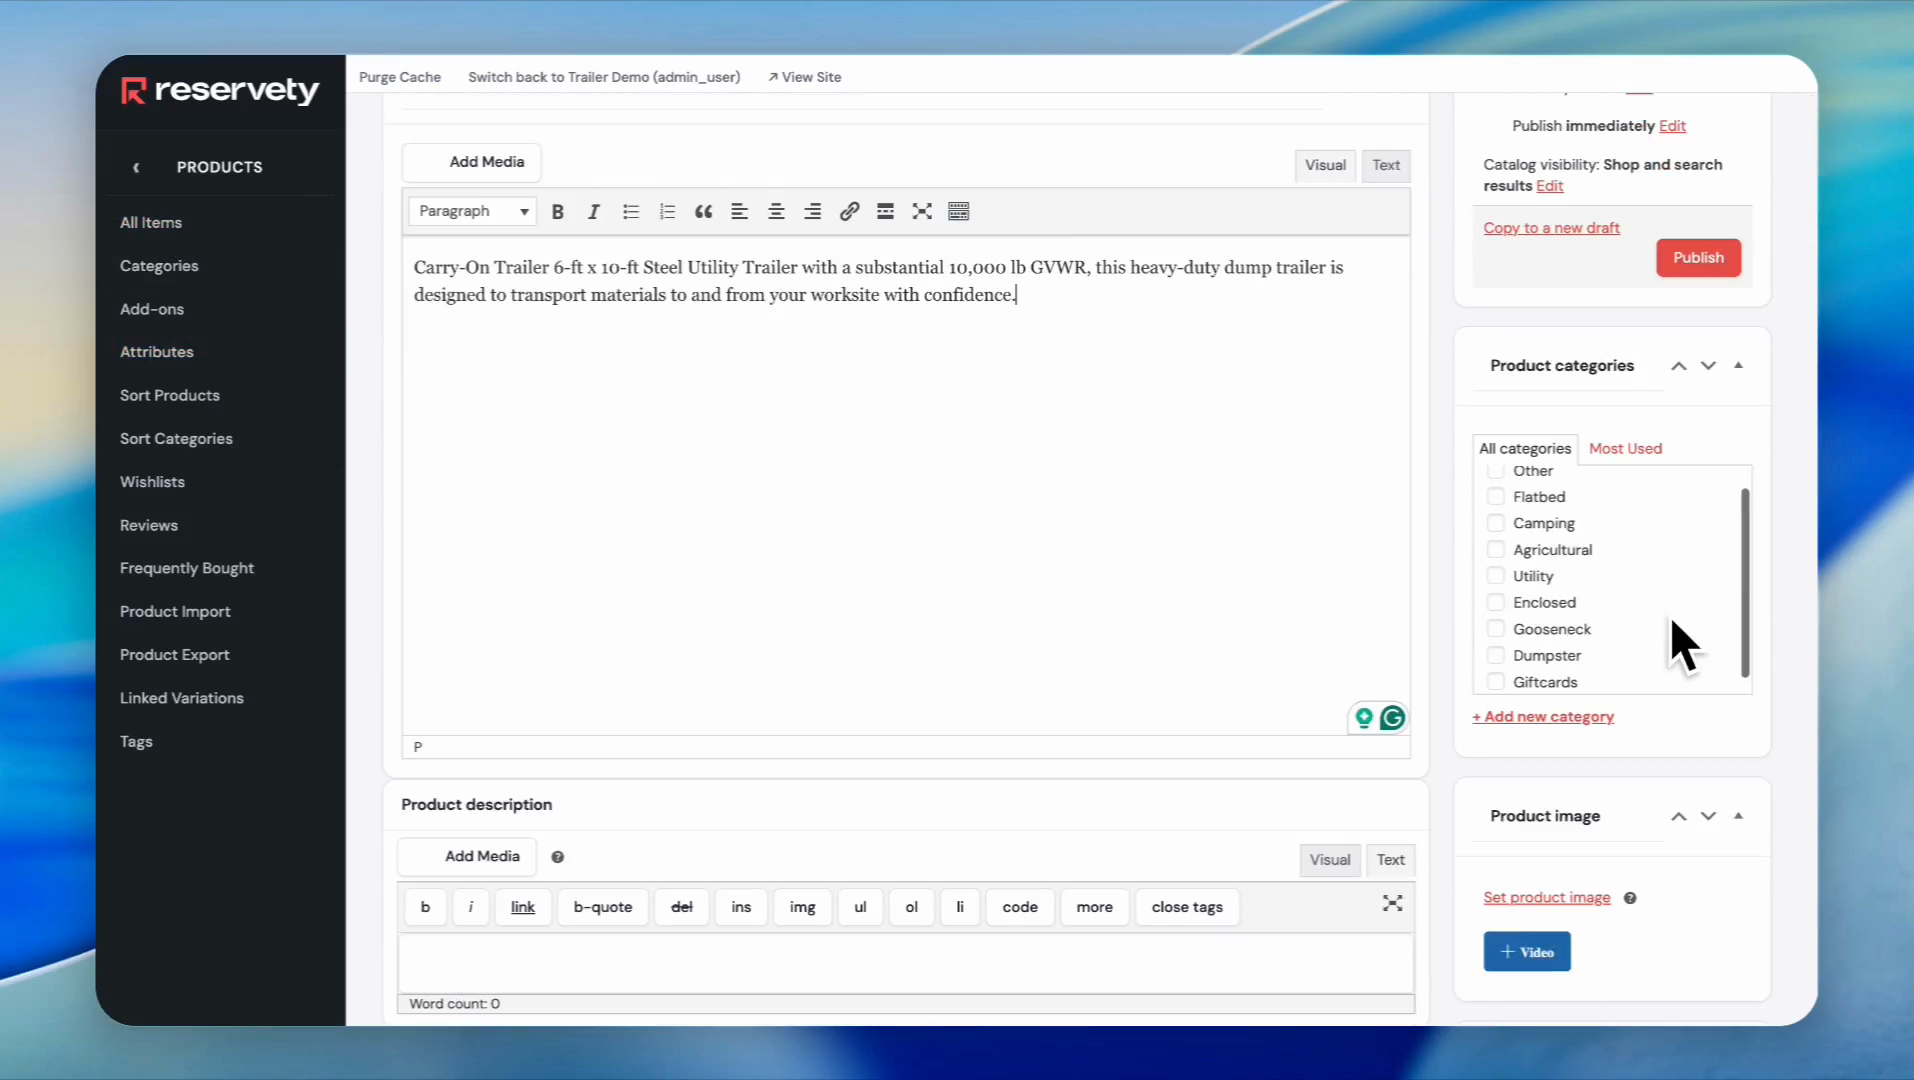
Type your product name, click on the Visual tab, and enter the product description.
Step 3
4
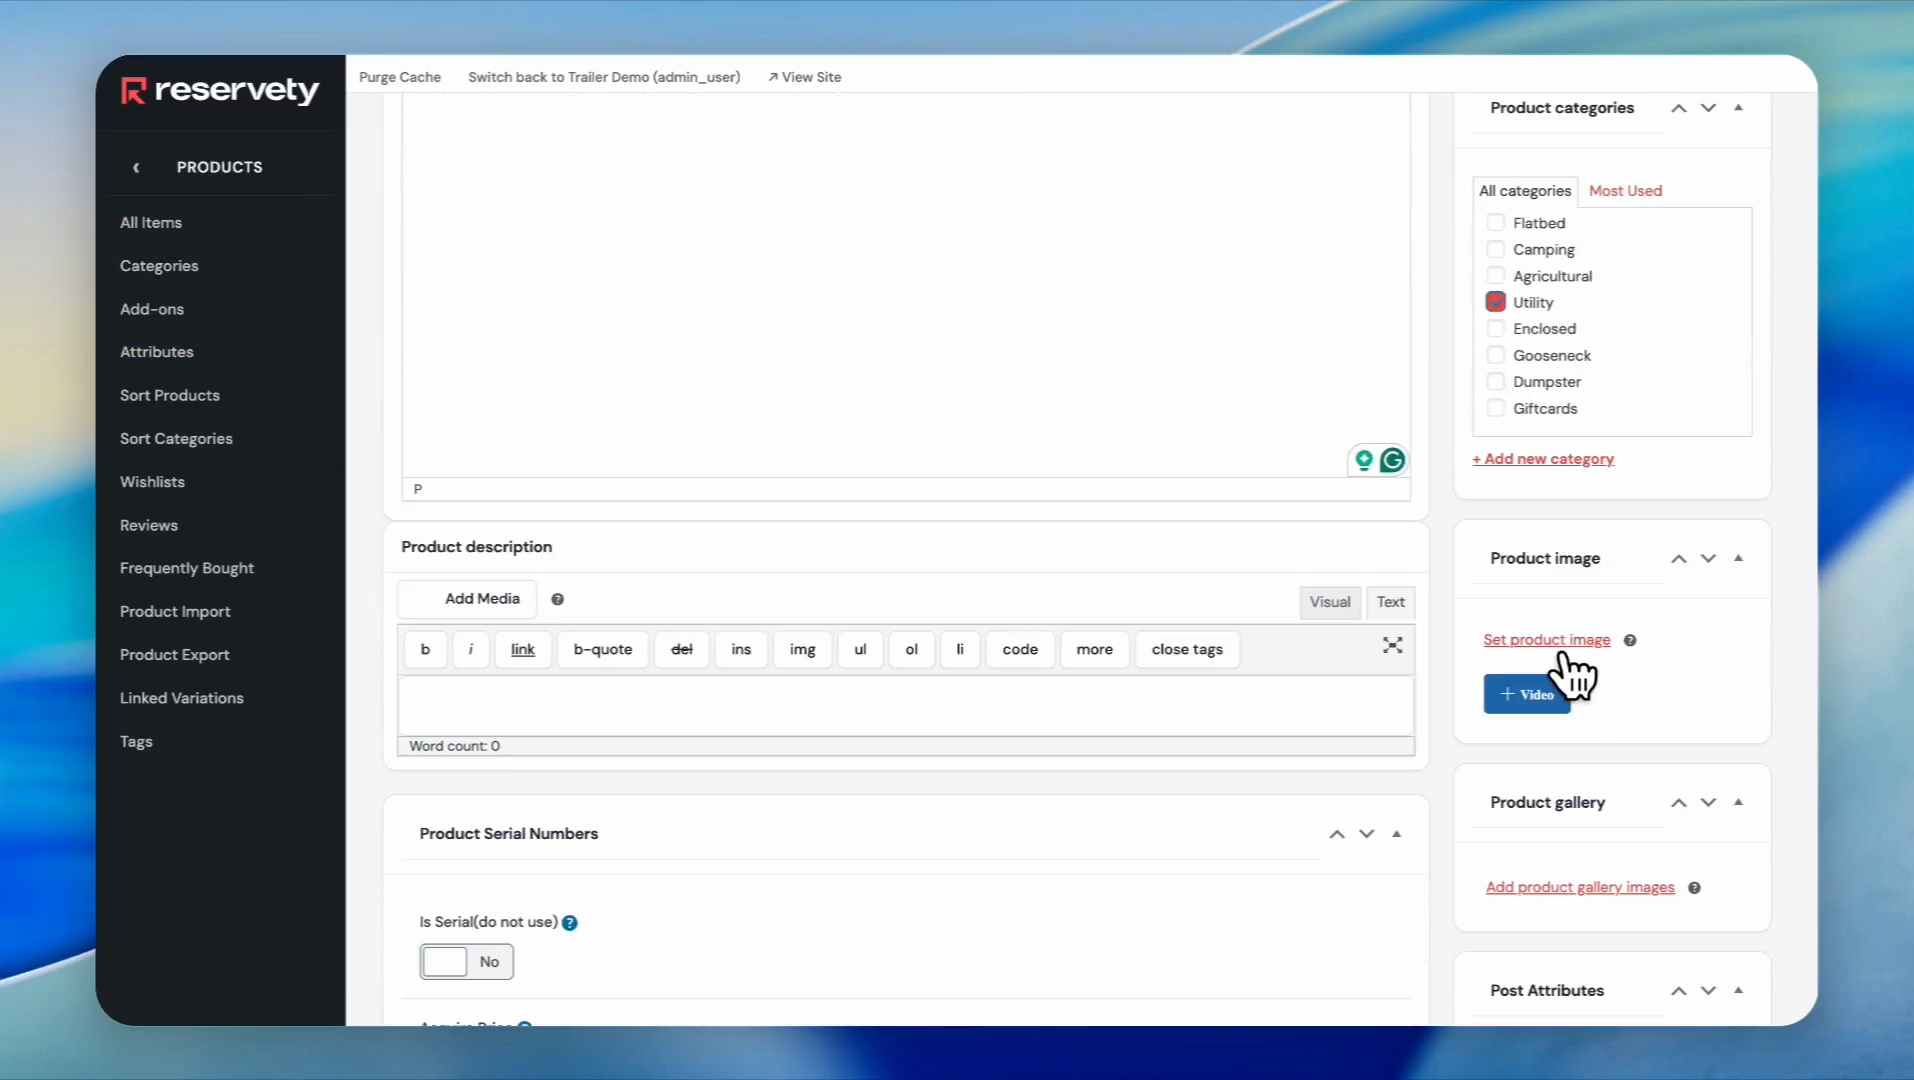
Select a category for your product. In this case, we selected "Utility"
Step 4
5
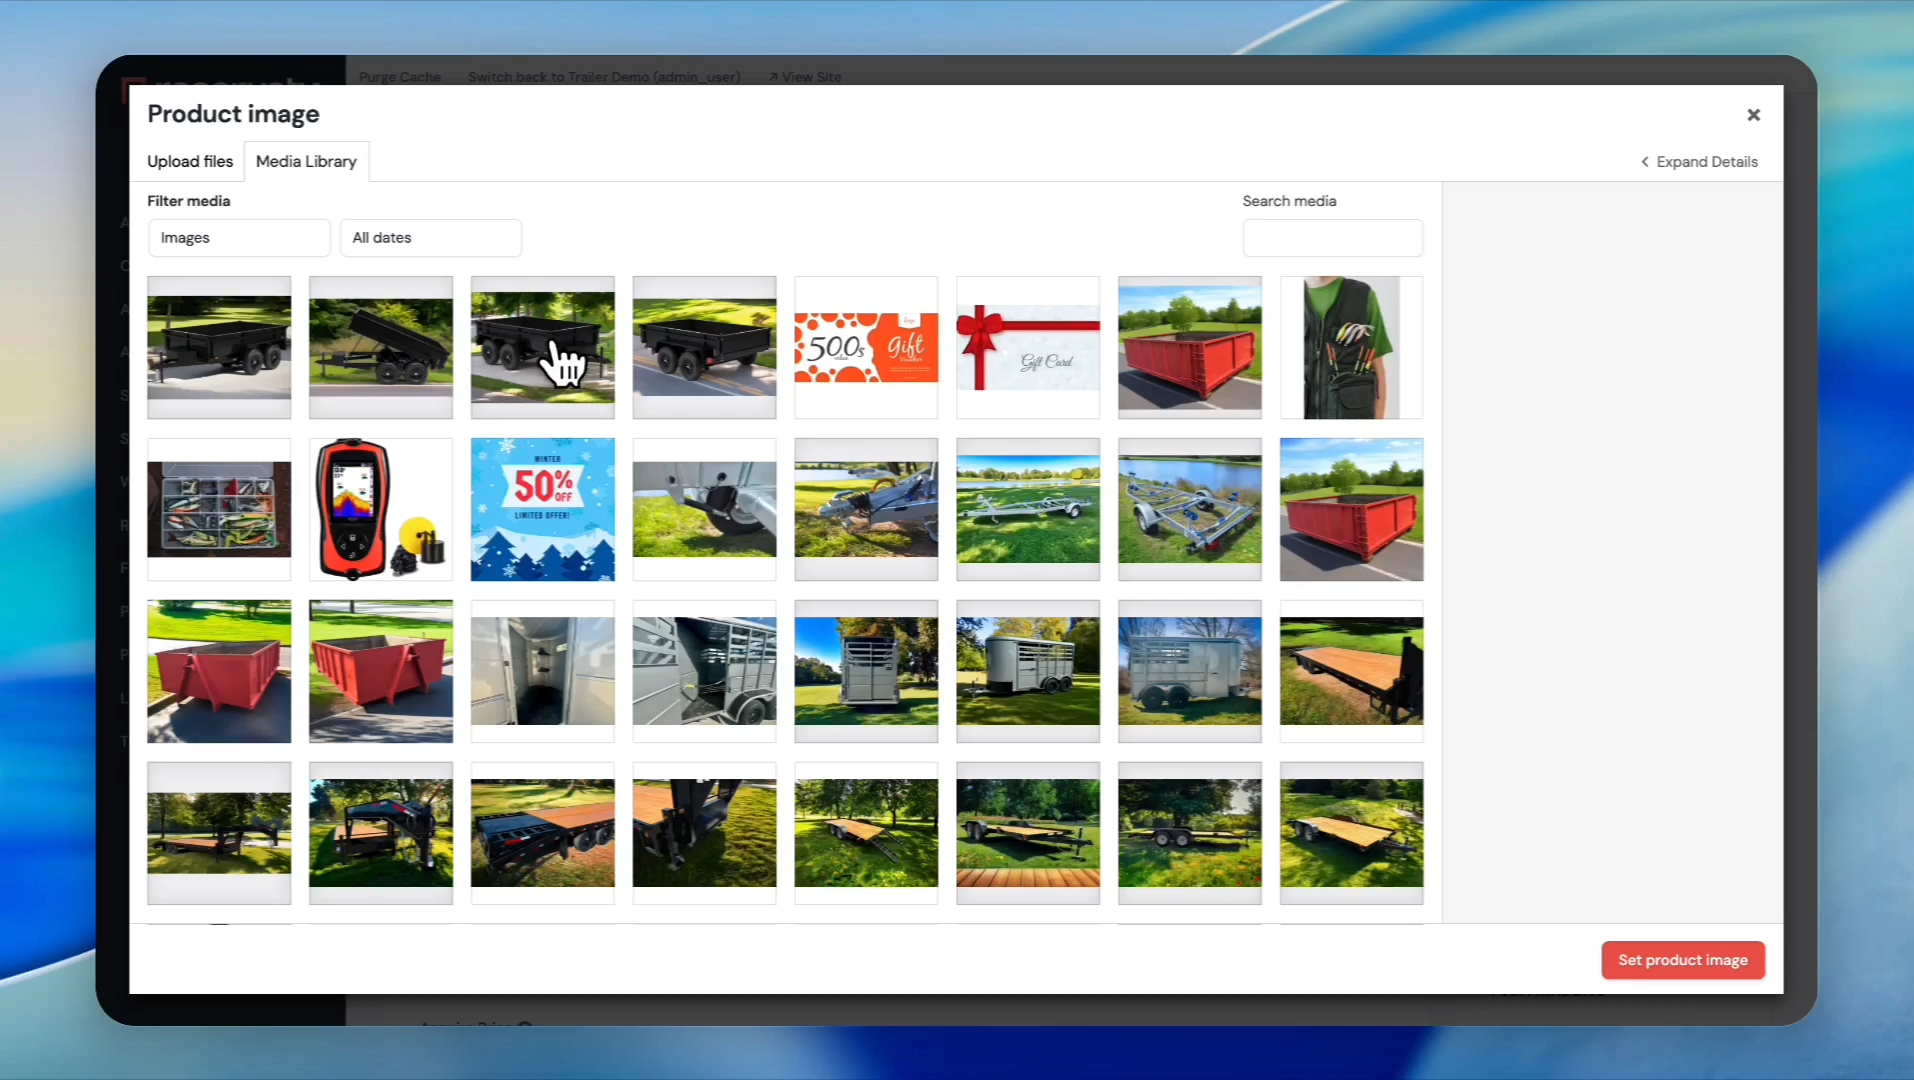
Click on Set product image.
Step 5
6
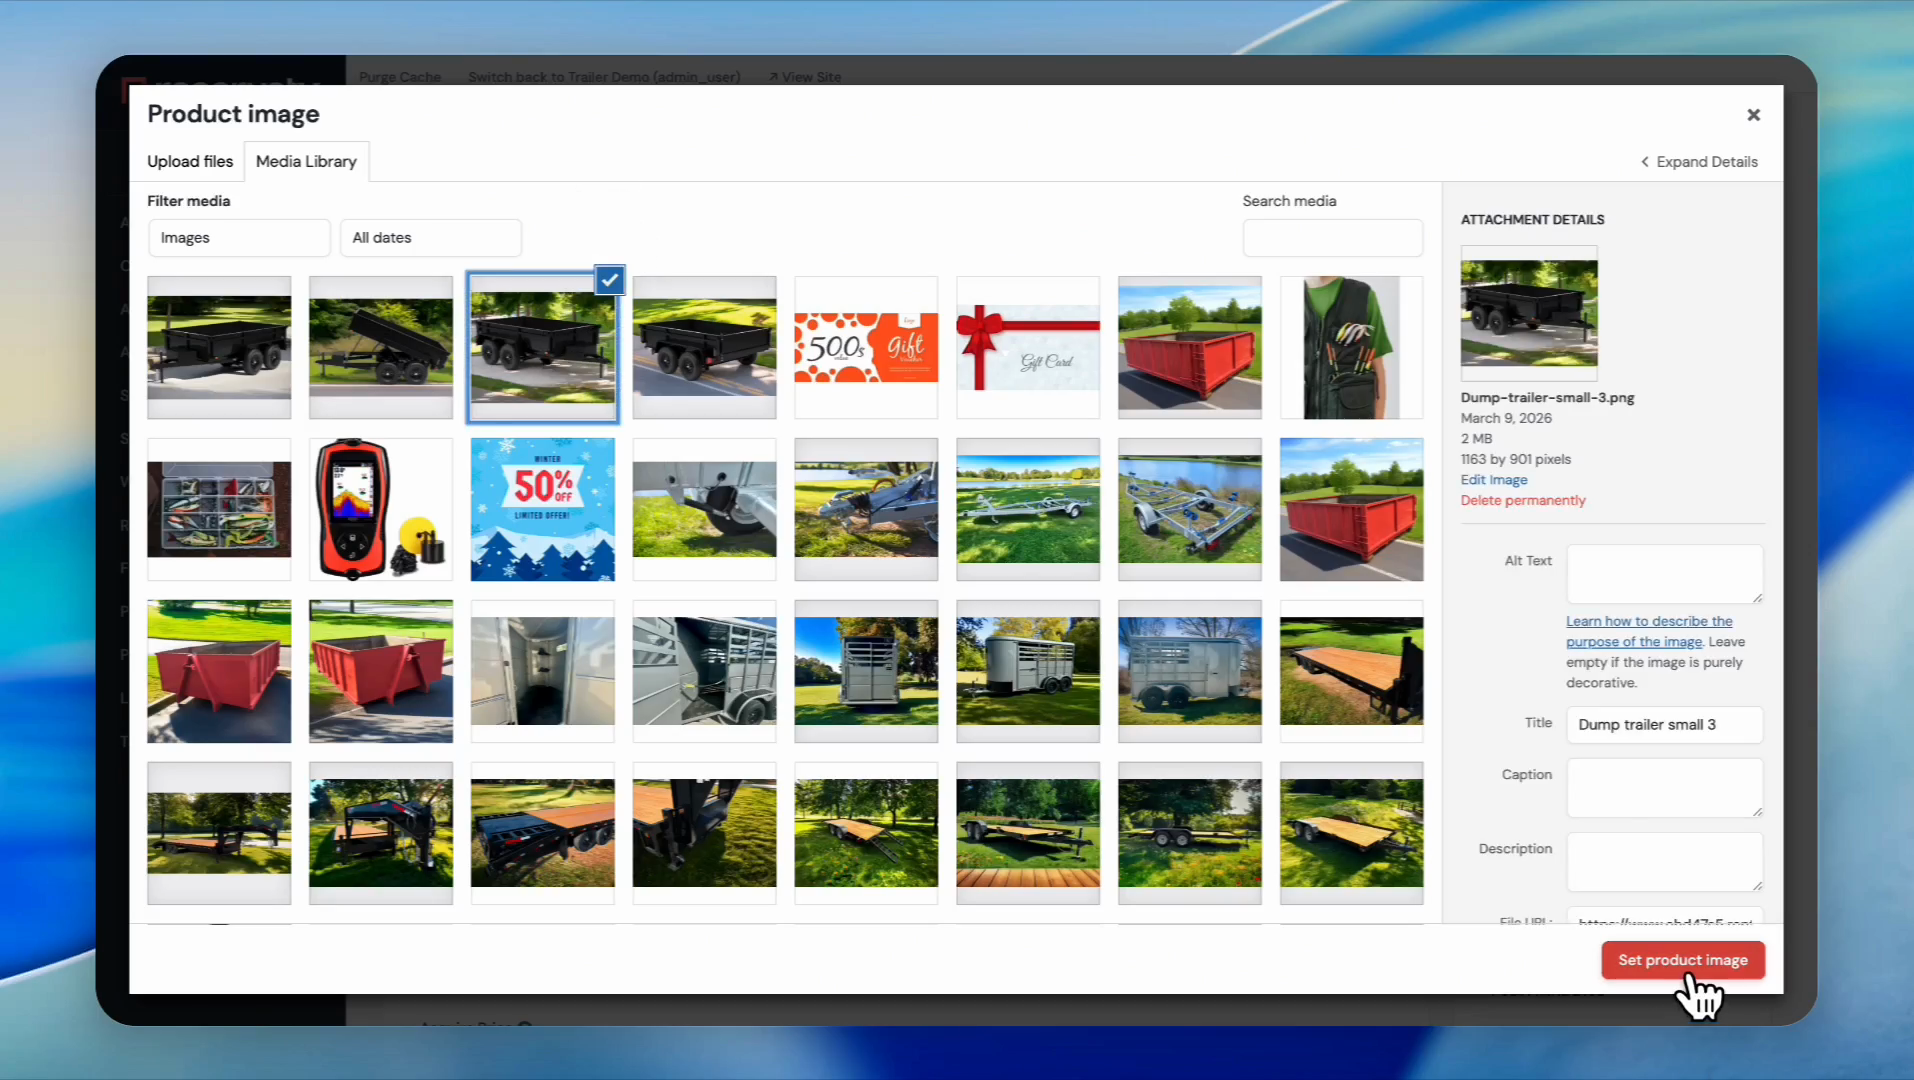
Select your primary image.
Step 6
7
Click Set product image.
Step 7
8
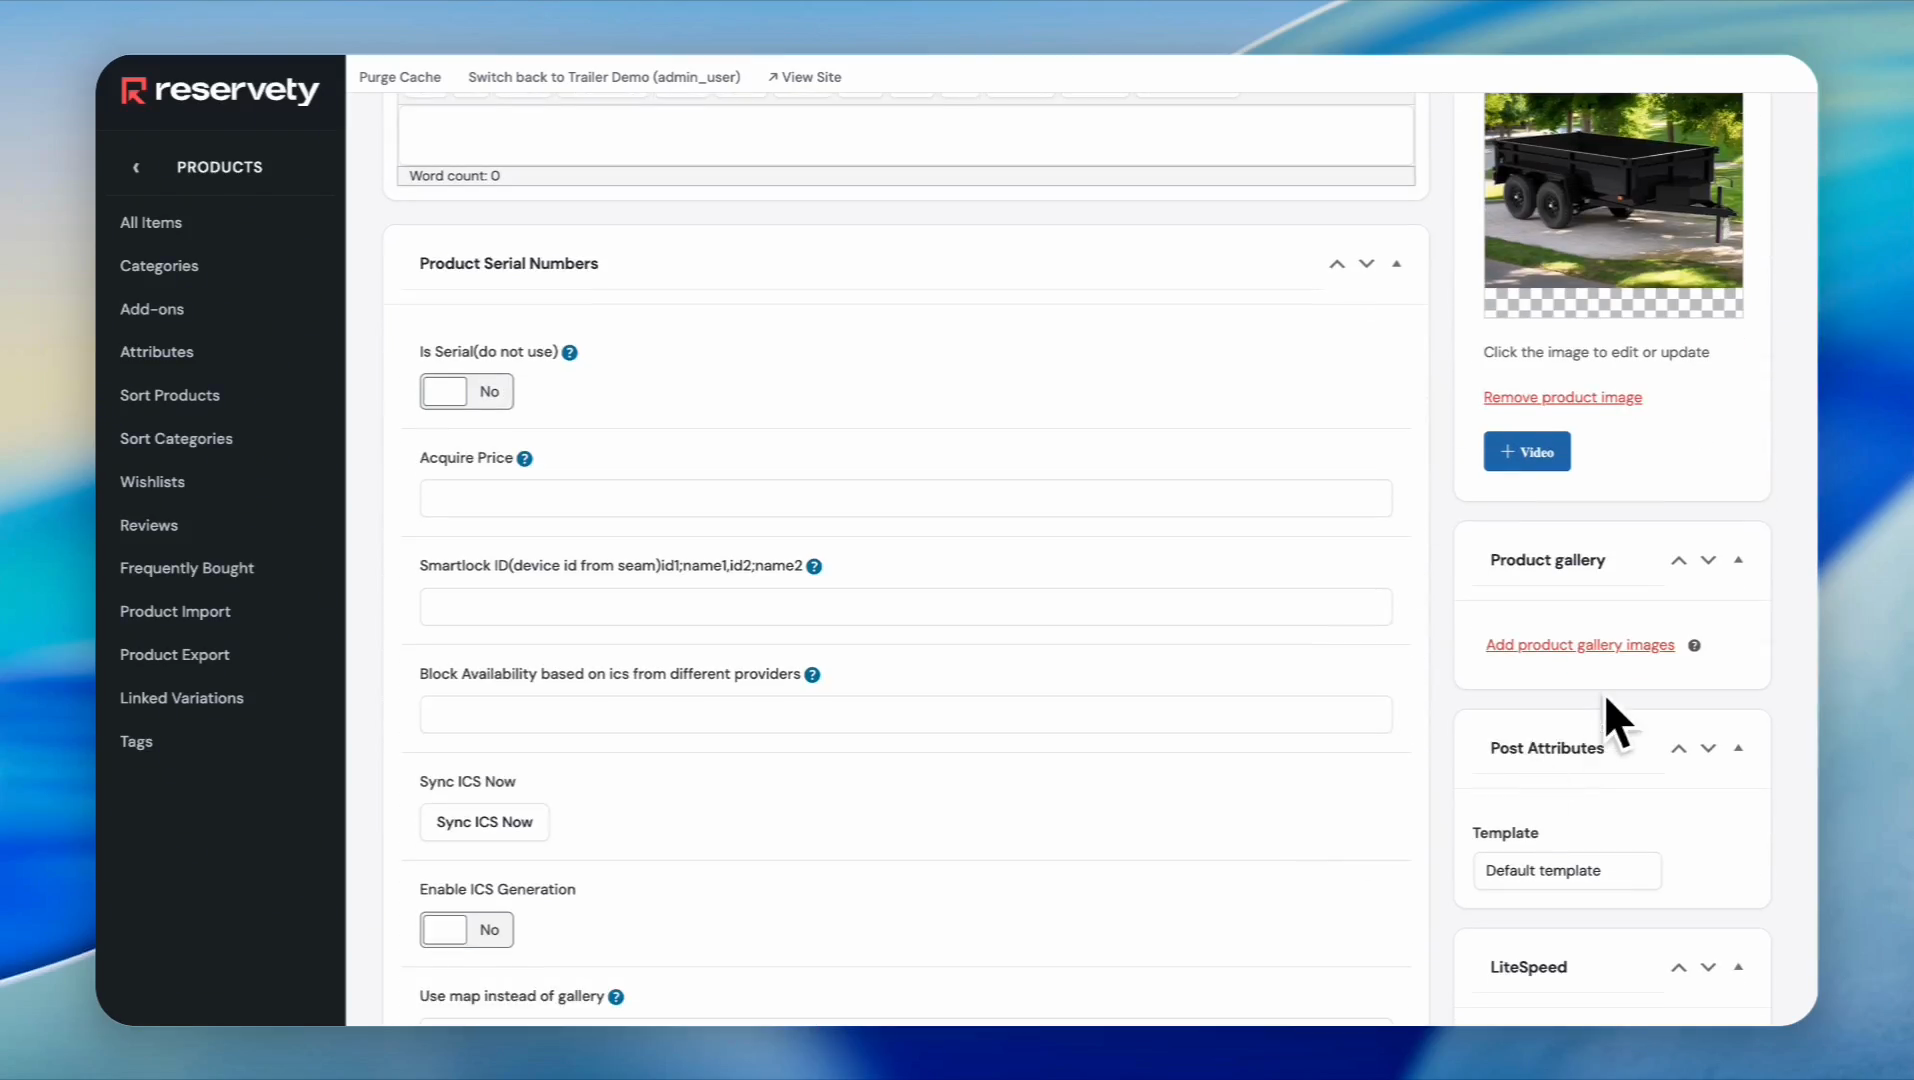
Click on Add product gallery images.
Step 8
9
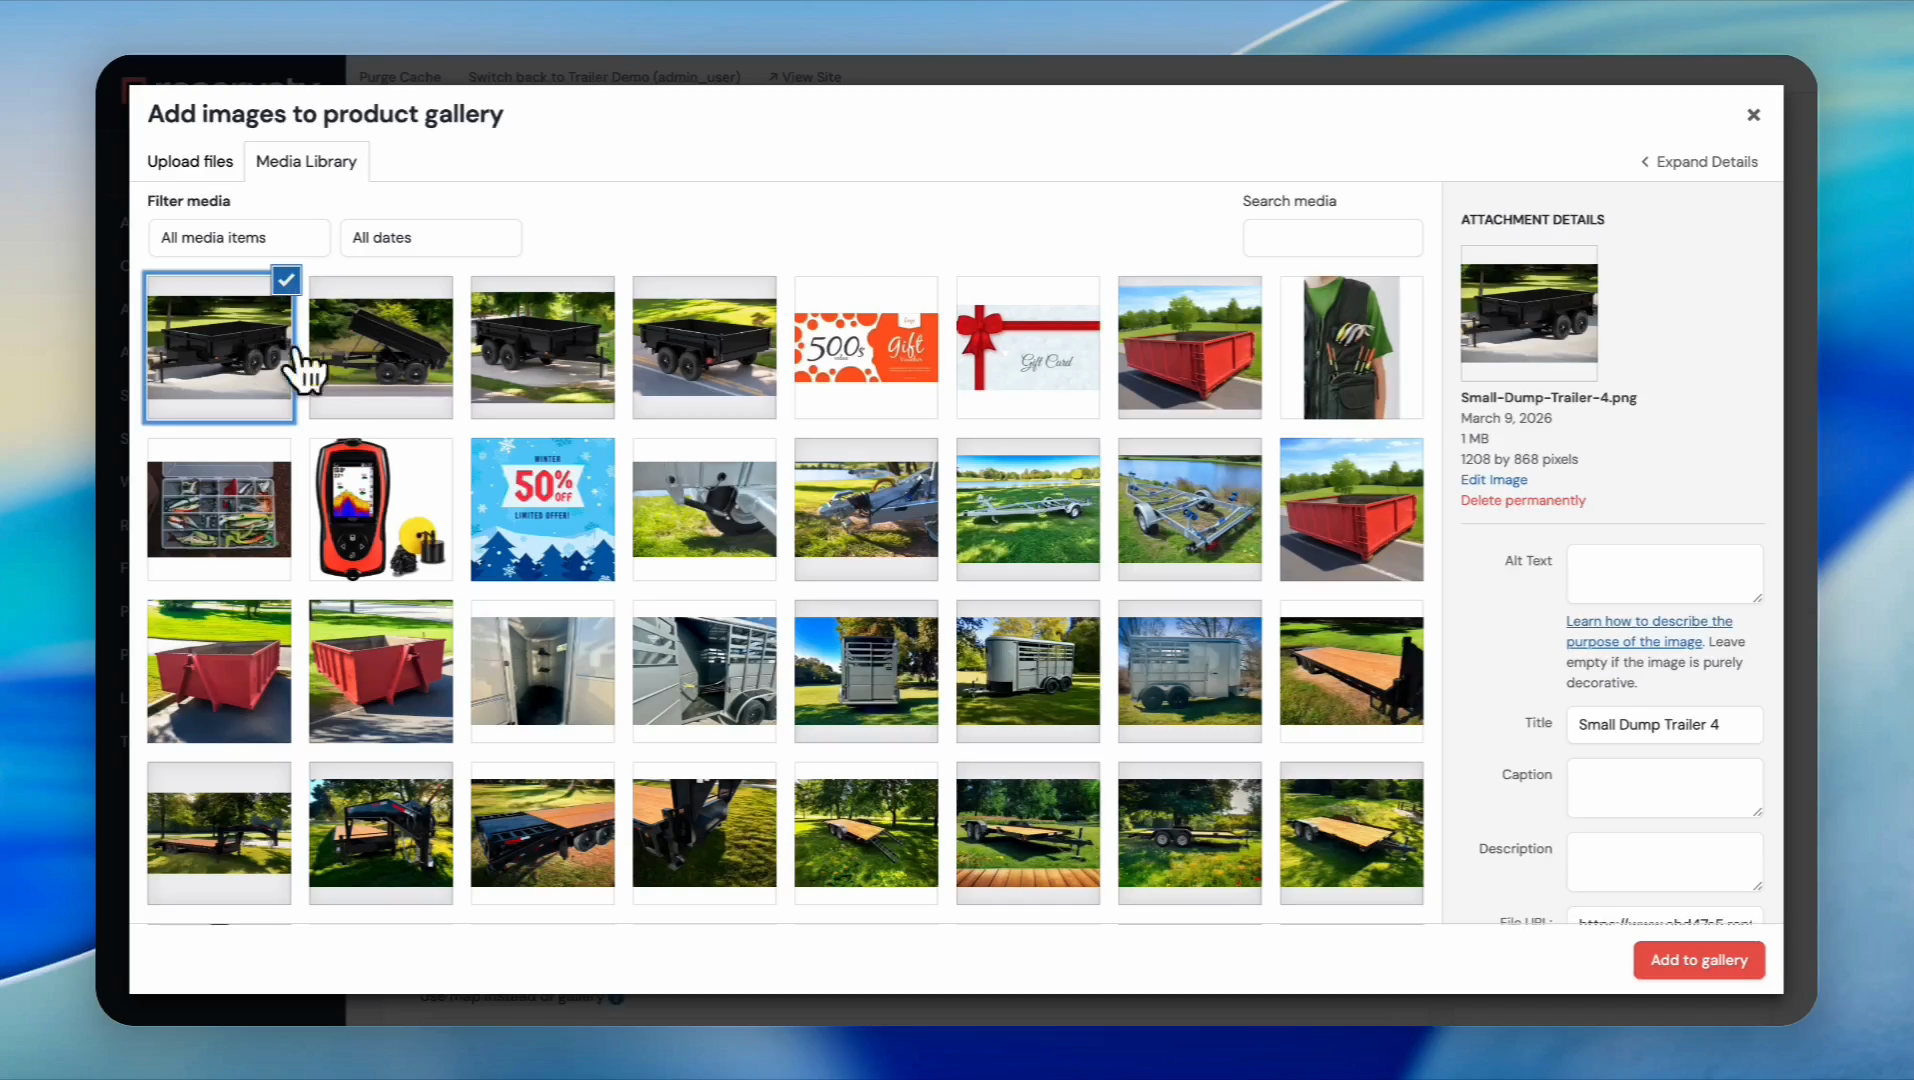
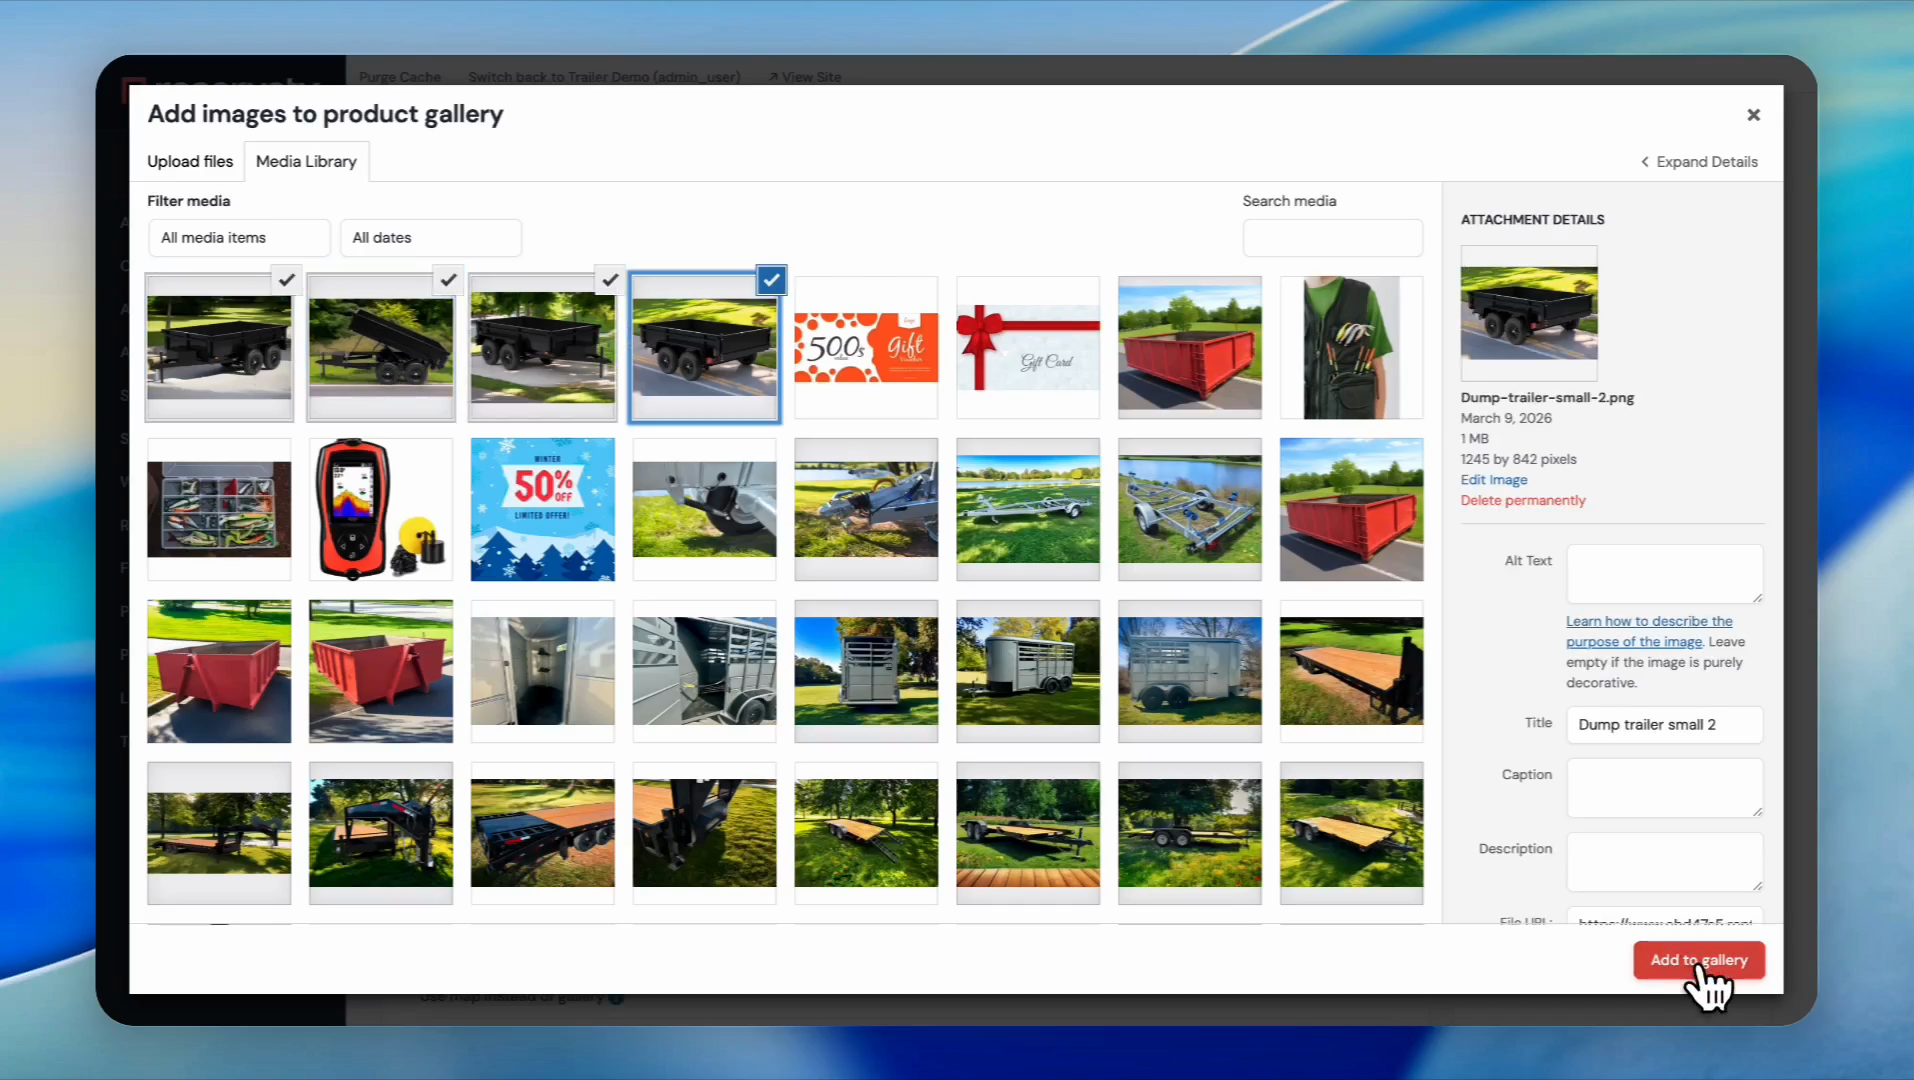
Select multiple images for the gallery.
Step 9
10
Click Add to gallery.
Step 10
11
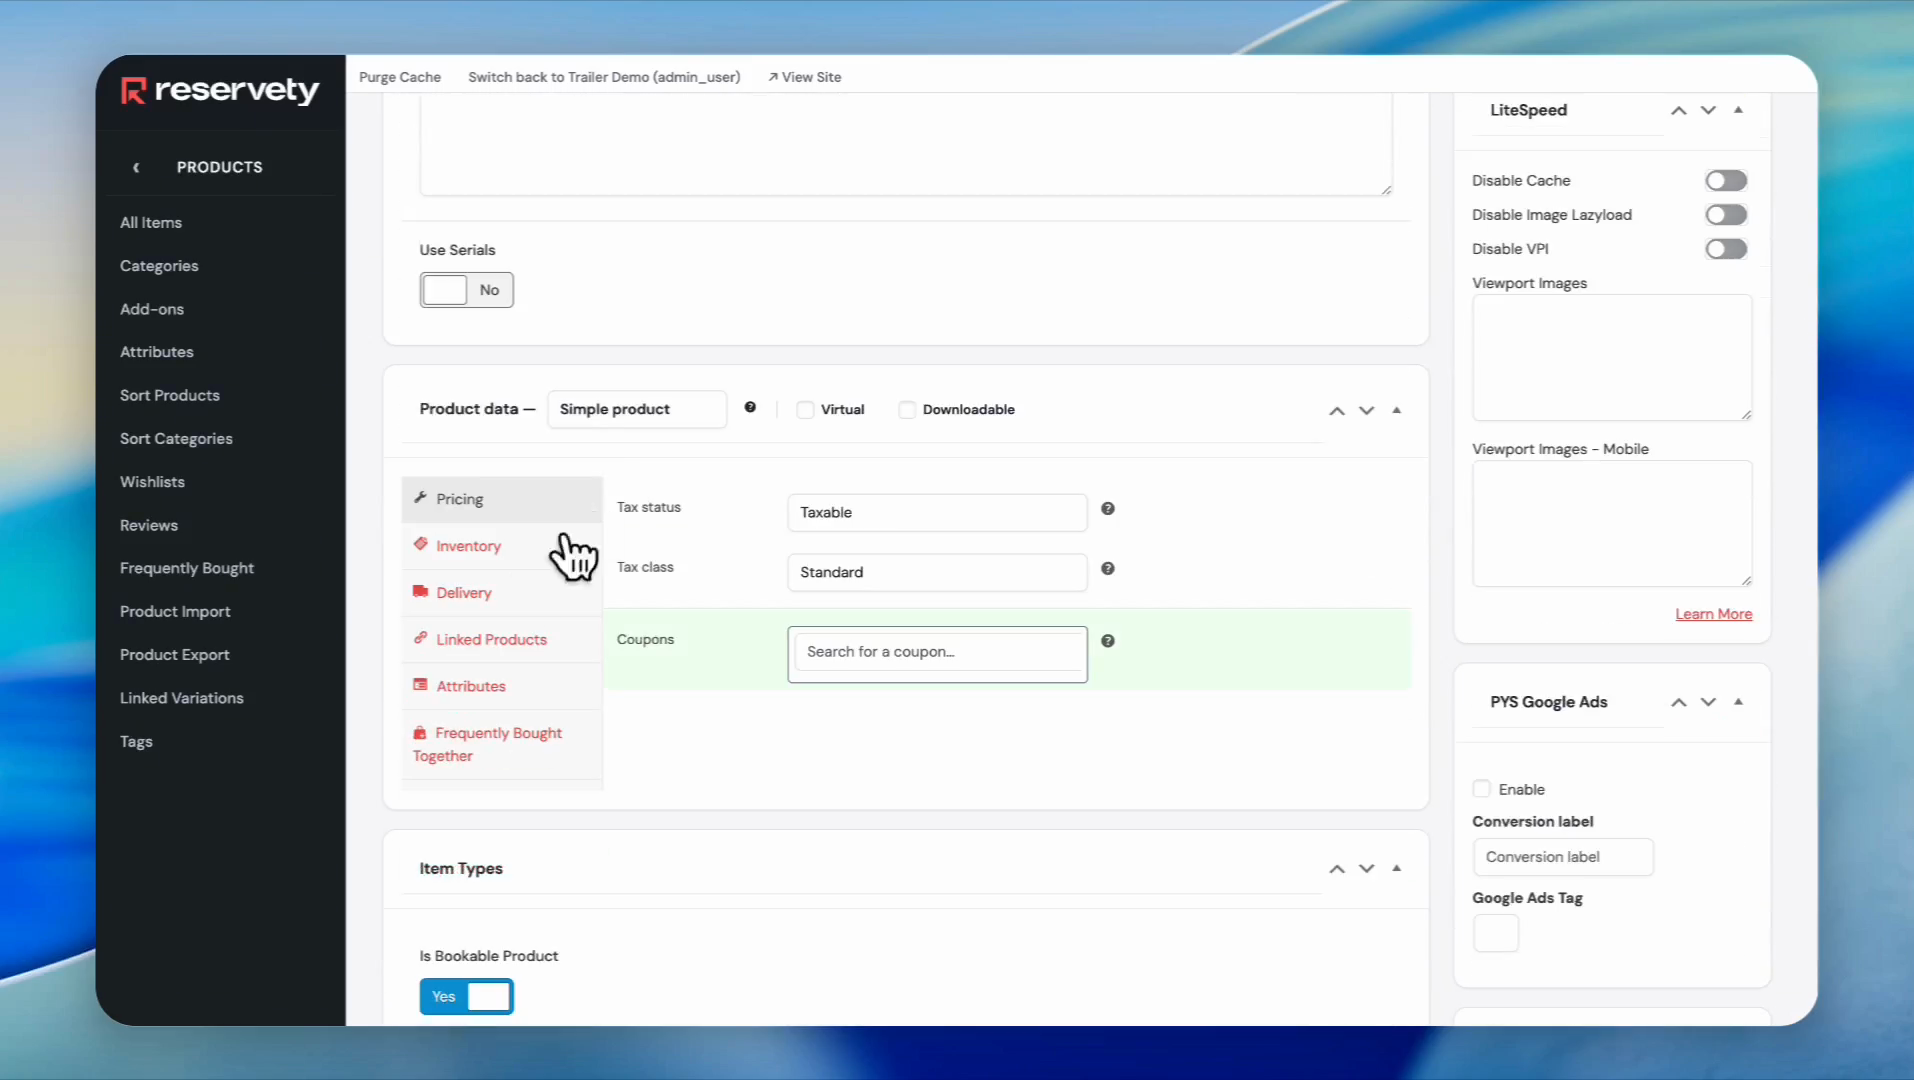
Click on the Inventory tab.
Step 11
12
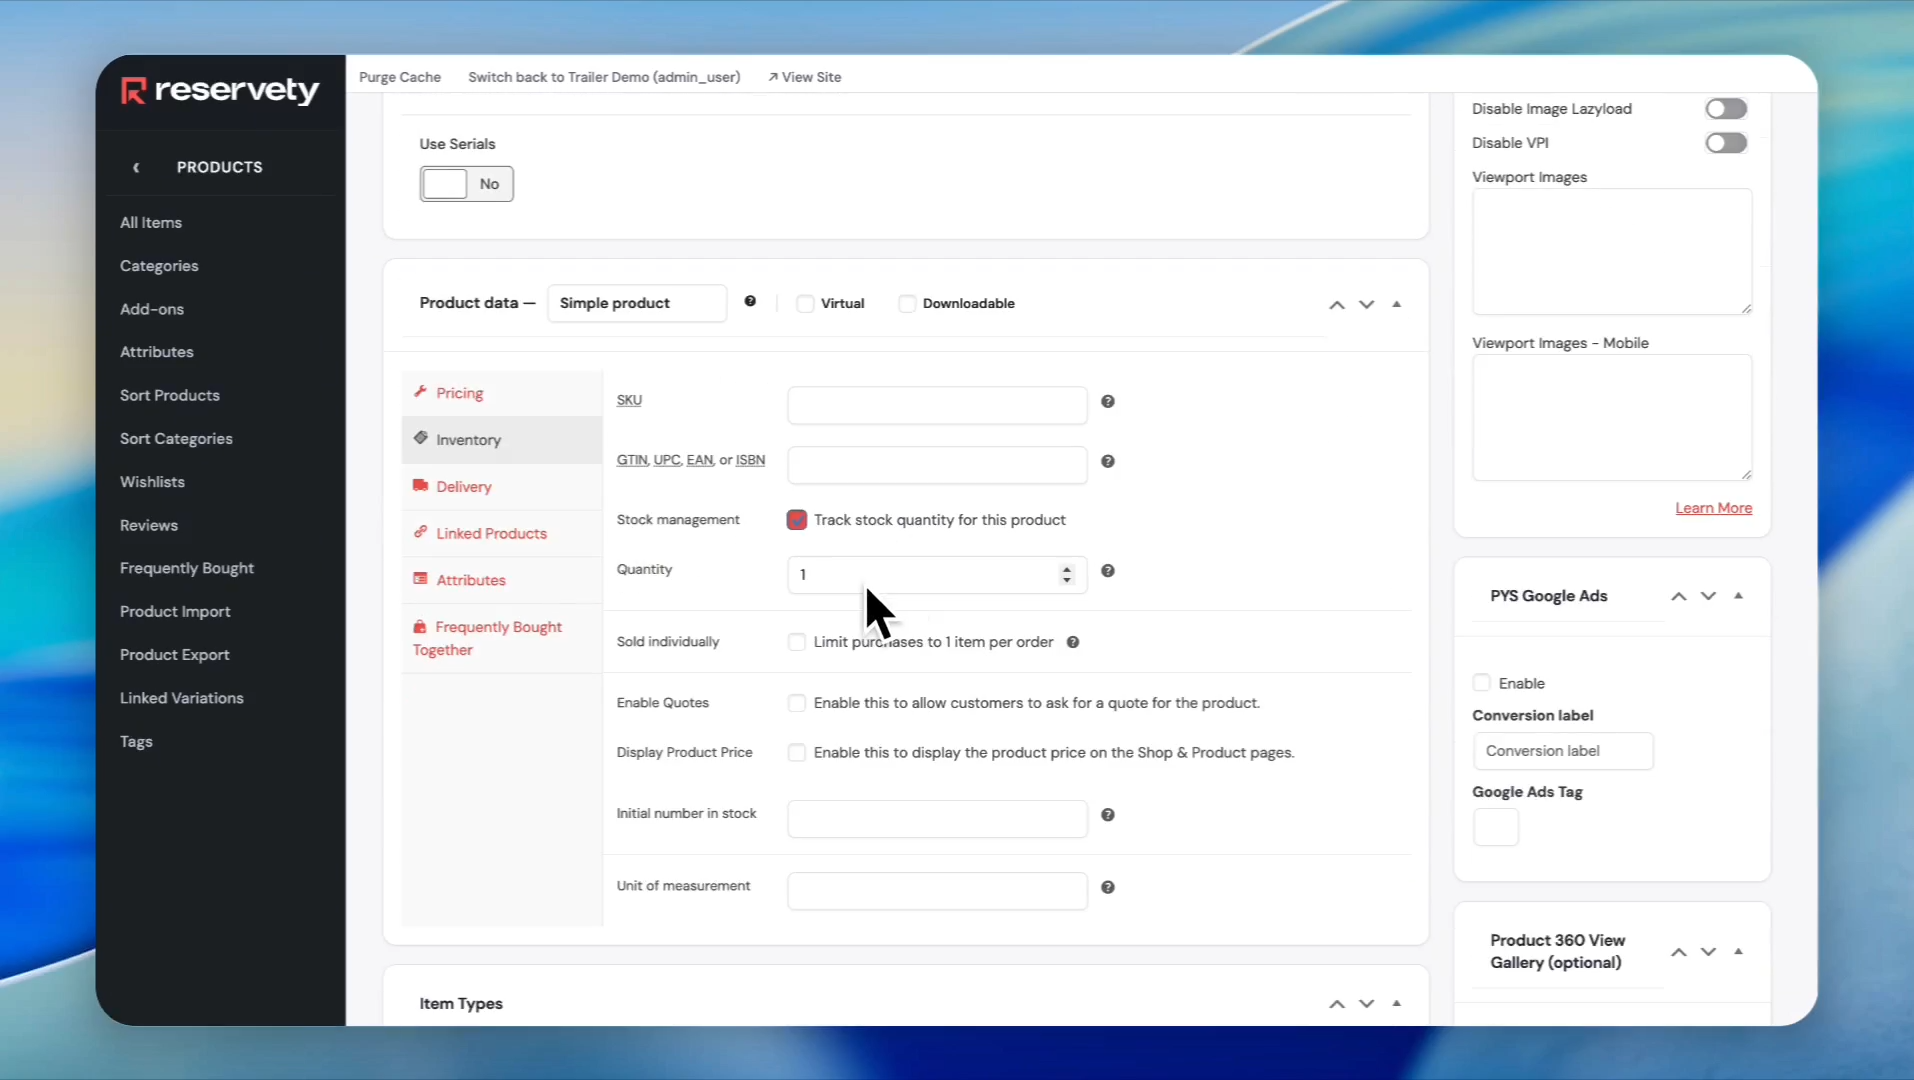
Click the checkbox for Track stock quantity for this product and enter stock quantity.
Step 12
13
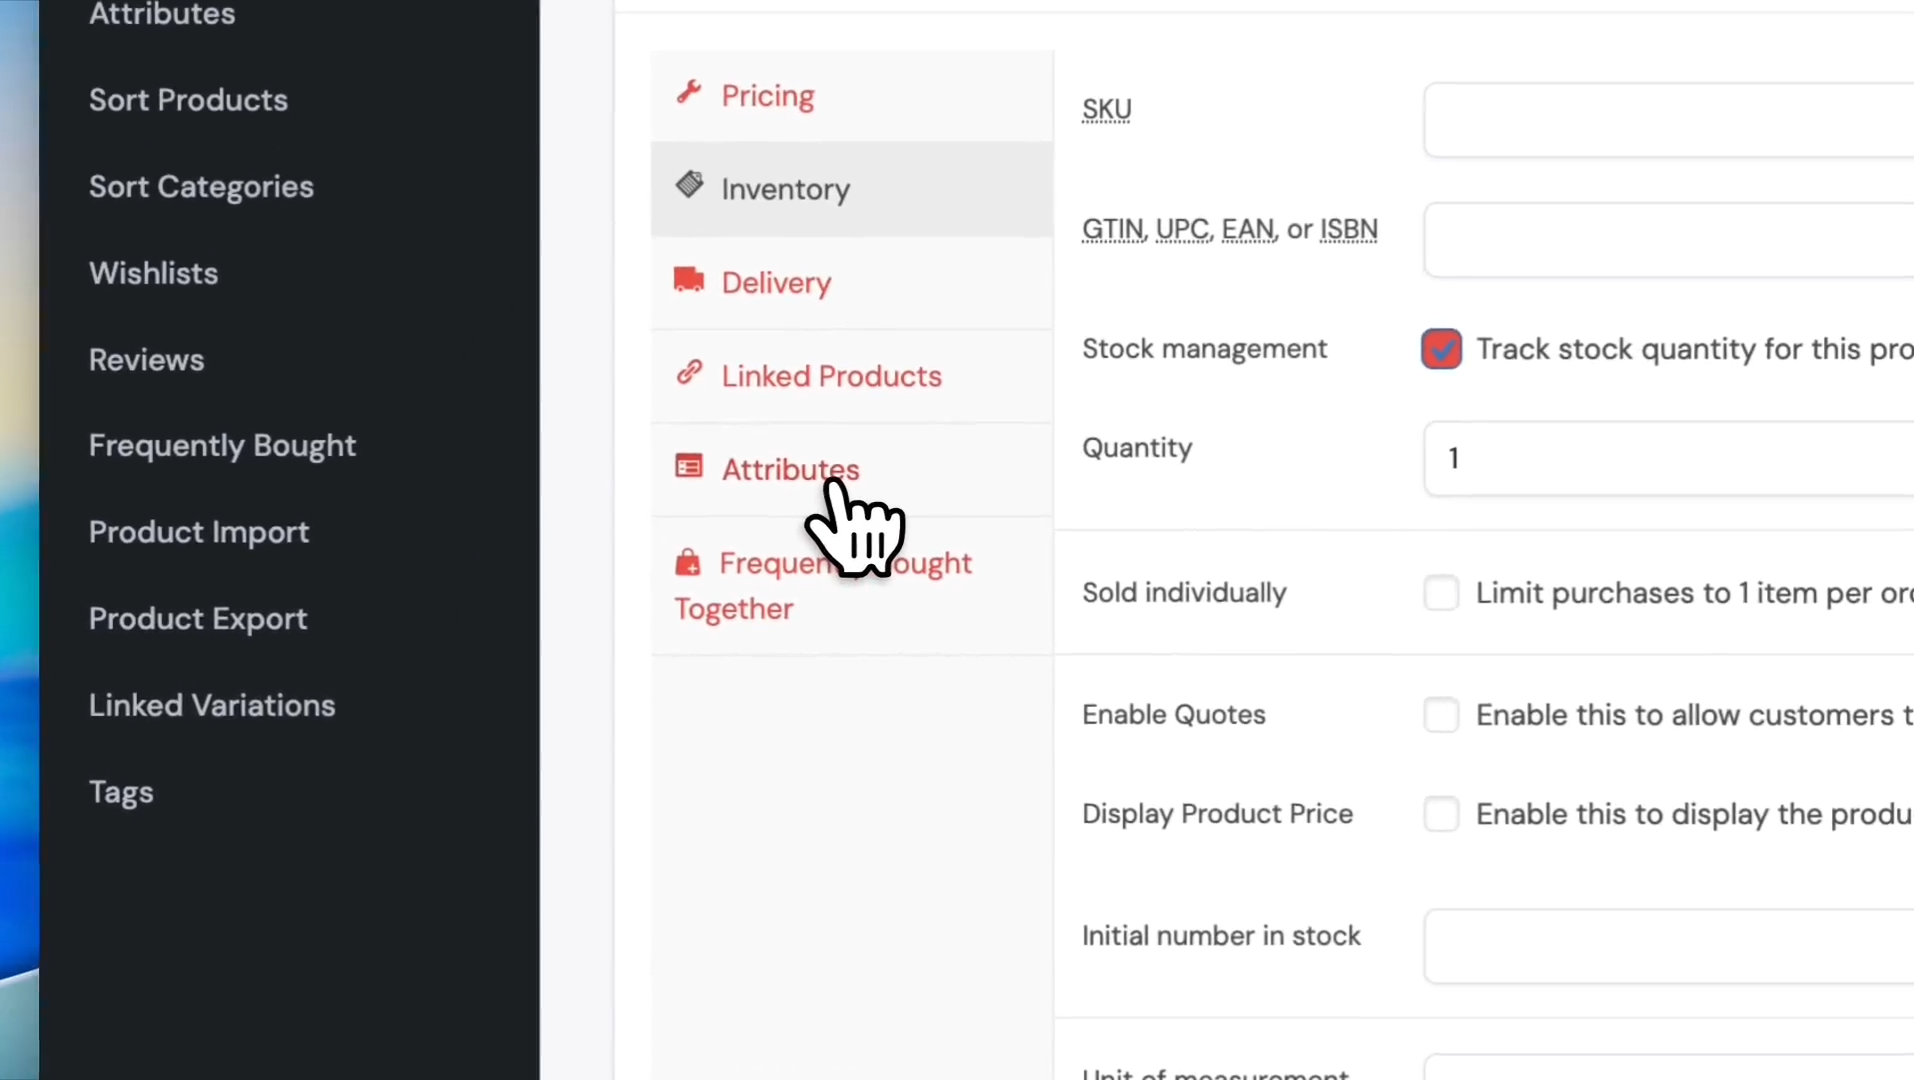
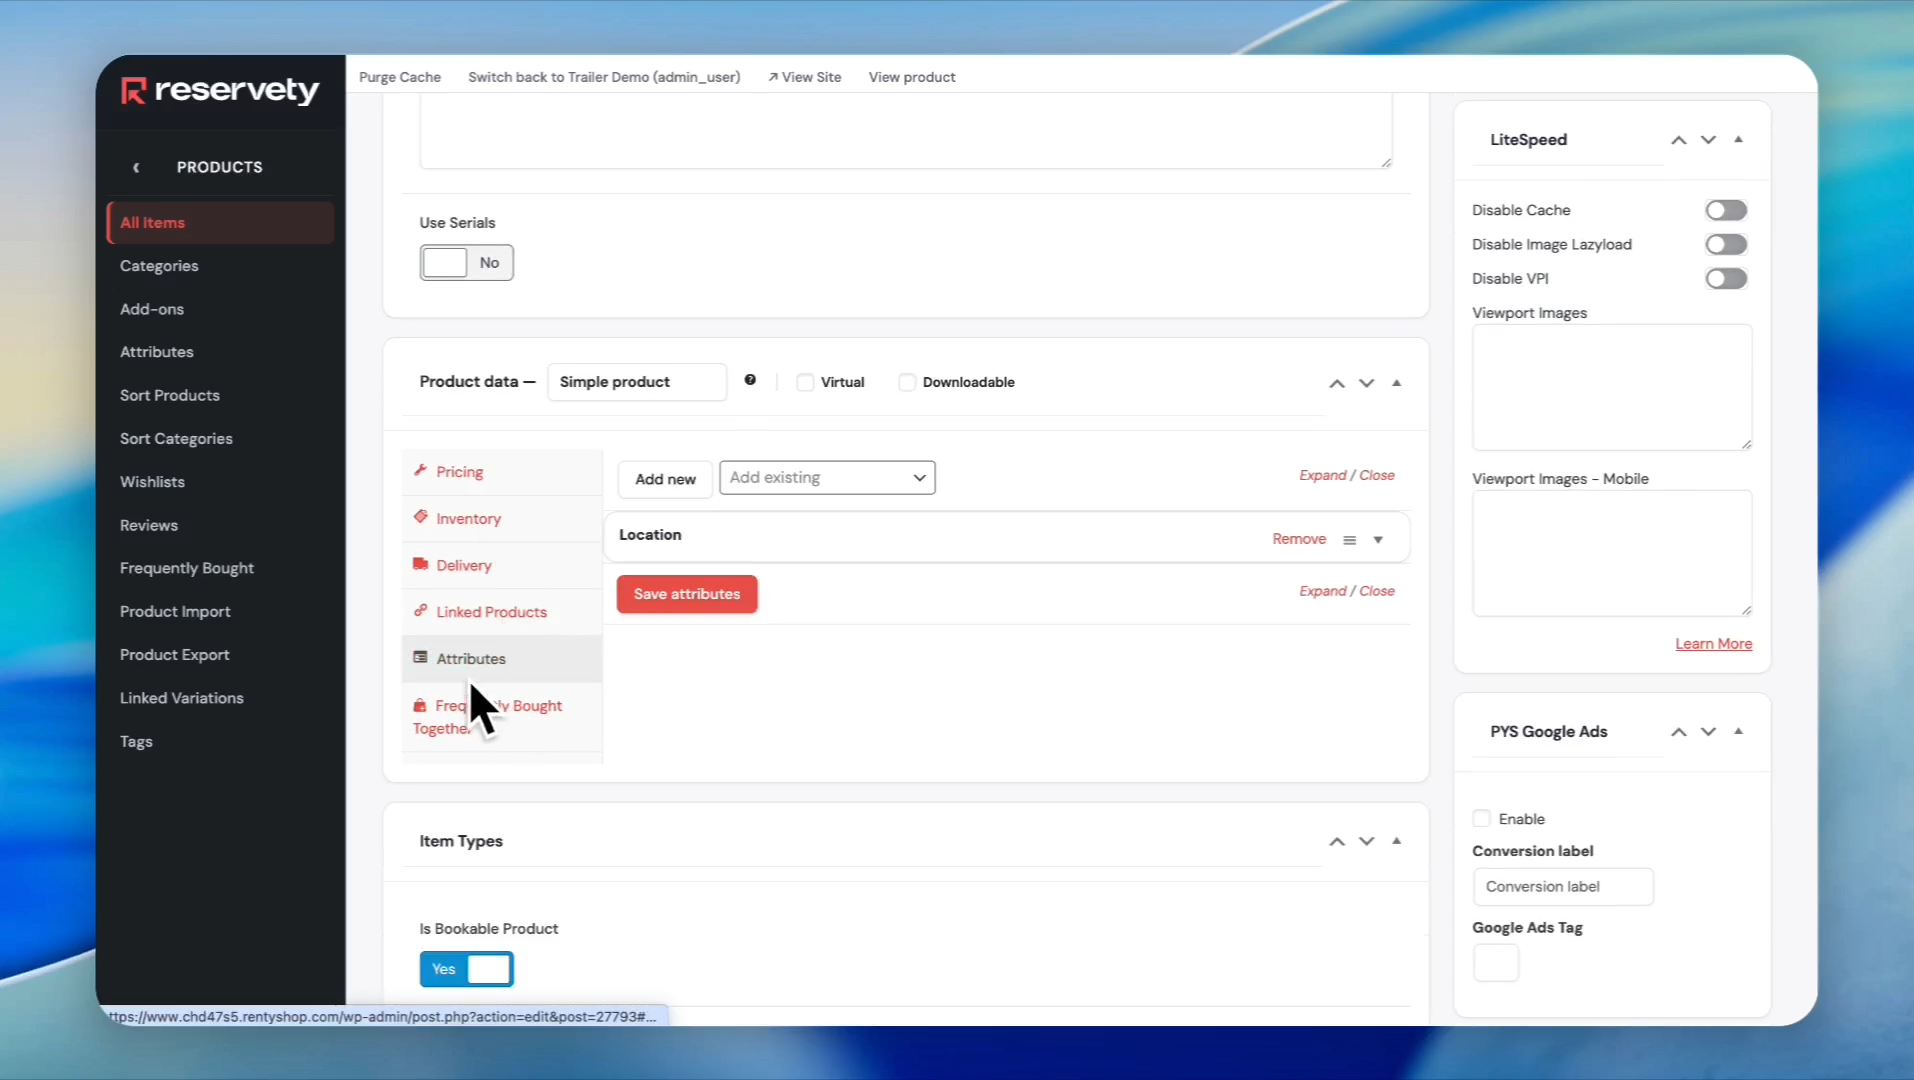
Click on the Attributes button on the left sidebar
Step 13
14
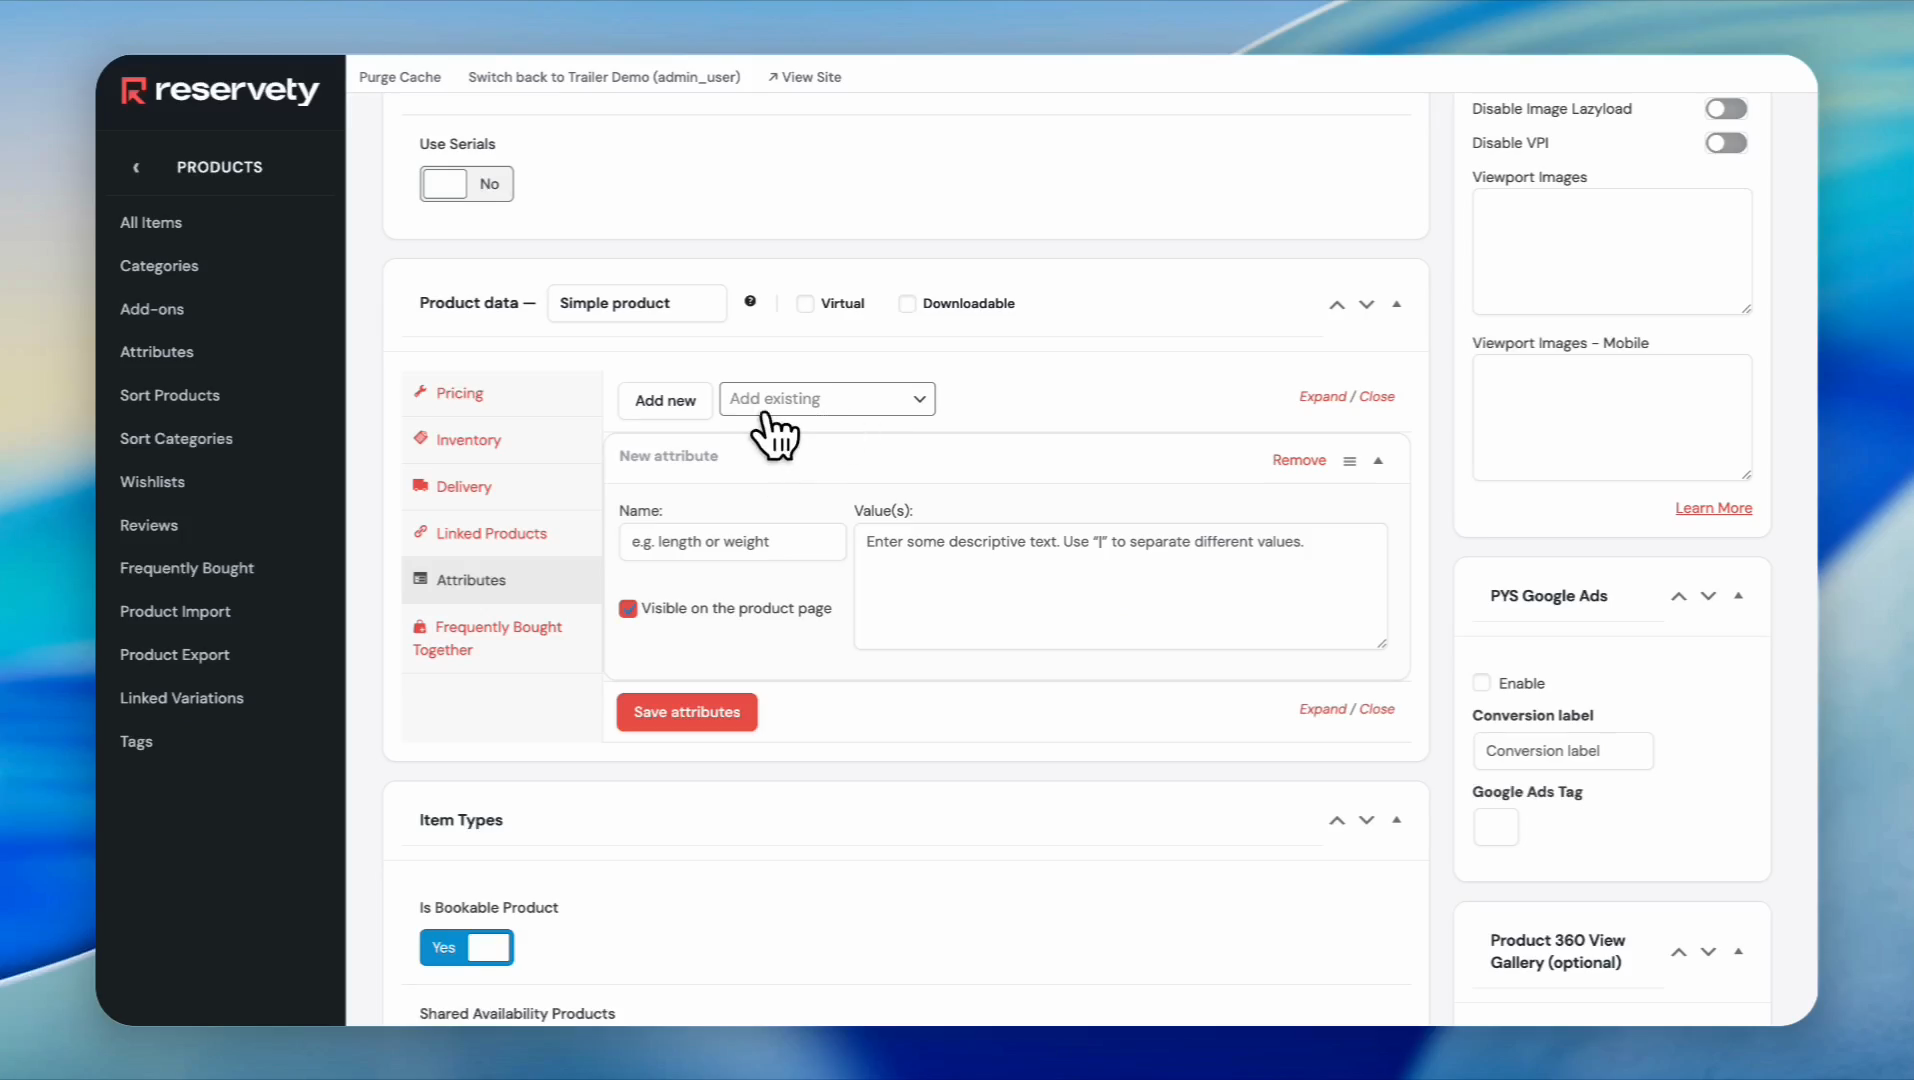
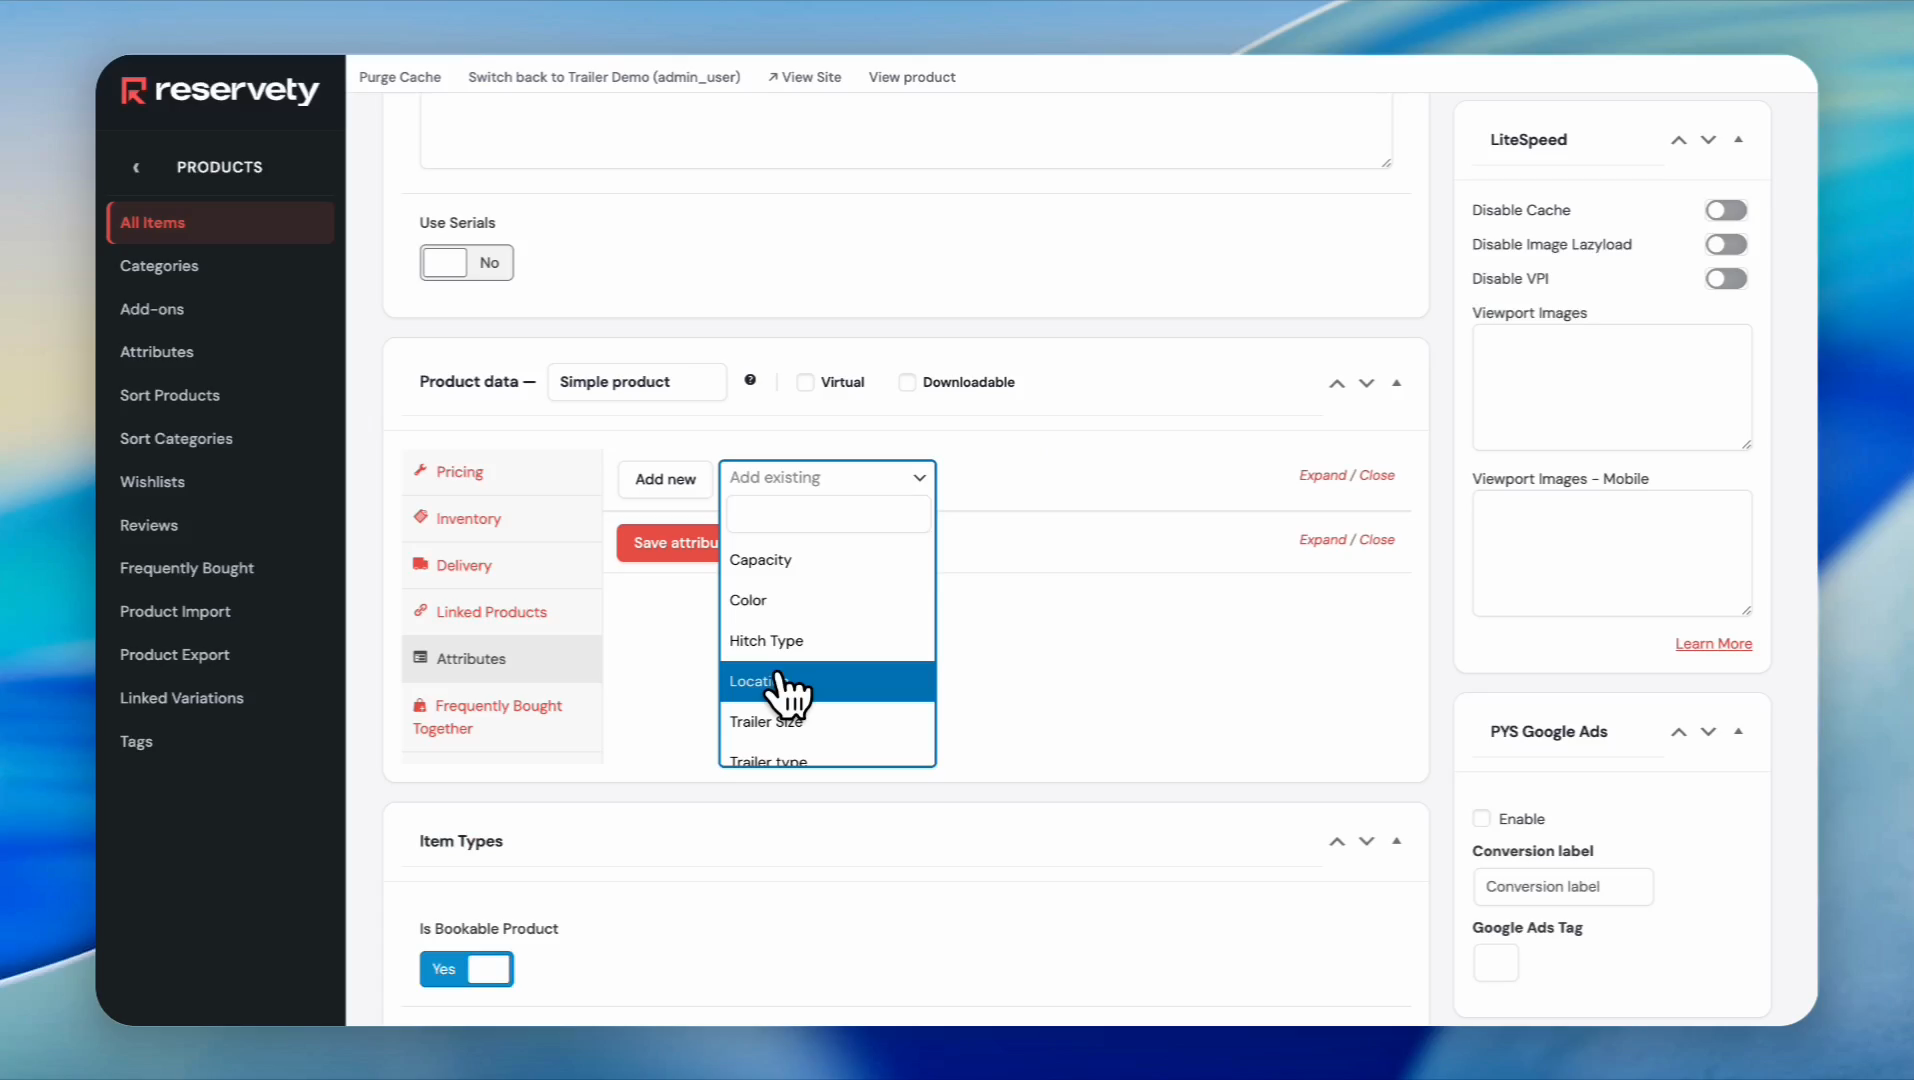
Click on the Add existing dropdown
Step 14
15
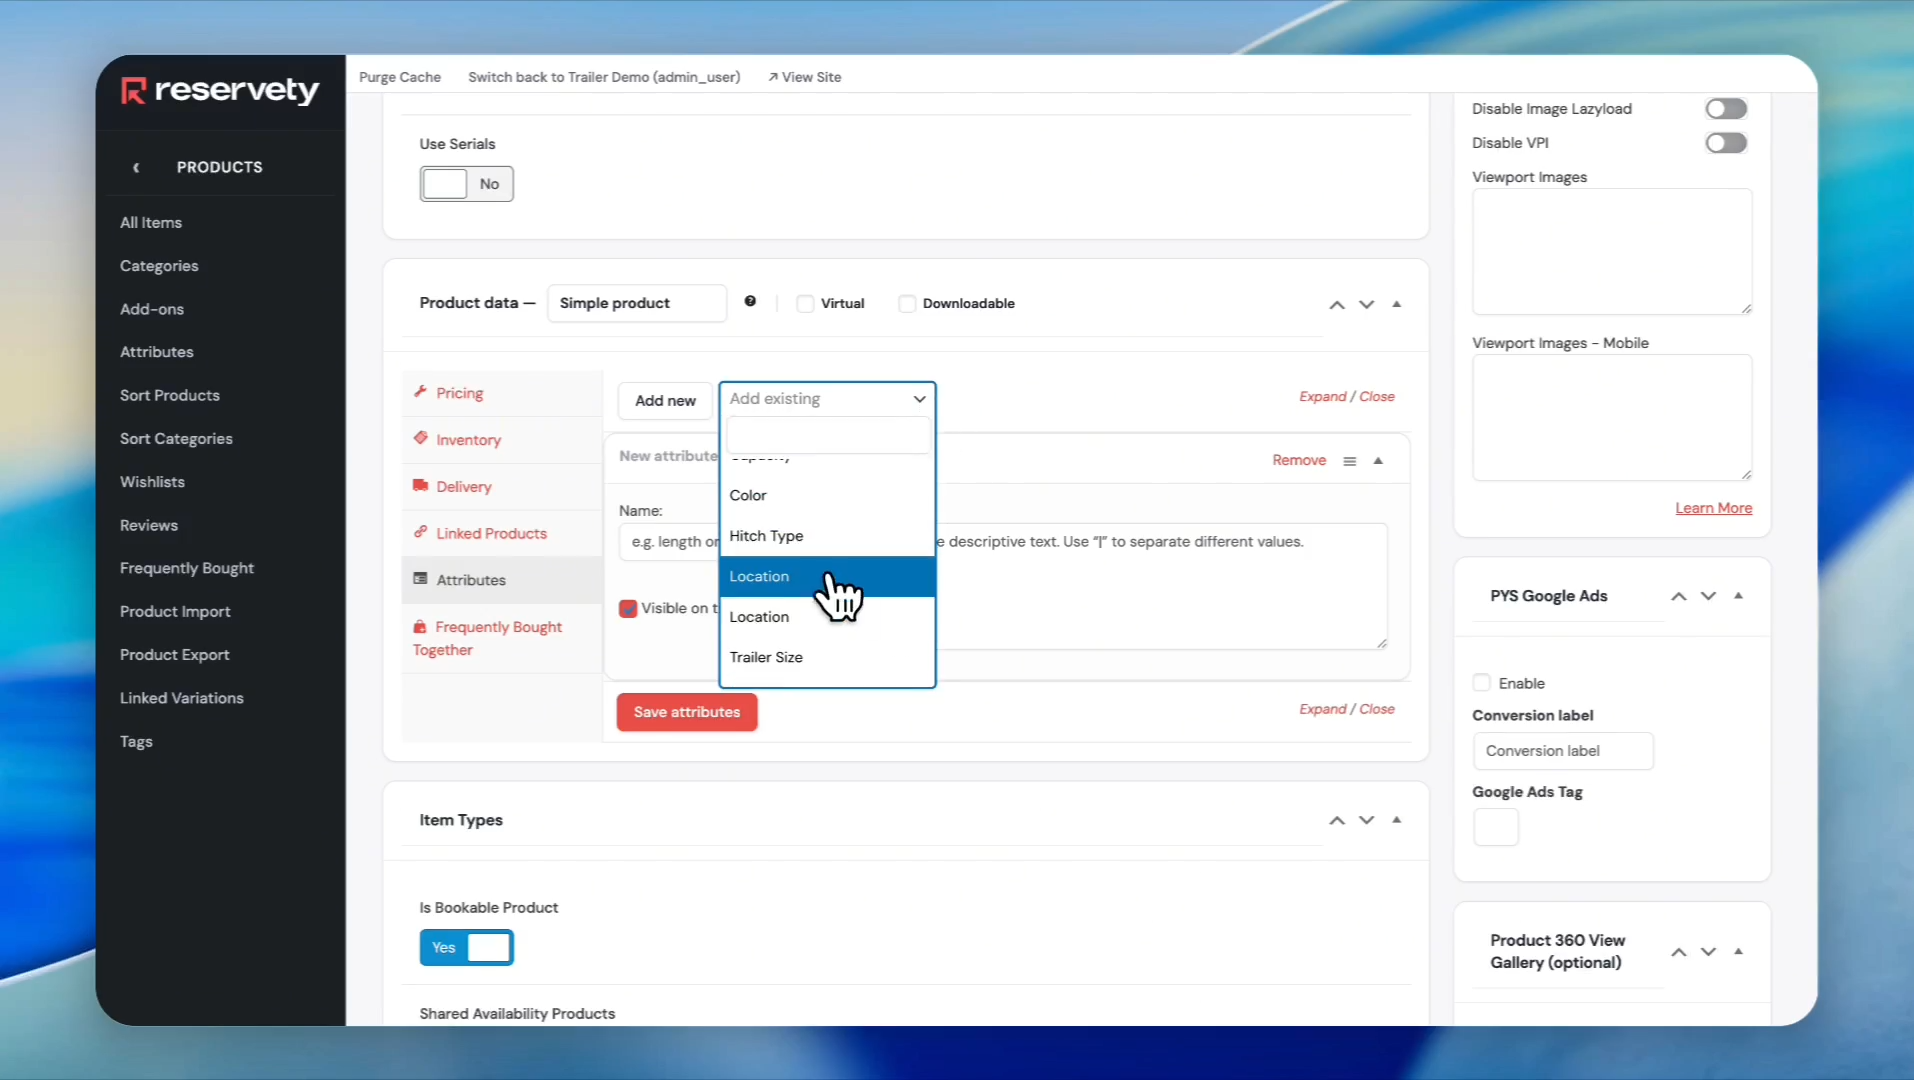
Select Location from the dropdown menu
Step 15
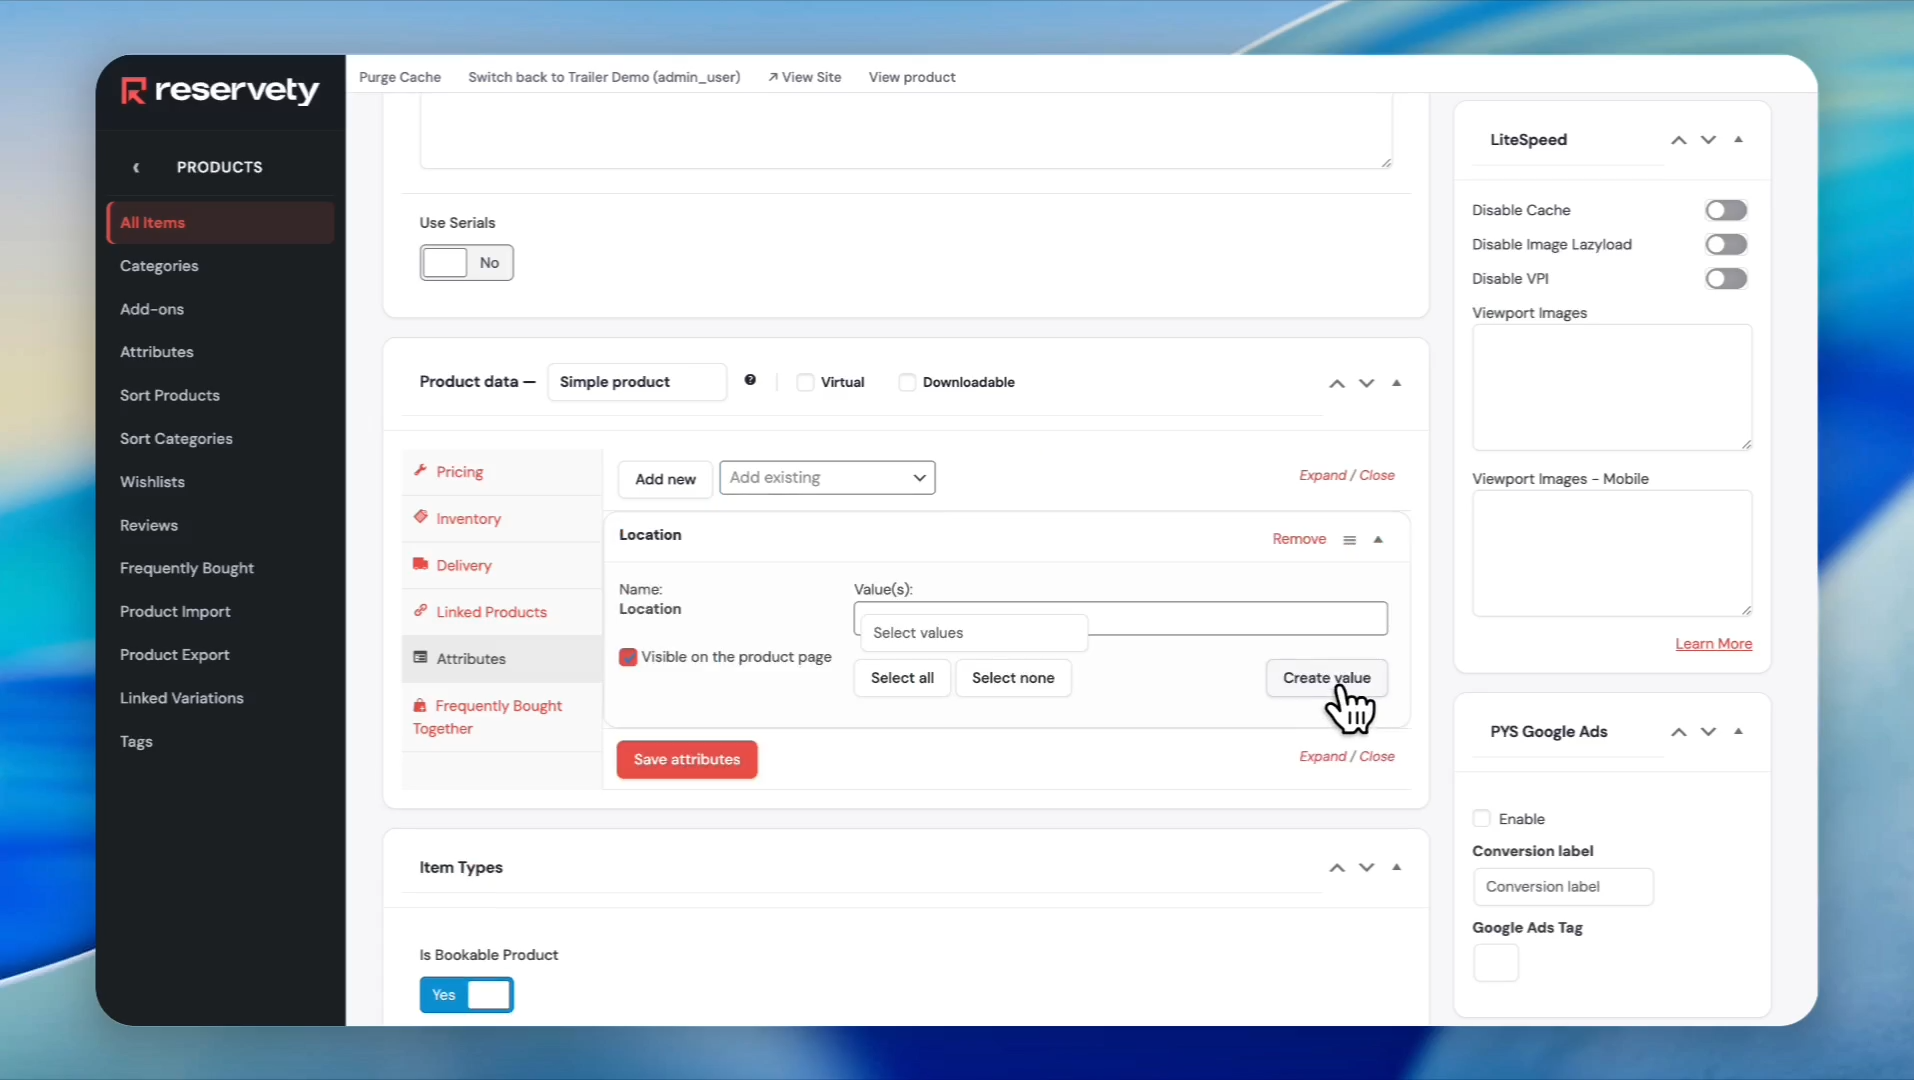
16
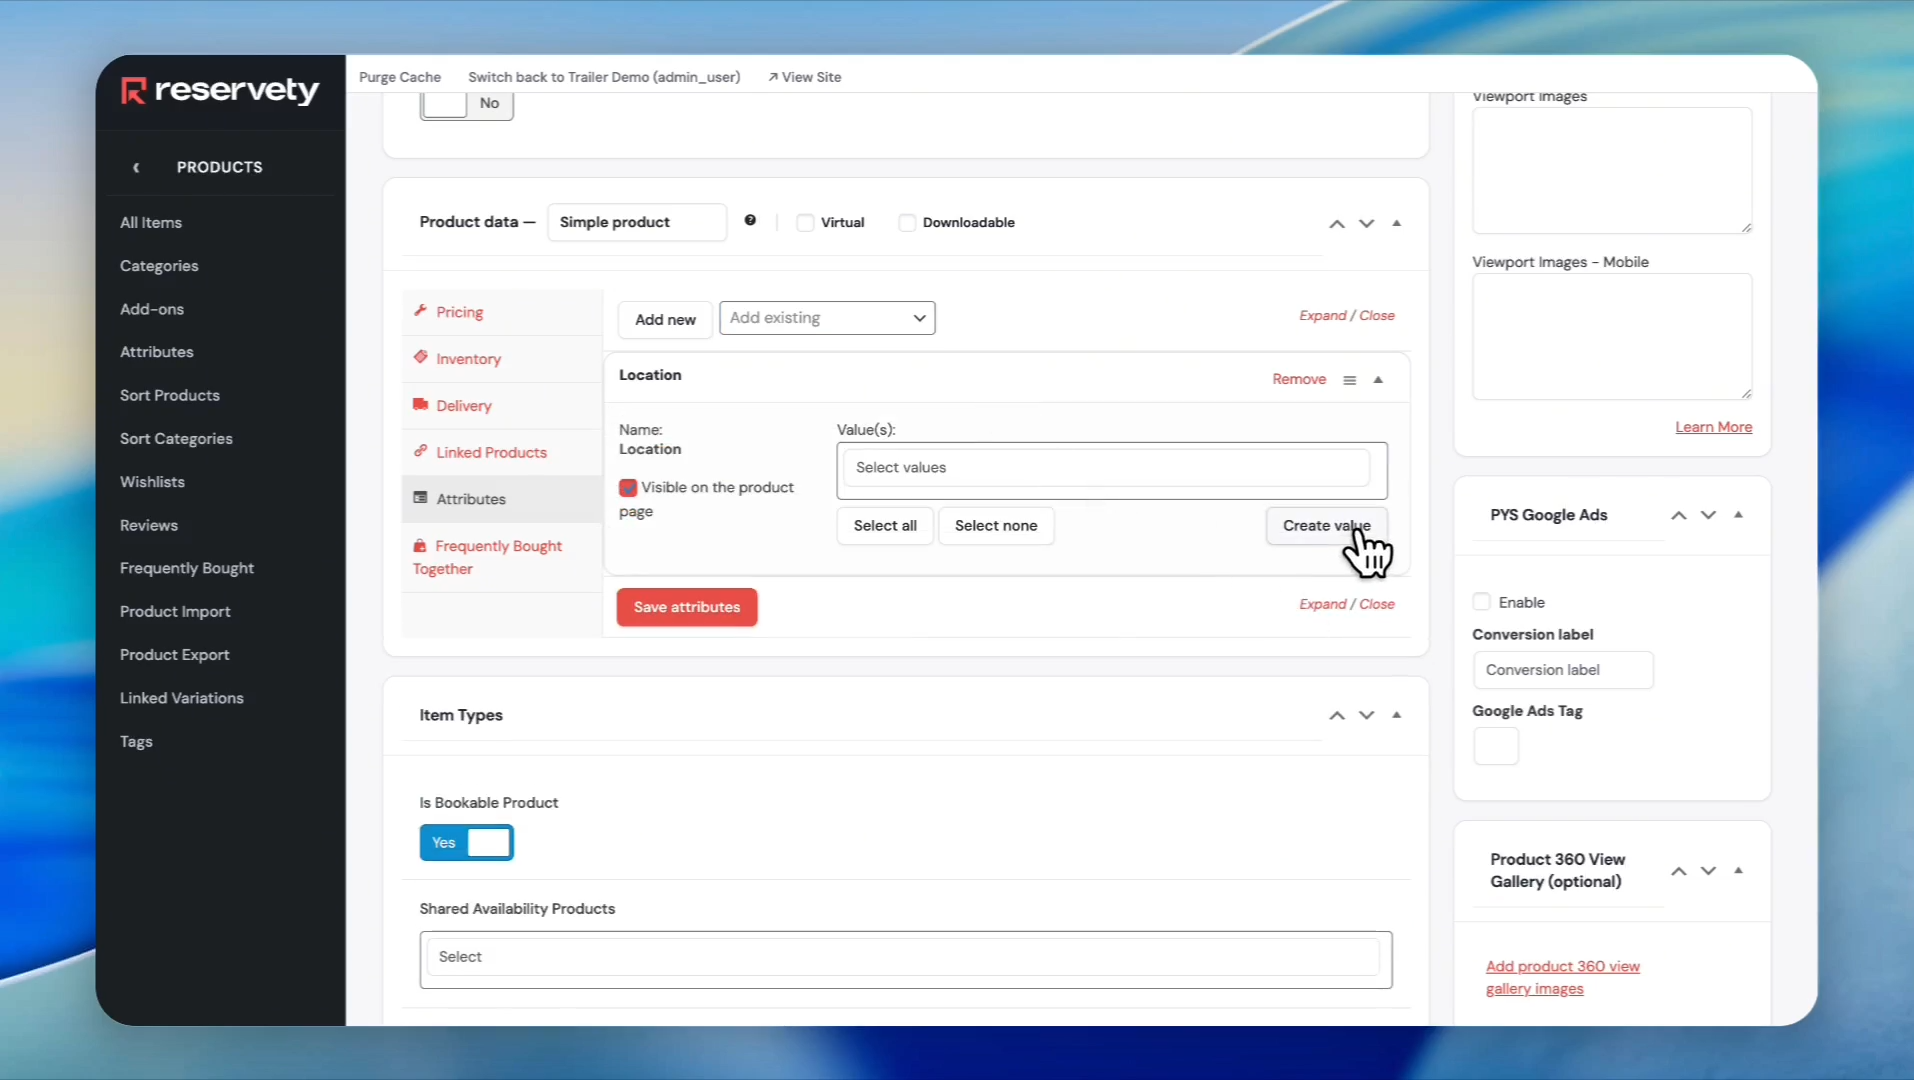
Click the Create value button
Step 16
17
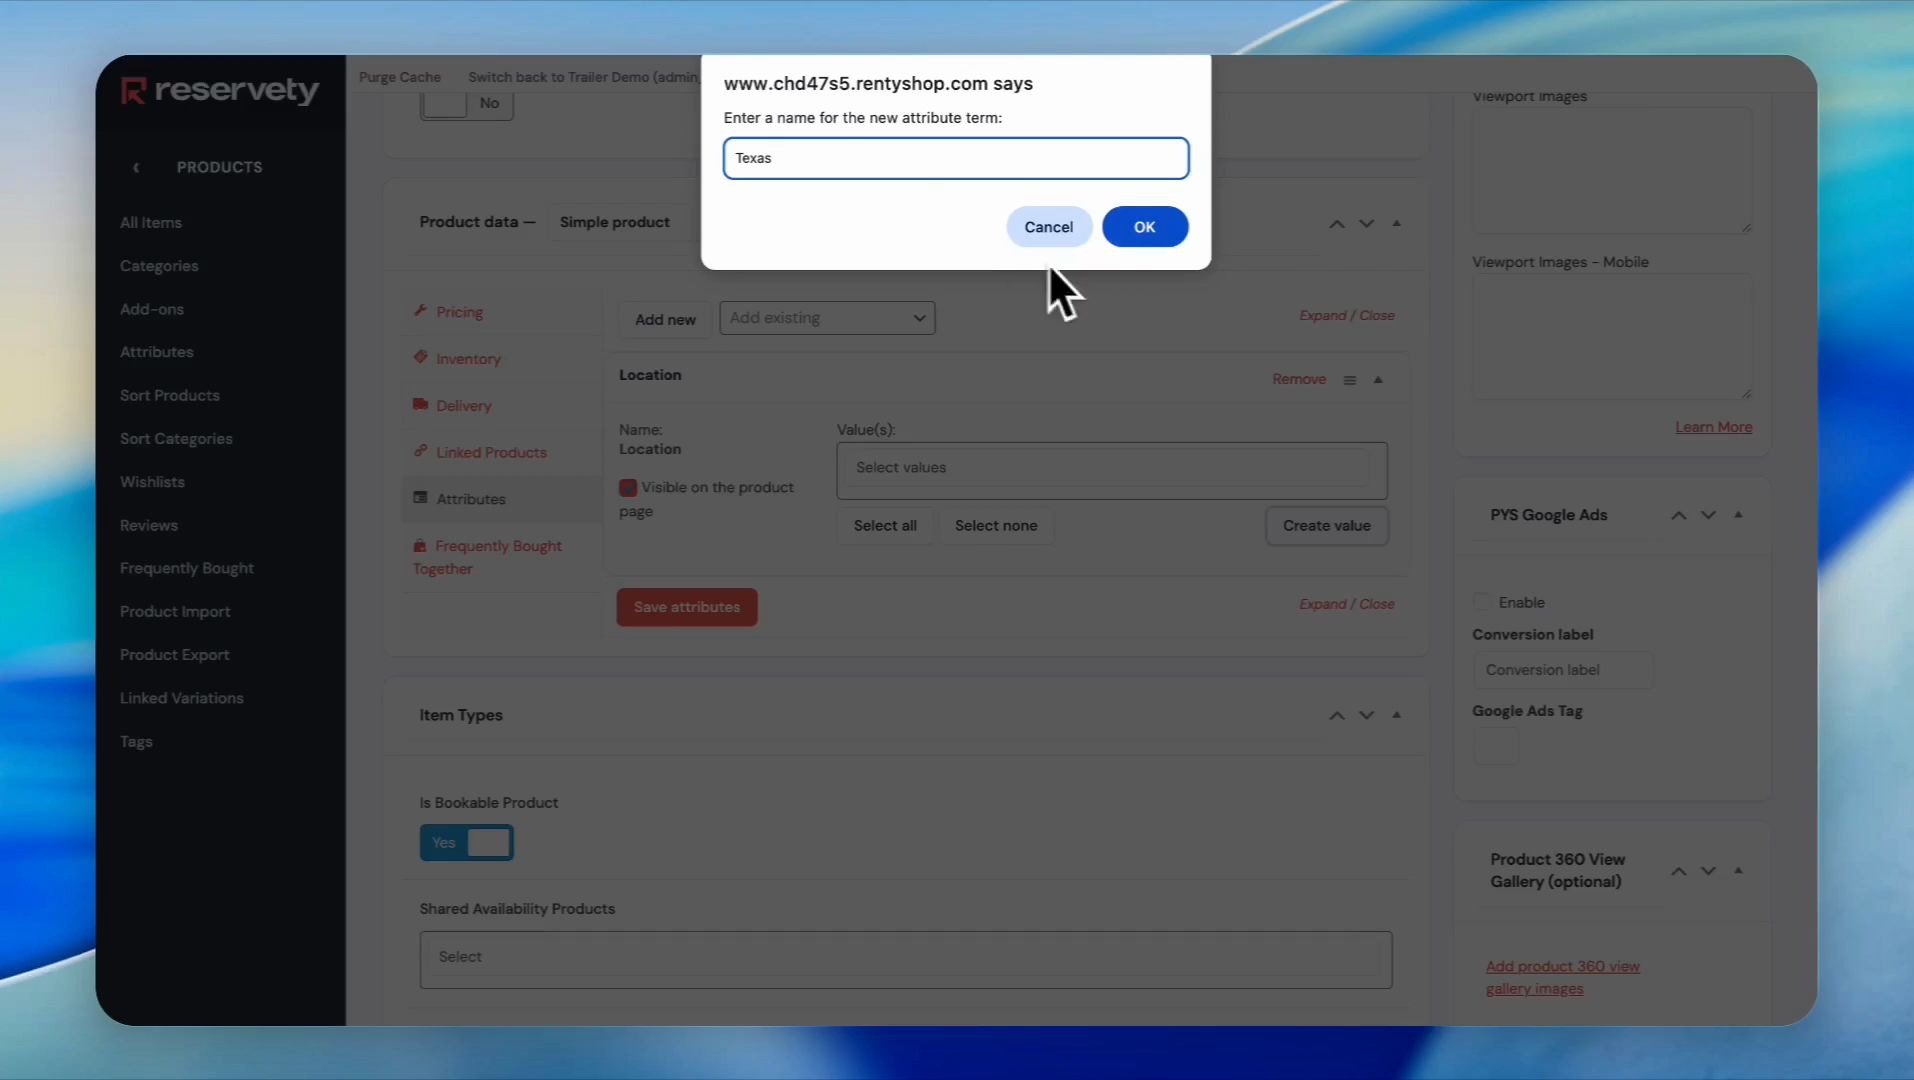
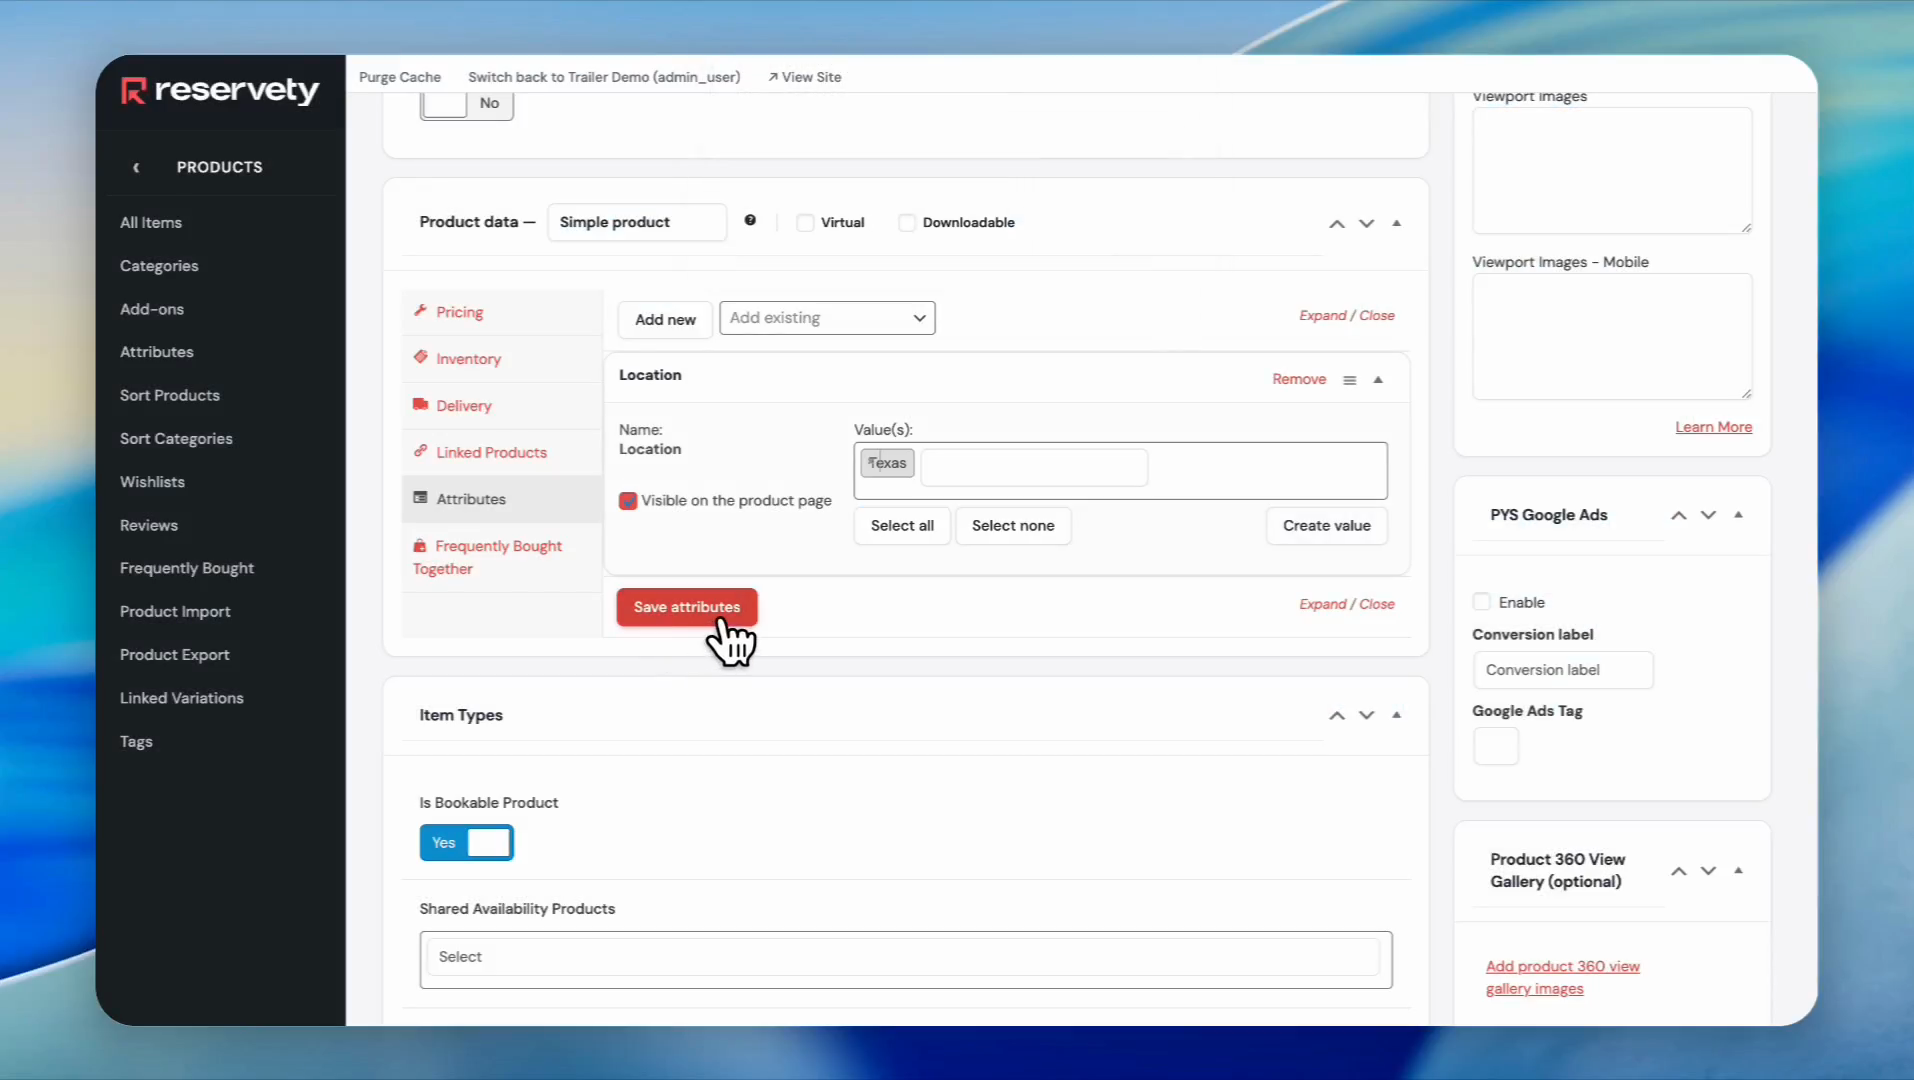
Type Texas in the prompt and click the OK button
Step 17
18
Click the Save attributes button
Step 18
19
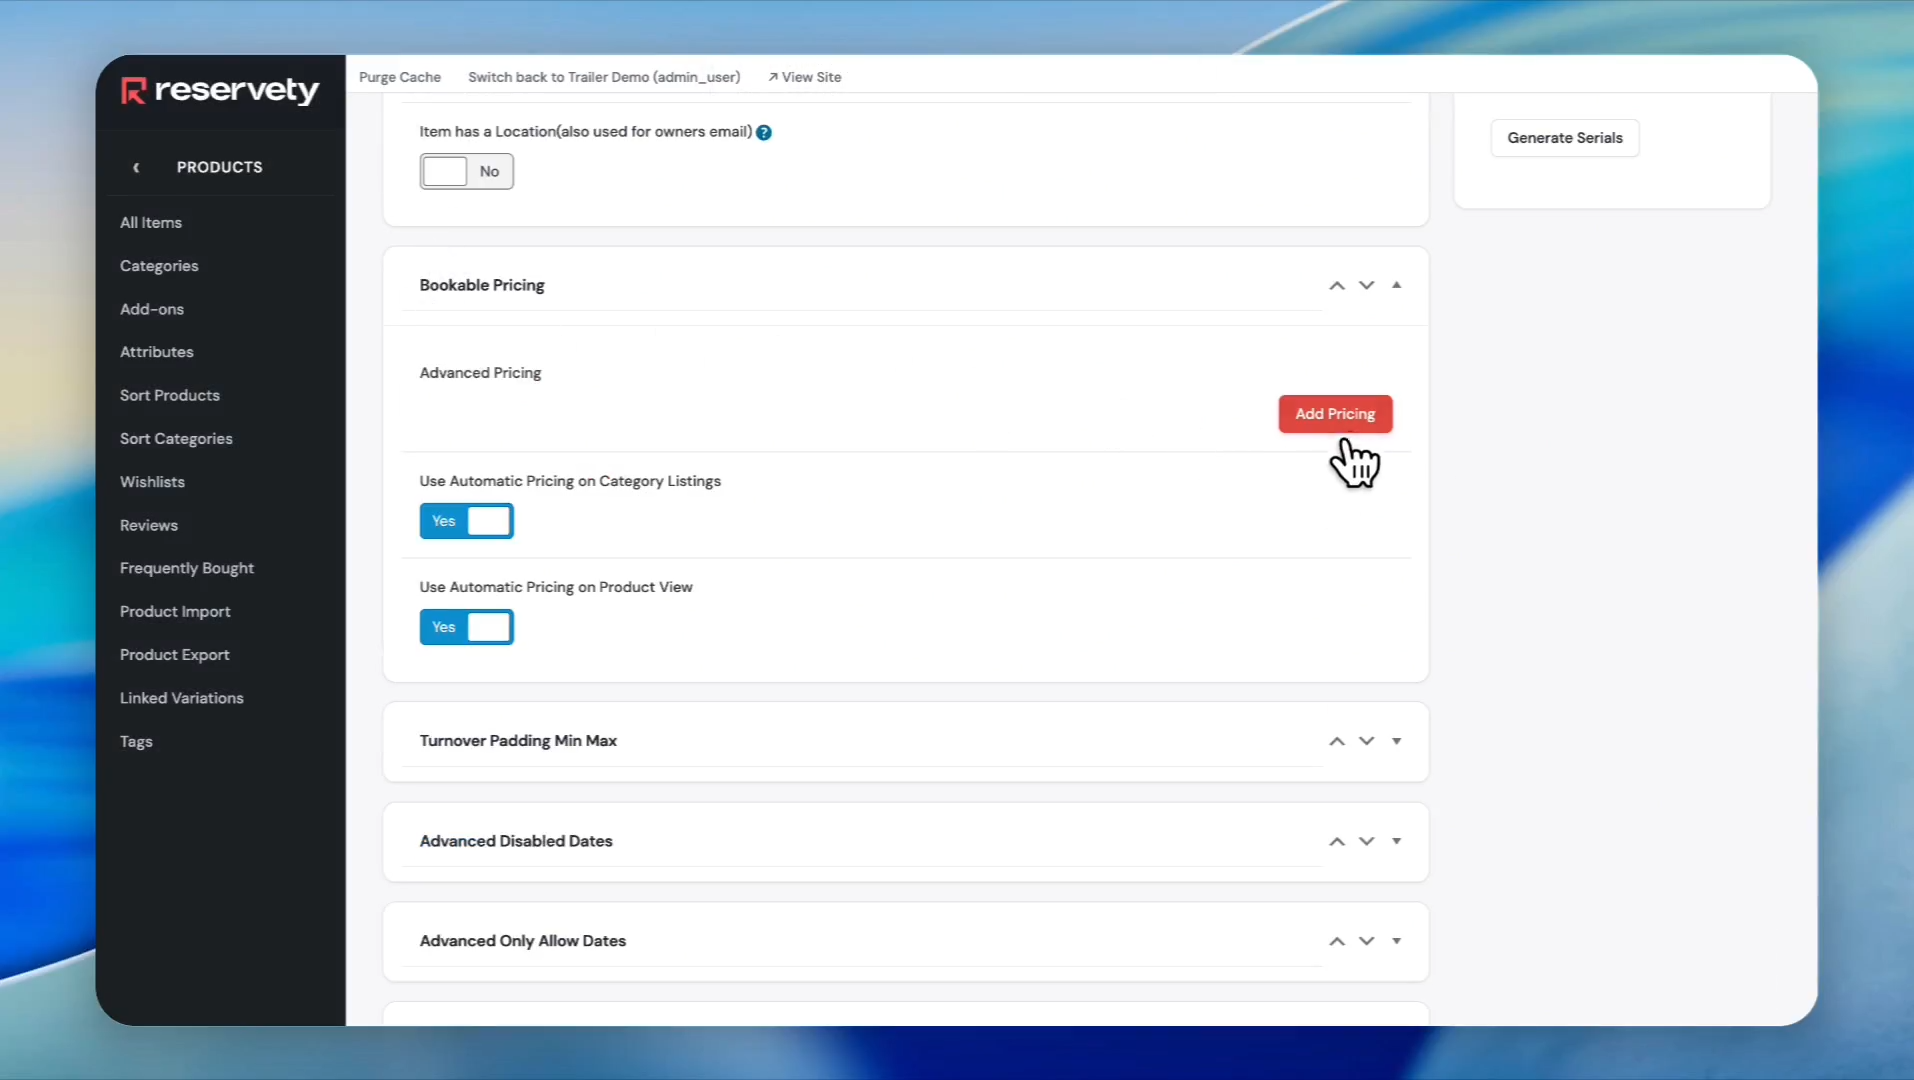
Scroll down and click the Add Pricing button in the Bookable Pricing section
Step 19
20
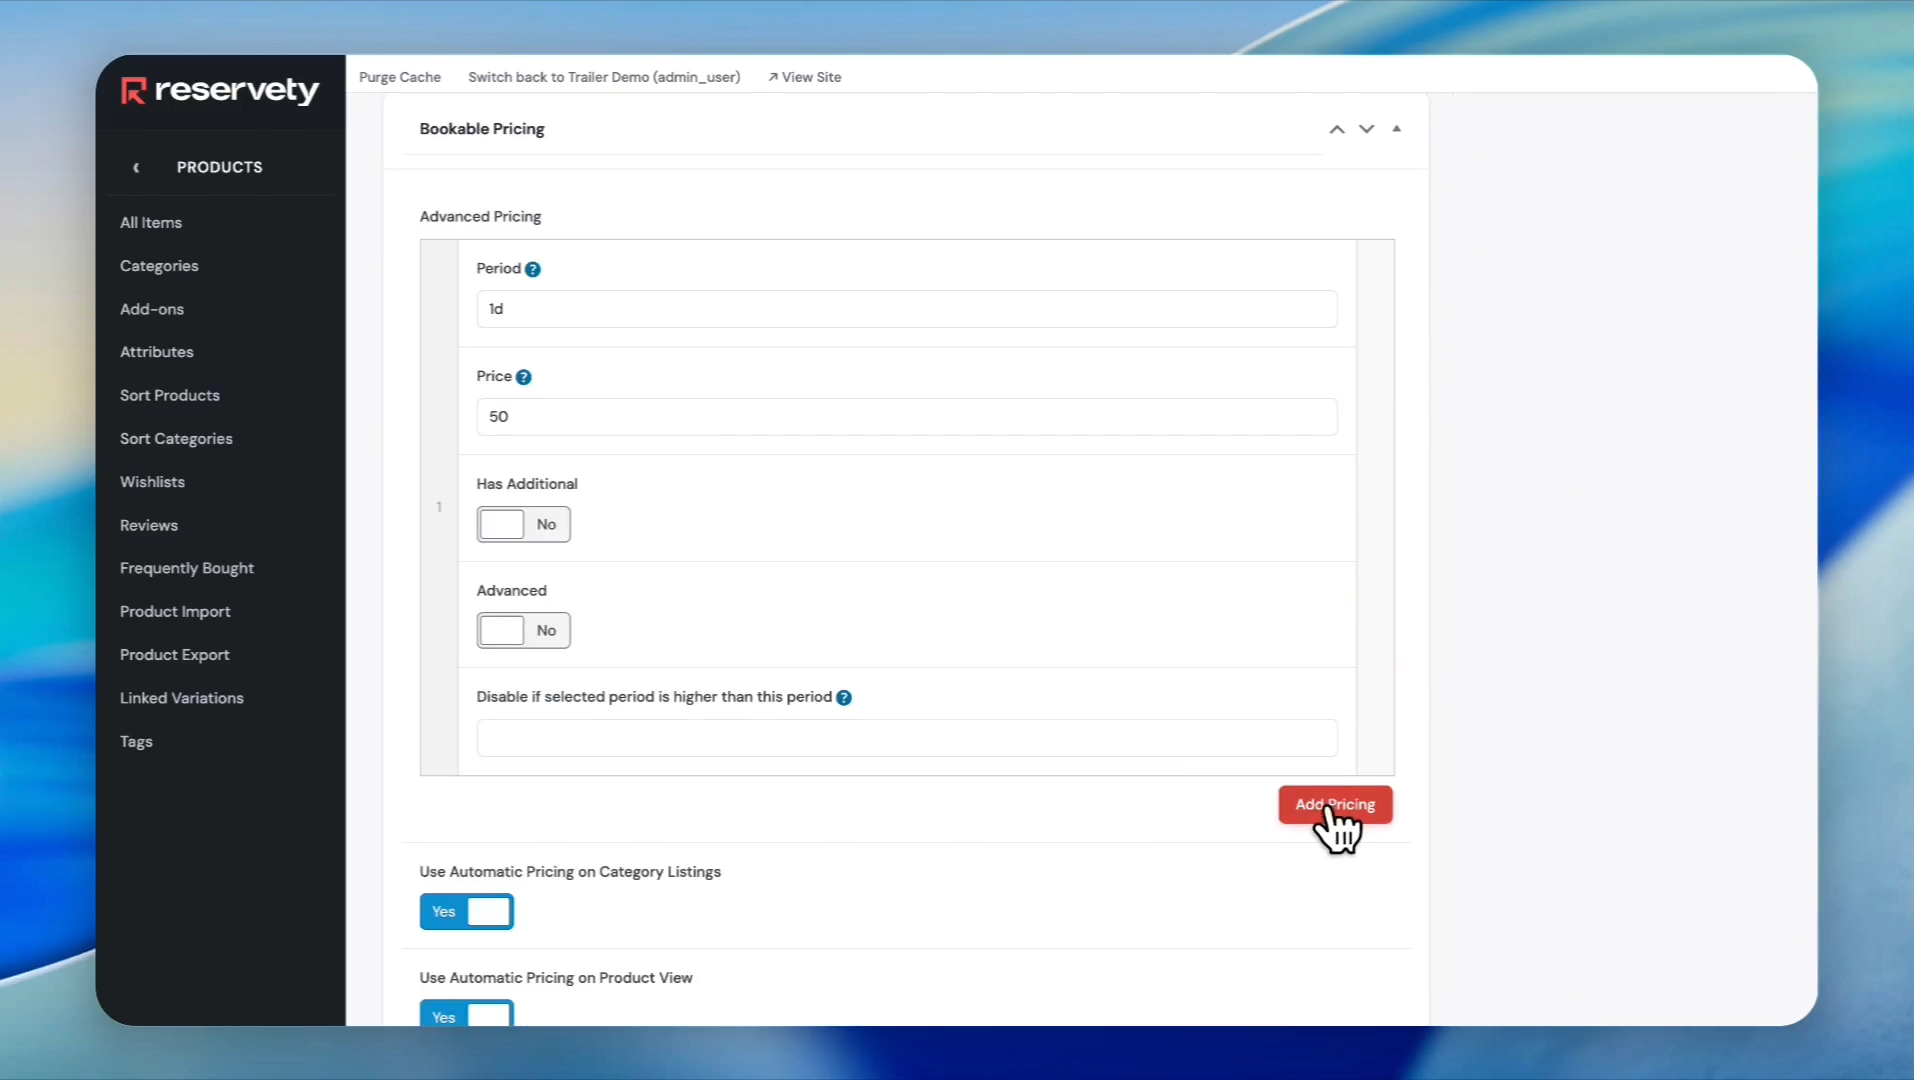
Suppose you want to charge $50 per day. In this case, write 1d in the period section. In the price section, write 50 without the dollar sign. Then, click the "Add Pricing" button.
Step 20
21
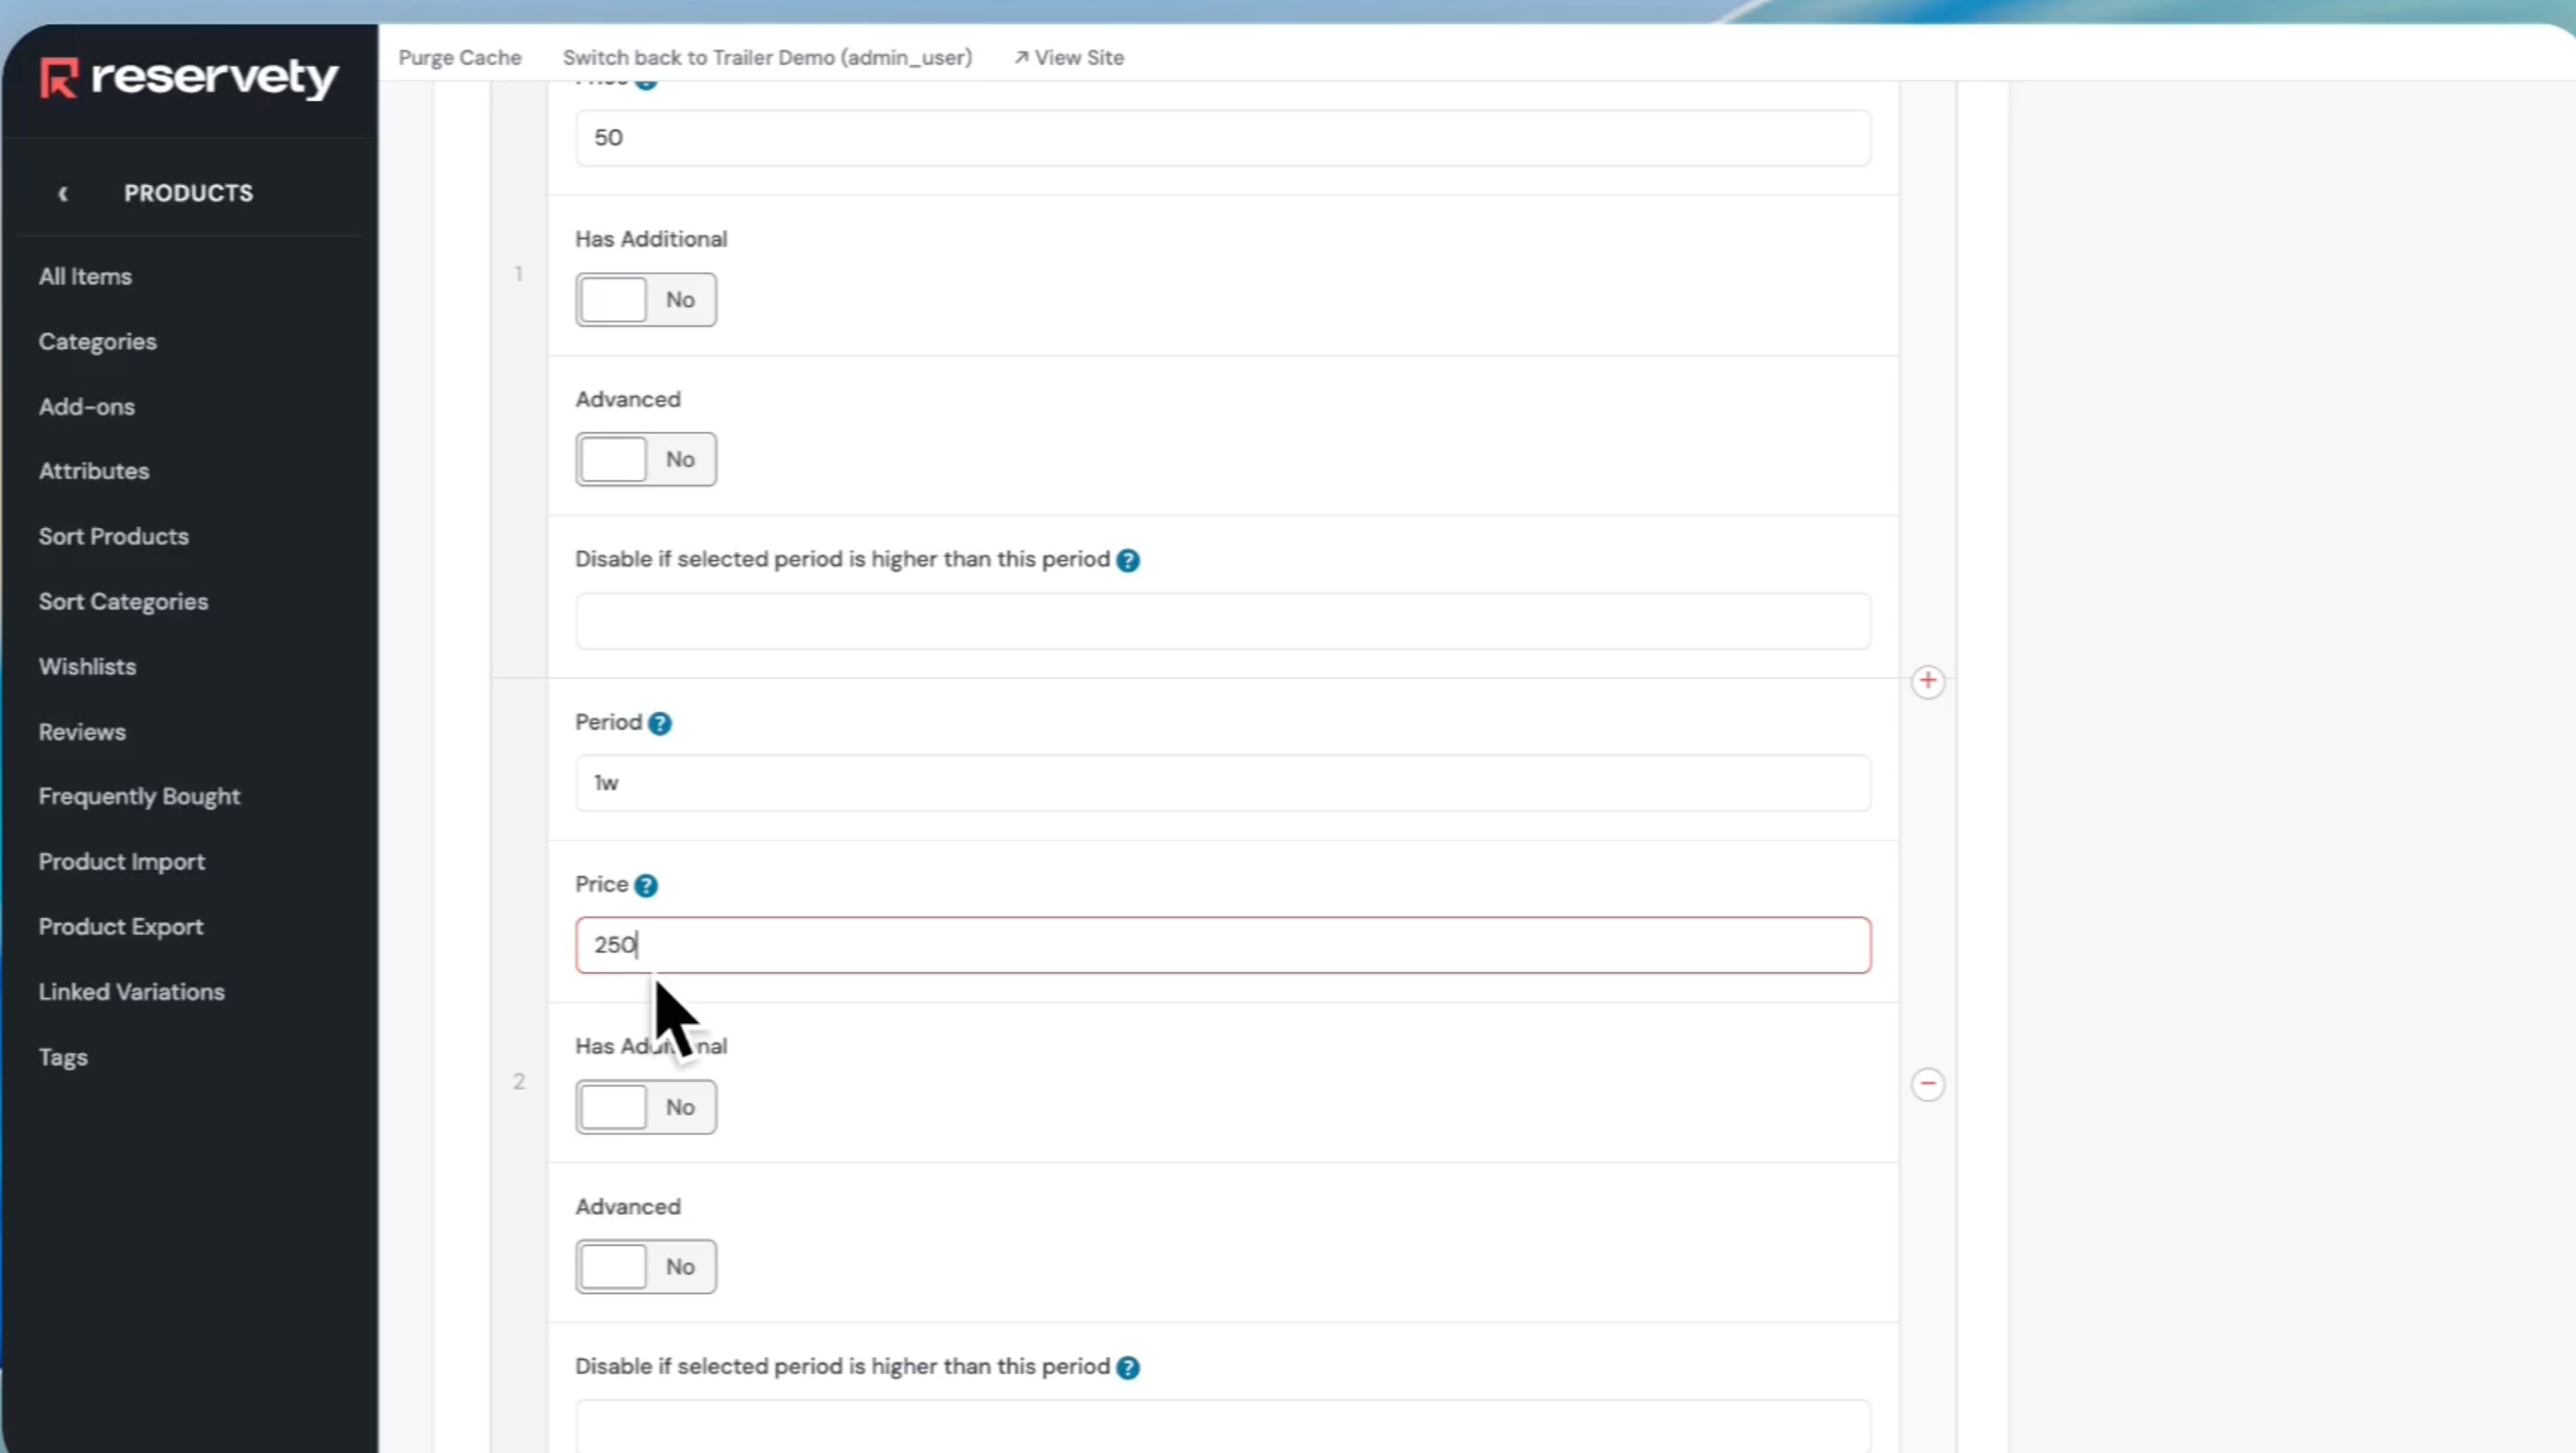
We wrote "1w," which means one week, and entered 250 in the price section. It means our weekly rate is $250
Step 21
22
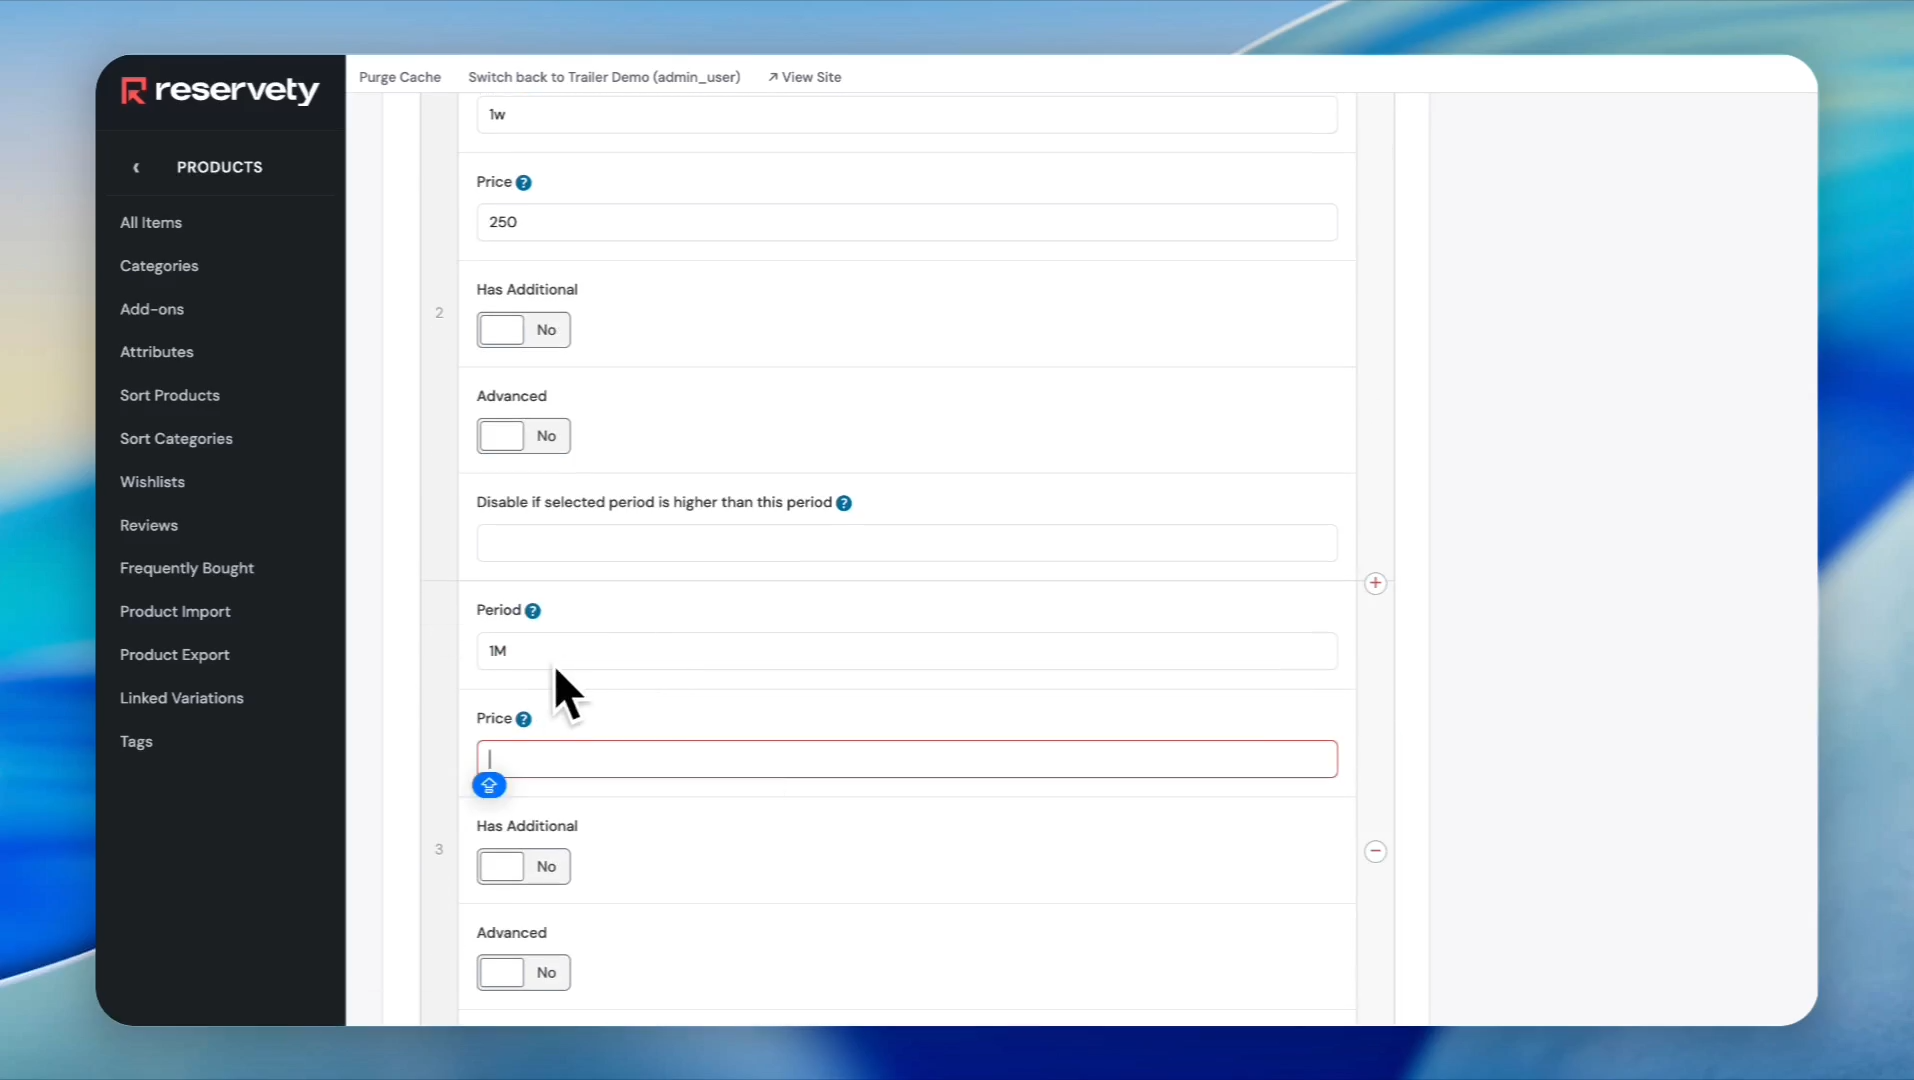
Click Add Pricing again. Enter "1M" and set the monthly price to 900.
Step 22
23
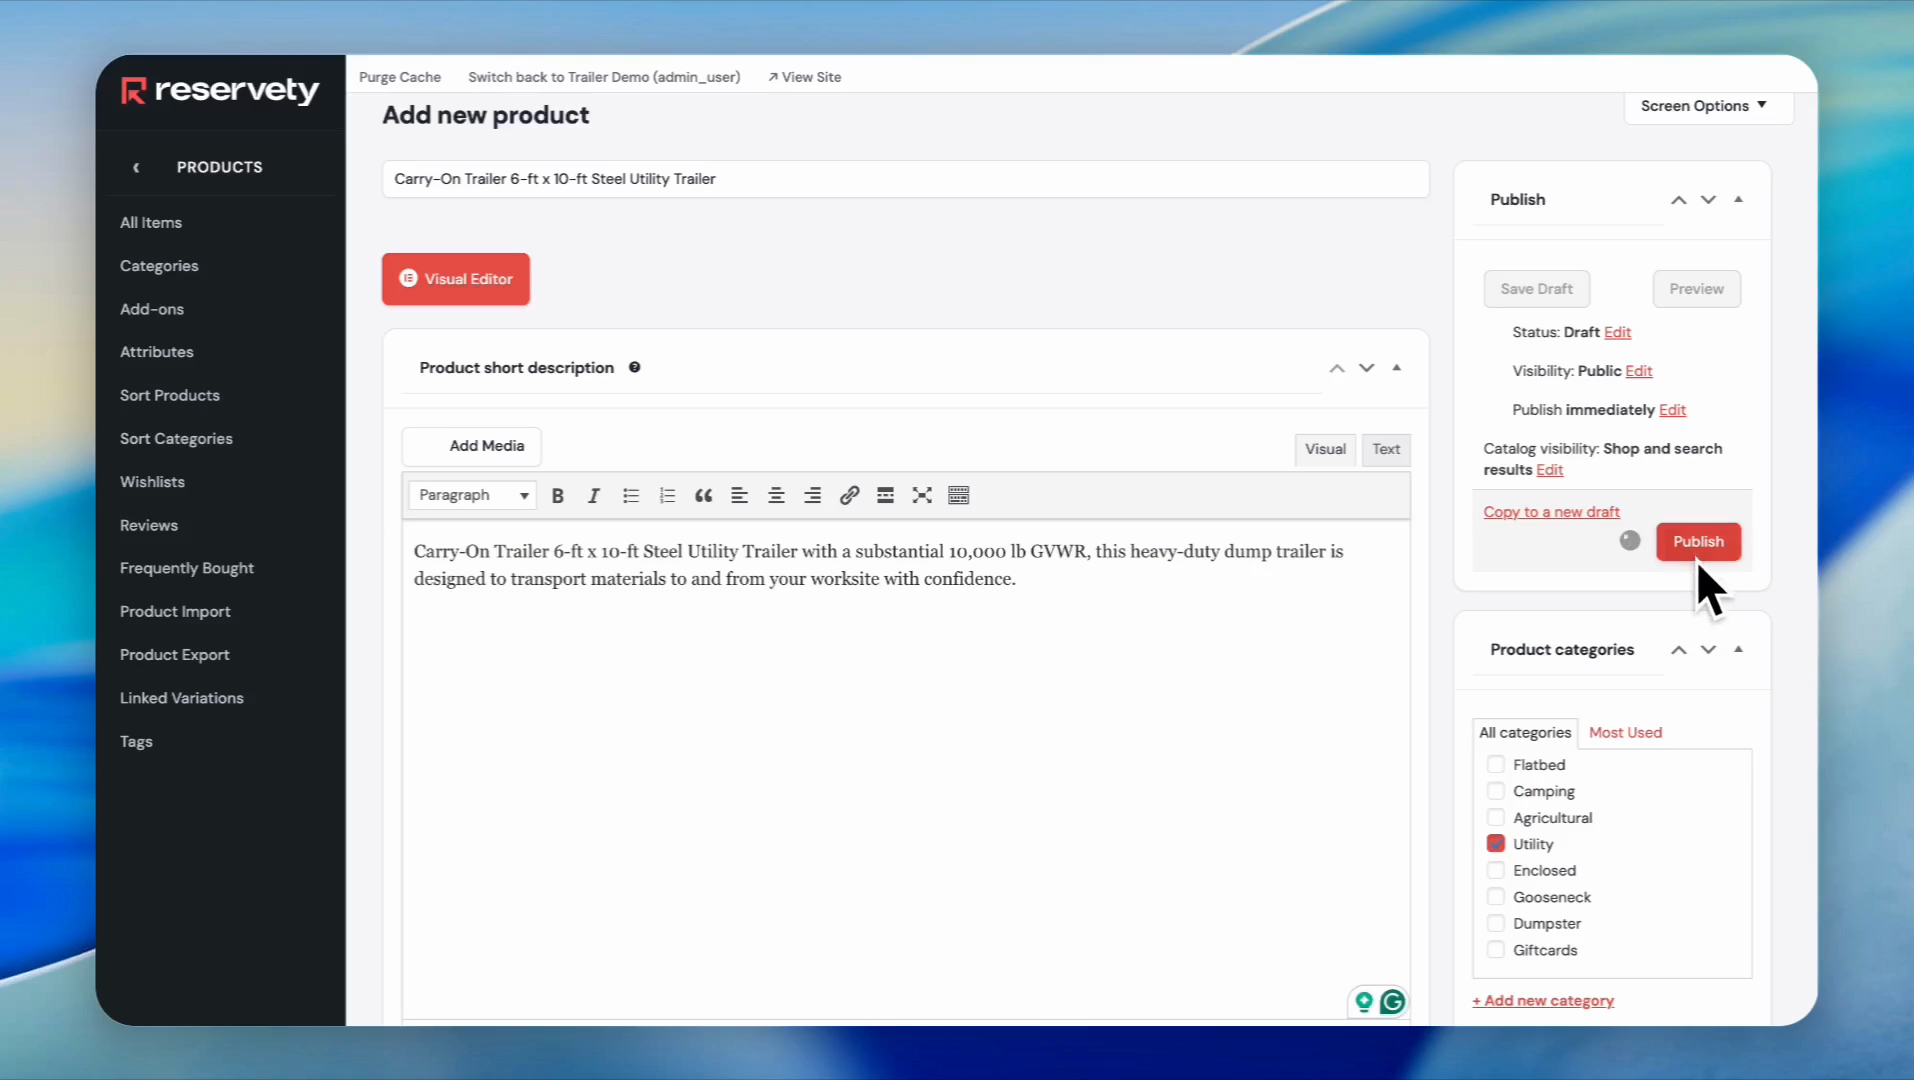
When you finish setting the pricing, go up and click Publish.
Step 23
24
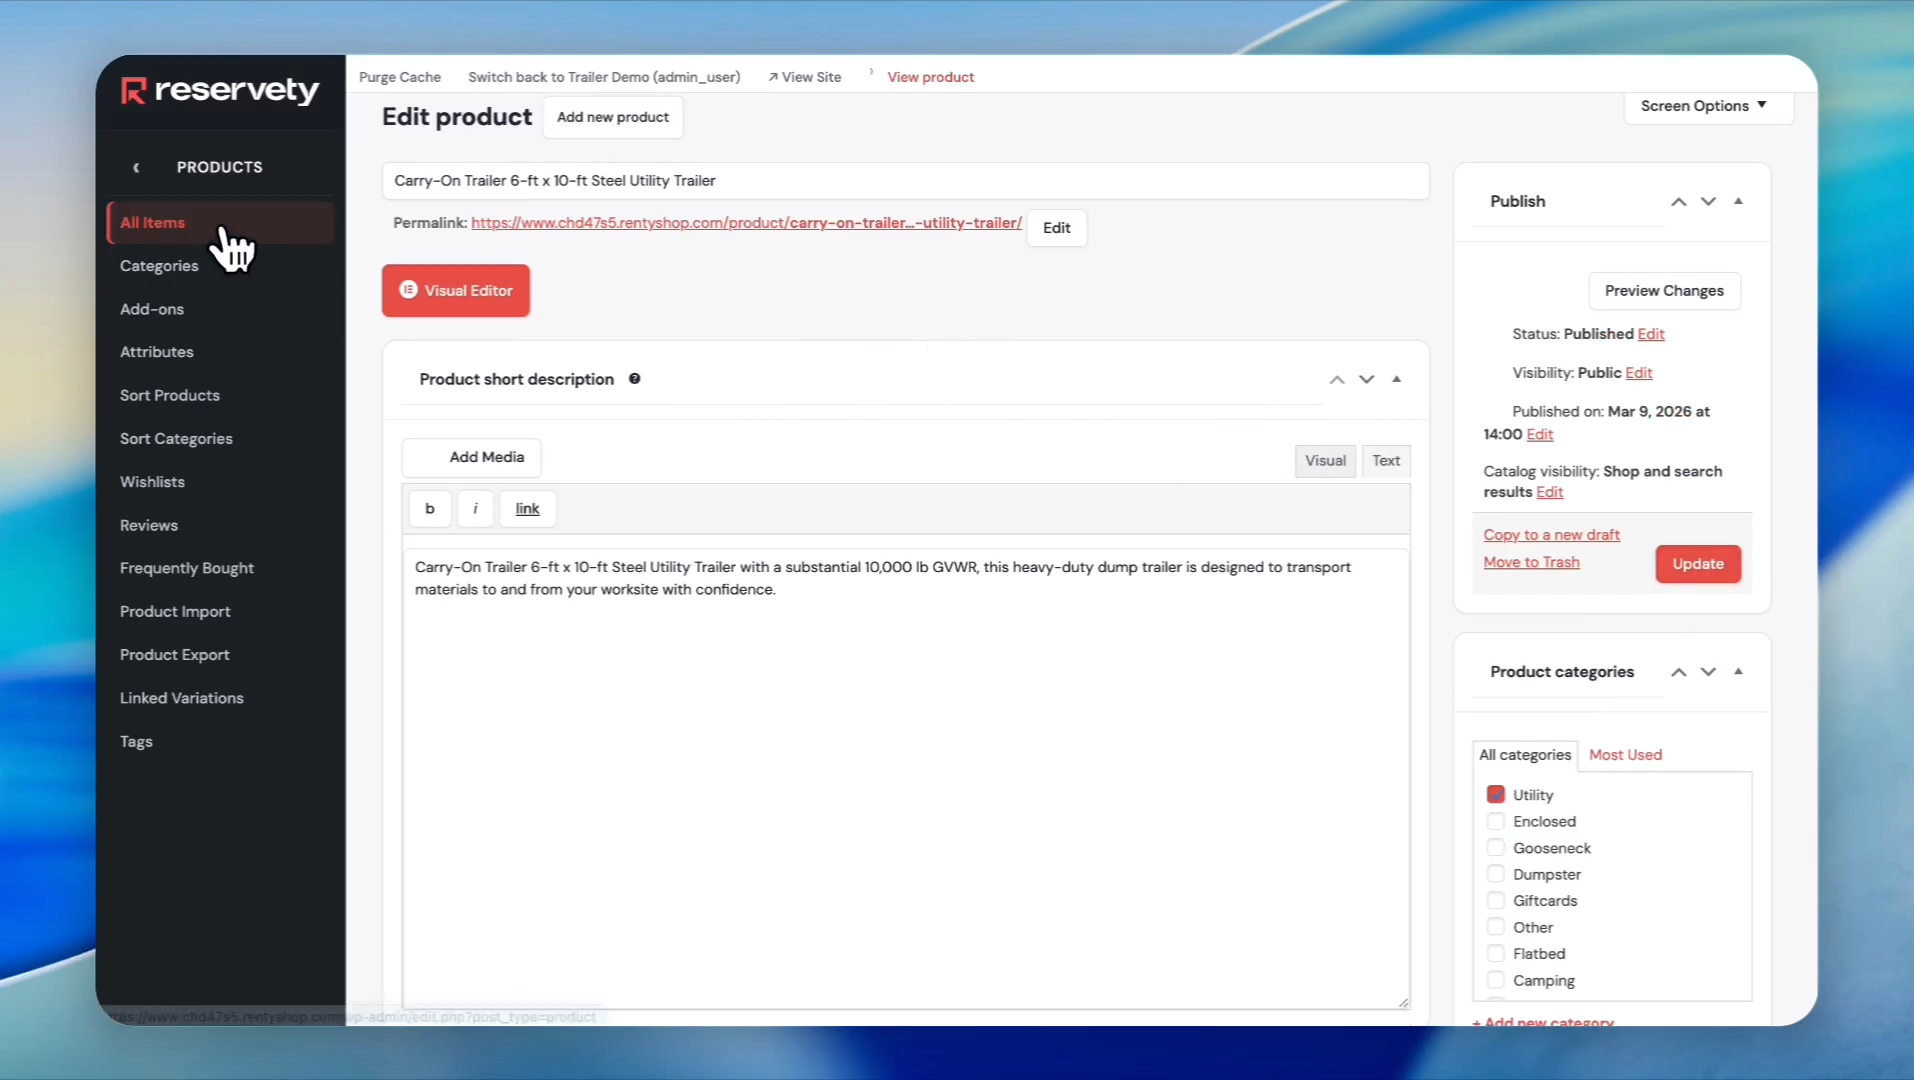
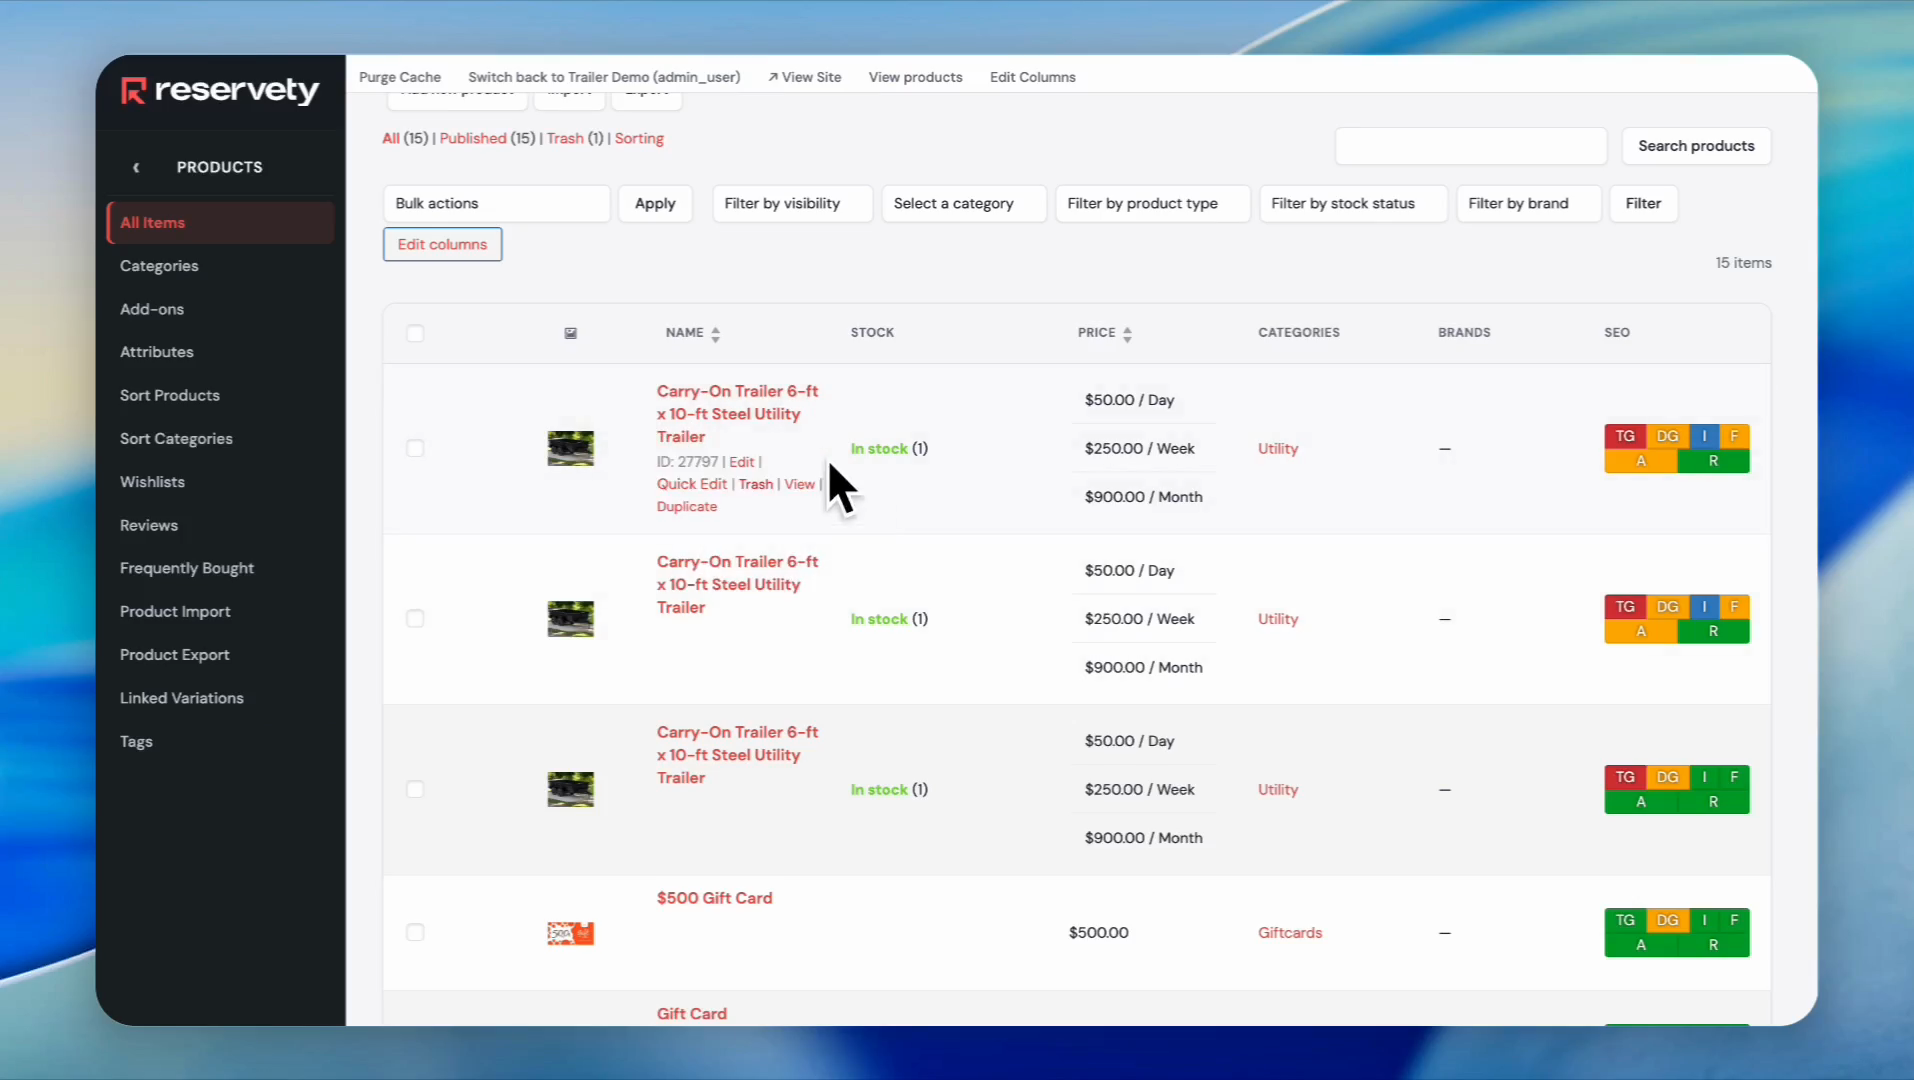
After publishing the item, click on "All Items" in the left sidebar.
Step 24
25
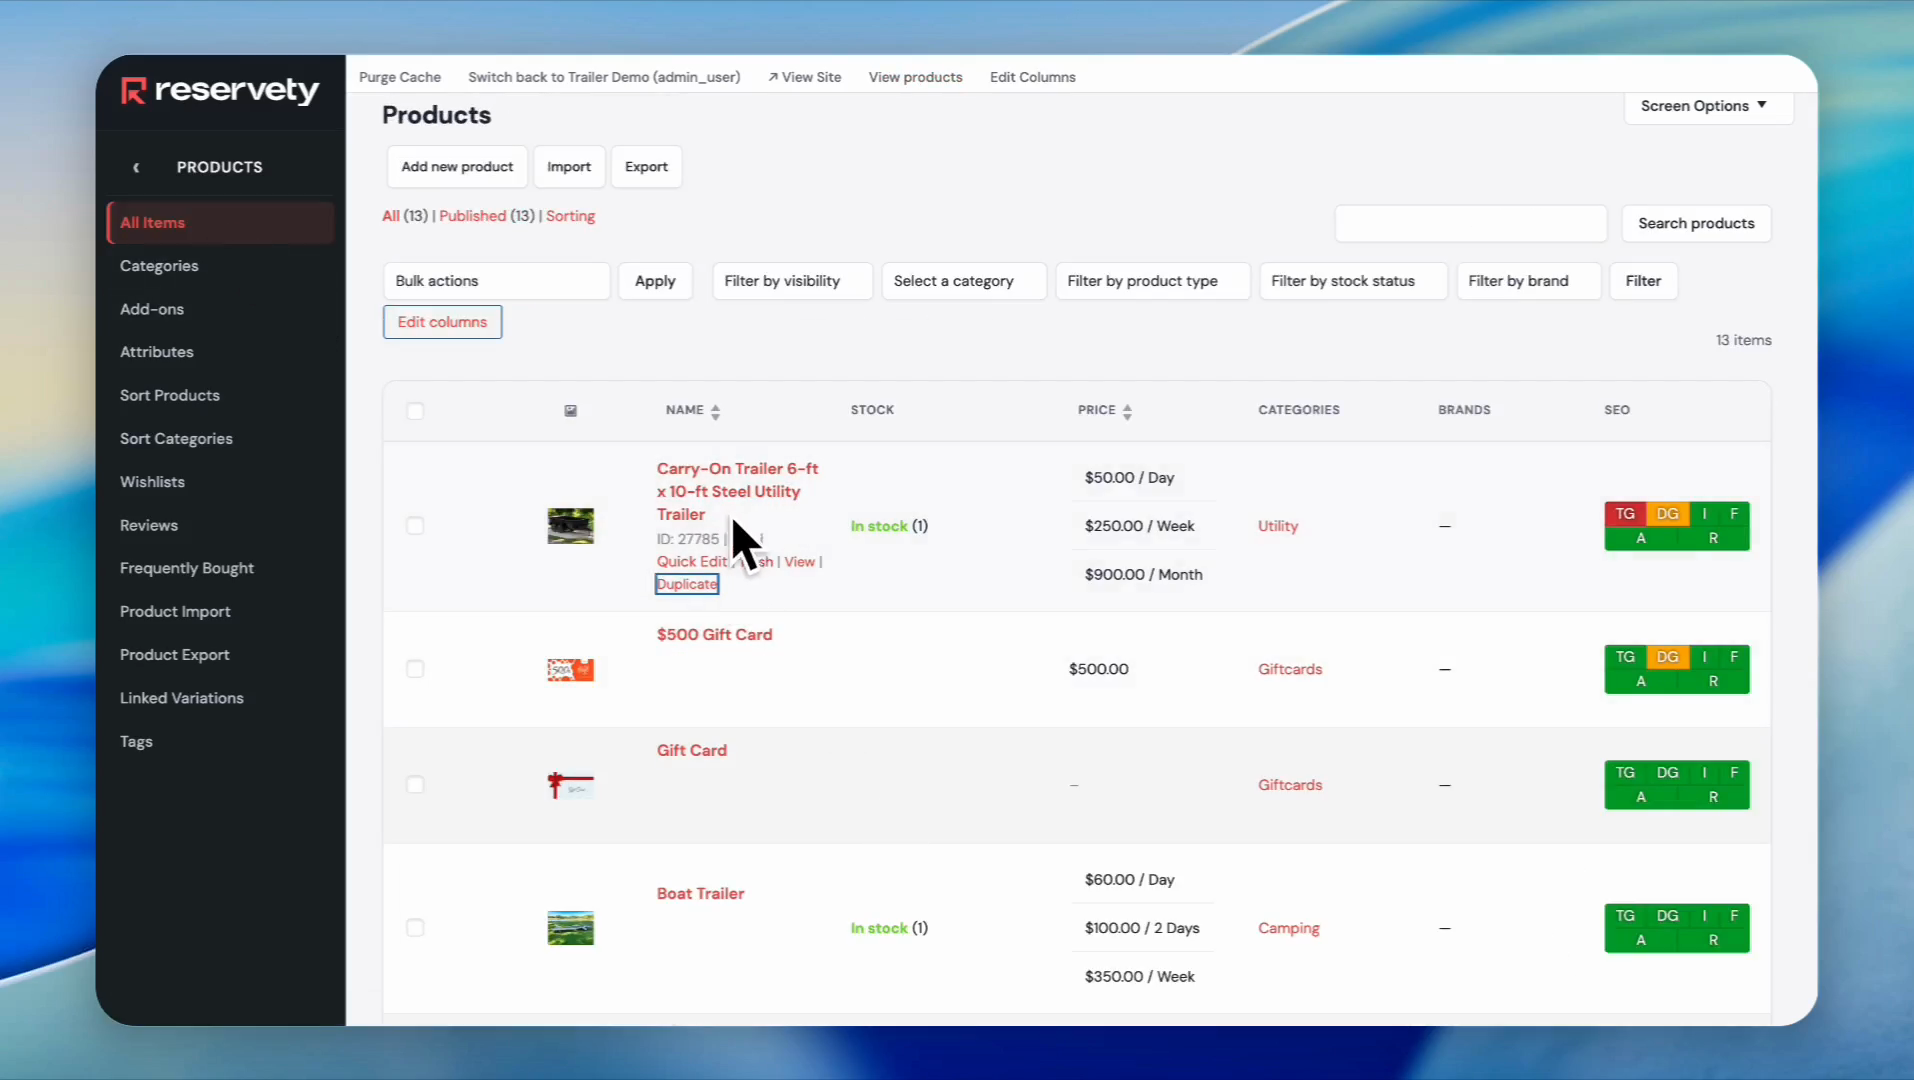
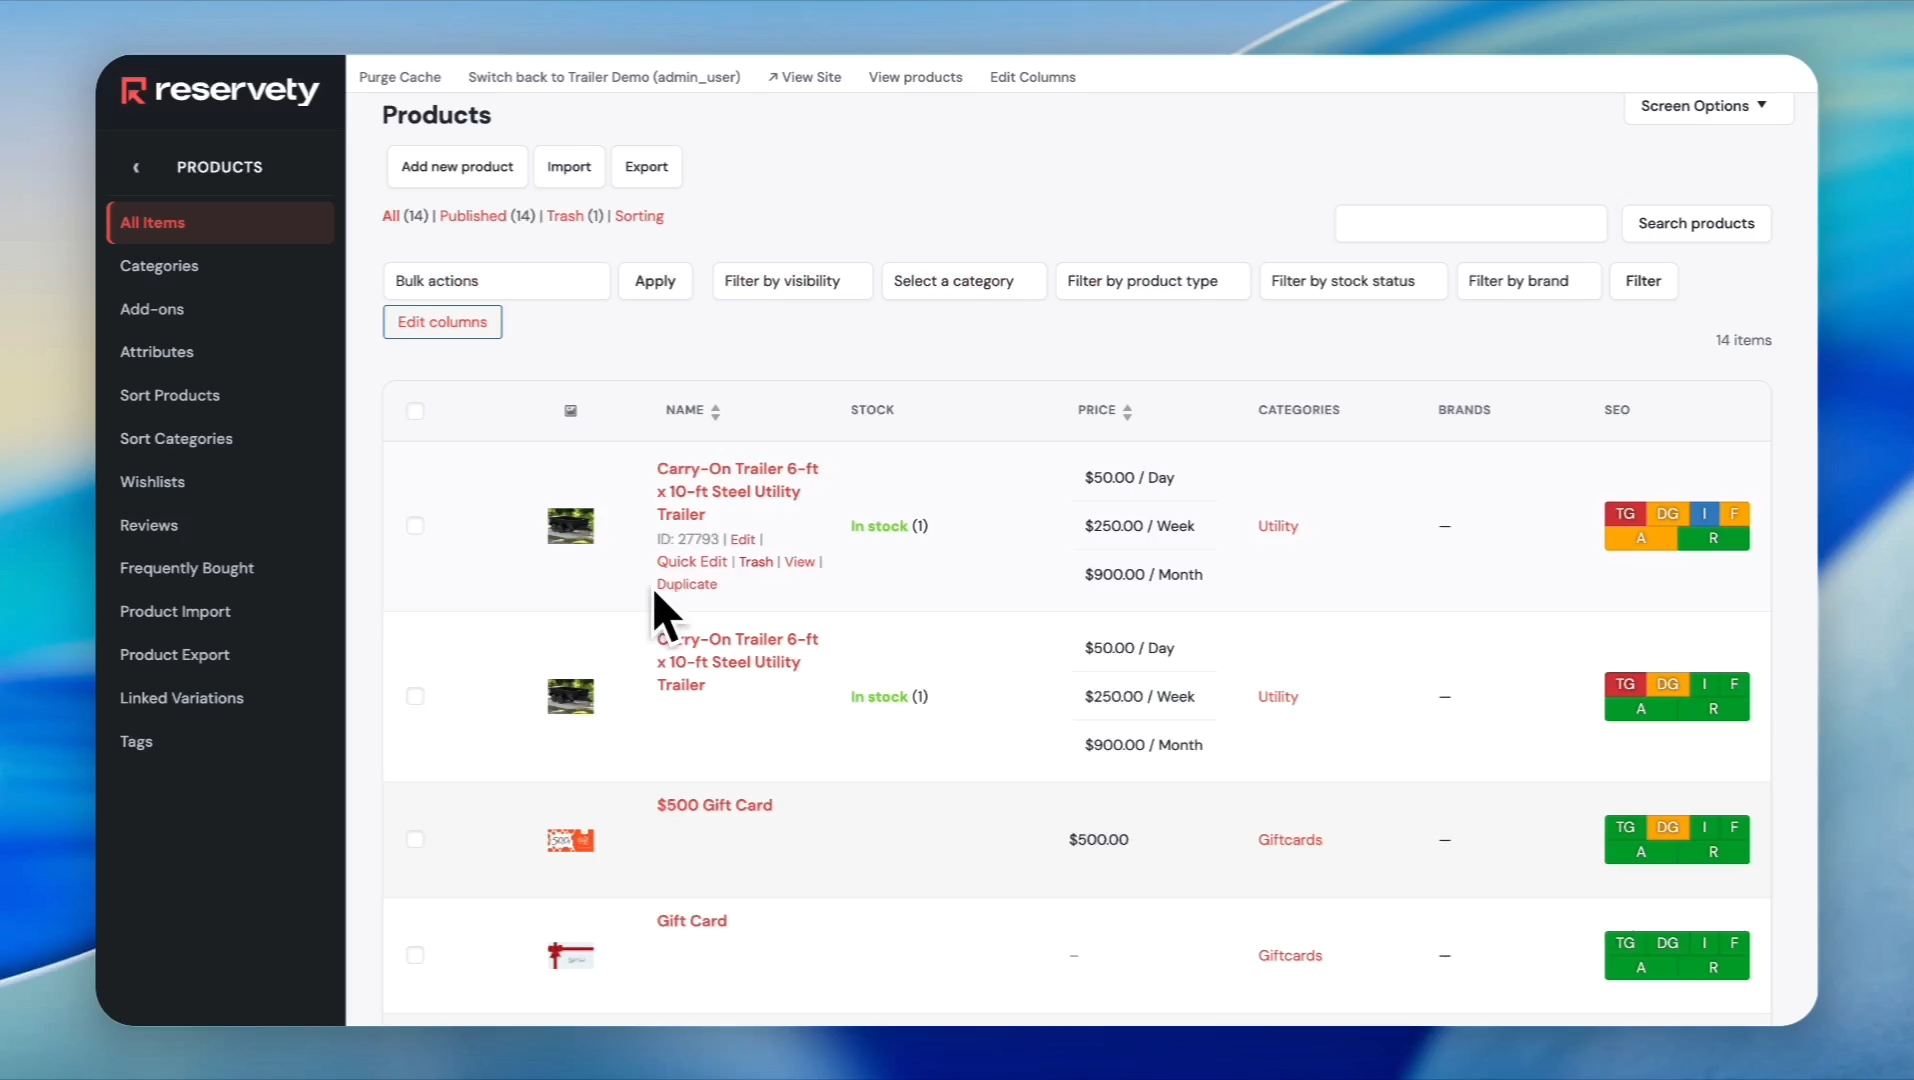
Find the item you just published and click on "Duplicate".
Step 25
26
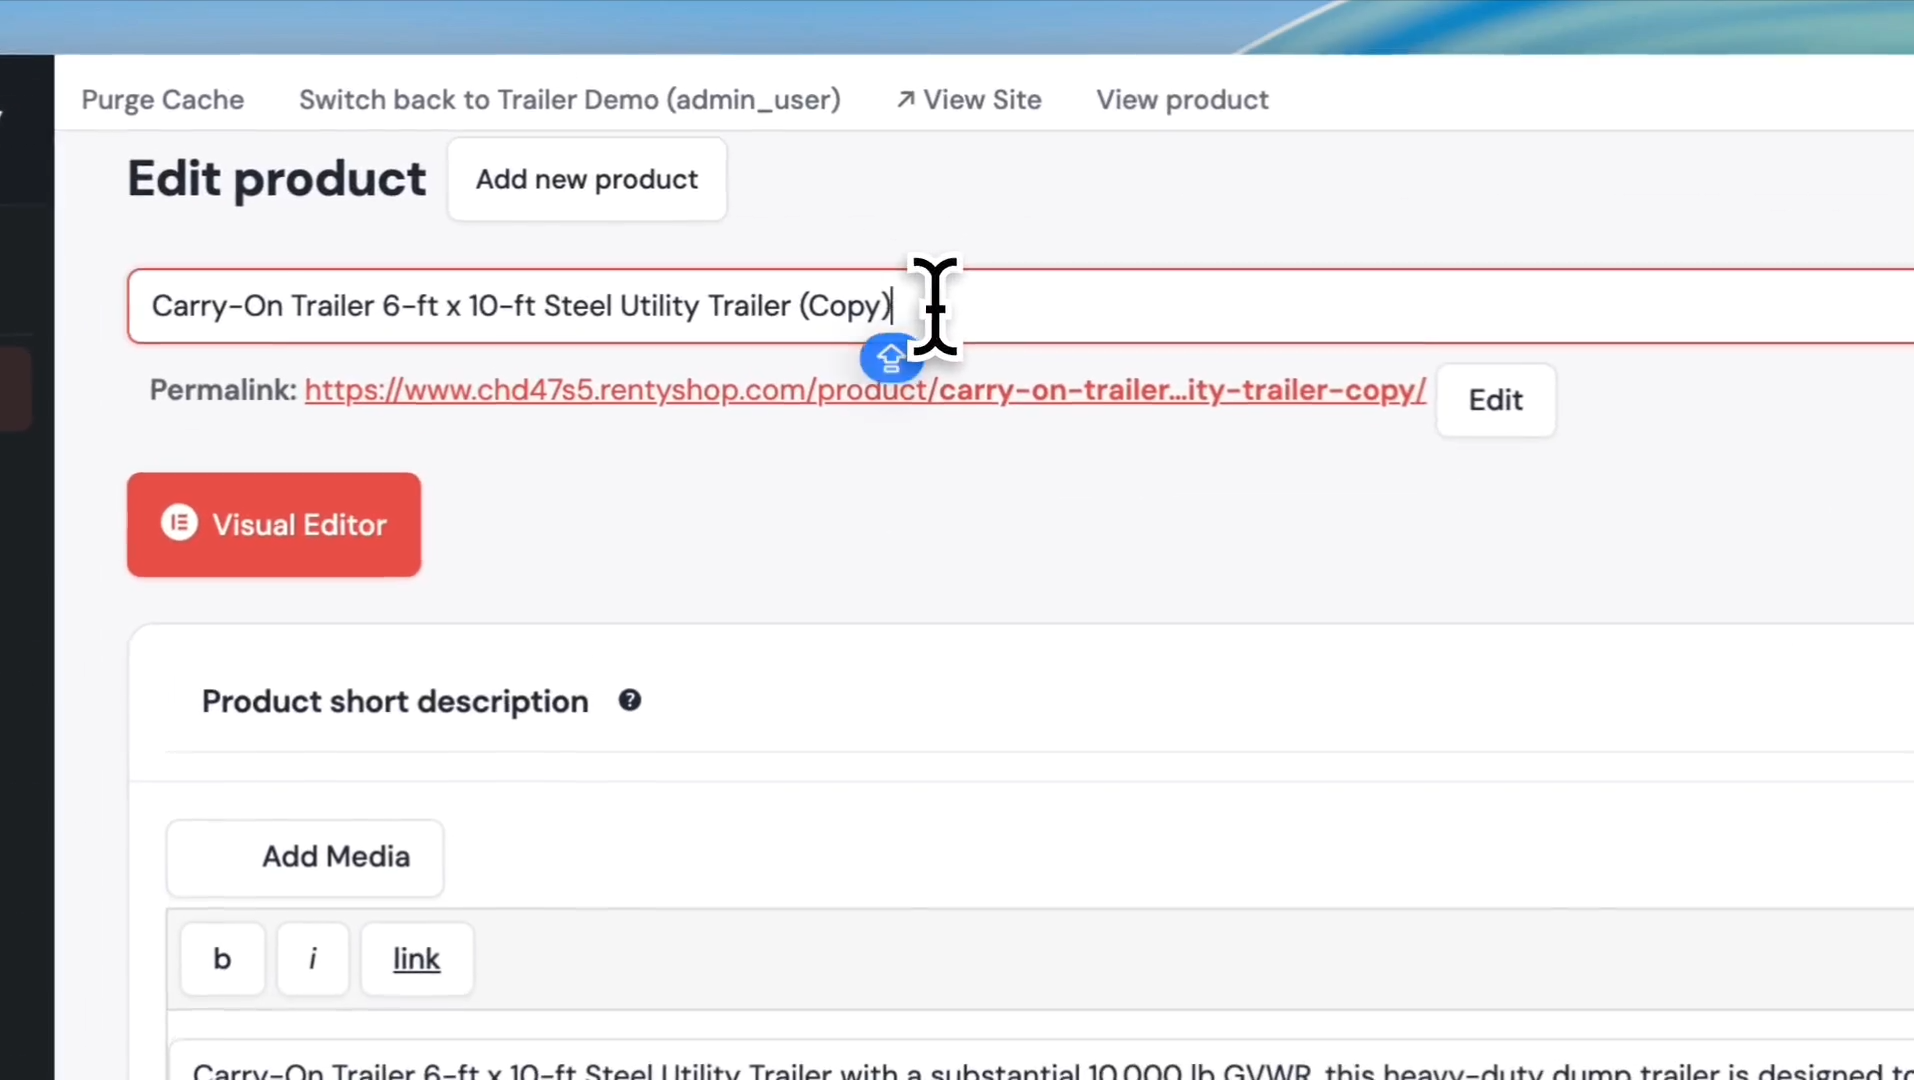
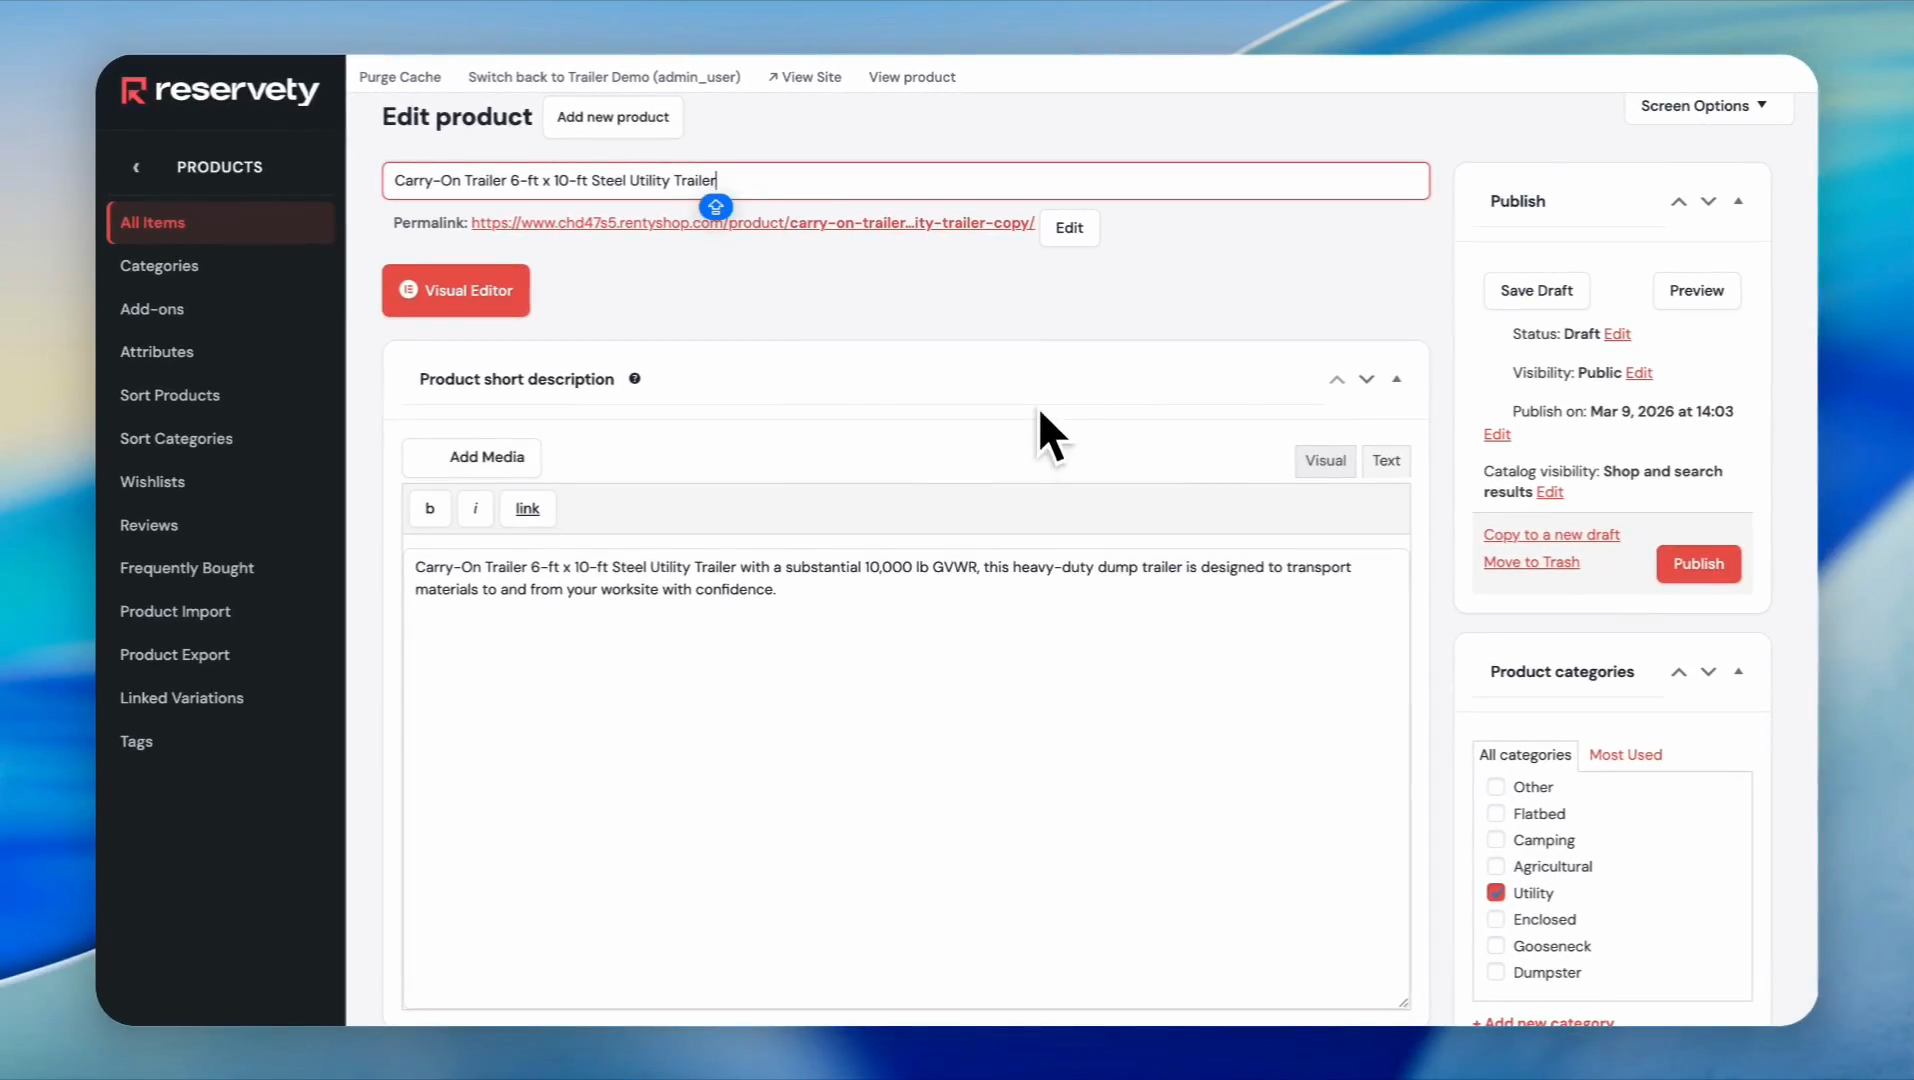
Click on the title field to edit it and delete the word (copy)
Step 26
27
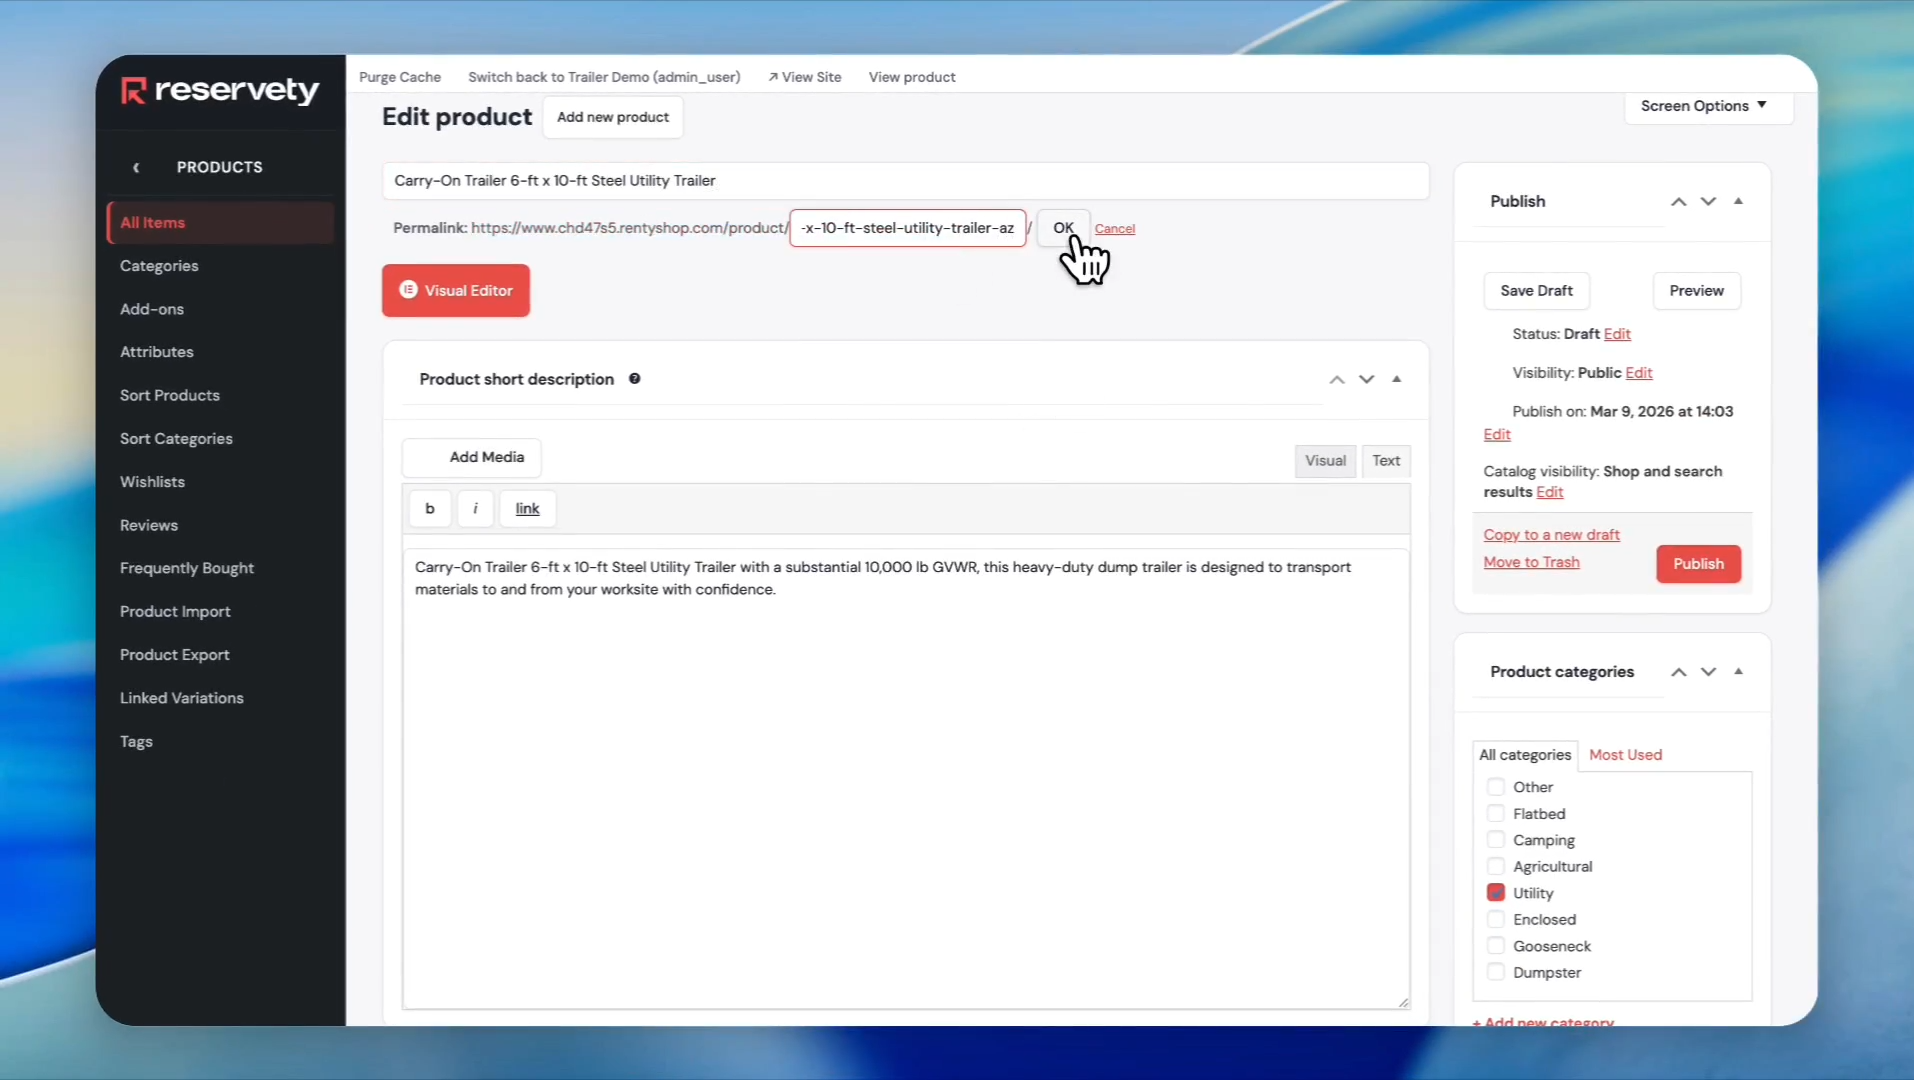
Click the "Edit" button next to the permalink.
Step 27
28
In the permalink field, type "-az" at the end of the link to indicate Arizona, then click the OK button next to the permalink field.
Step 28
29
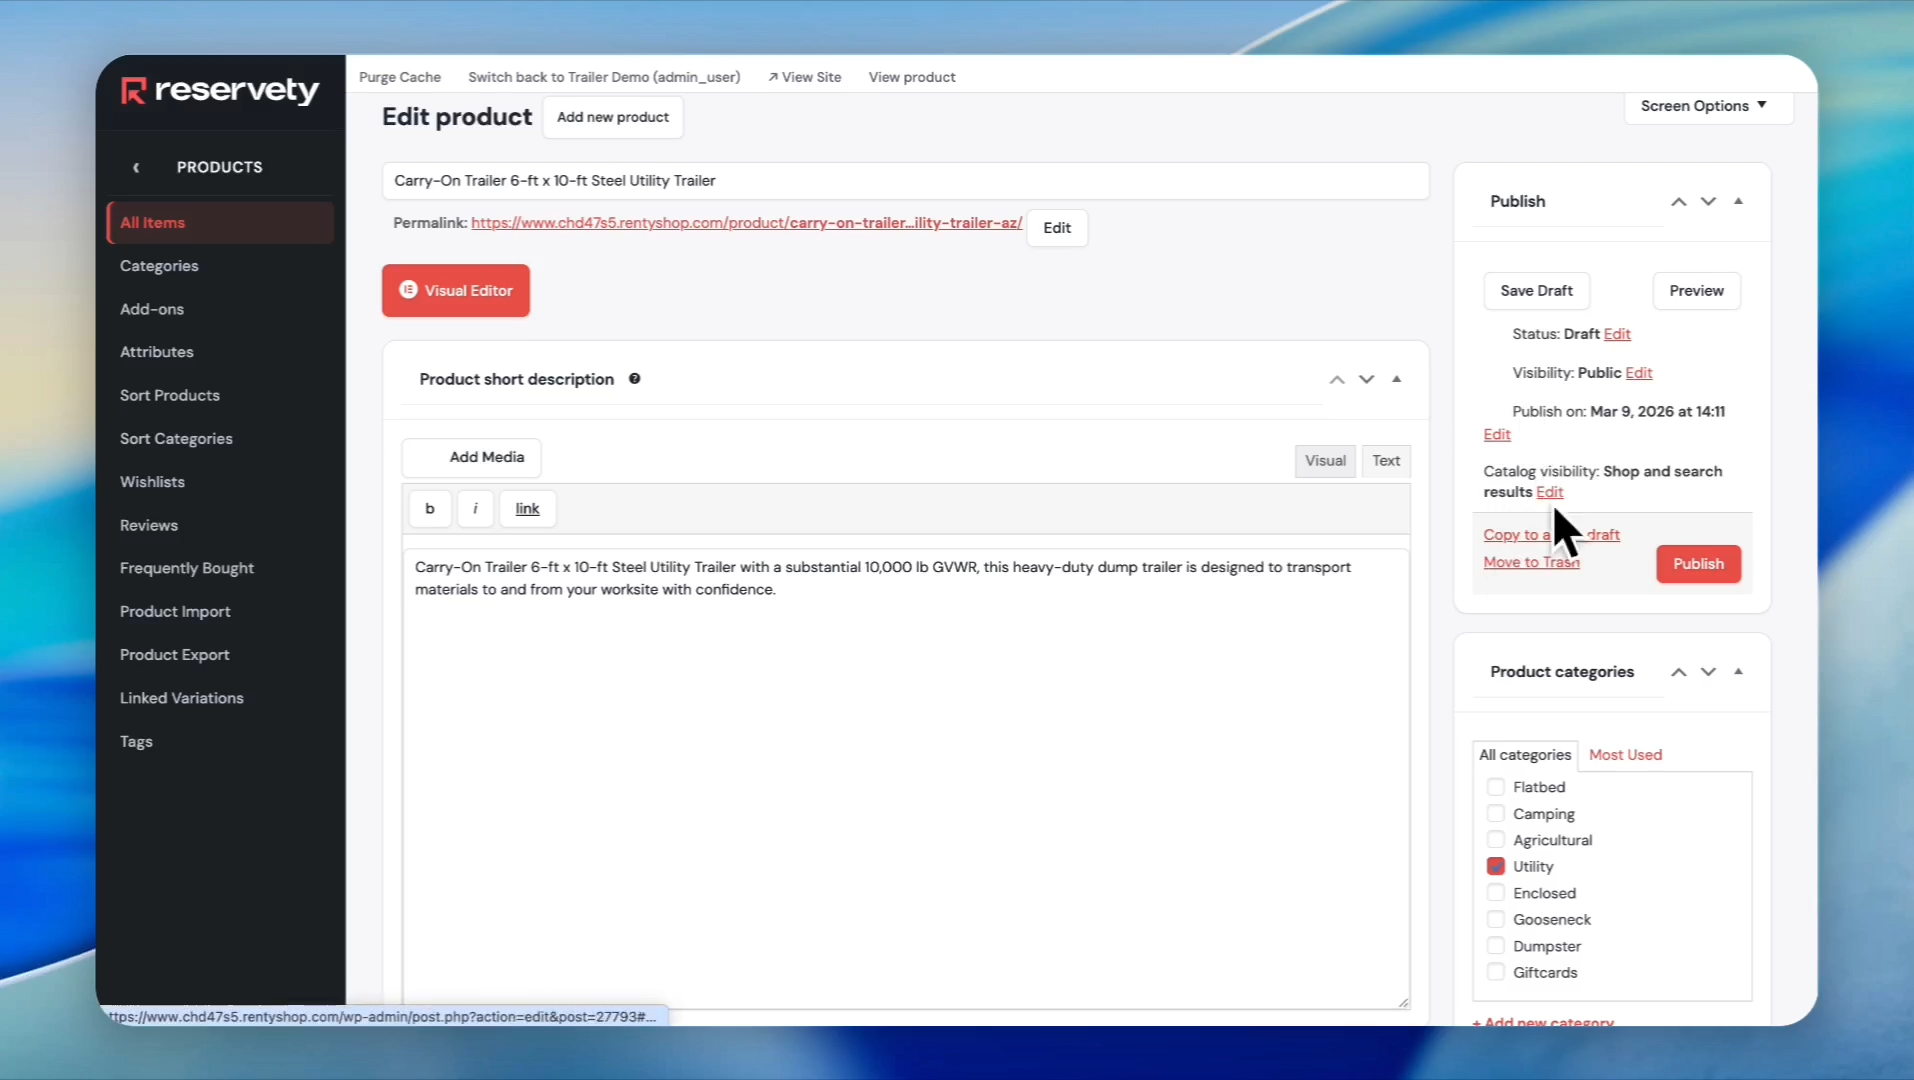
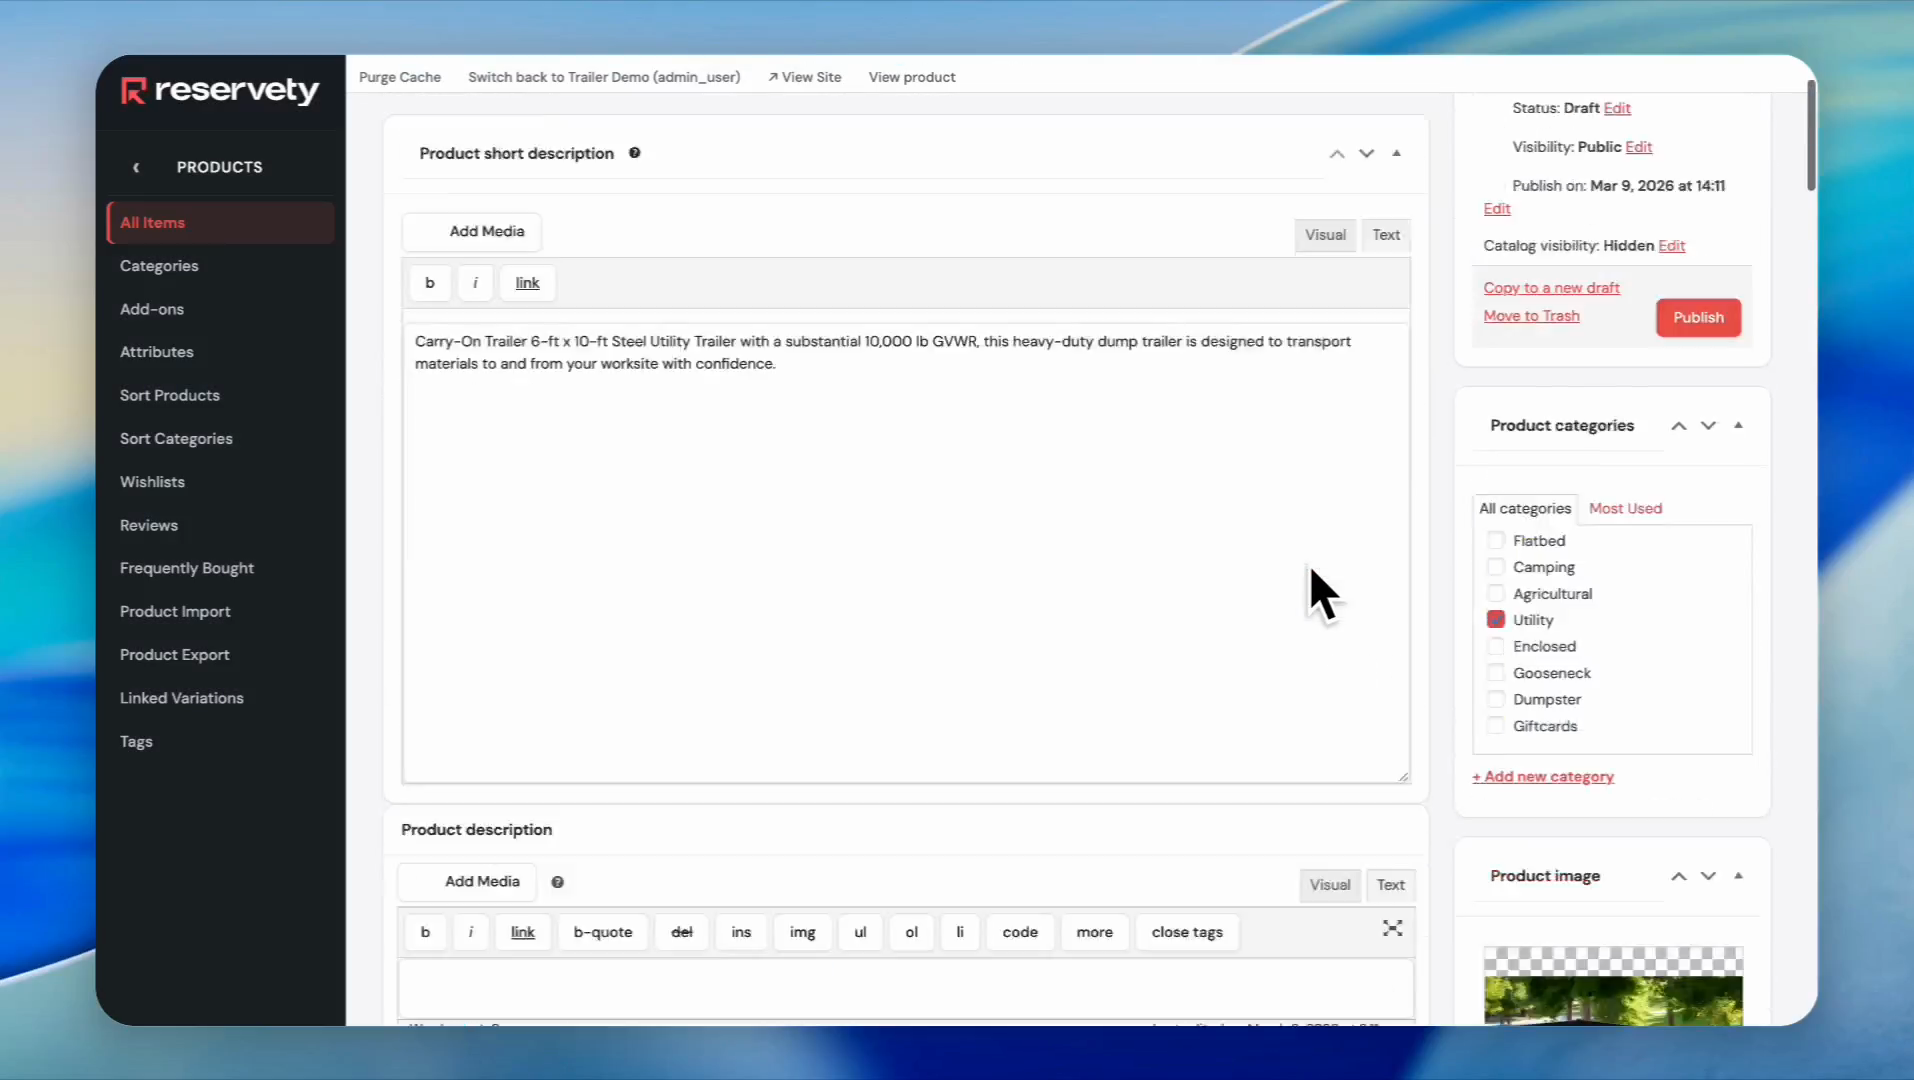
Under the Publish section, click the Edit button next to Catalog visibility.
Step 29
30
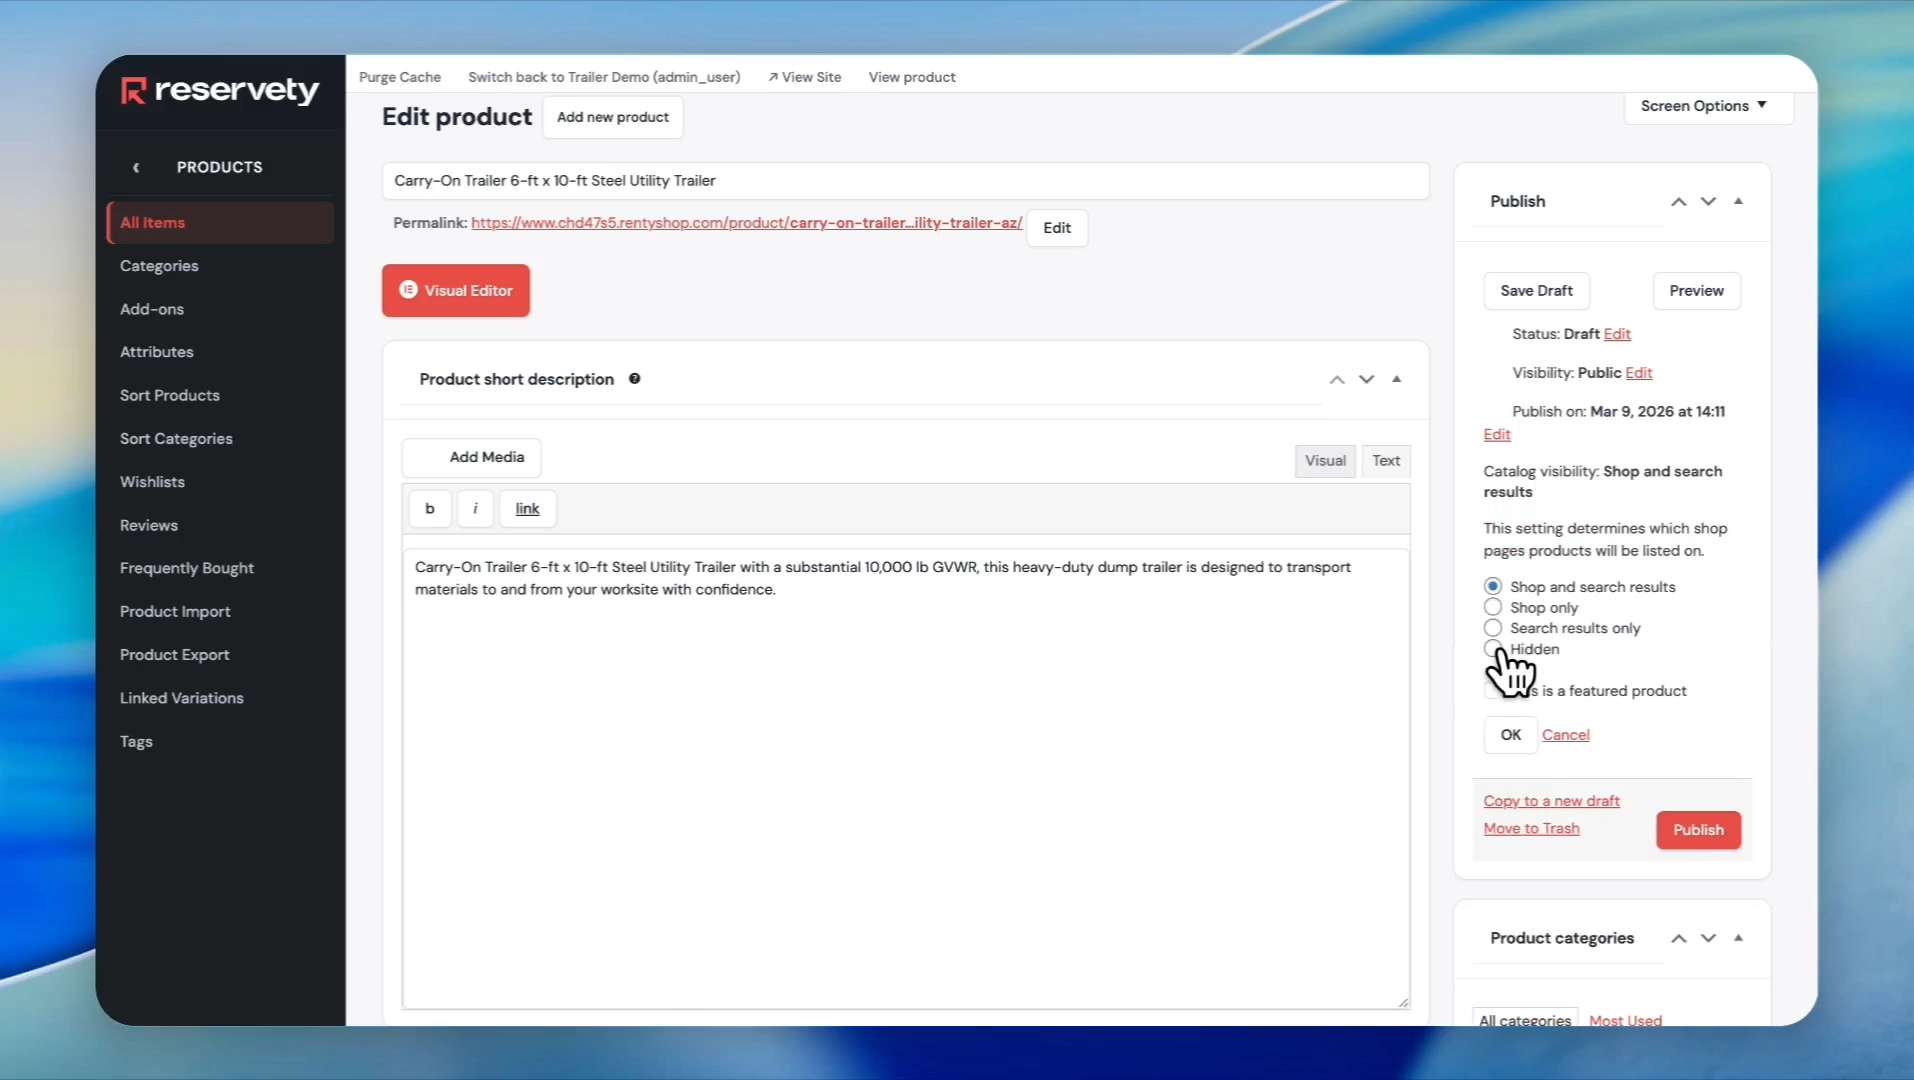
Select the Hidden radio button. This way, it will not appear on our website as a duplicate product.
Step 30
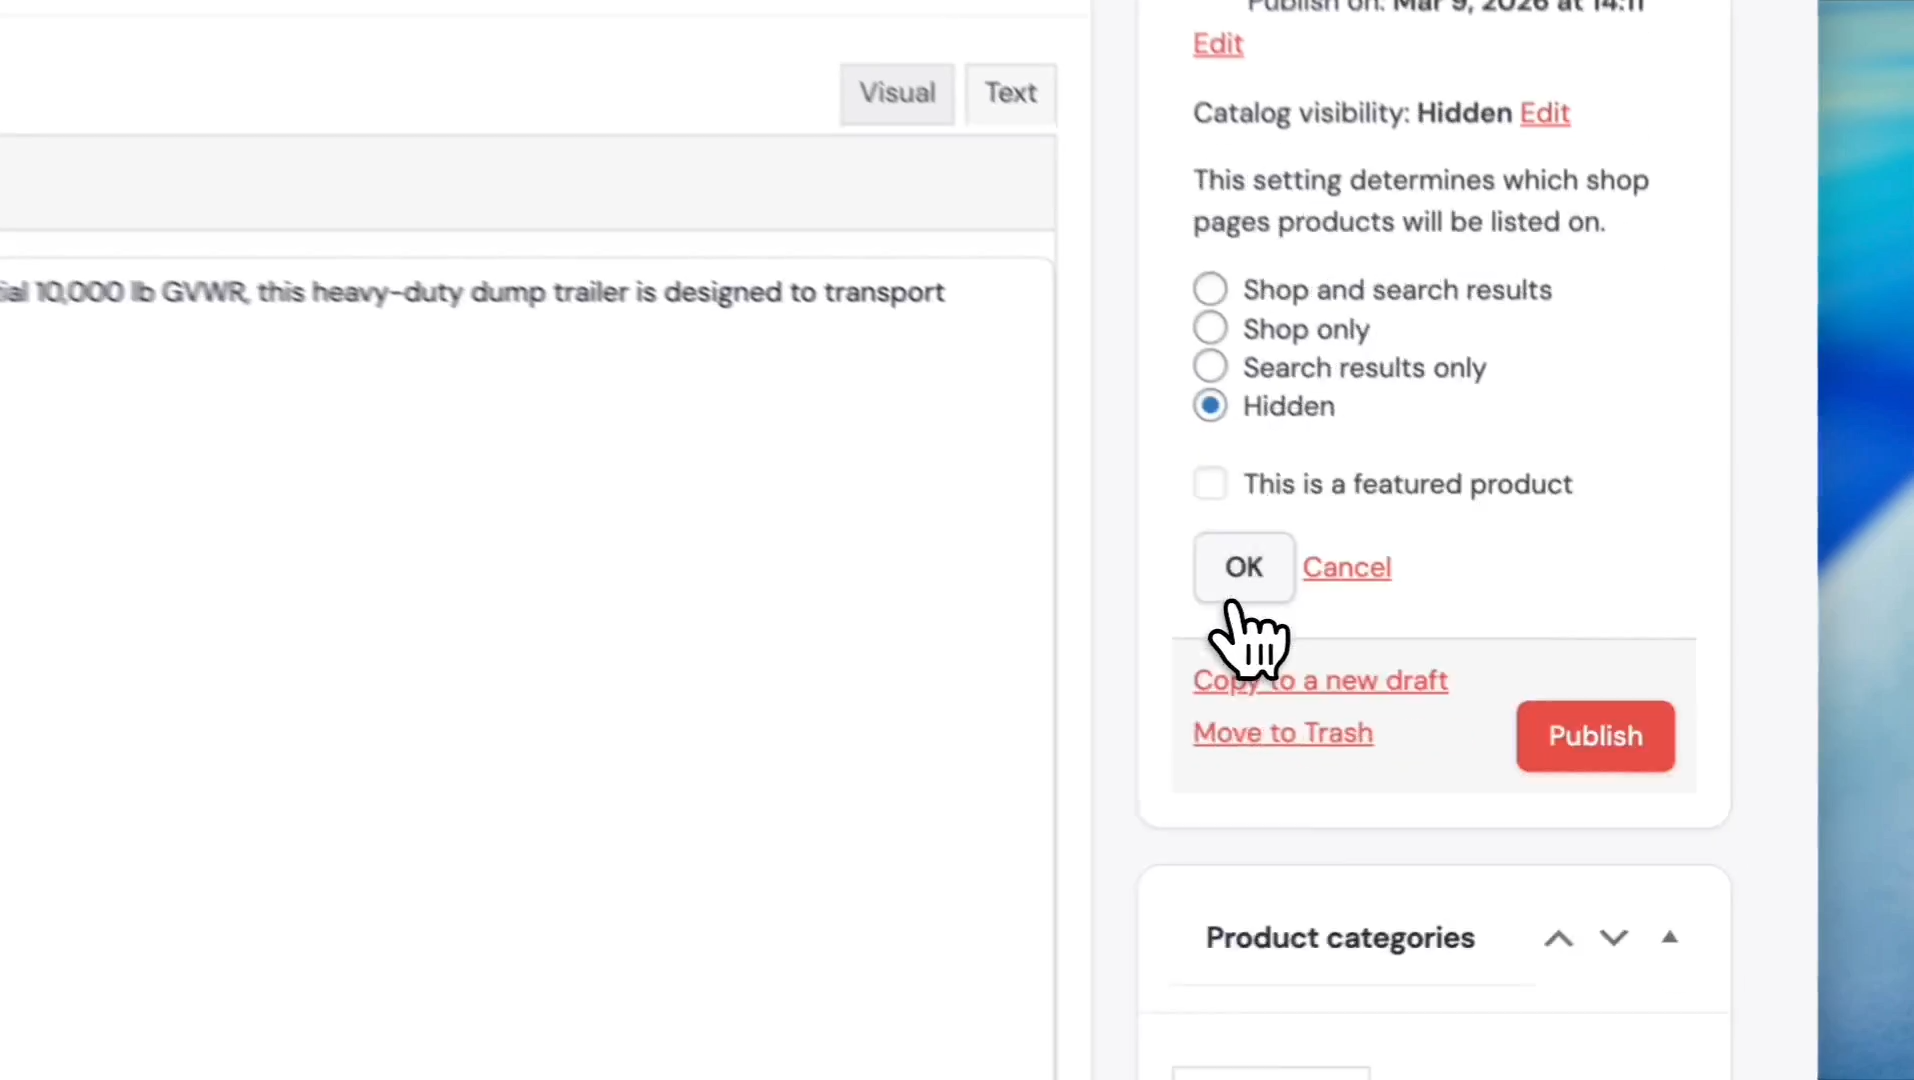
31
Click the OK button.
Step 31
32
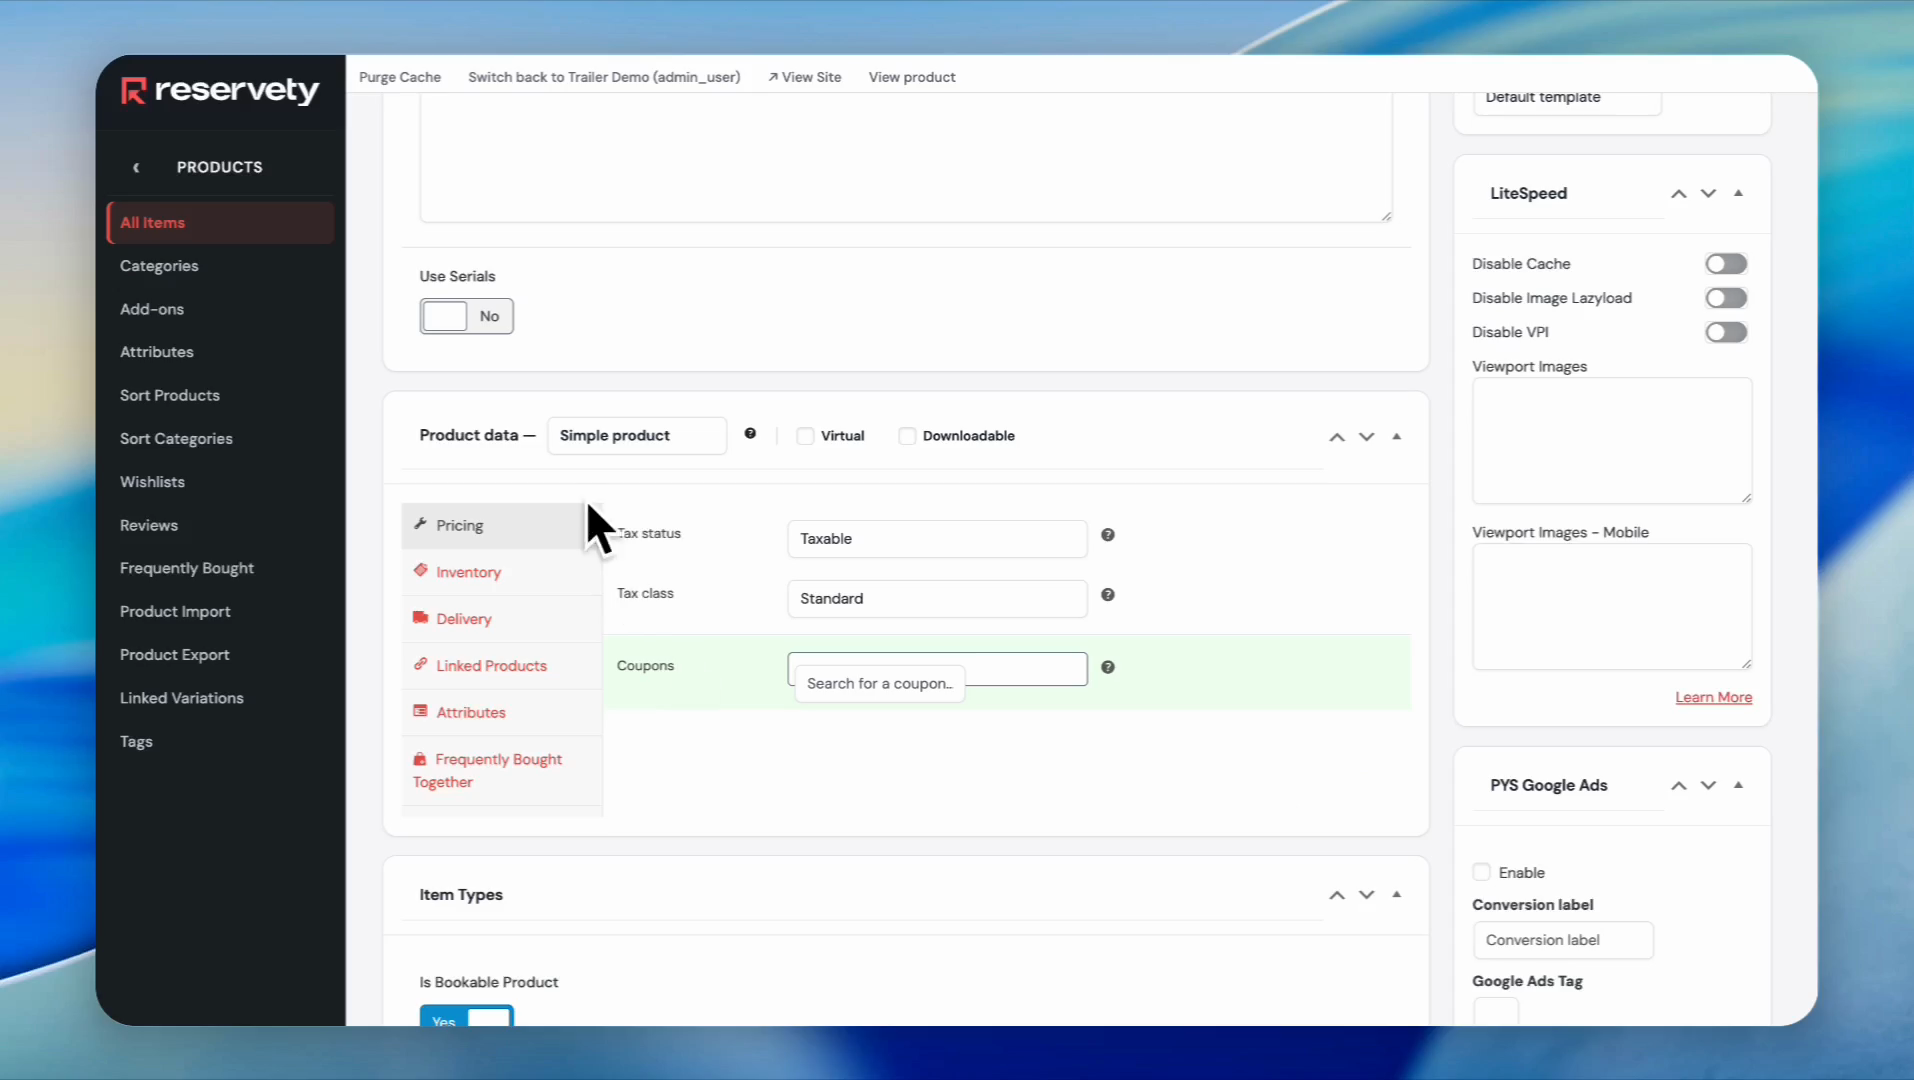
Scroll down to to the Product data section, click on Inventory.
Step 32
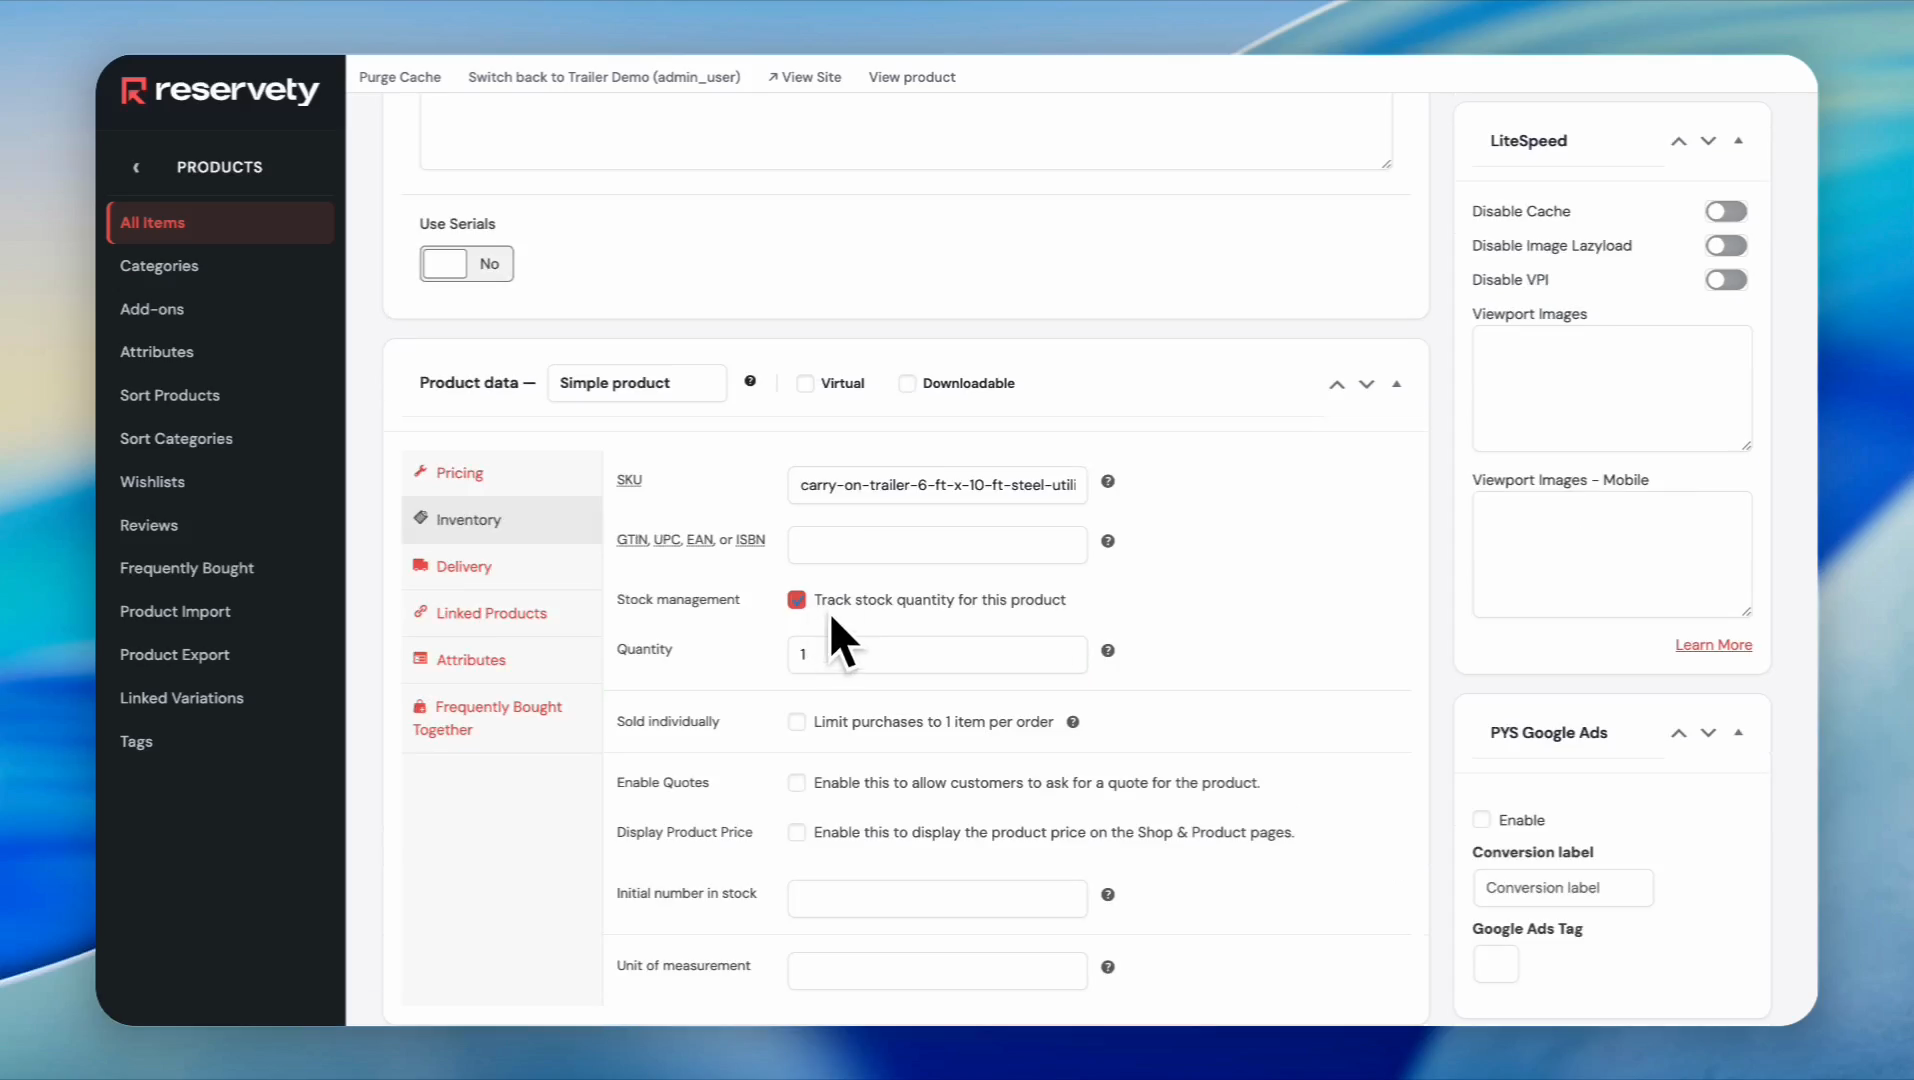
33
Click the checkbox to enable Track stock quantity for this product.
Step 33
34
Click on Attributes.
Step 34
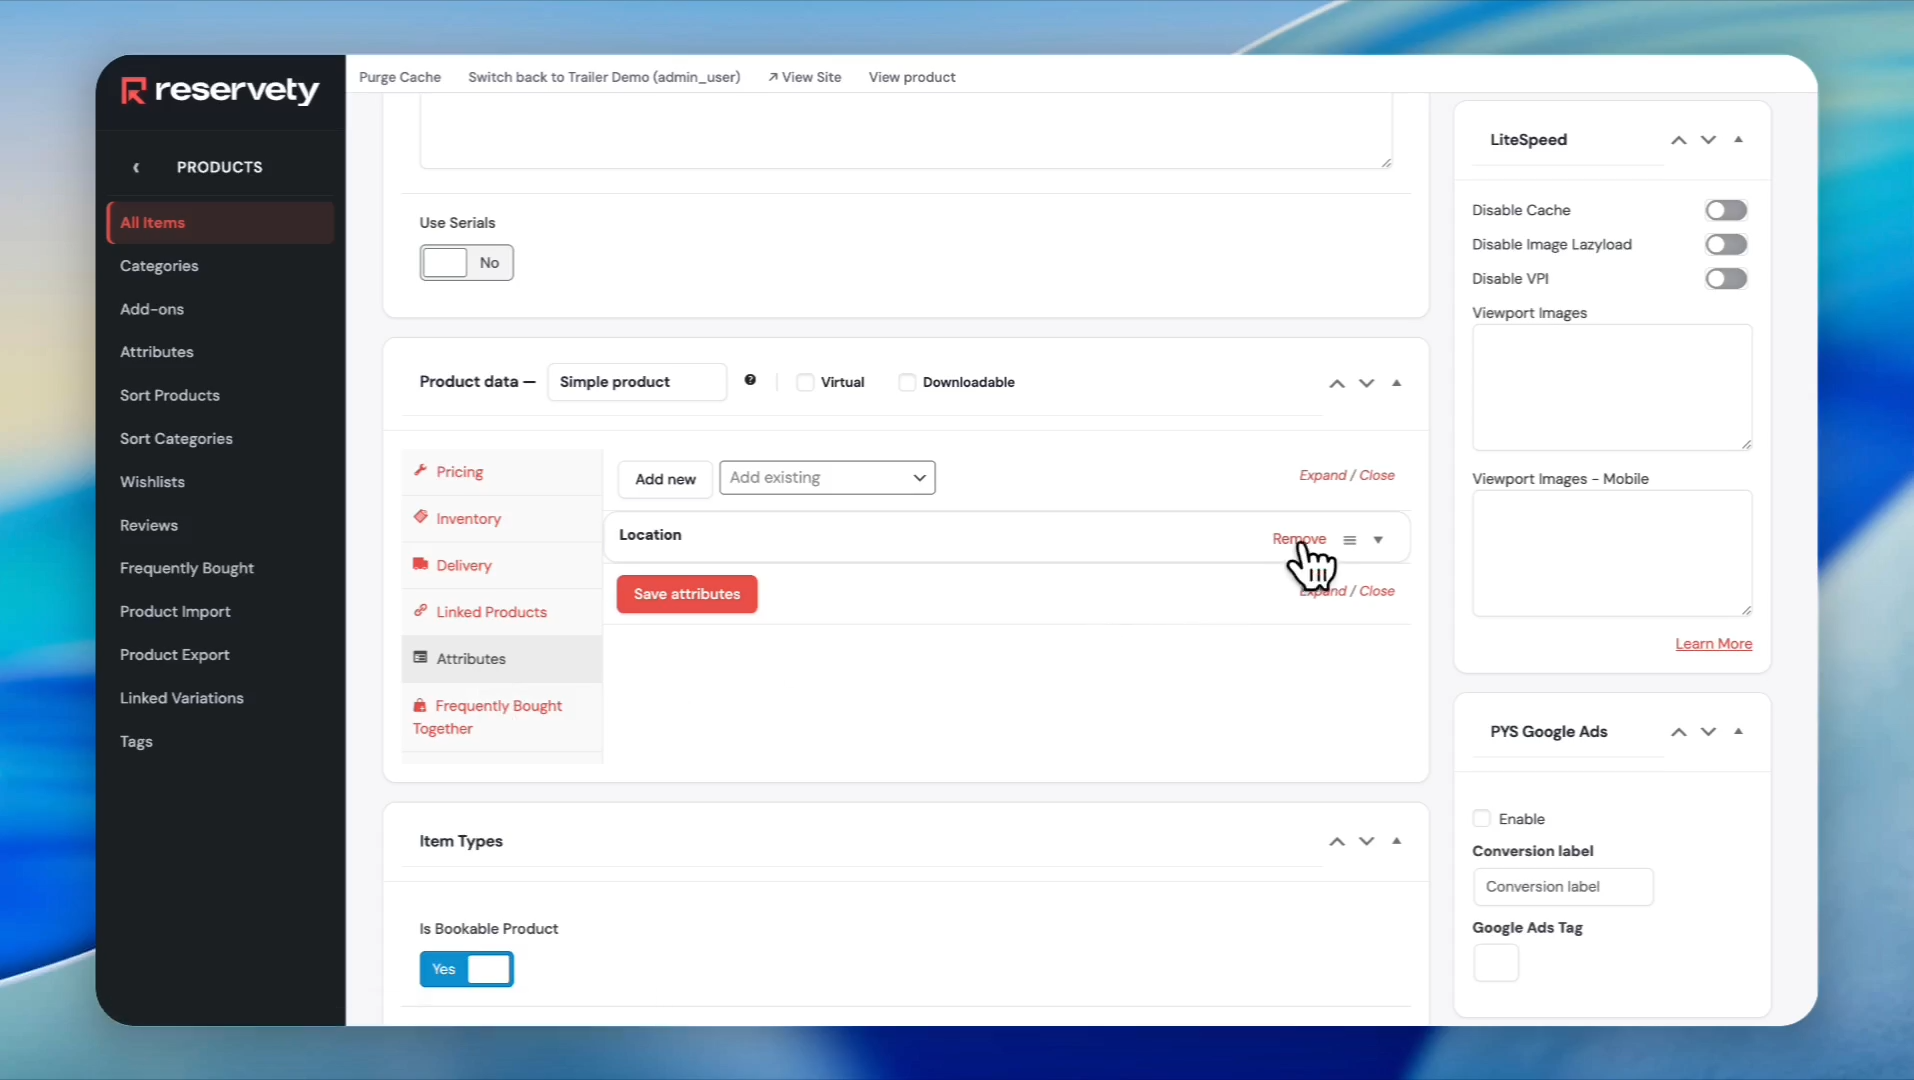
35
Remove existing attribute
Step 35
36
Select Location from the dropdown menu.
Step 36
37
Click the Create value button.
Step 37
38
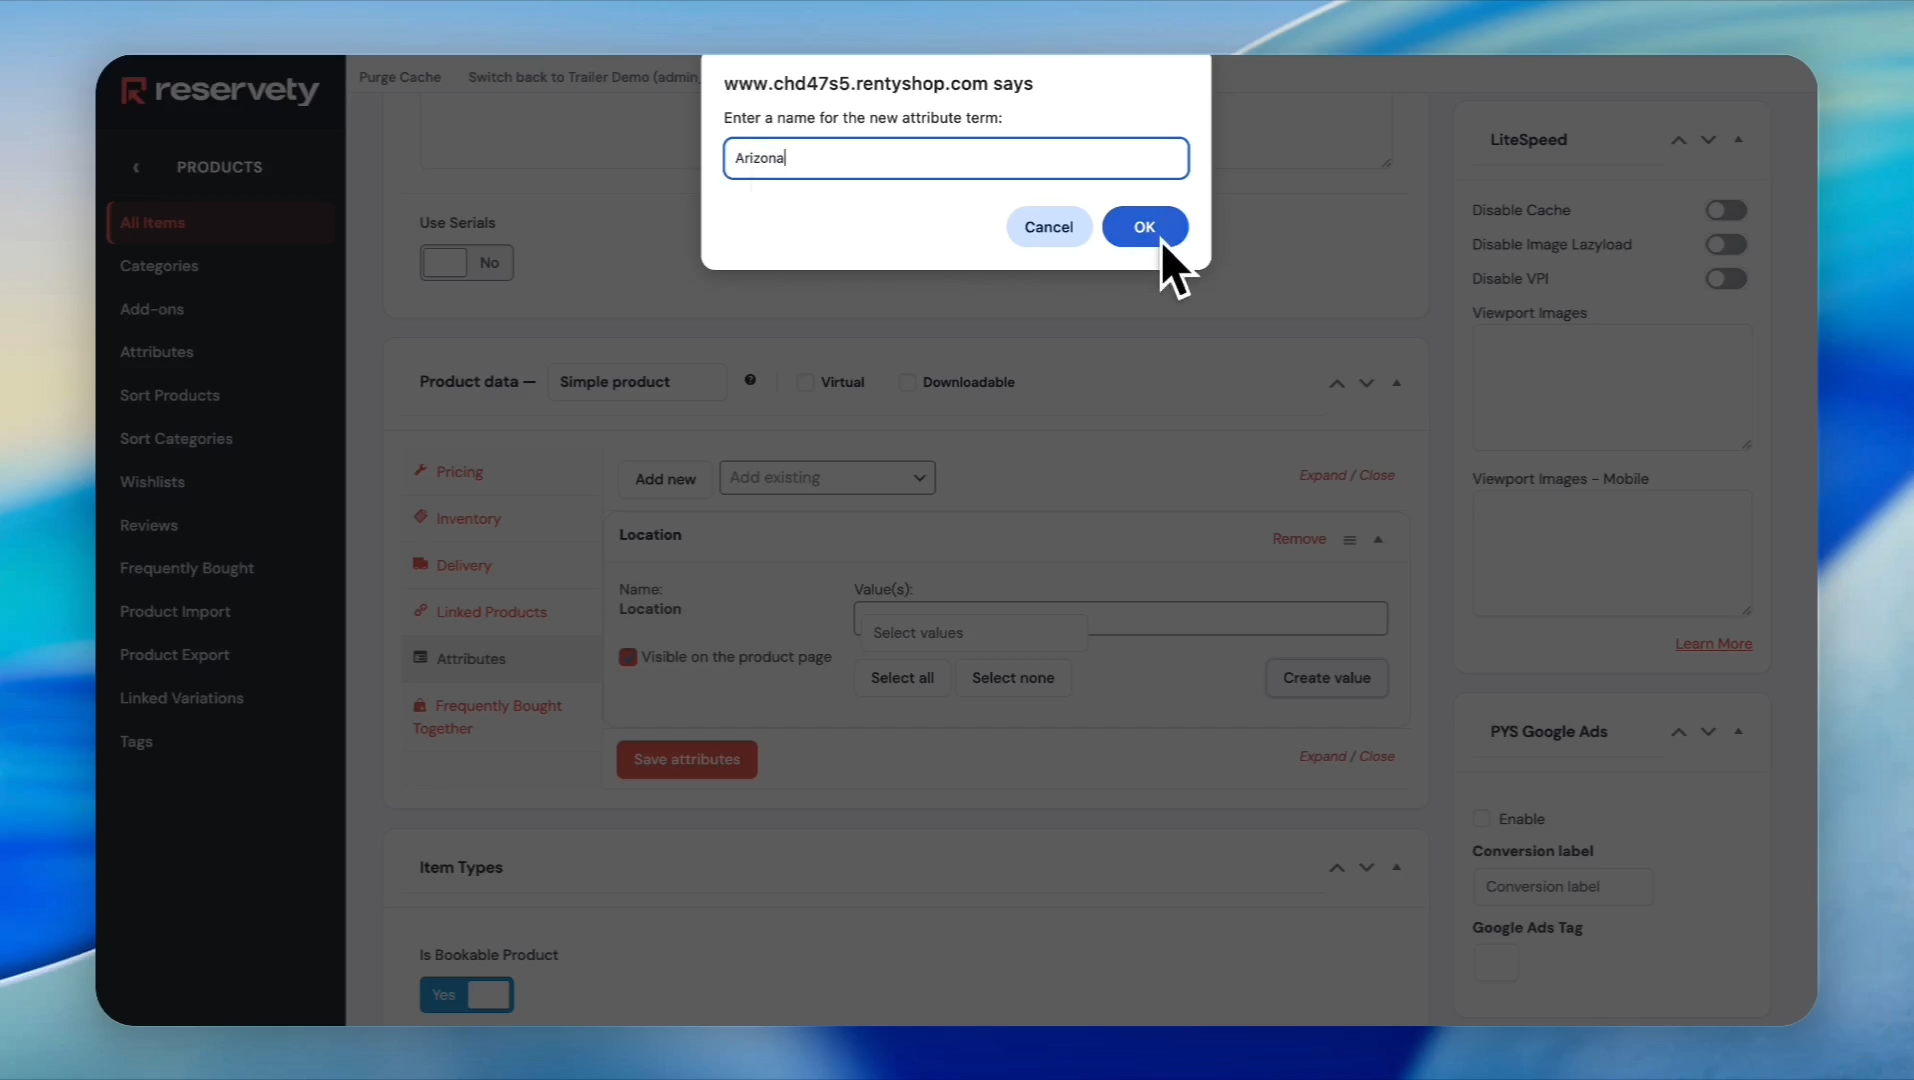
Type Arizona into the Enter a name for the new attribute term field. Then, click the OK button.
Step 38
39
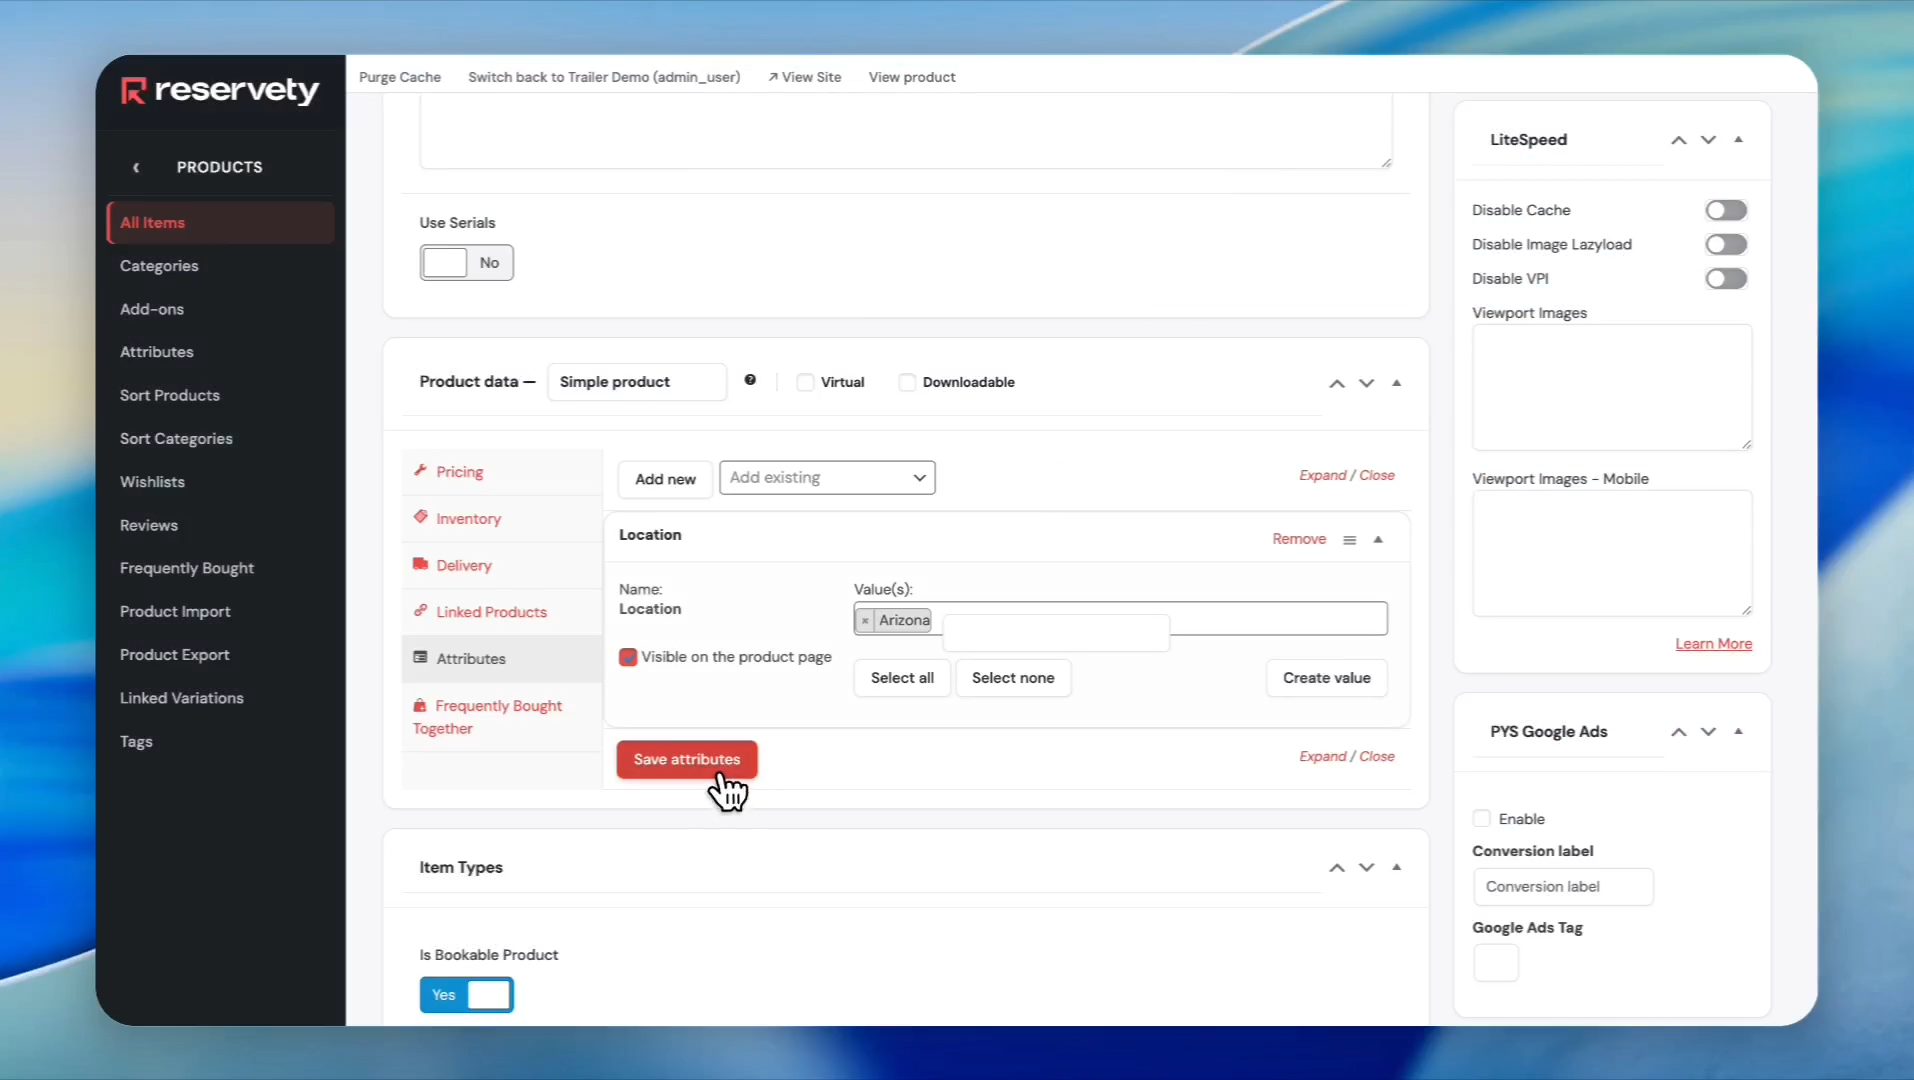
Click the Save attributes button.
Step 39
40
Click the Publish button.
Step 40
41
On the left sidebar, click All Items under Products.
Step 41
42
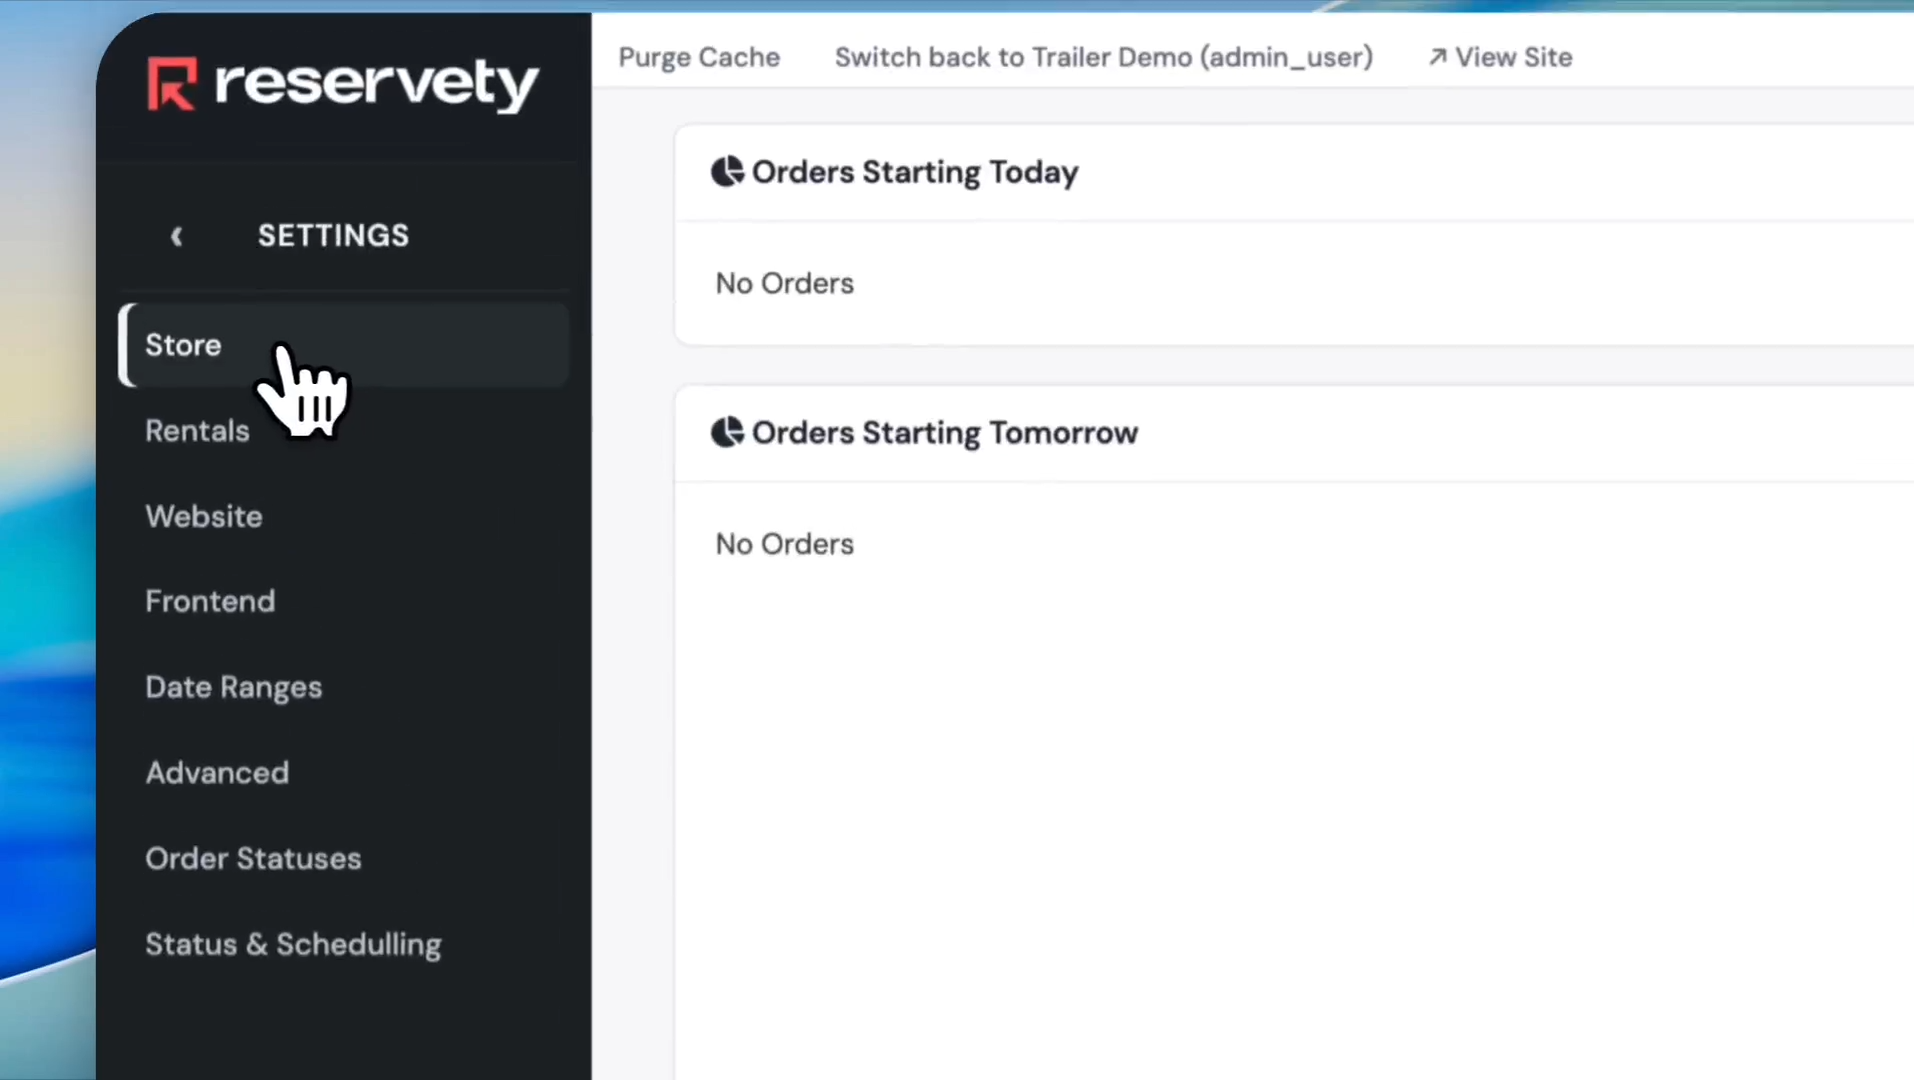
Click on Settings.
Step 42
43
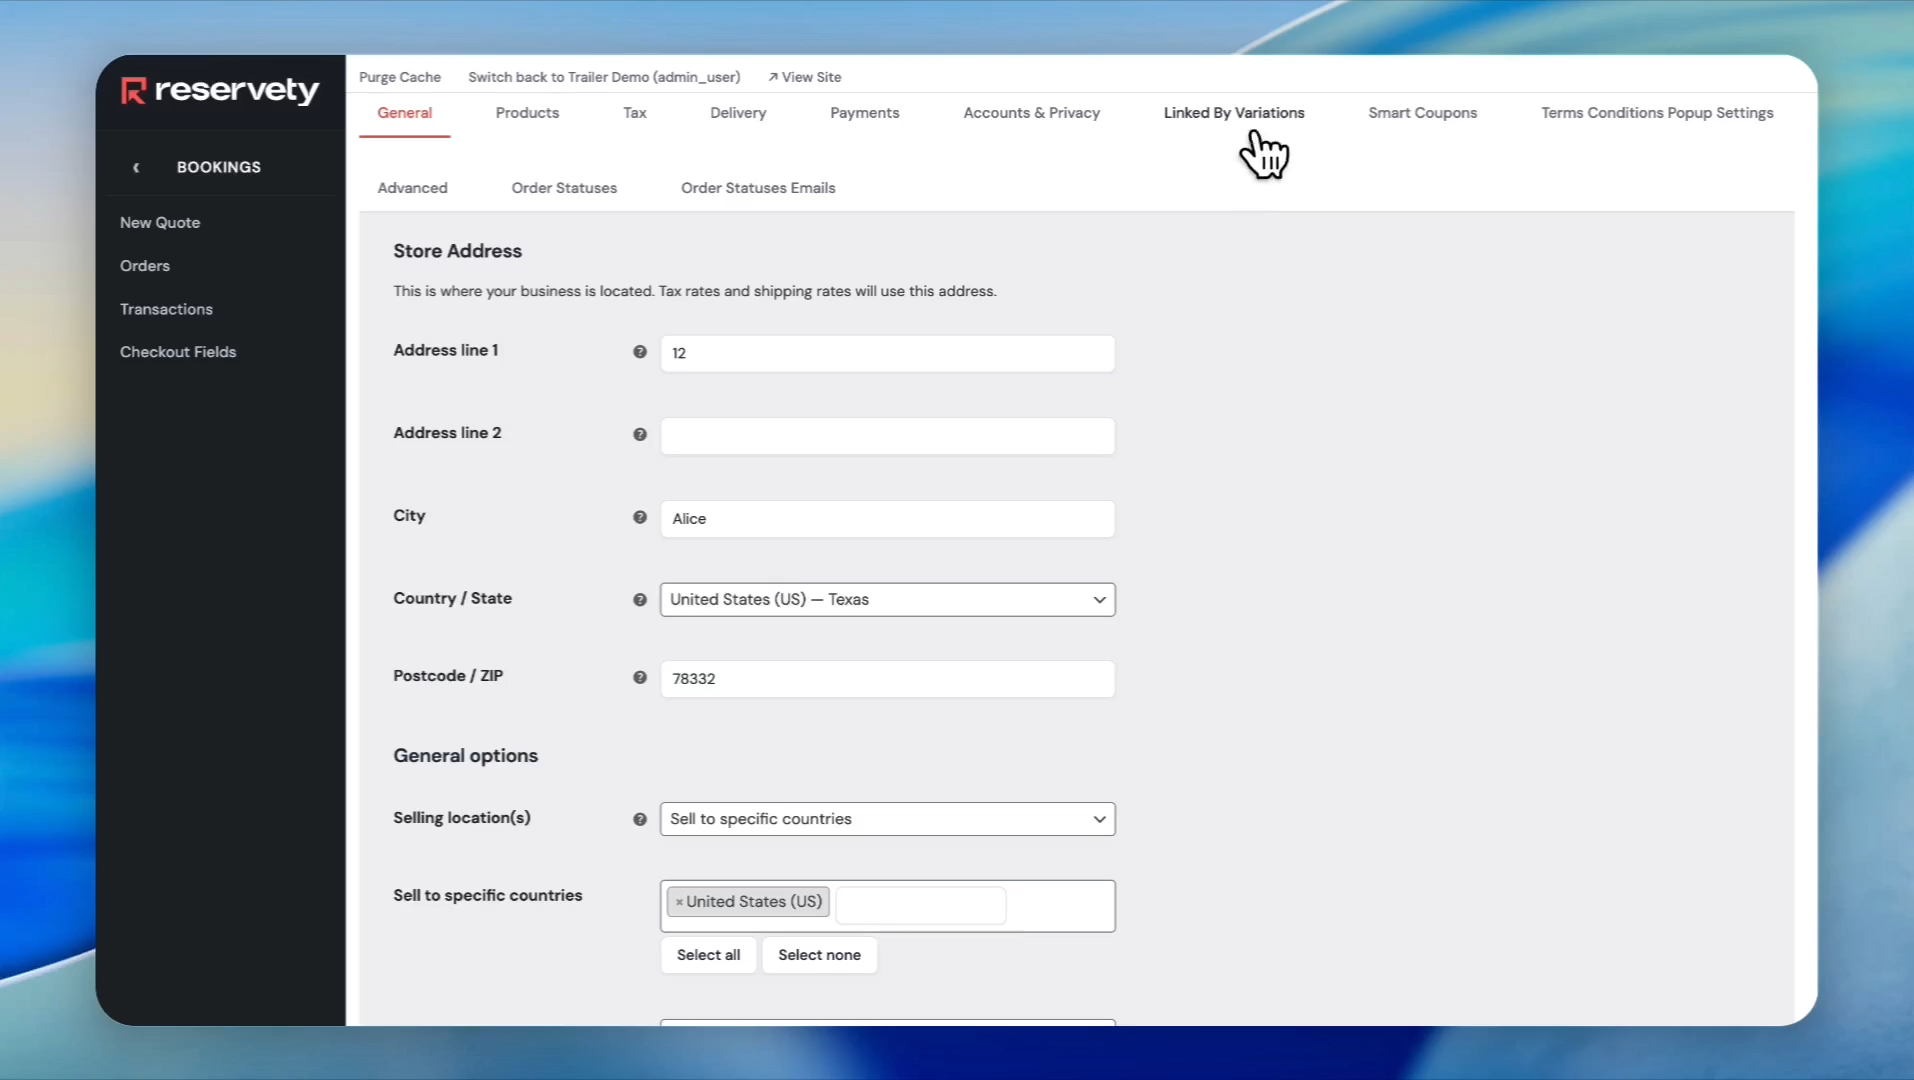
Click on Store.
Step 43
44
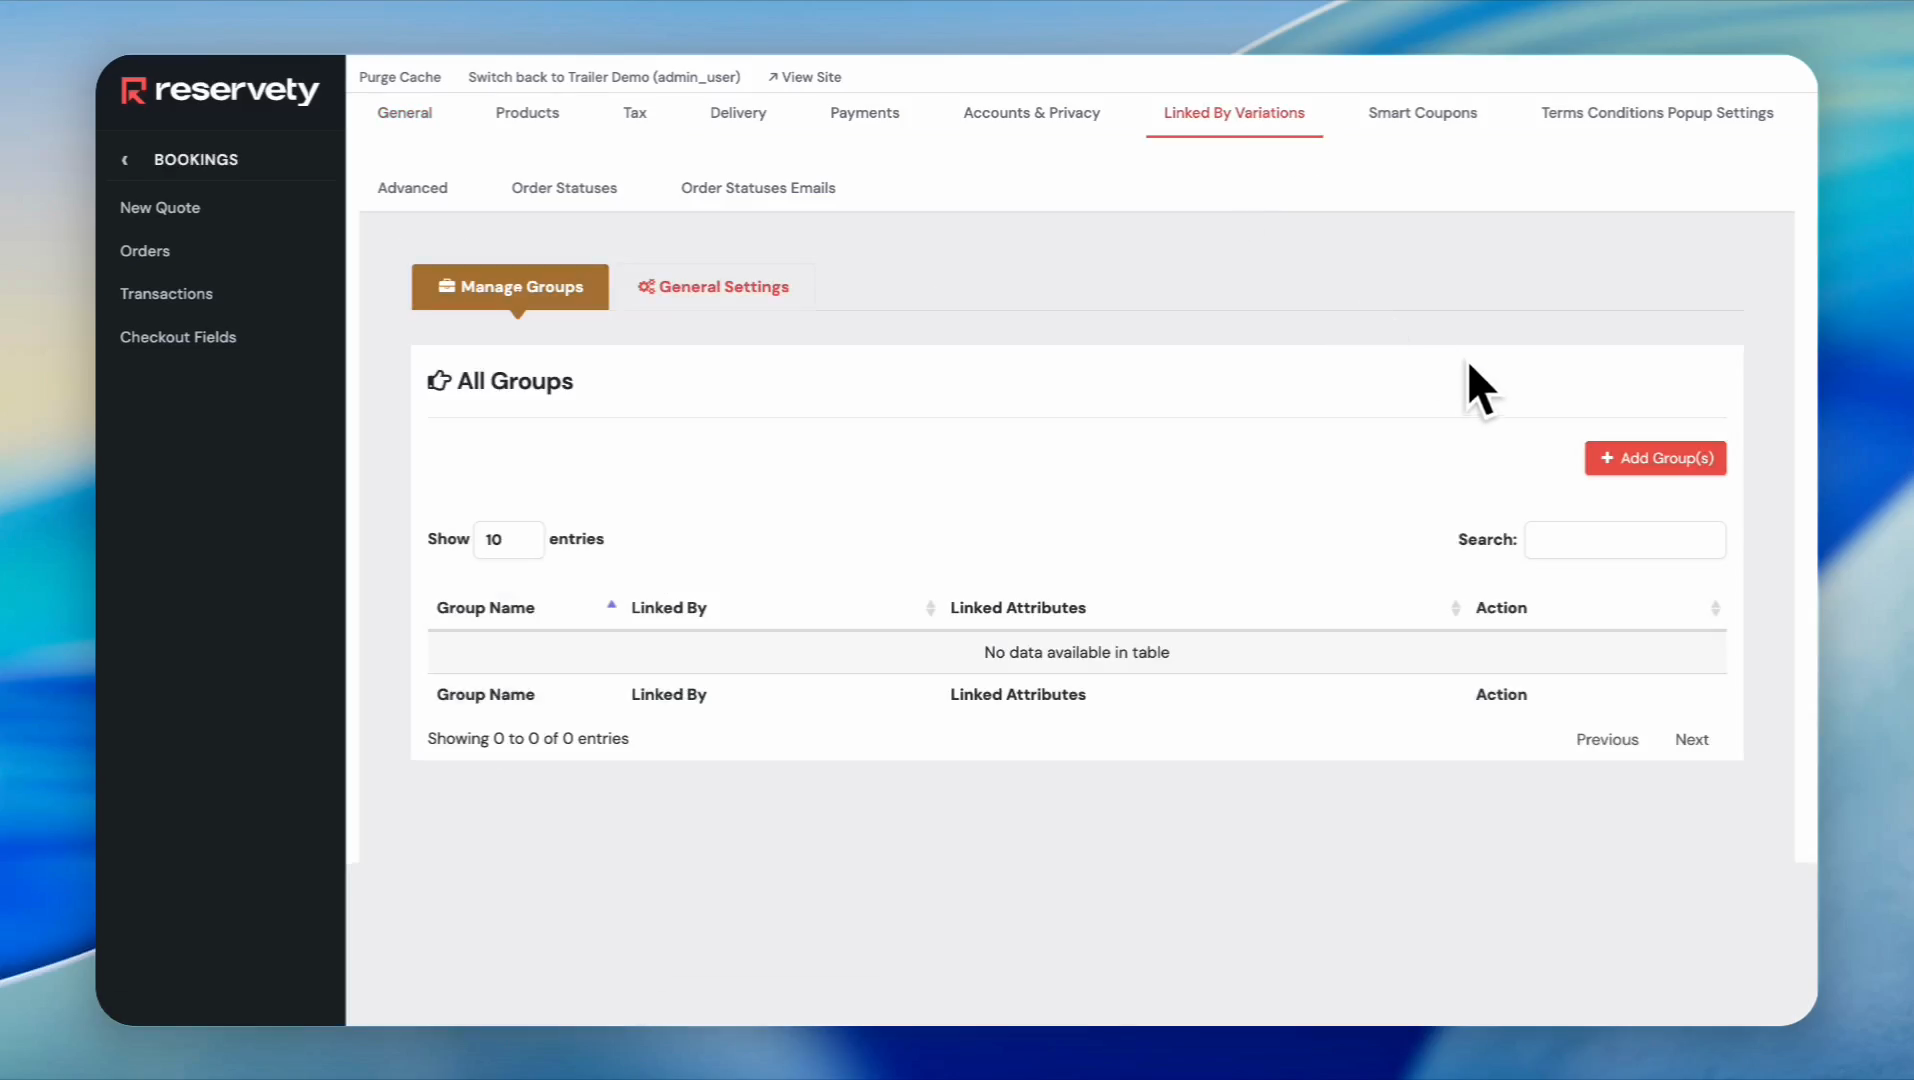
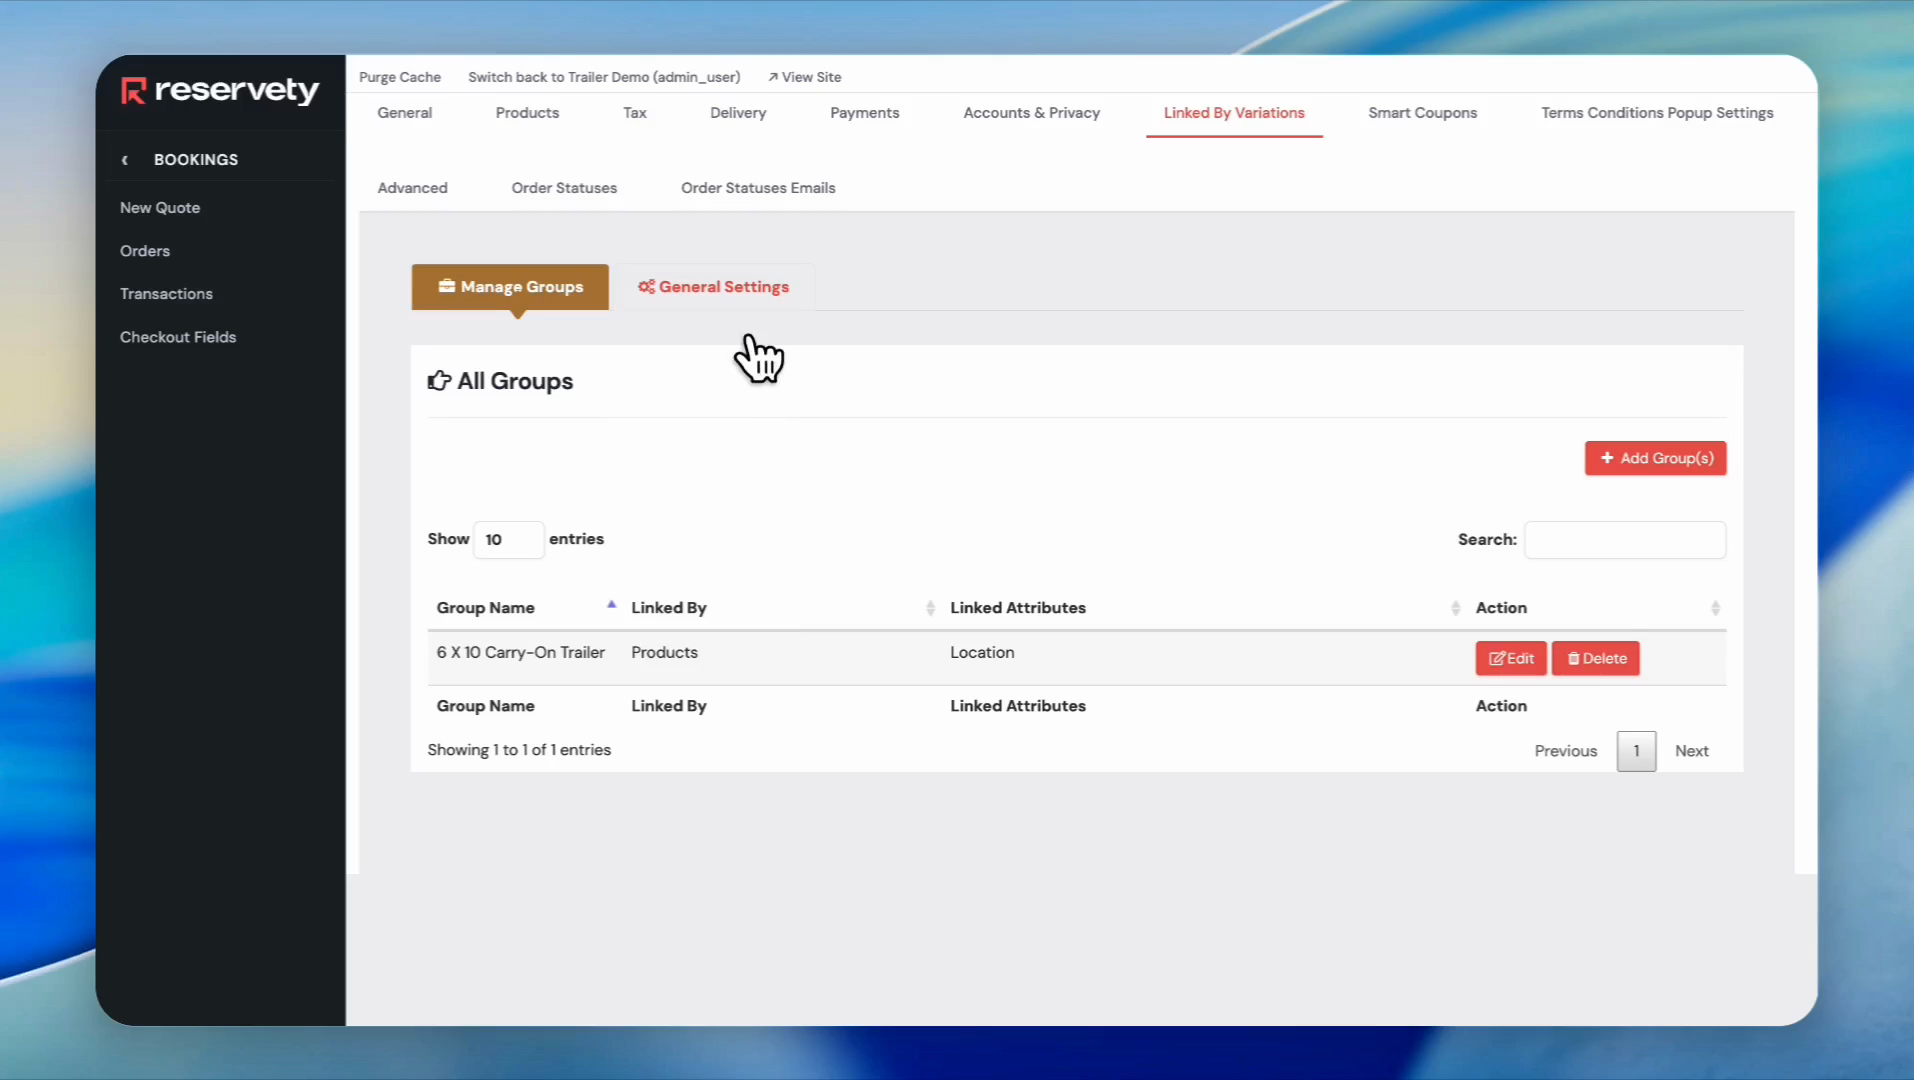
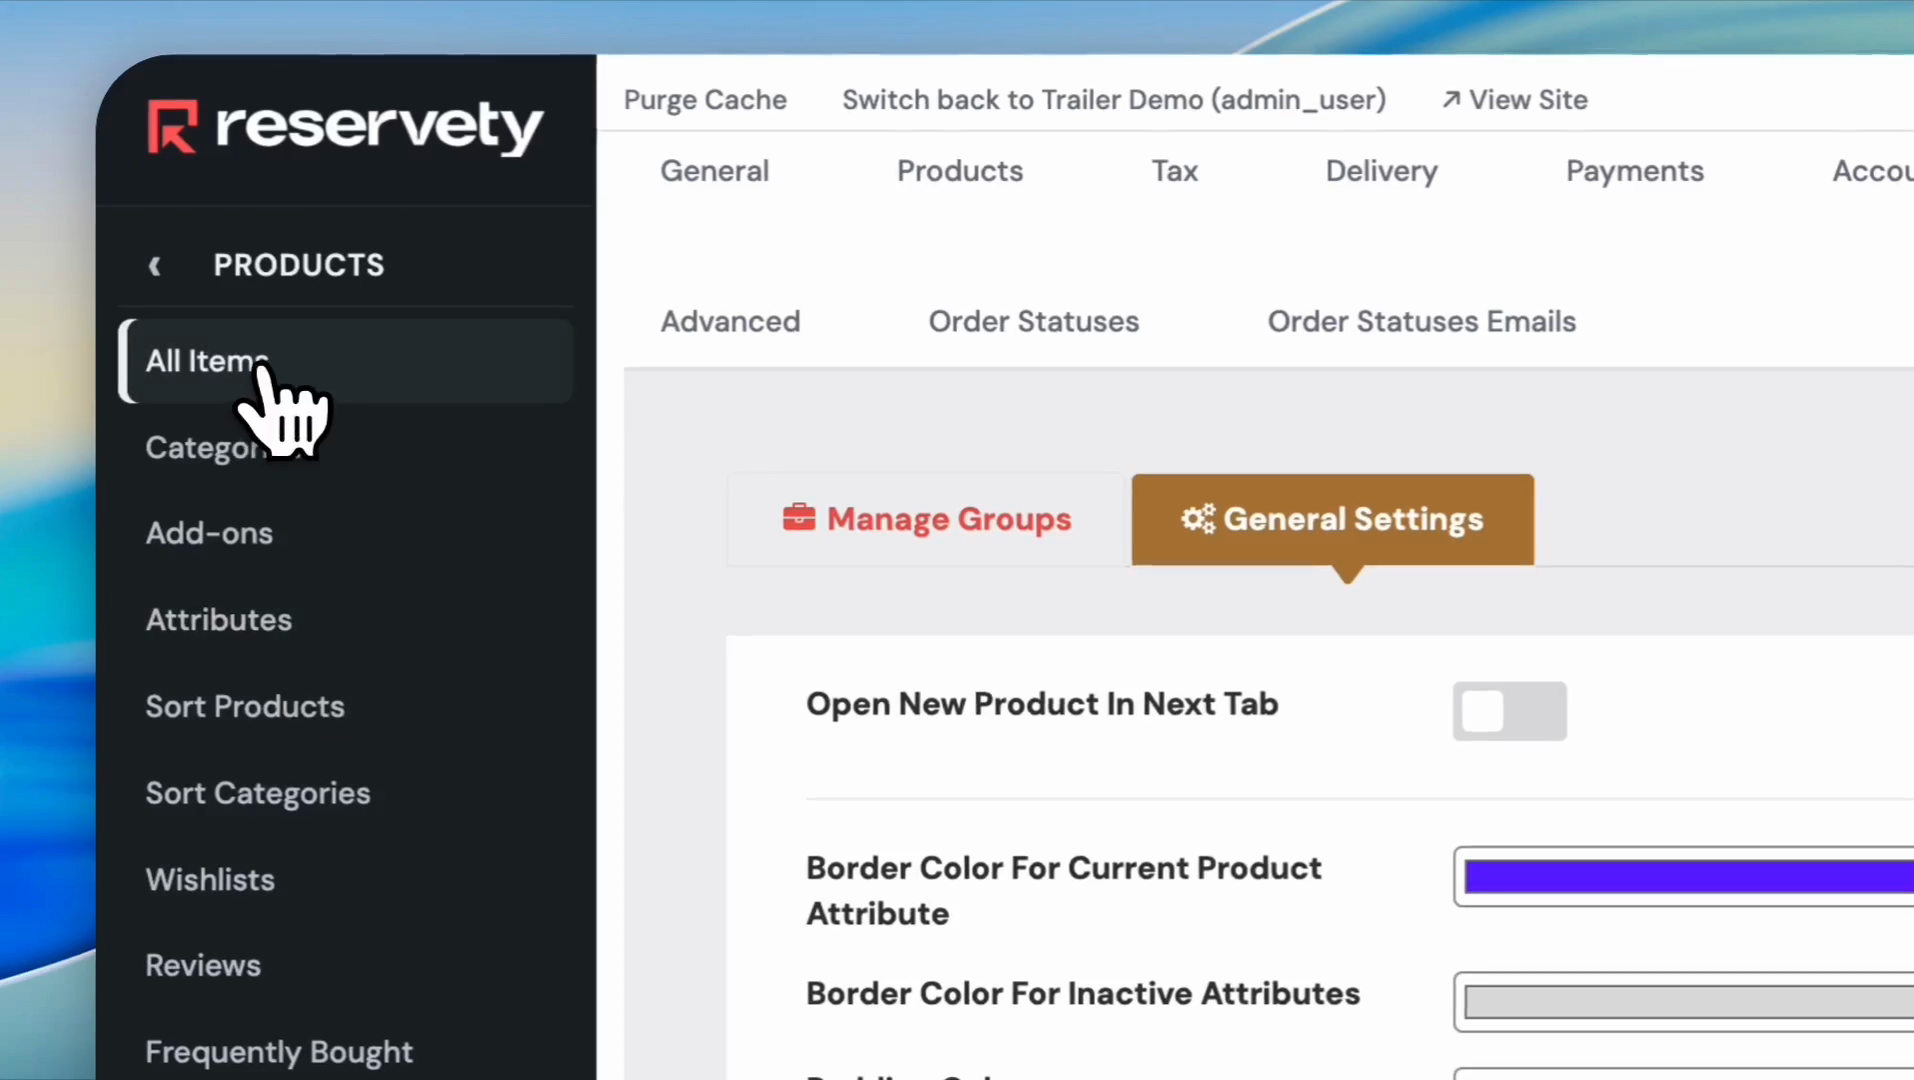
Click the Linked by Variations tab.
Step 44
45
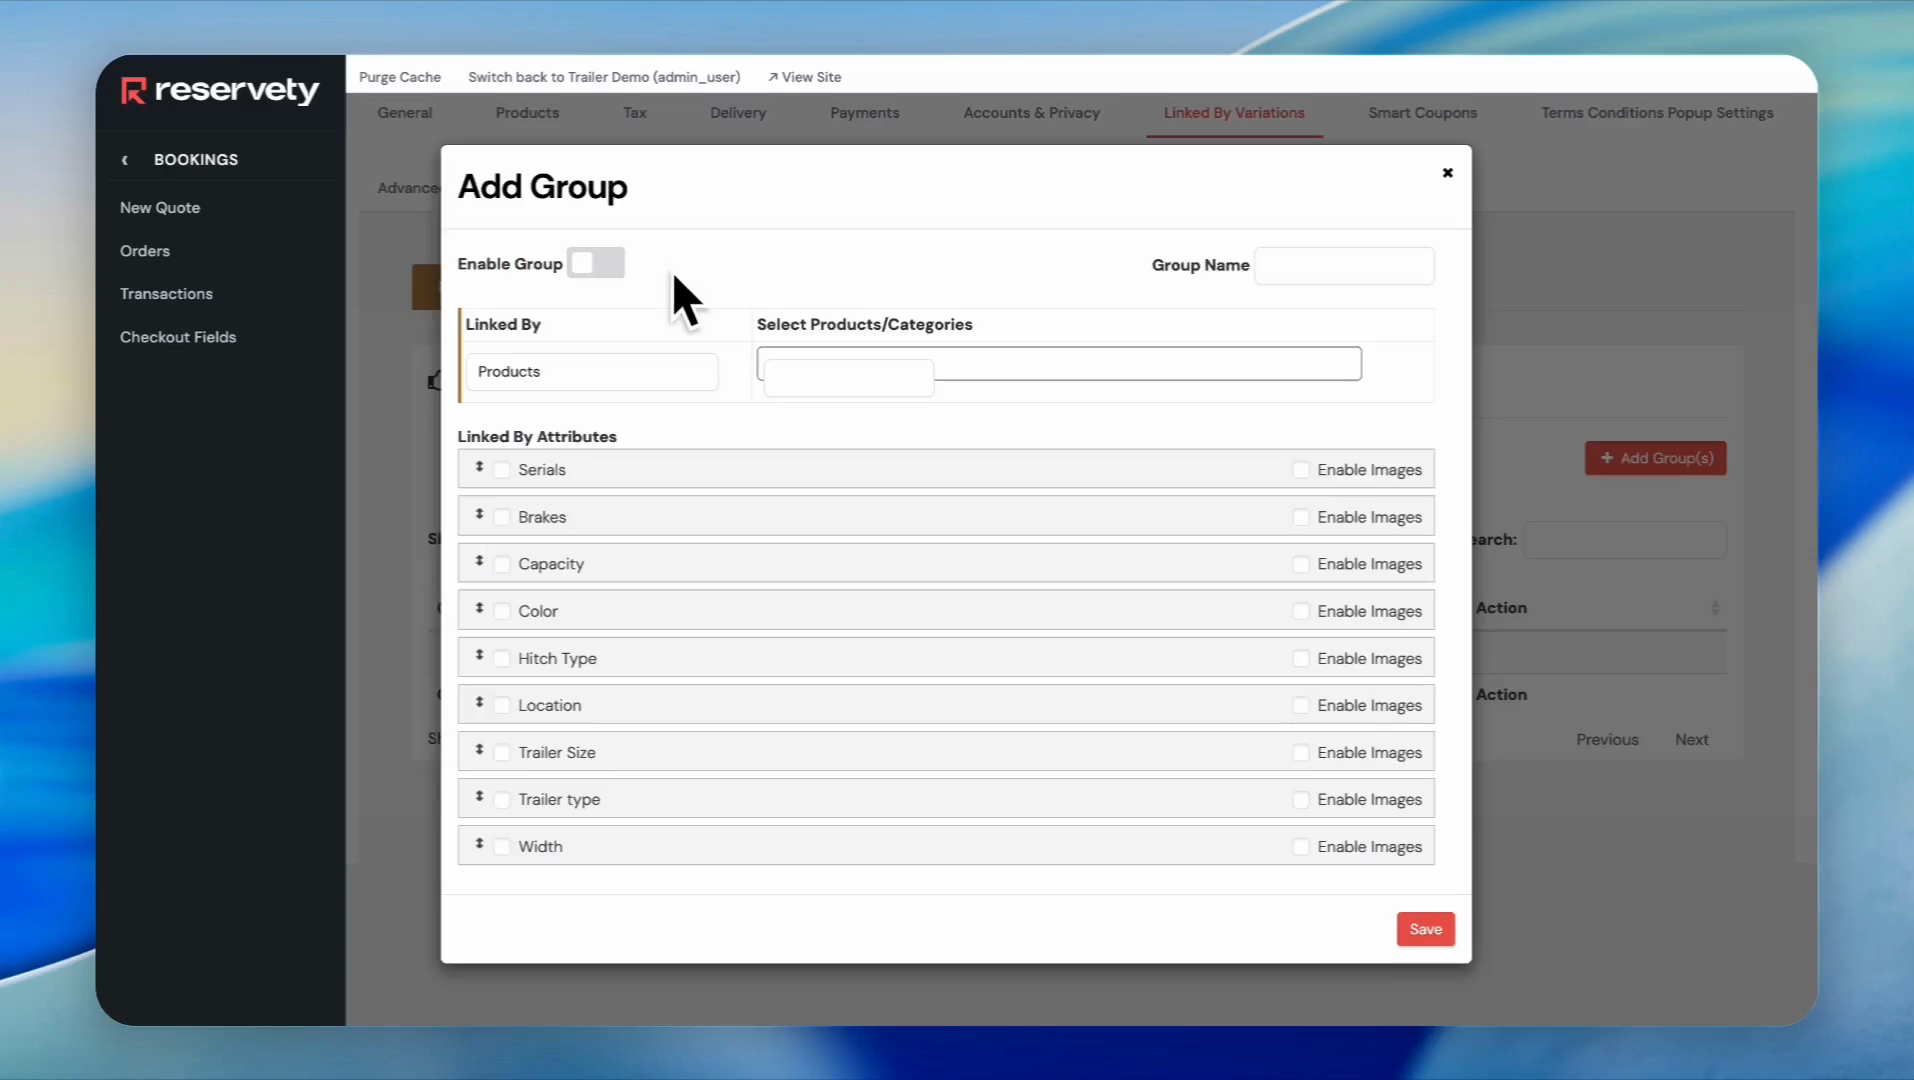
Click the Add Group button.
Step 45
46
Click the Enable Group toggle.
Step 46
47
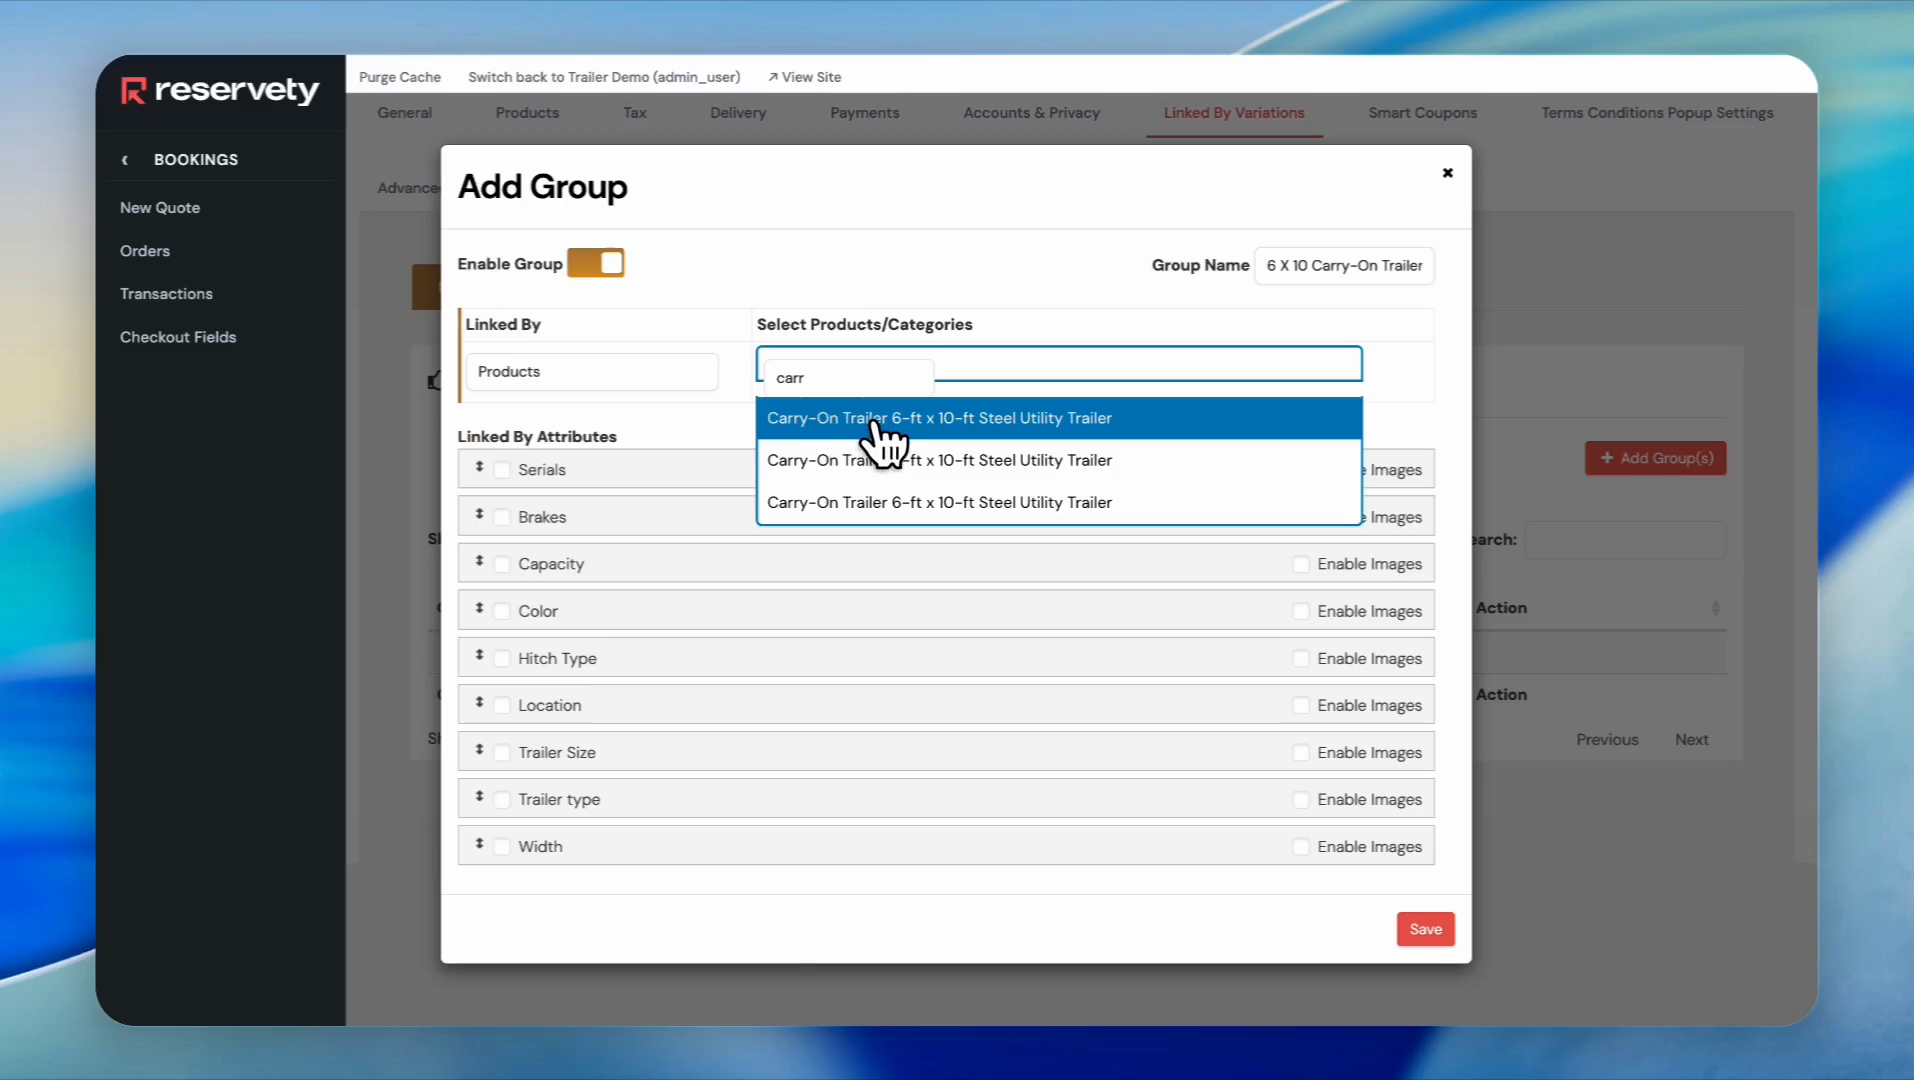
Select all three versions of your carry-on trailer to add to the list.
Step 47
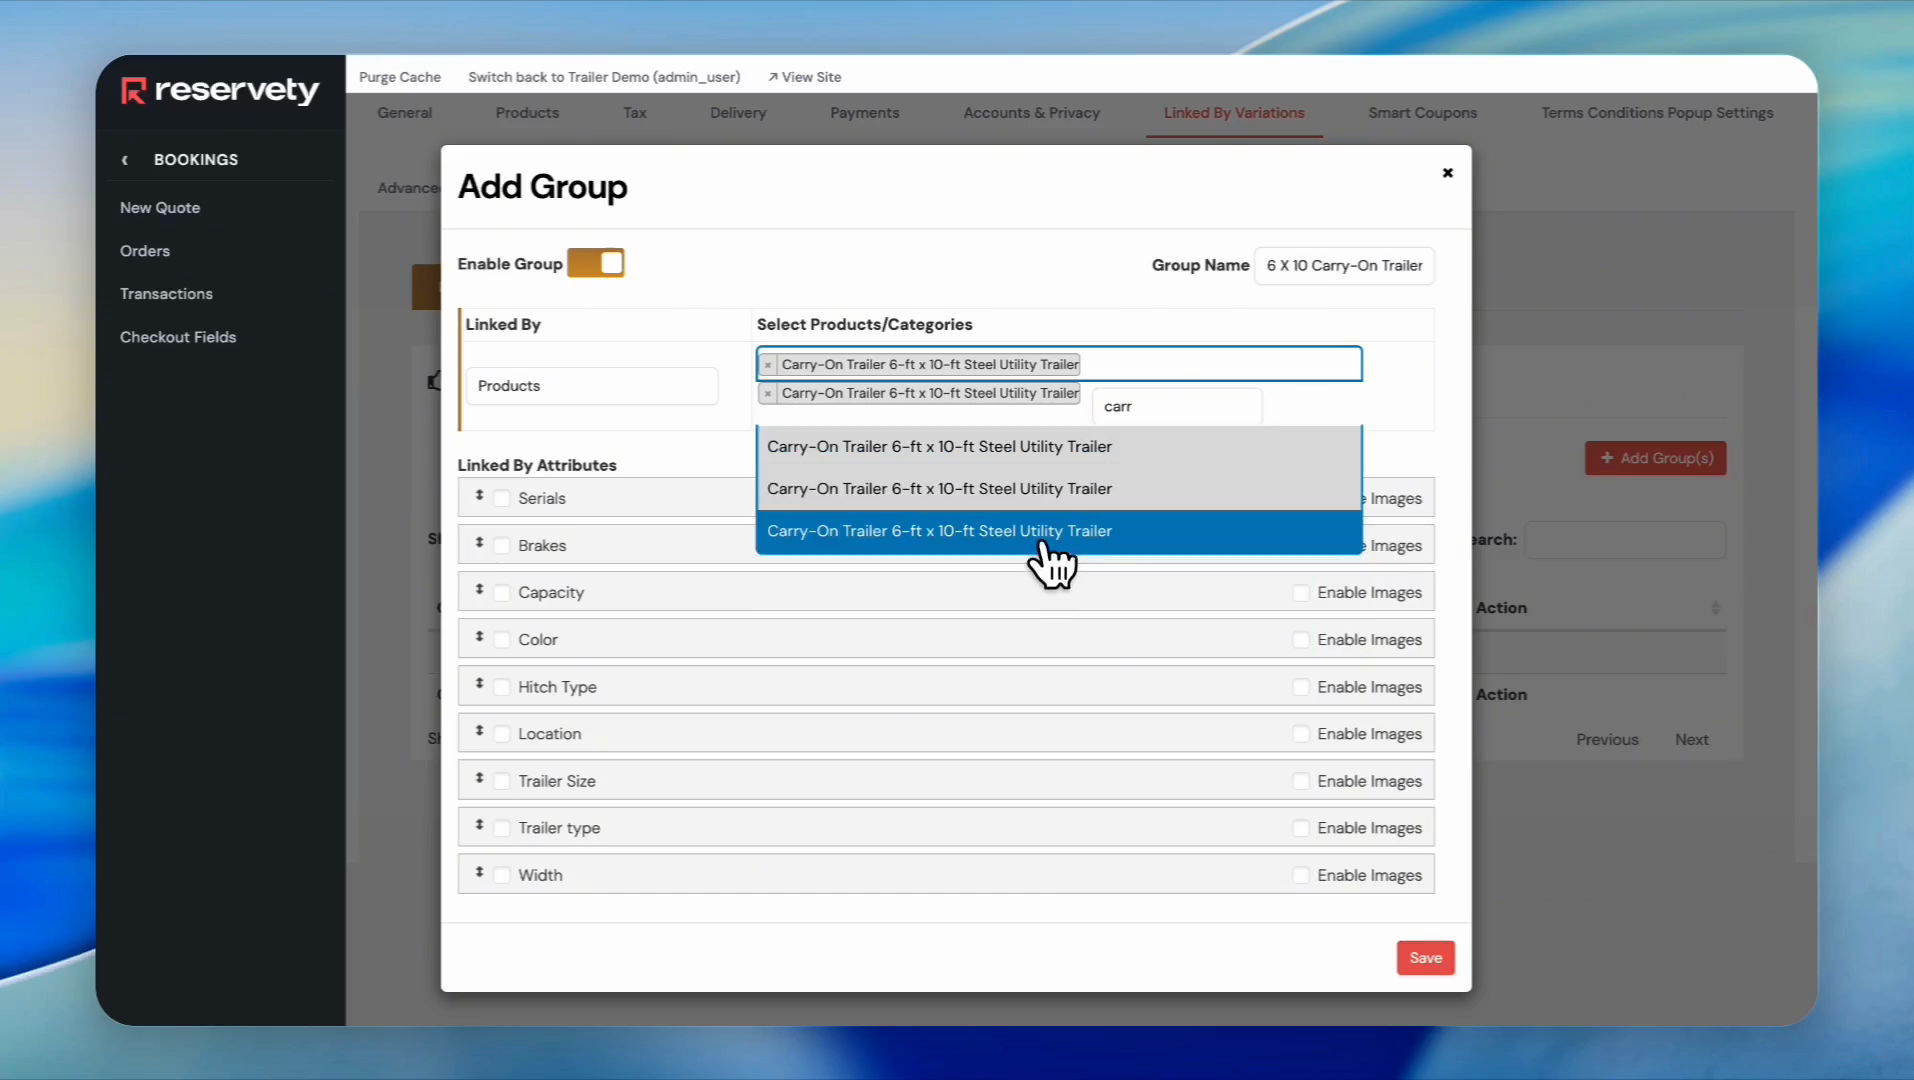
48
Select the second Carry-On Trailer 6-ft x 10-ft Steel Utility Trailer from the dropdown.
Step 48
49
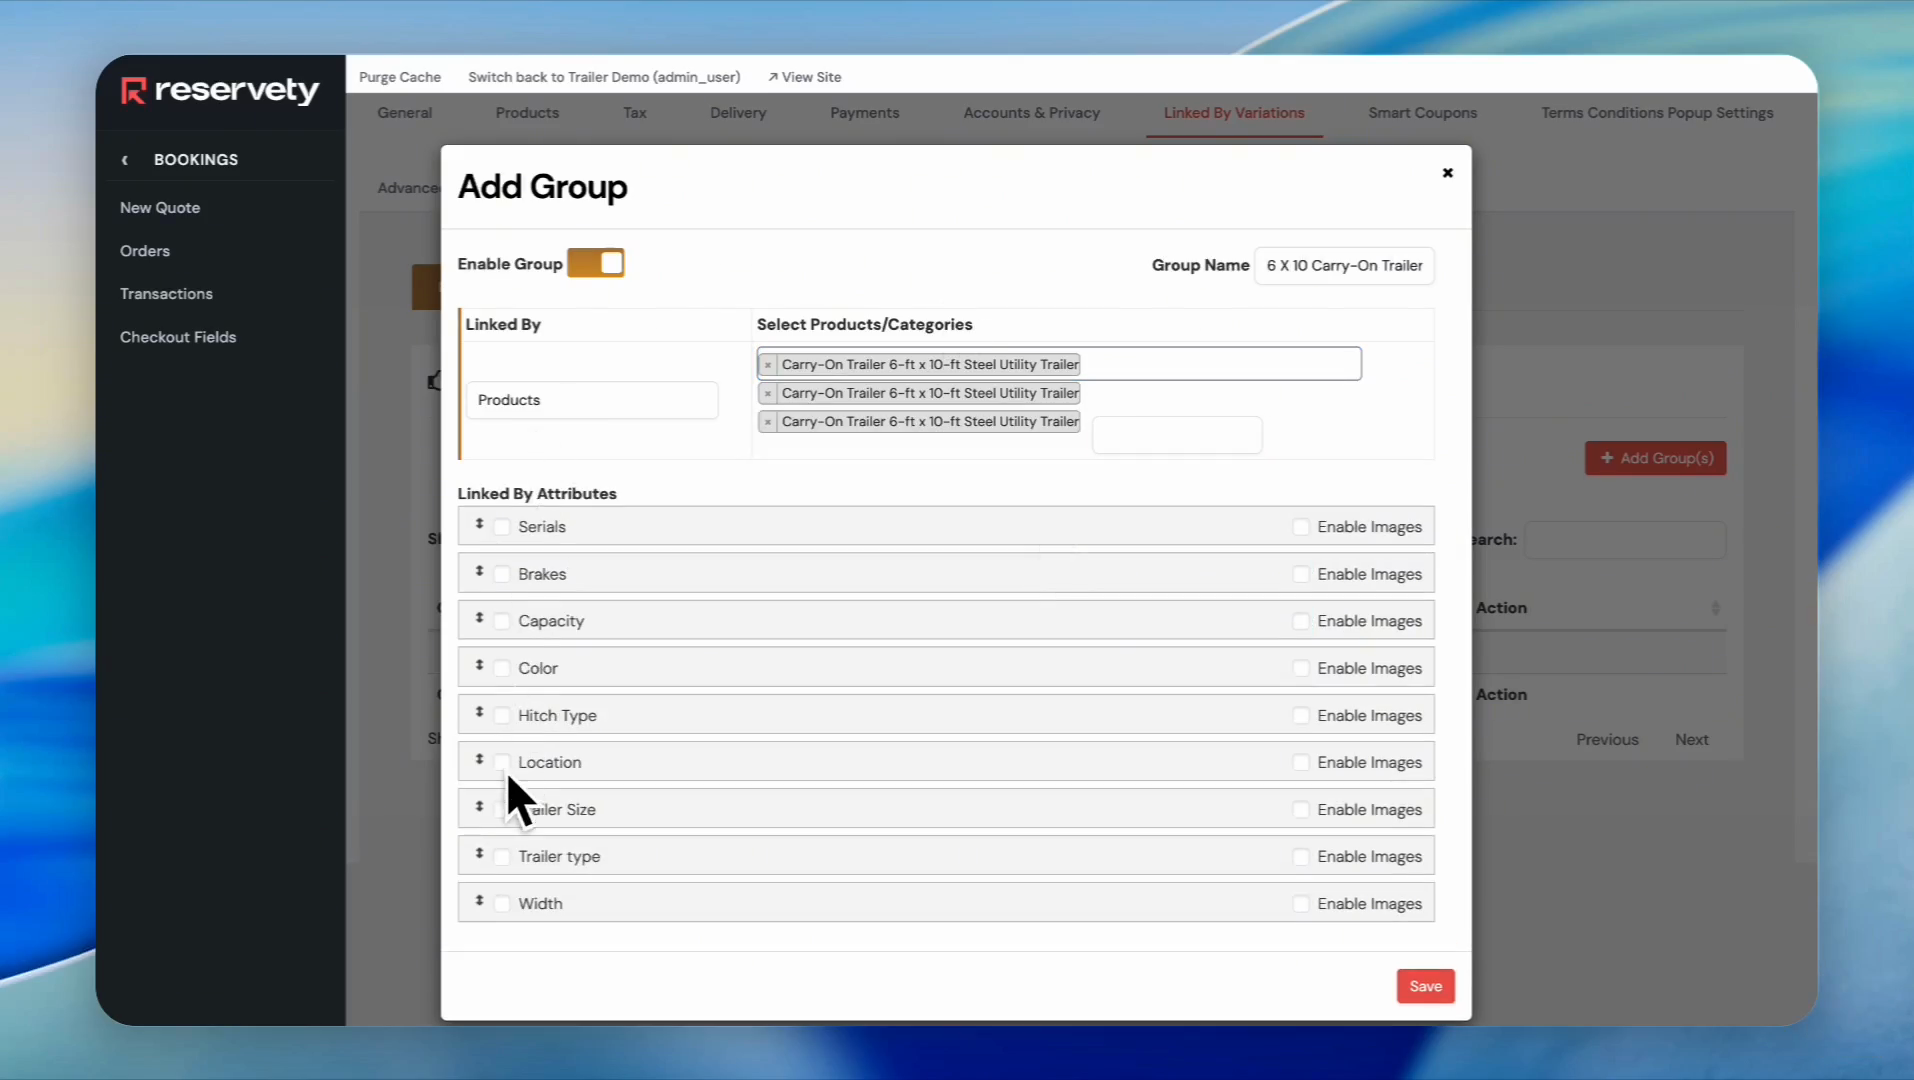
Click the checkbox next to Location.
Step 49
50
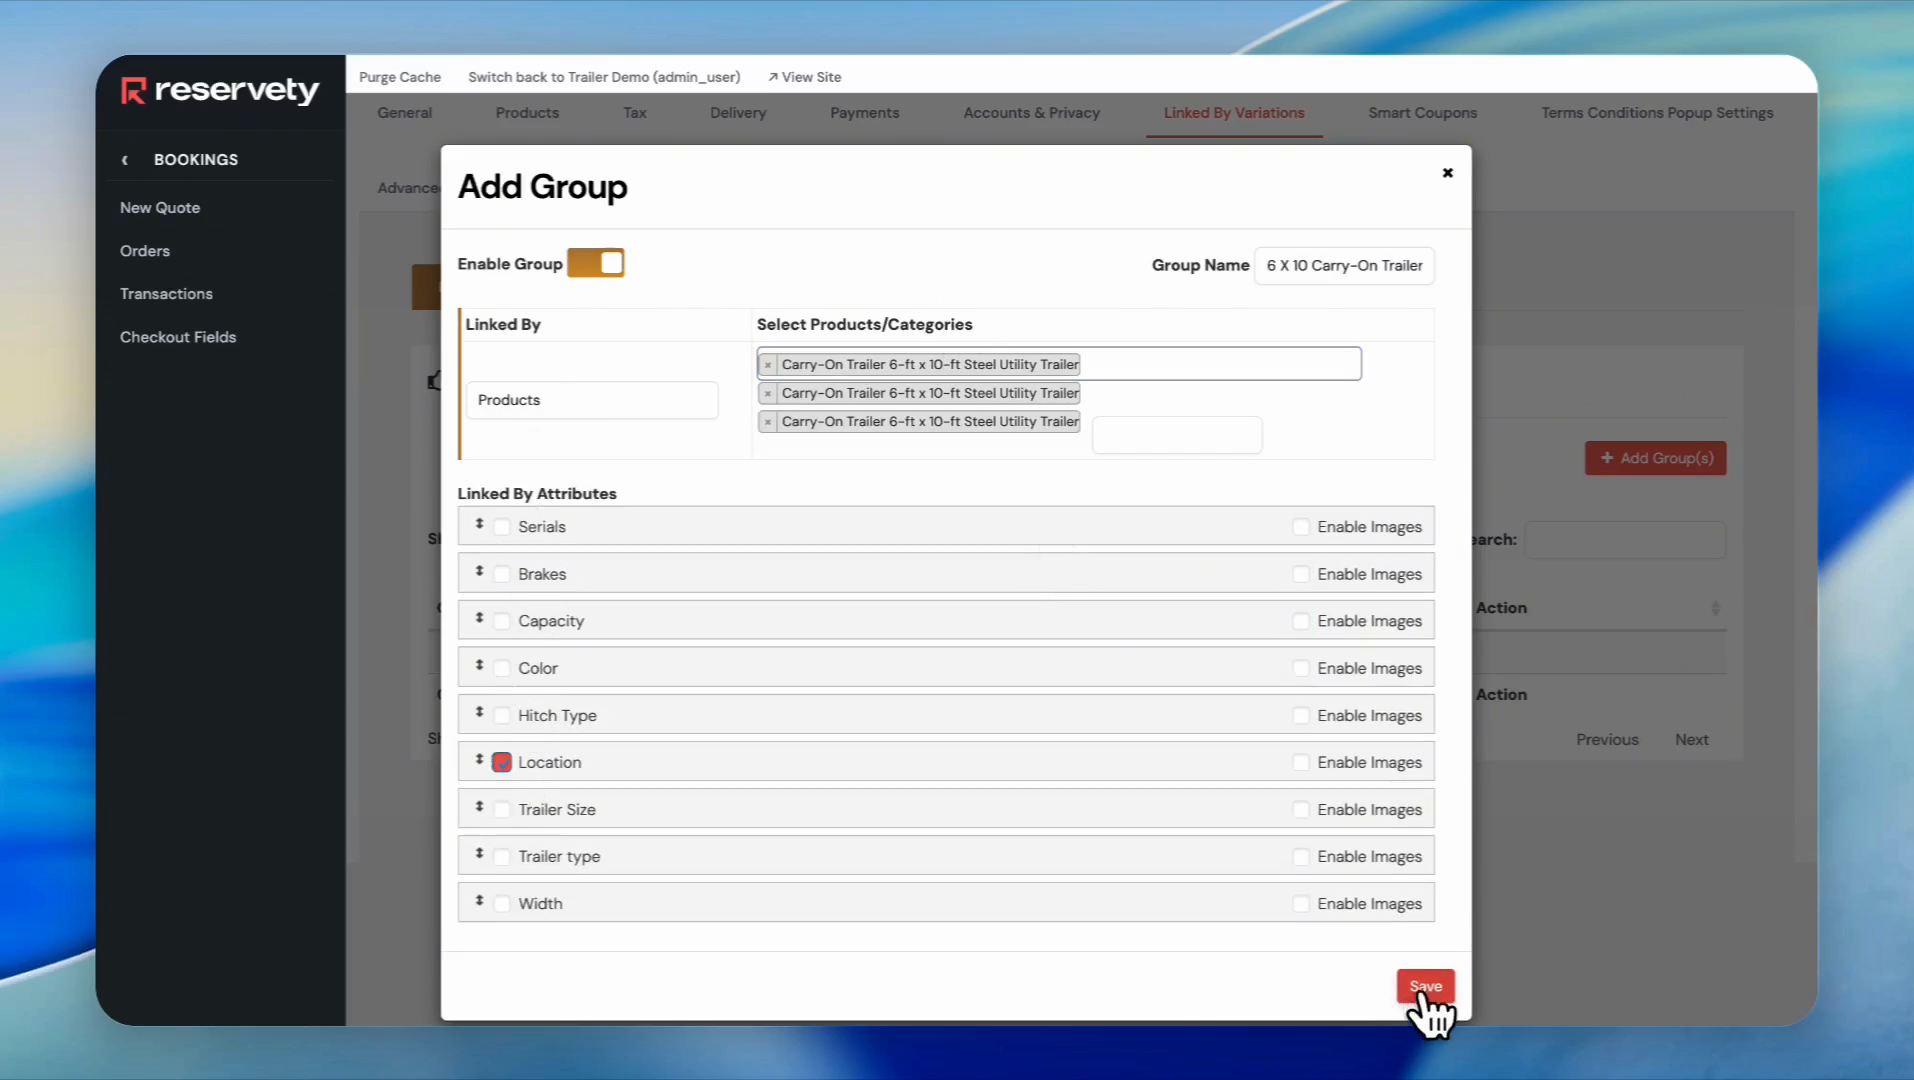
Click the Save button.
Step 50
51
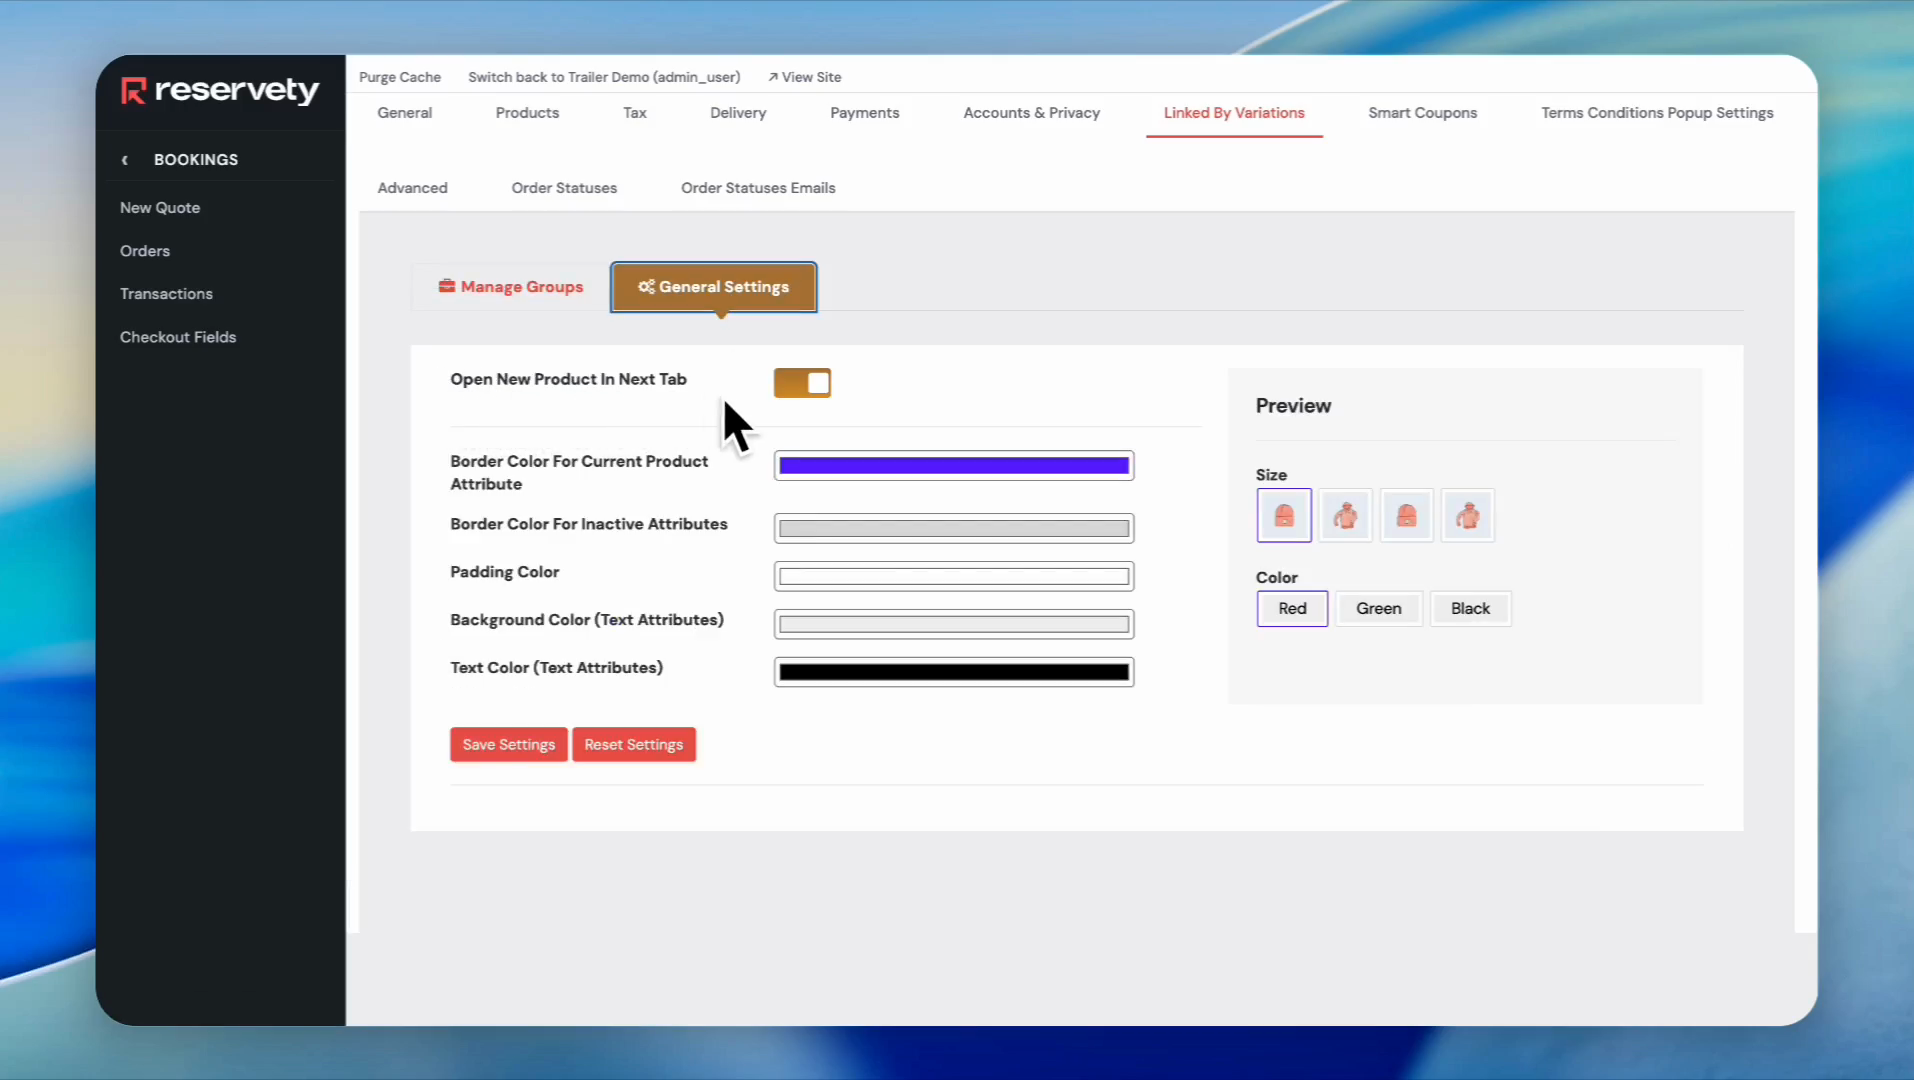
Click the General Settings button.
Step 51
52
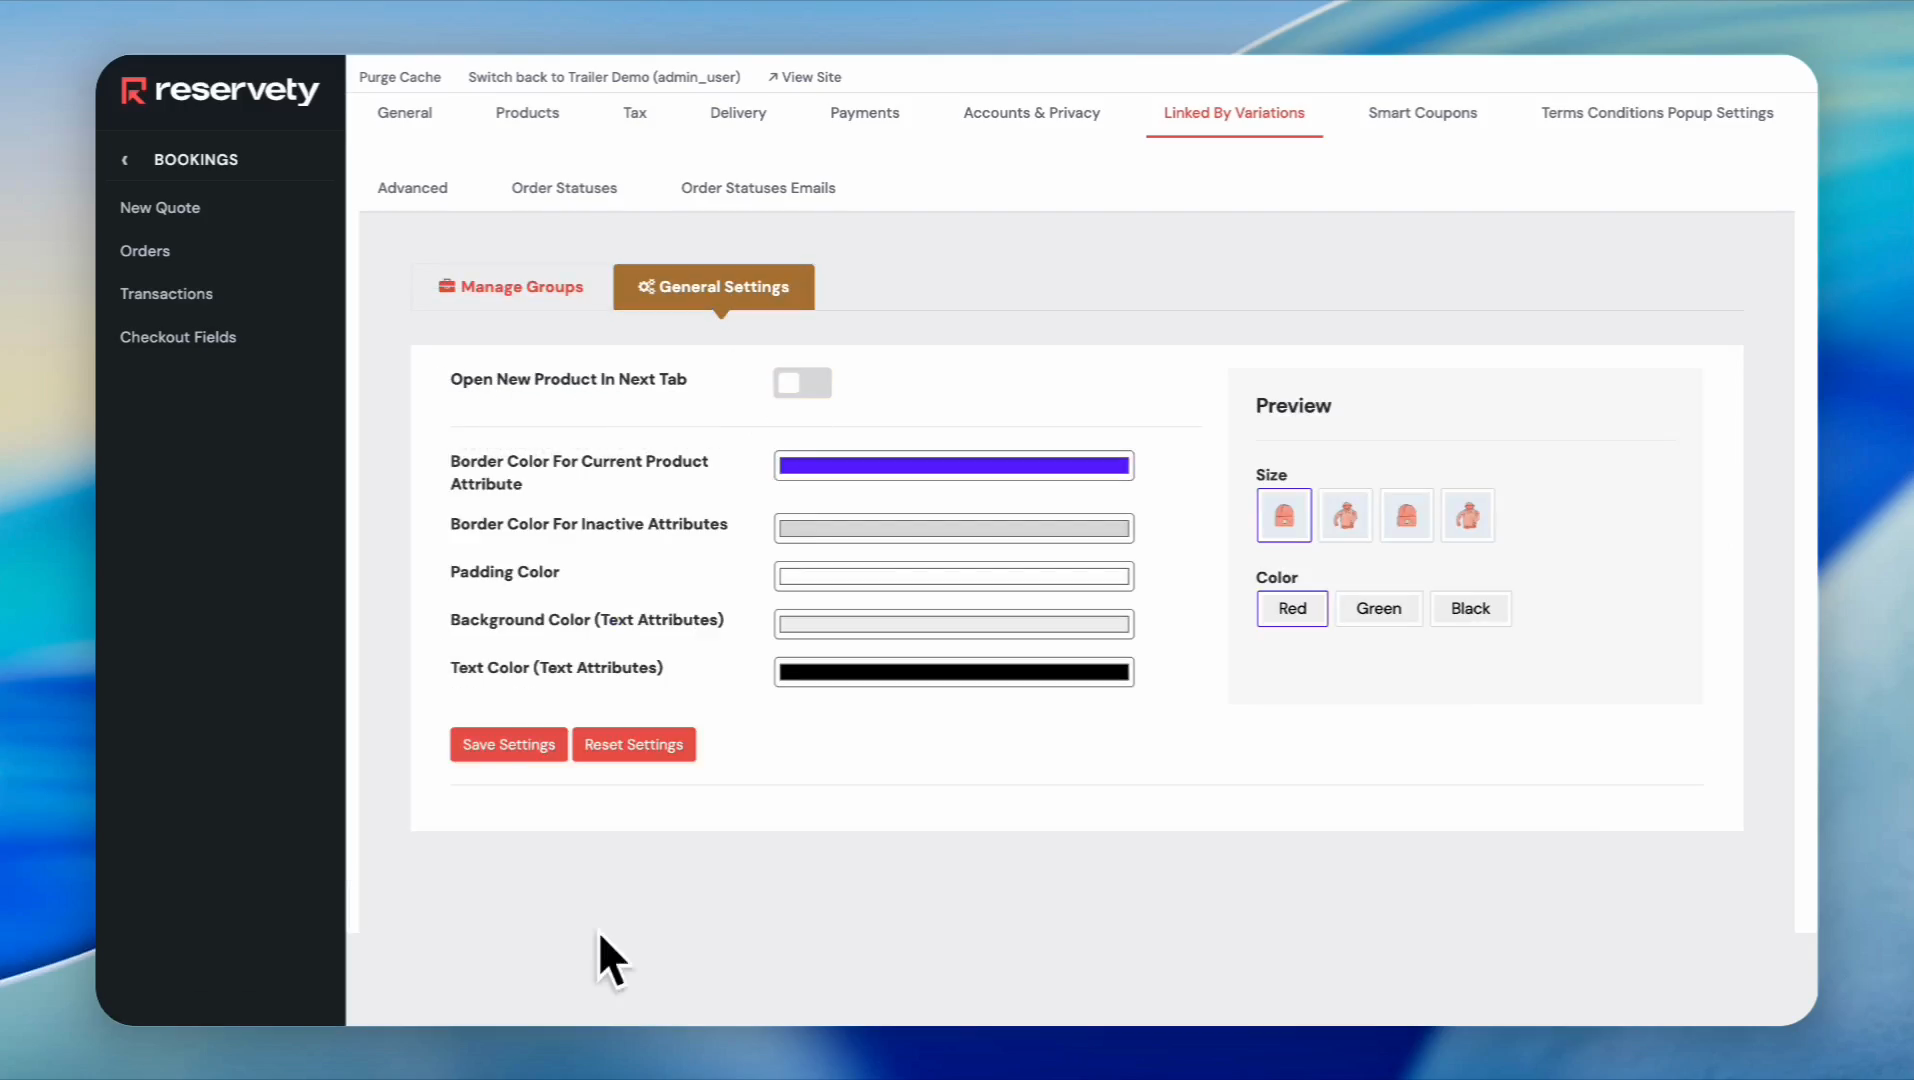
Click the Open New Product in Next Tab toggle to switch it off.
Step 52
53
Click the Save Settings button.
Step 53
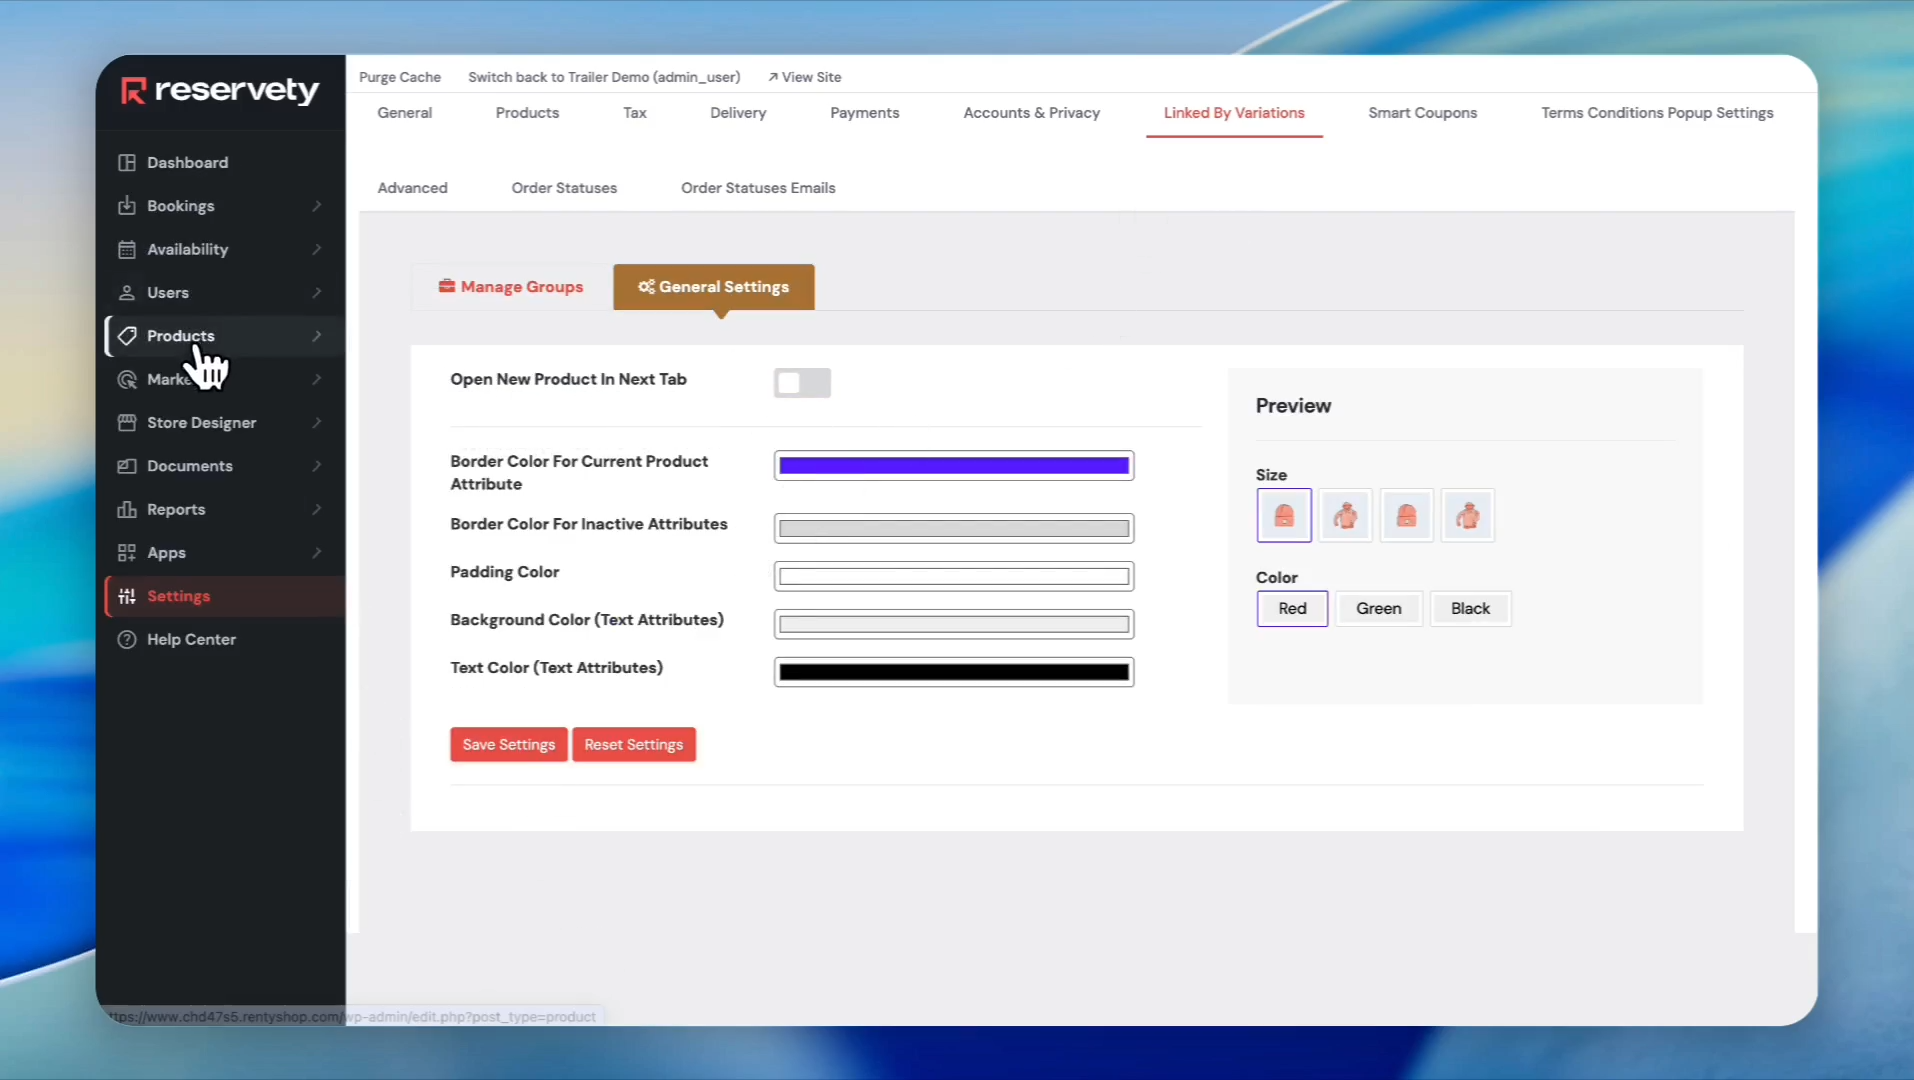
54
Click on Products in the left sidebar.
Step 54
55
Click on All Items.
Step 55
56
Click the View button for a product.
Step 56
57
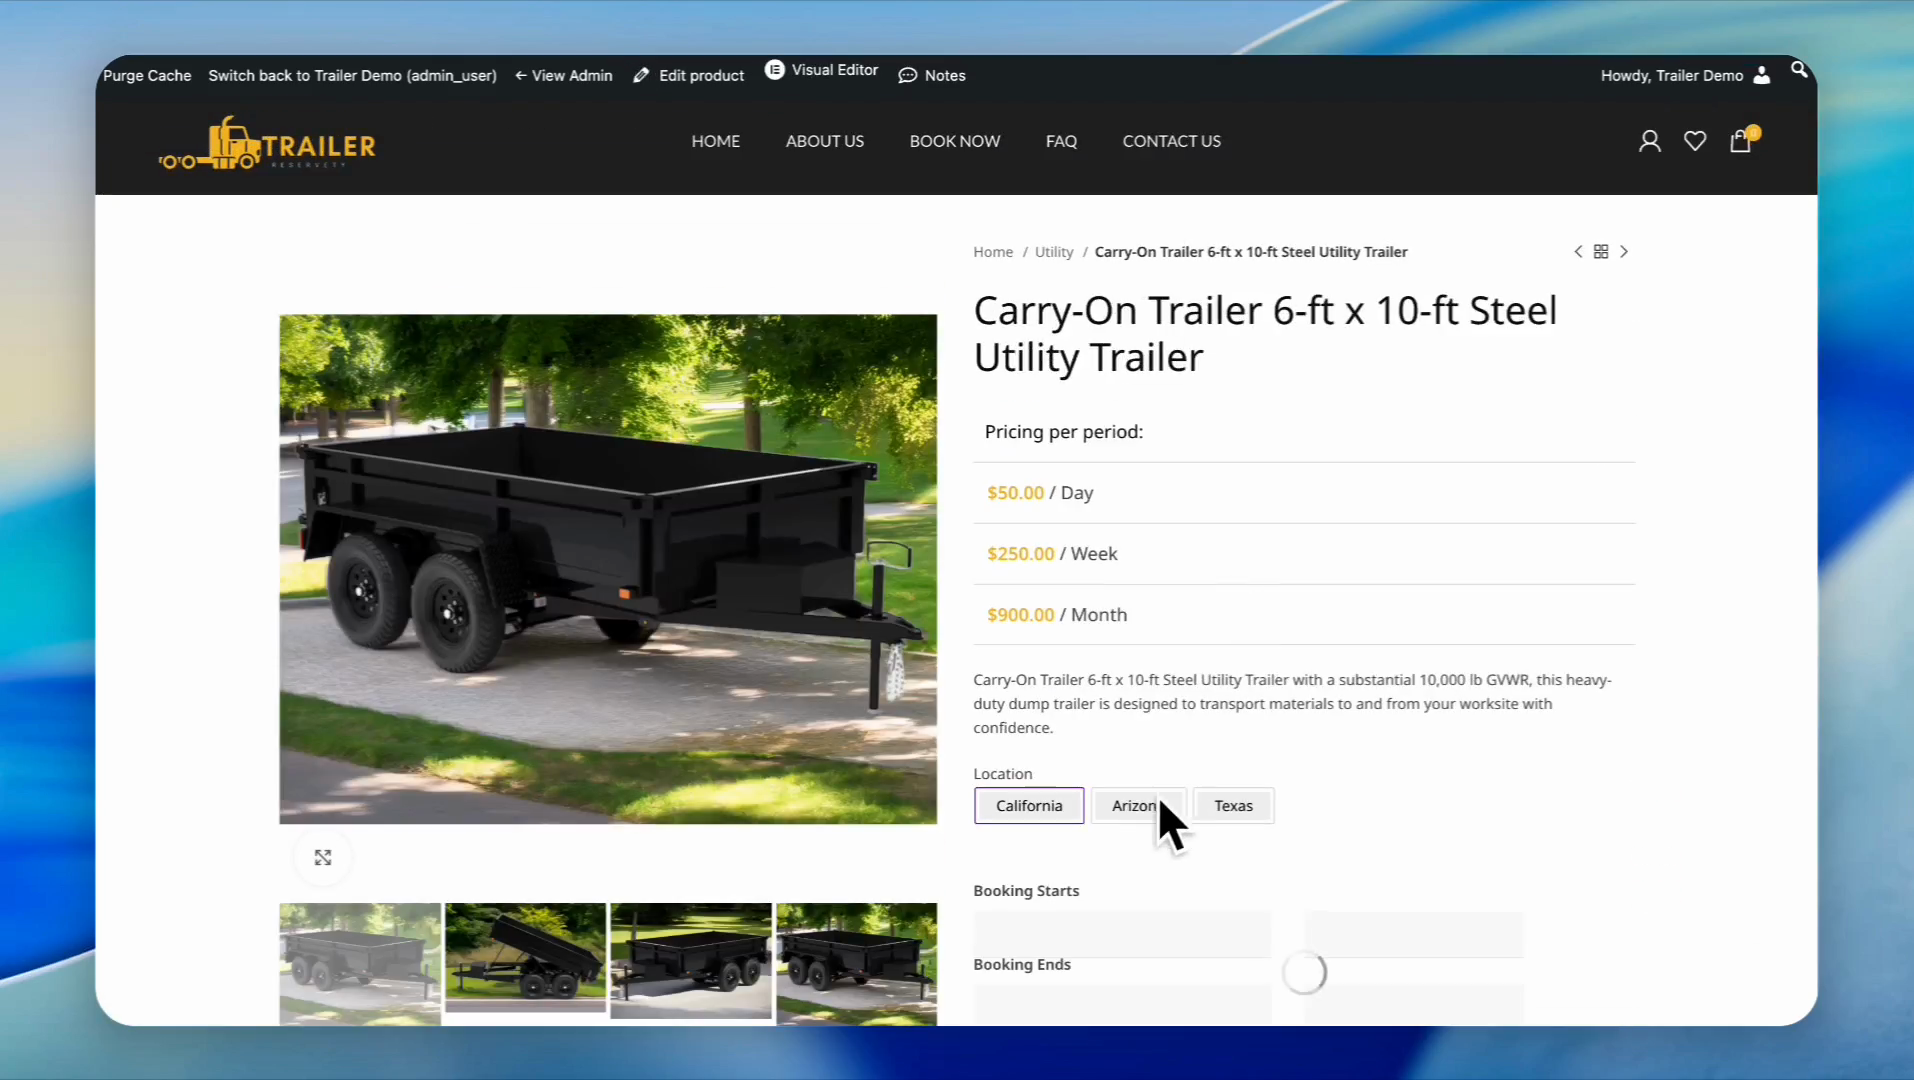
Our product is clearly displayed on our website with prices, descriptions, and featured locations. You can select the locations from this menu and book your product. You can switch between locations. For example, you can click on California or Arizona and book accordingly.
Step 57
🛎️

Don't see what you need?

Remember, your plan includes Concierge Support. You don't need to learn technical settings. Just message us, and Ashish will configure it for you.

Chat with Support