Reservety
Products 78 steps

Create Serial Numbered Items

In this guide, you'll learn how to create and manage products with serial numbers in your rental dashboard. Covers adding individual serial numbers, grouping them under a main product, assigning them to orders, and auto-generating serial numbers.
Video thumbnail
Watch the video walkthrough

Step-by-step guide

1
Log in to your Reservety dashboard.
Step 1
2
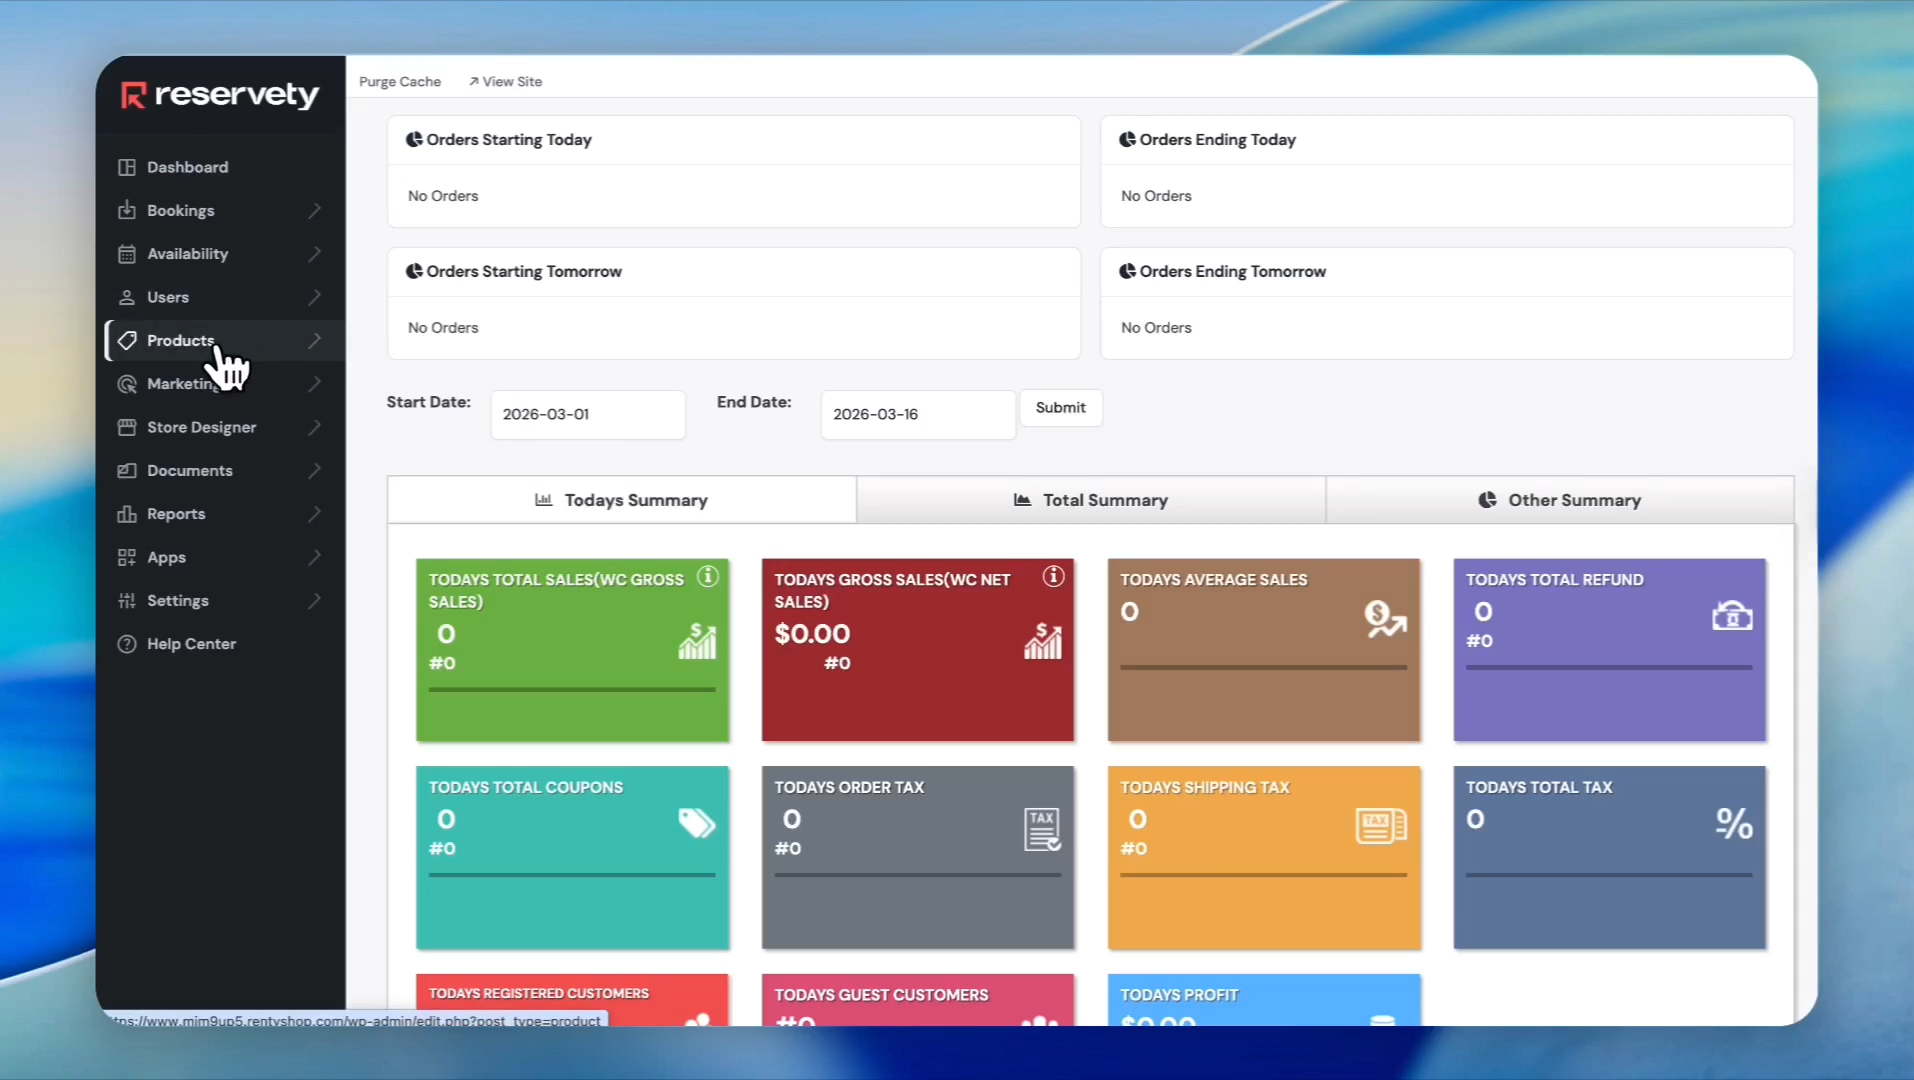
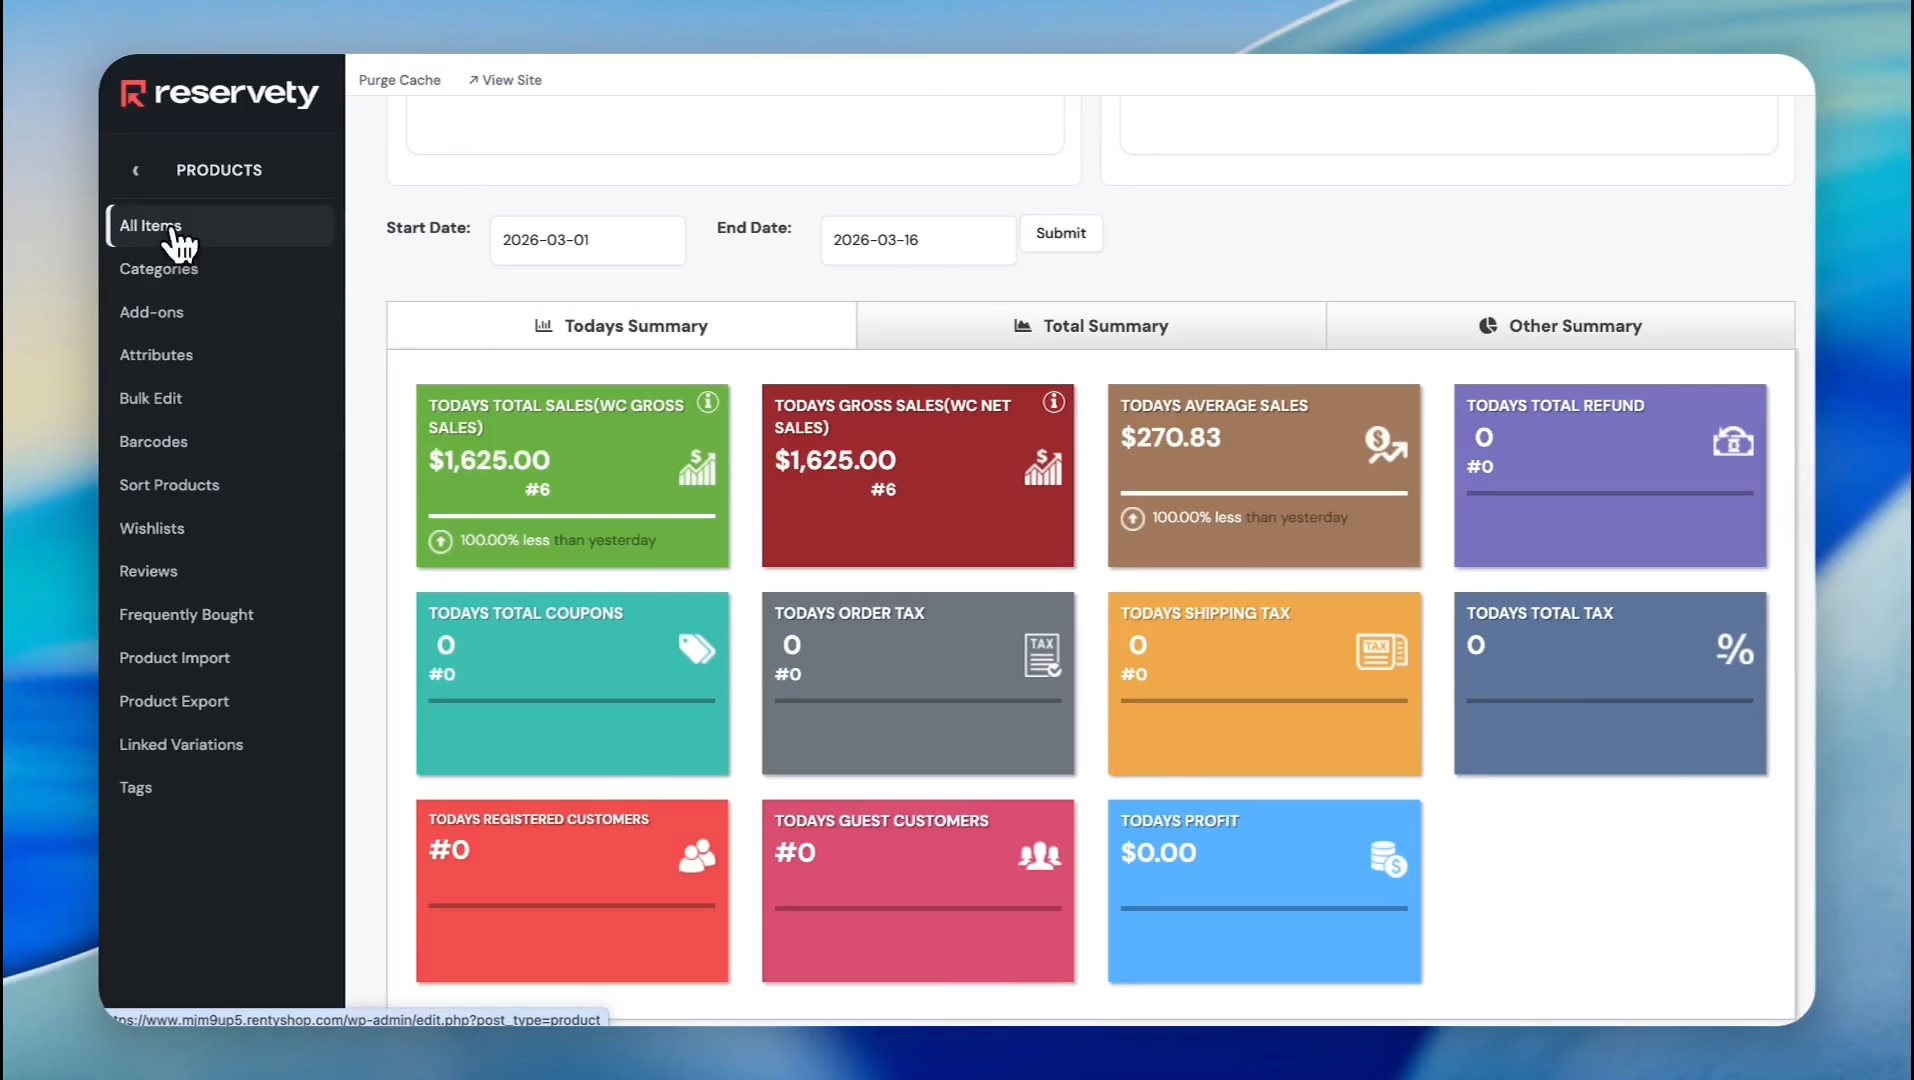
Click on Products in the left sidebar.
Step 2
3
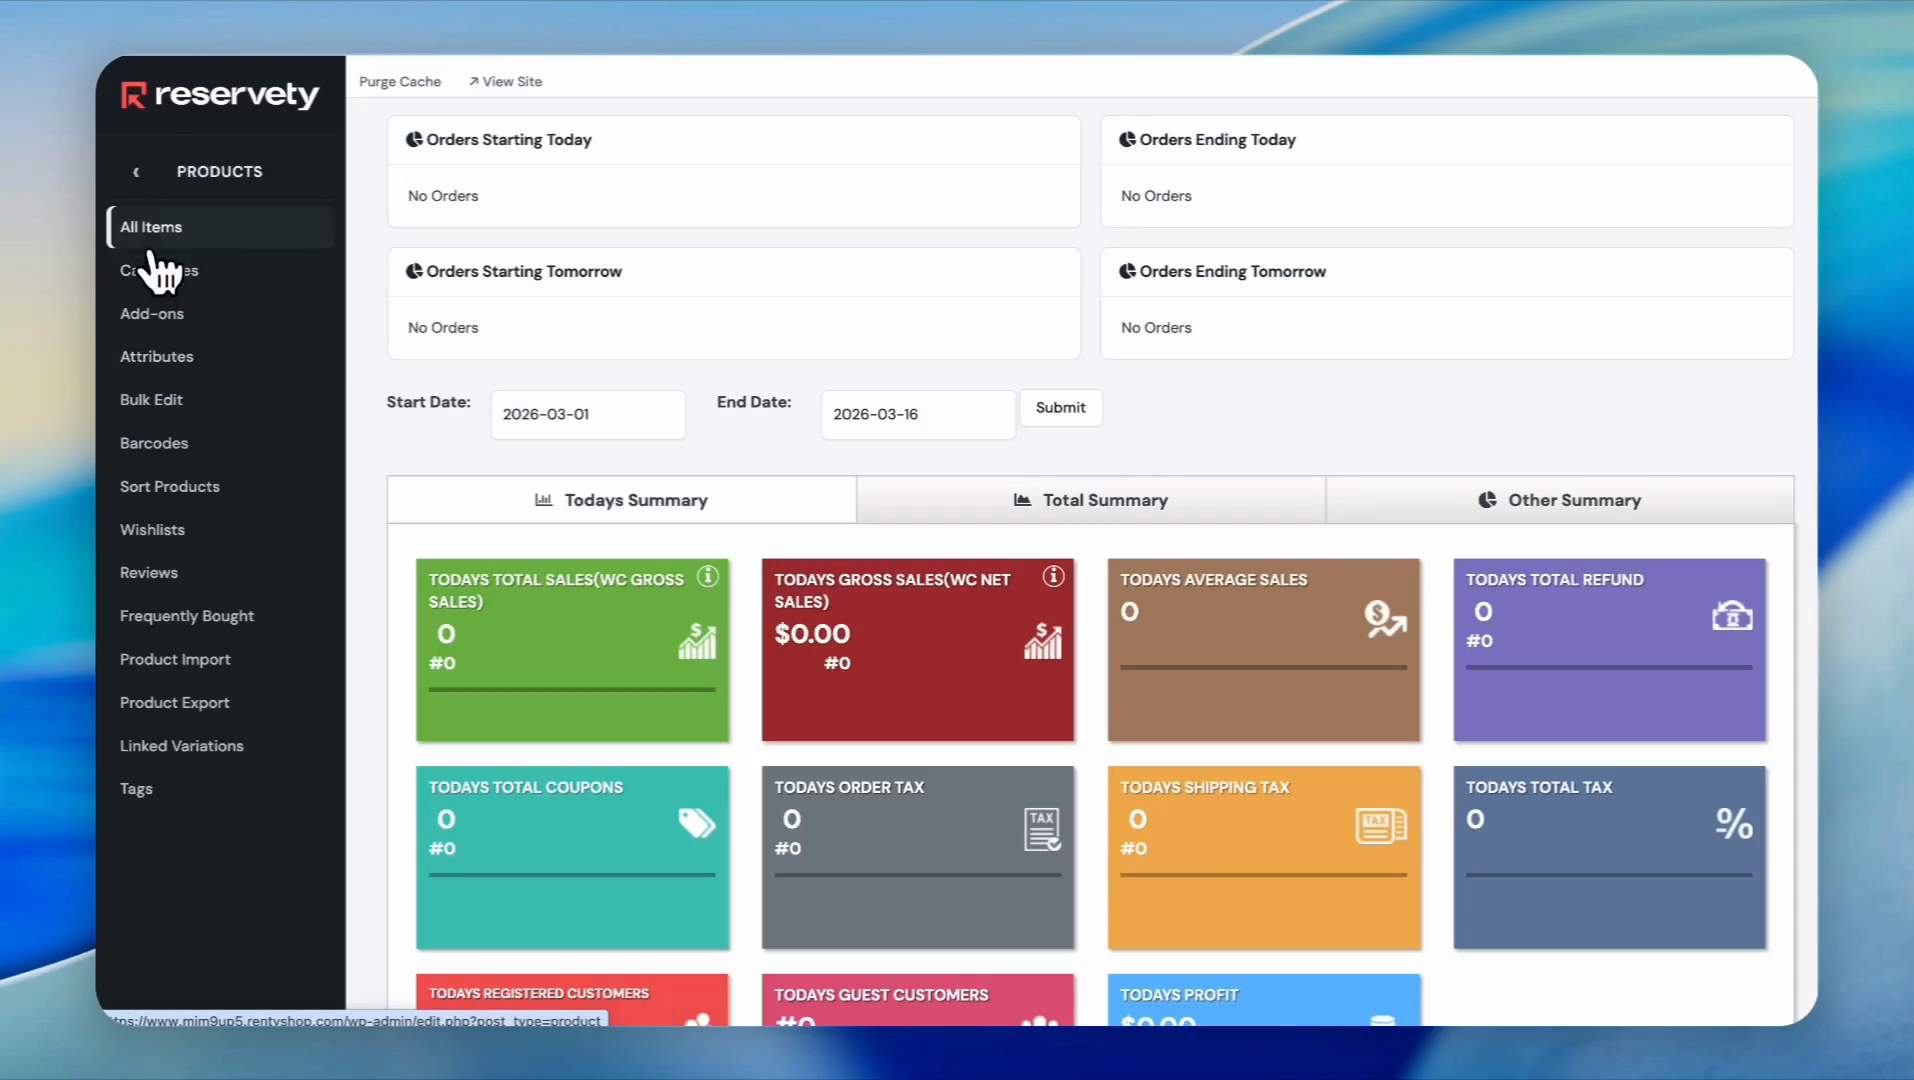
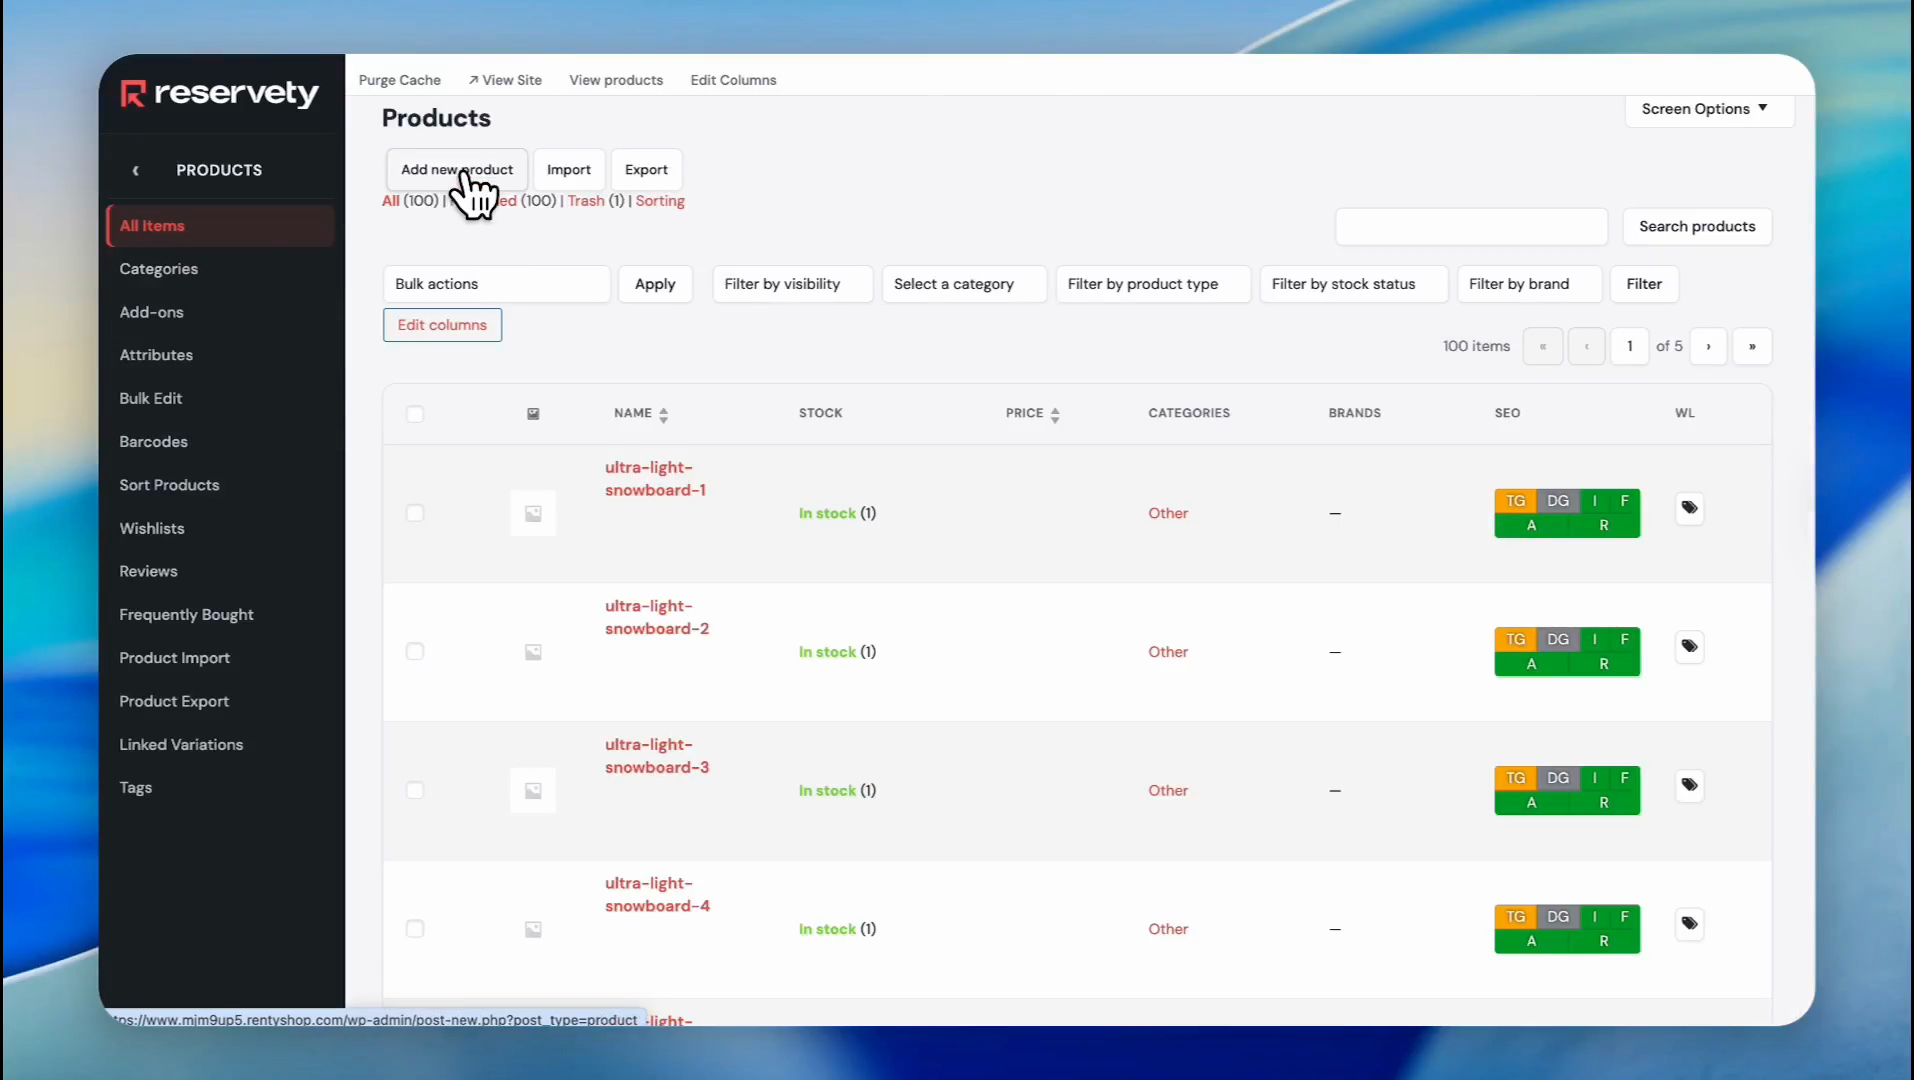
Click on All Items
Step 3
4
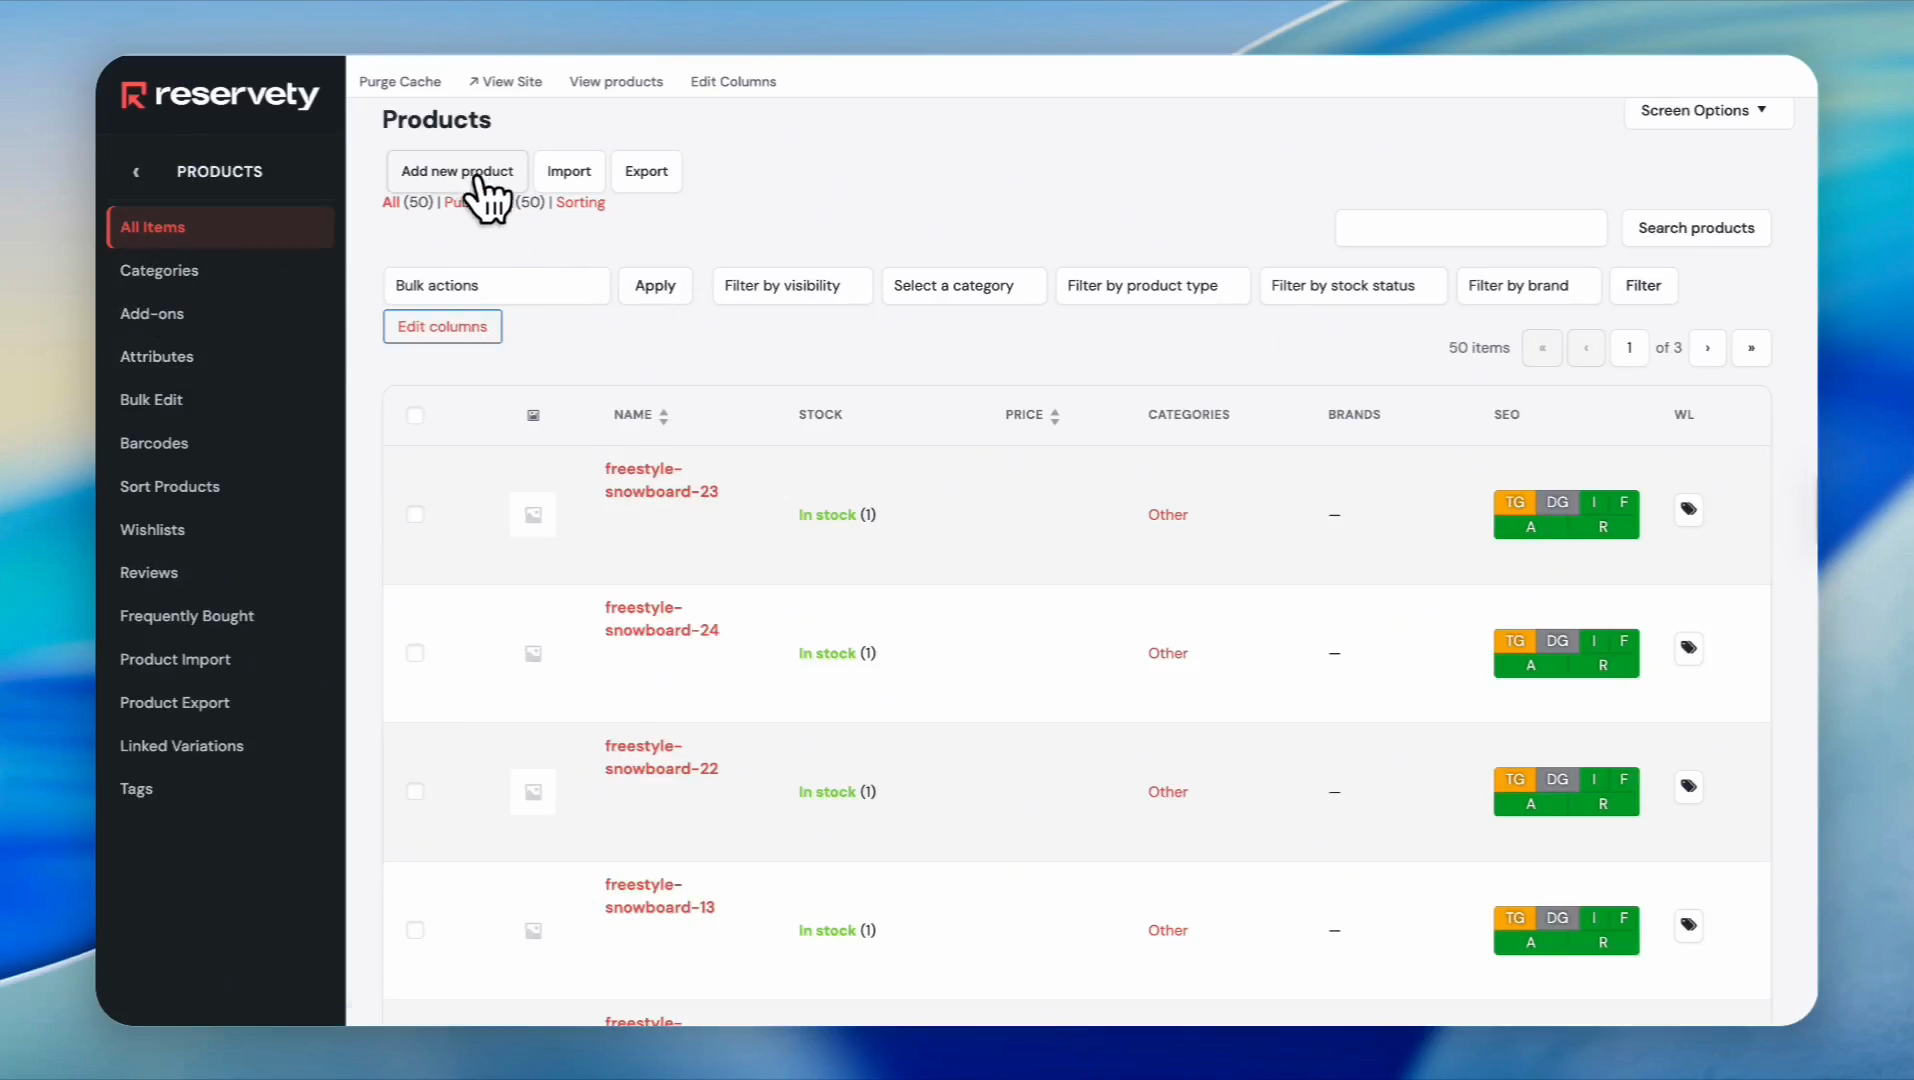
Click the Add new product button.
Step 4
5
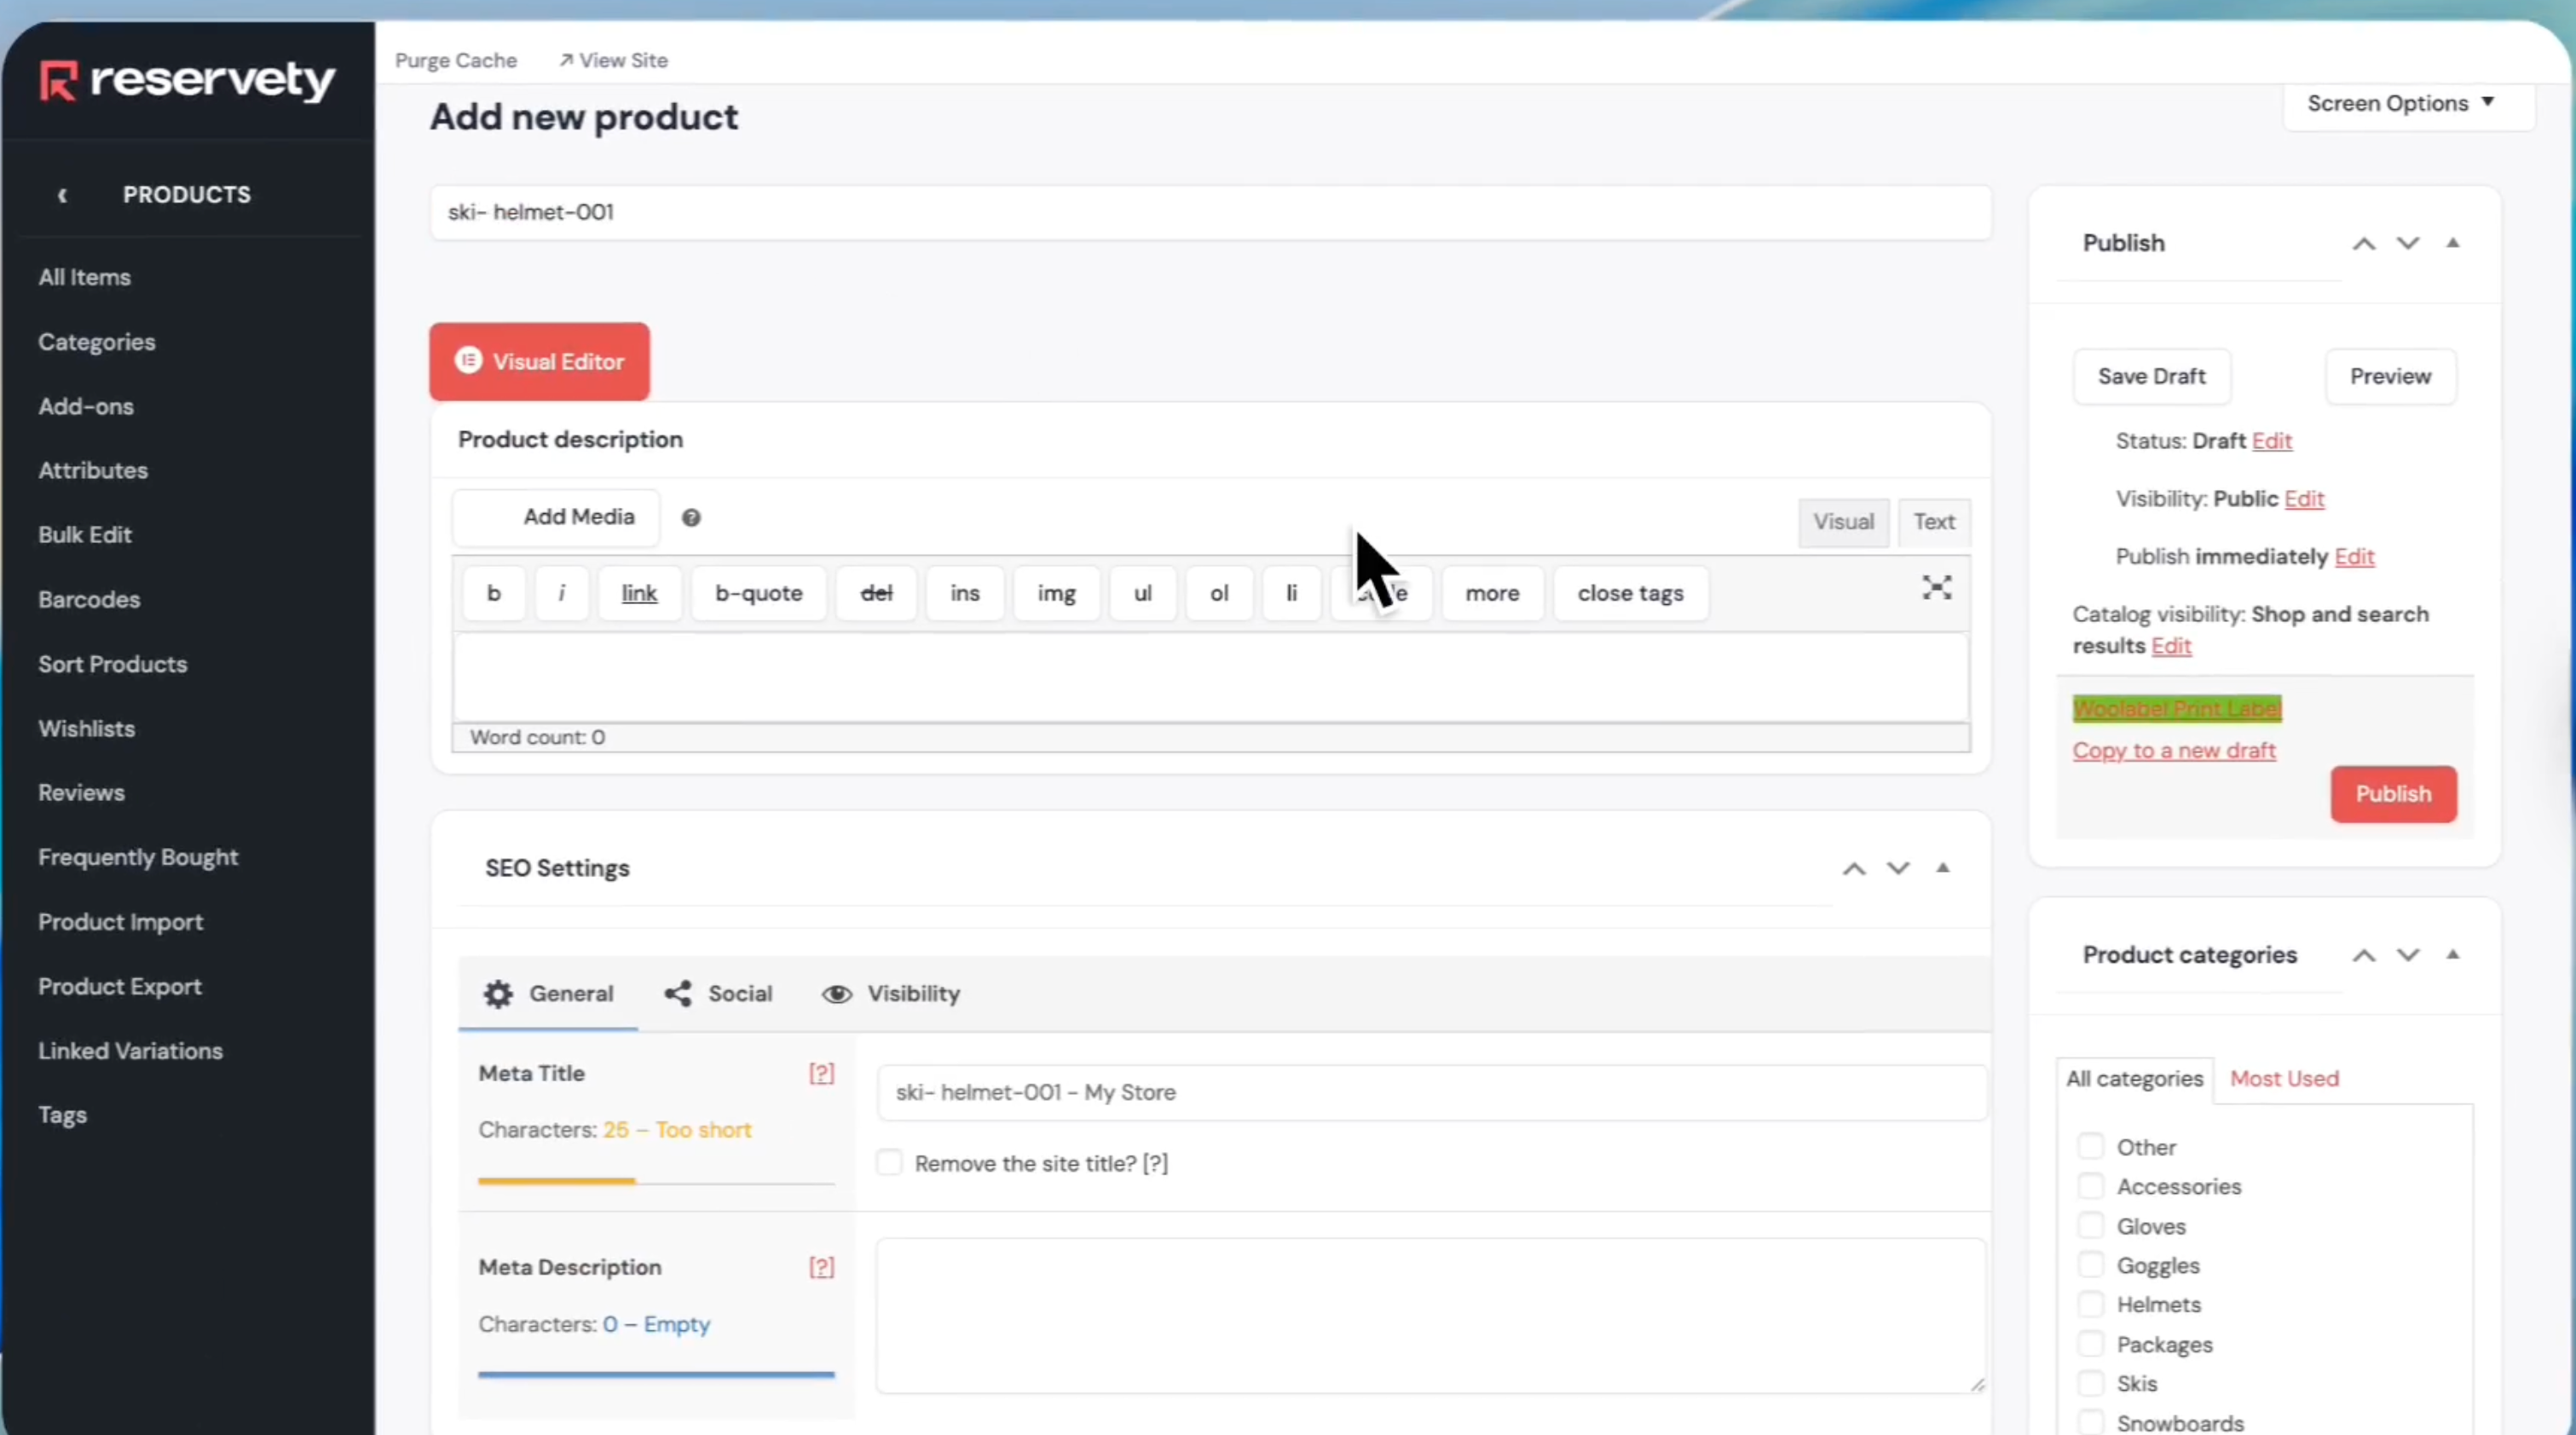
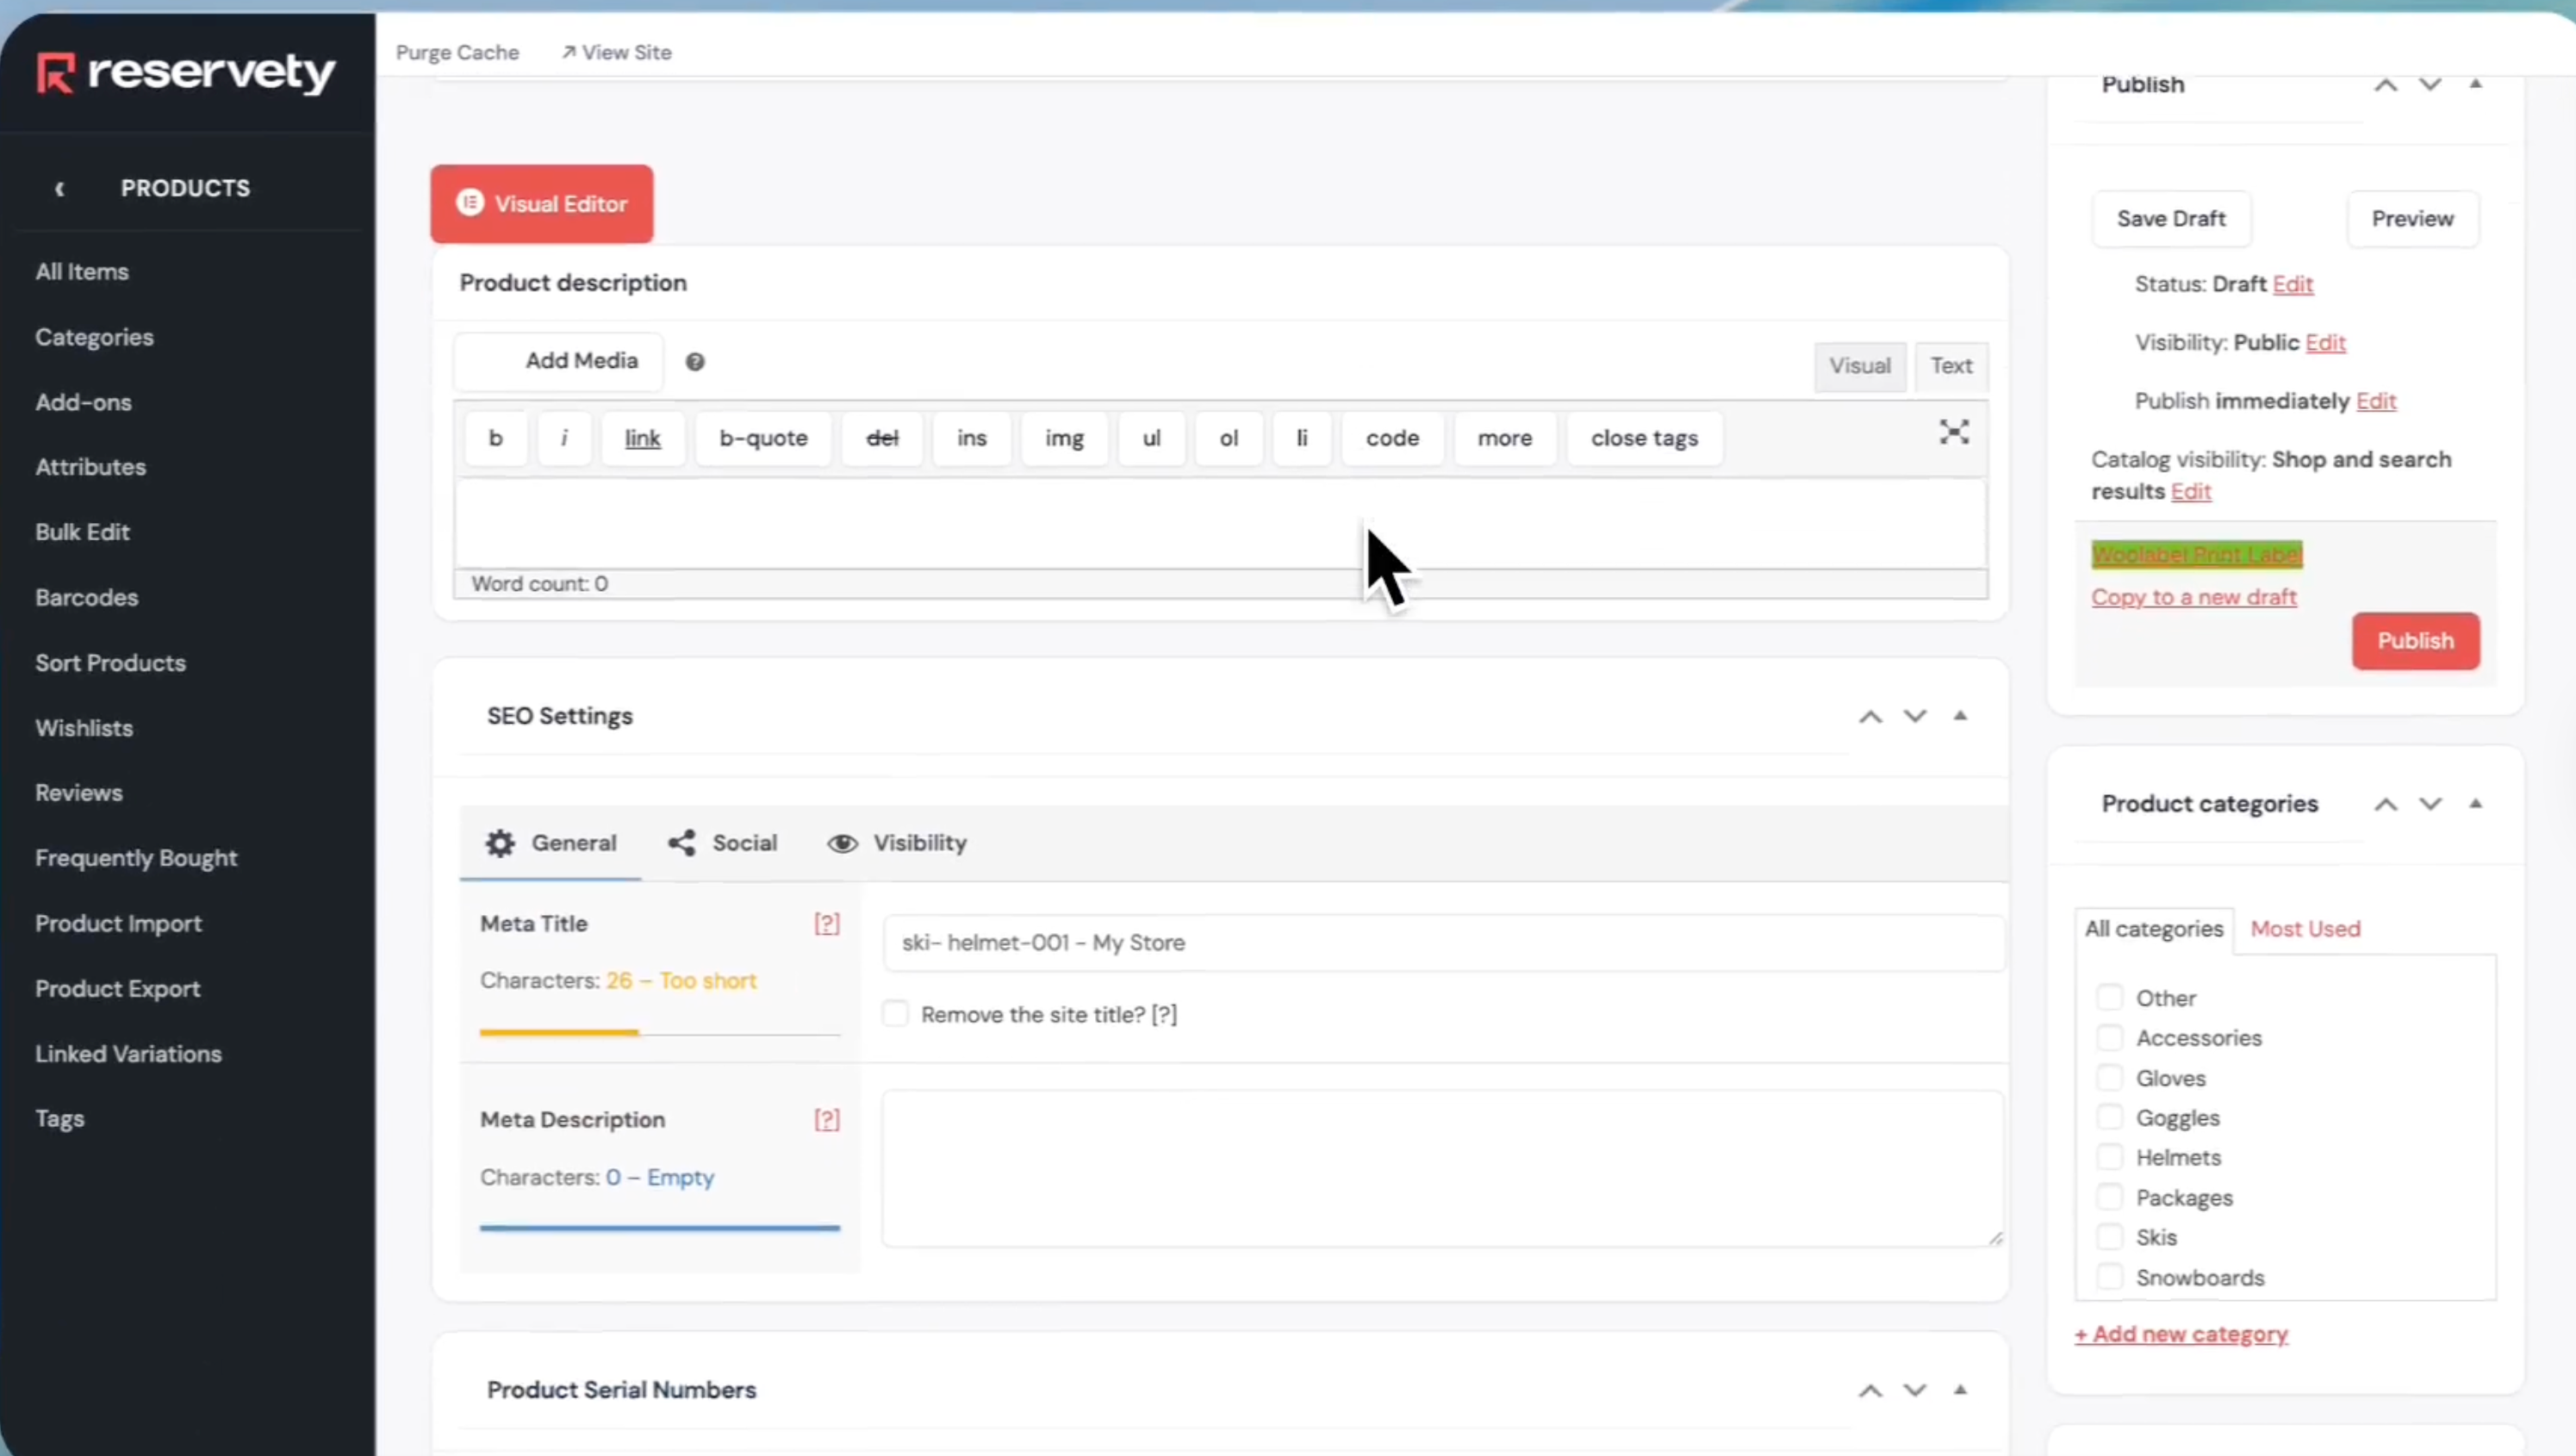
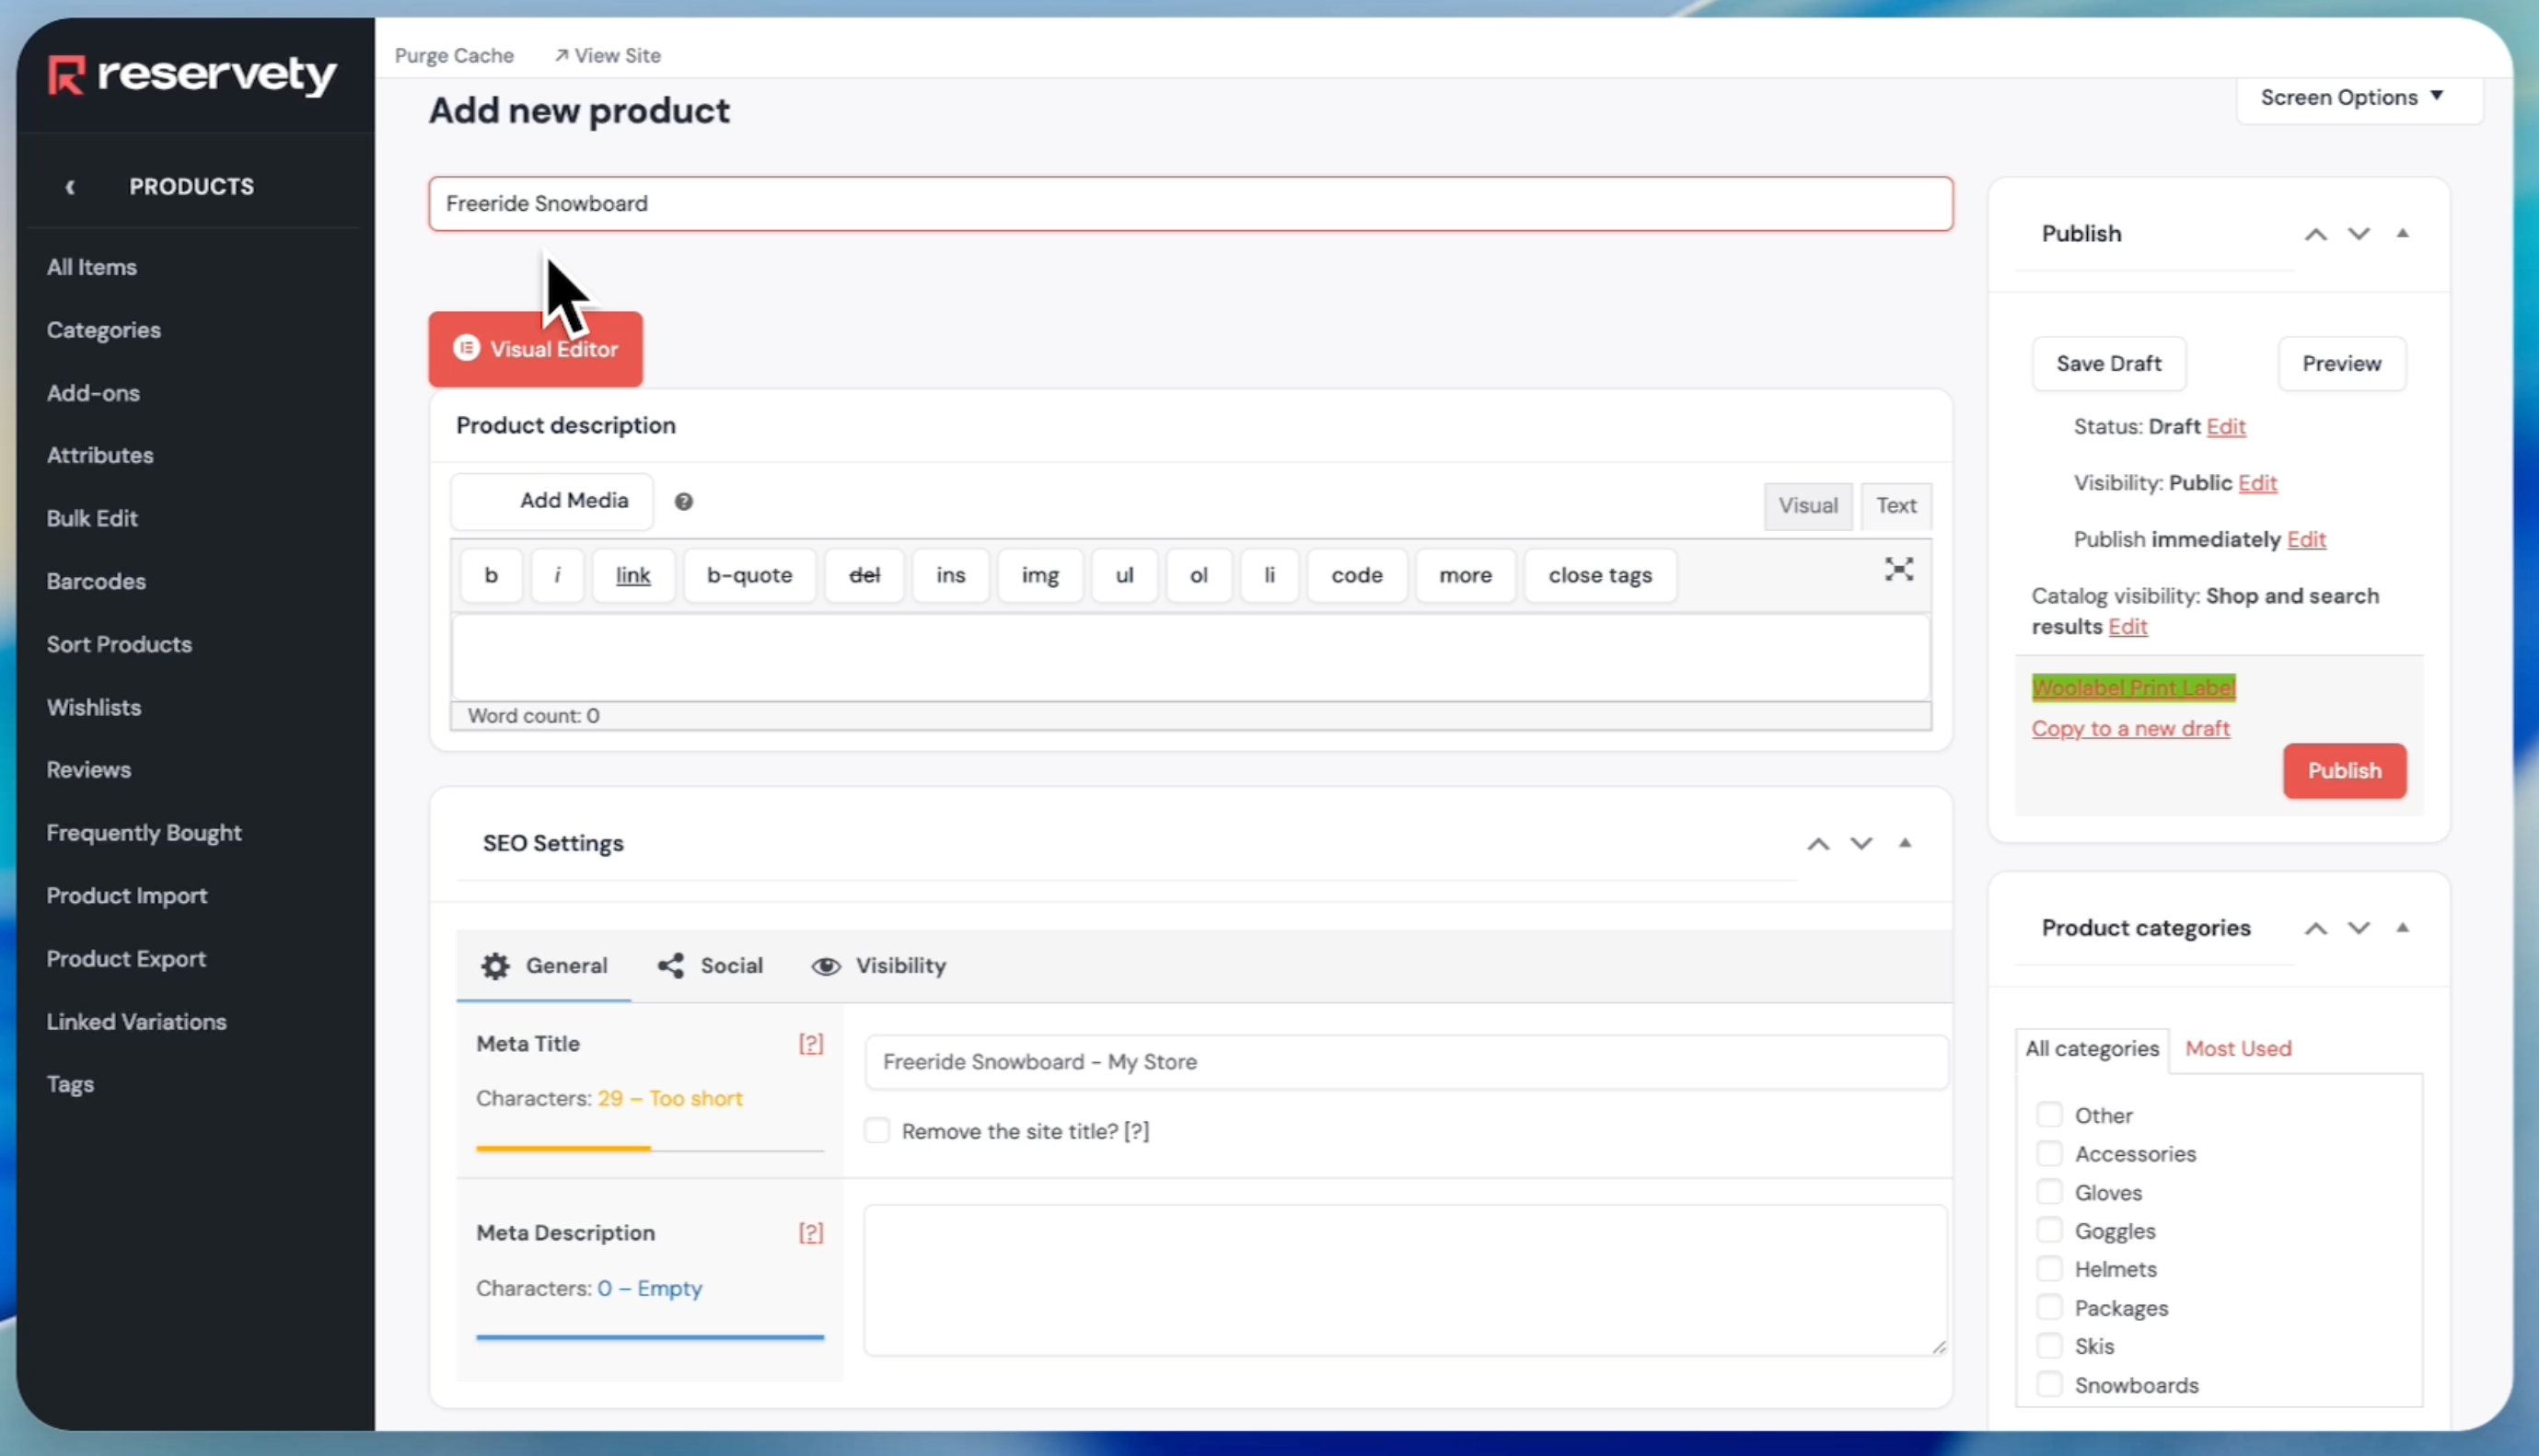
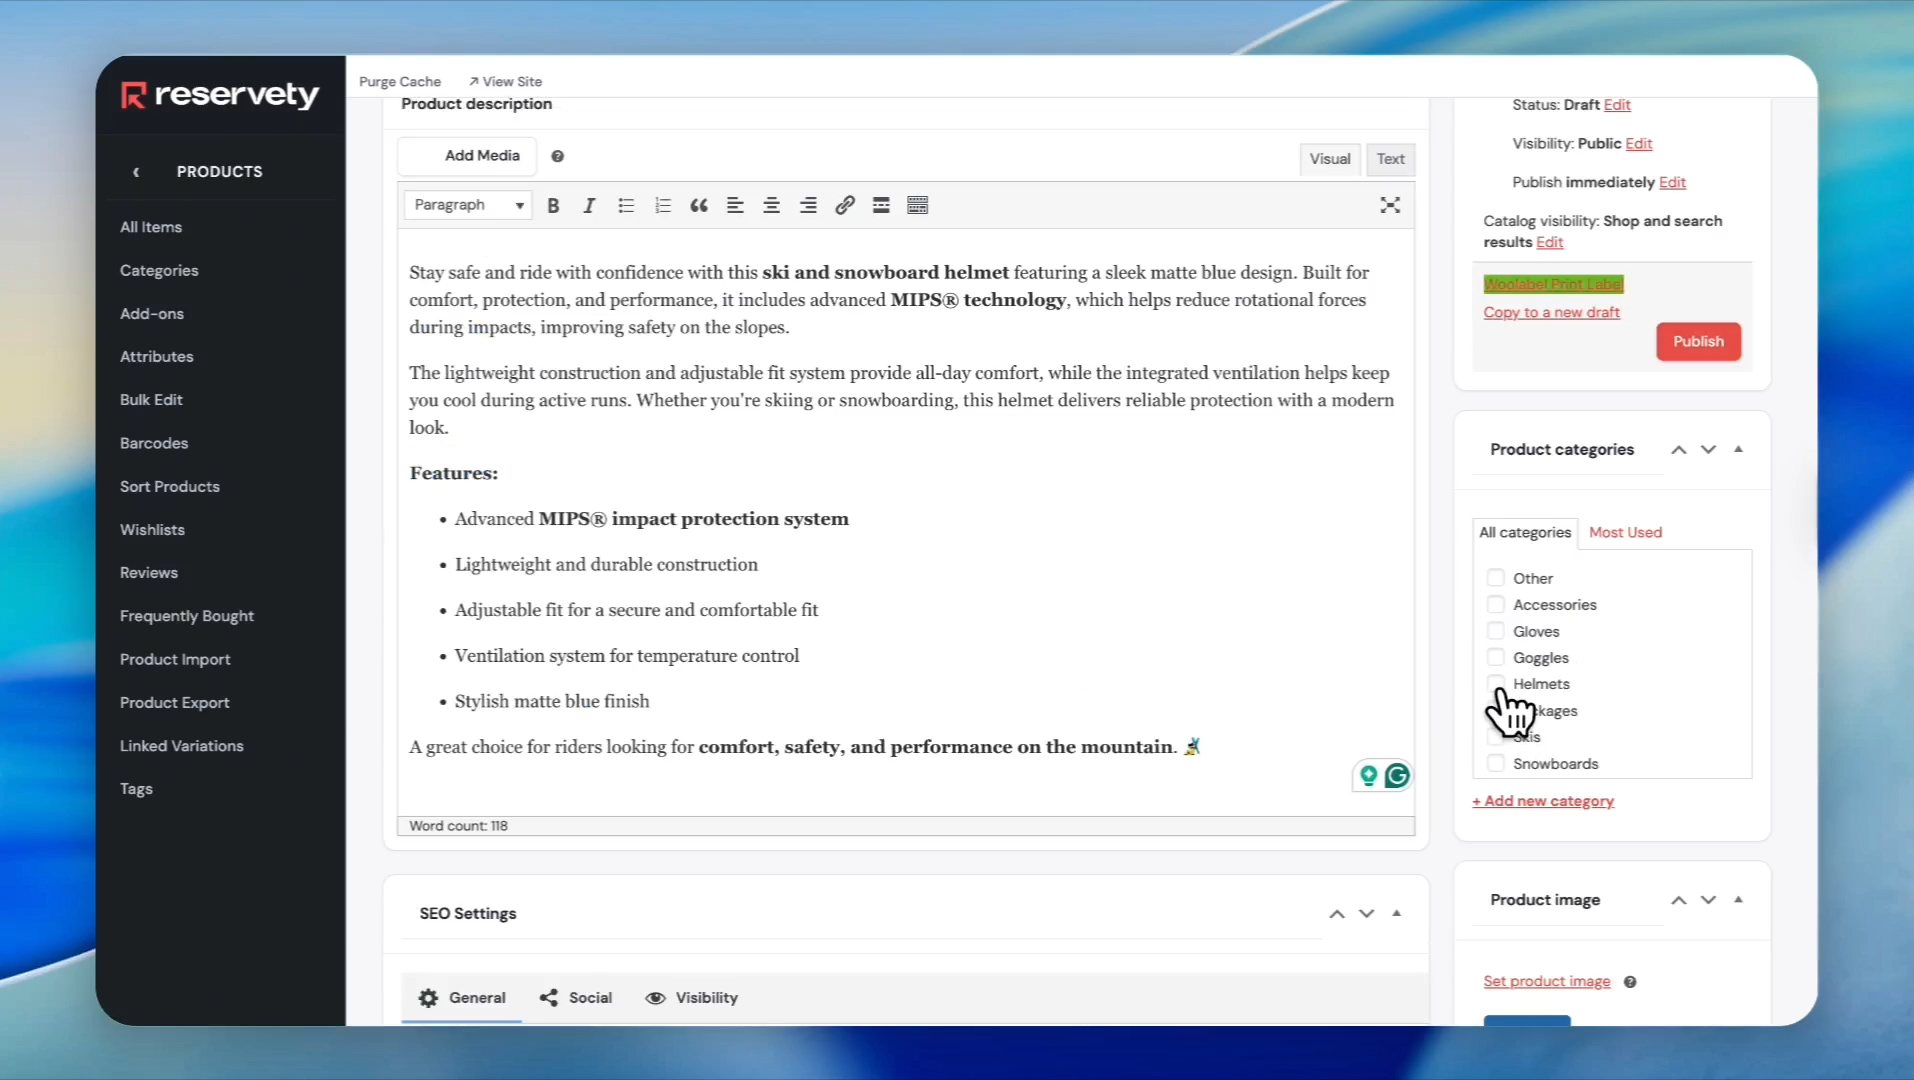
In the Product name field, type your serial number. For example, we wrote ski-helmet-001 since we are adding ski helmets with serial numbers.
Step 5
6
Skip the product description section. Scroll down and find the section labeled "Use Serial."
Step 6
7
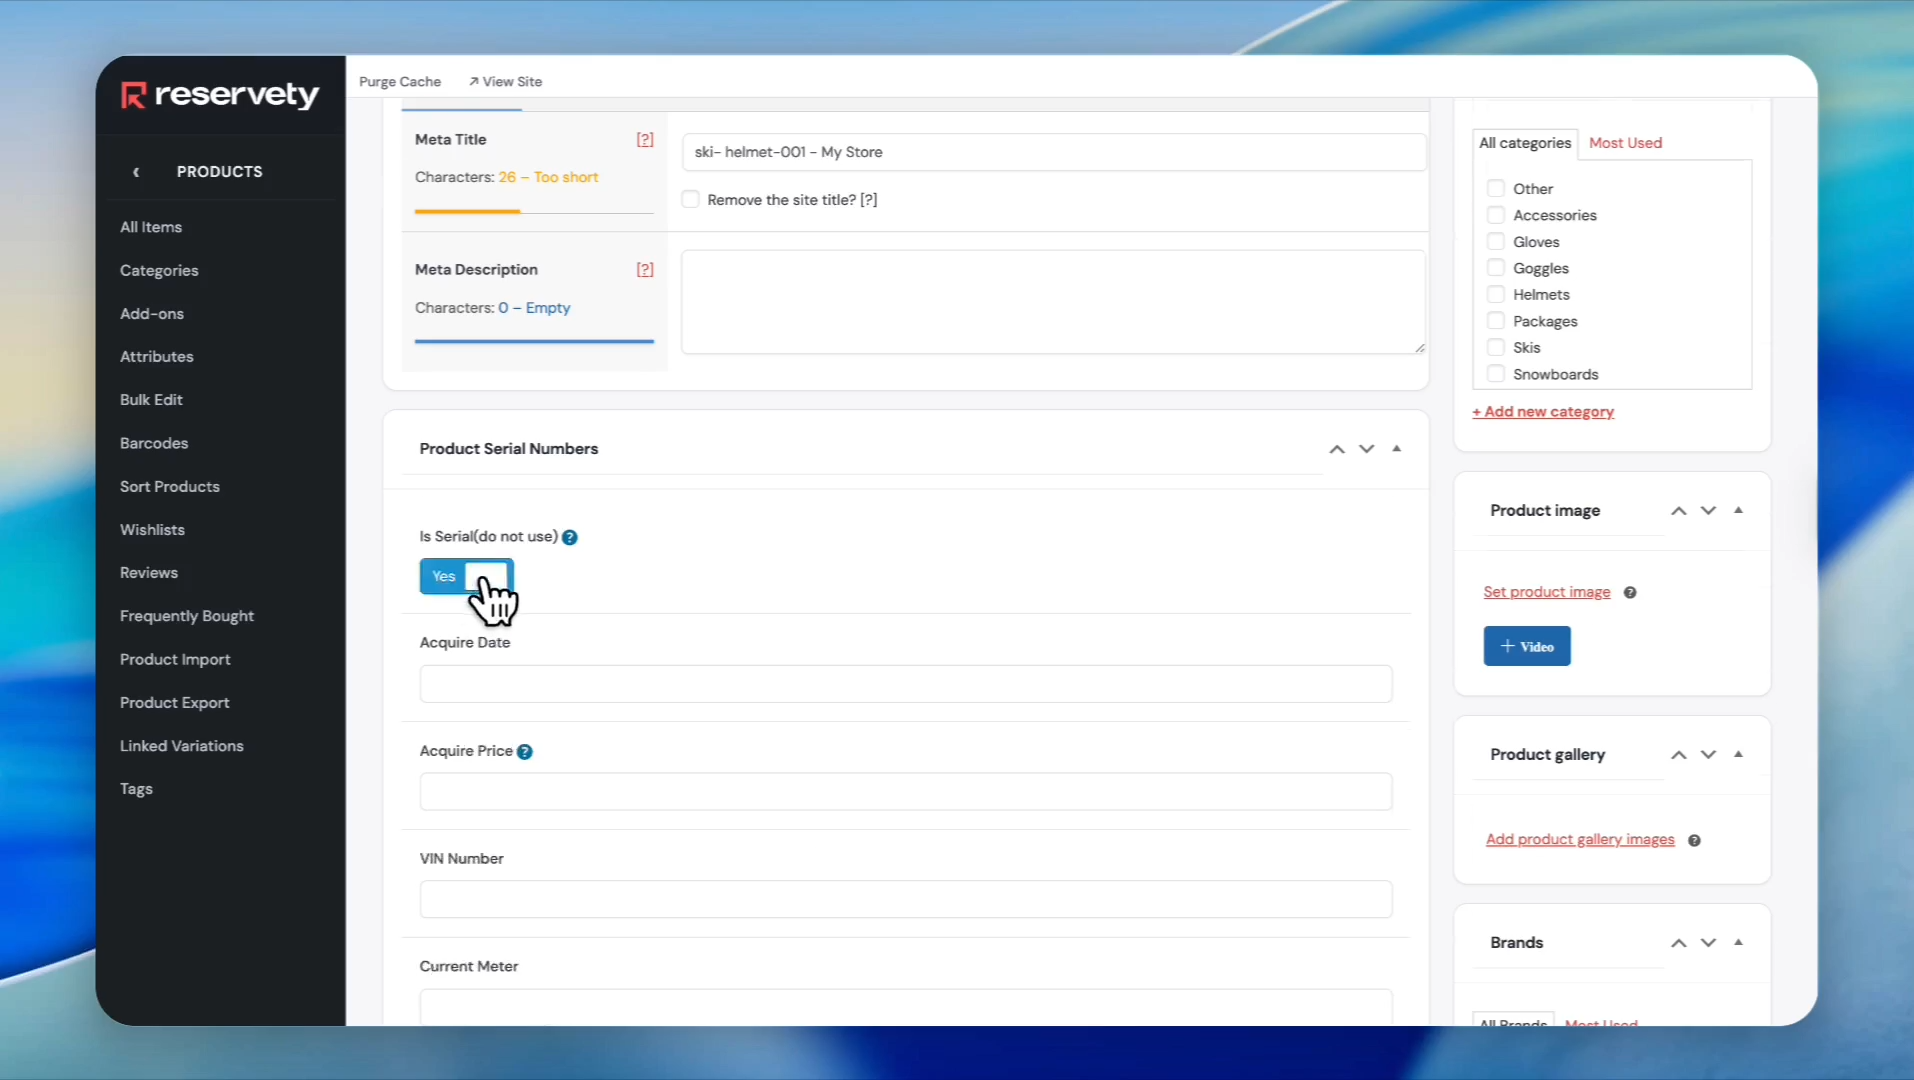
In the Product Serial Numbers section, click Is Serial and activate it.
Step 7
8
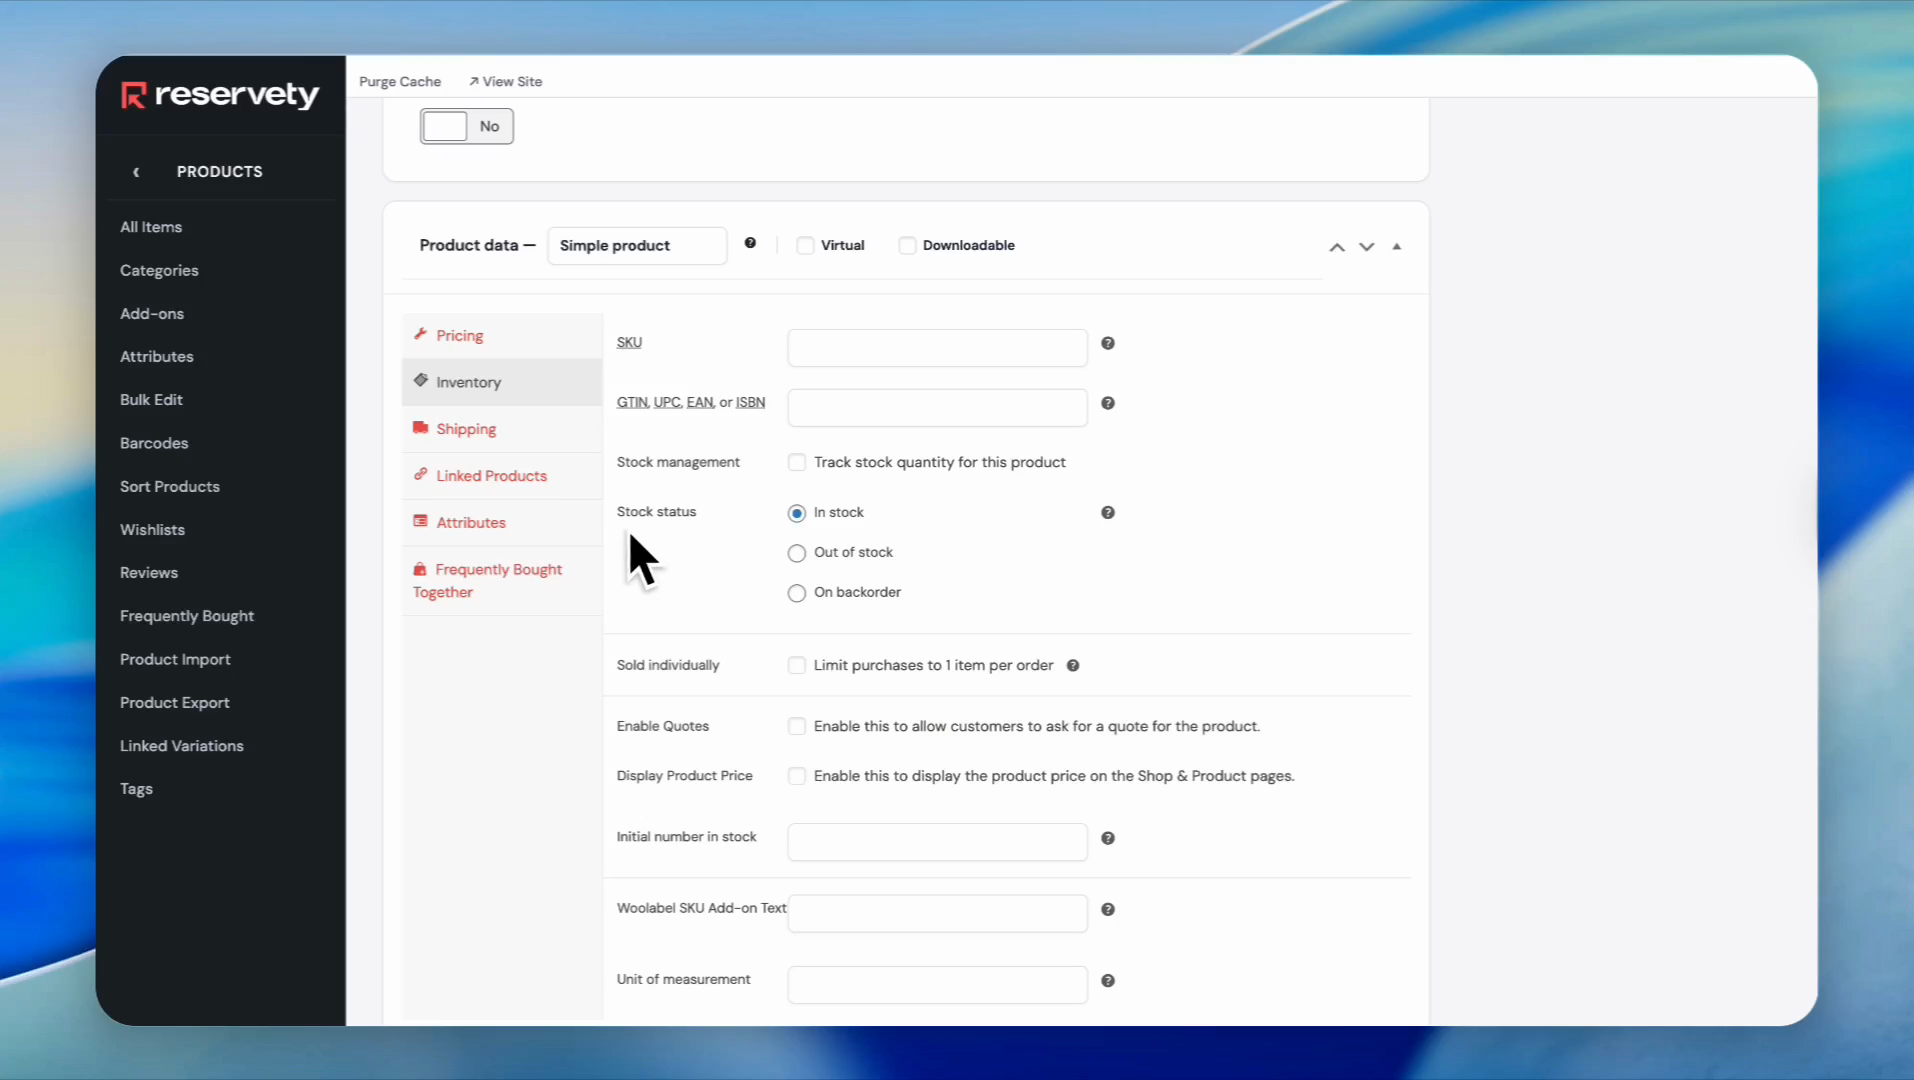
Under the Inventory tab, select the In stock radio button for Stock status. Do not check the box for tracking stock quantity for this product.
Step 8
9
Do not add any pricing to this product since it's a serial-numbered item.
Step 9
10
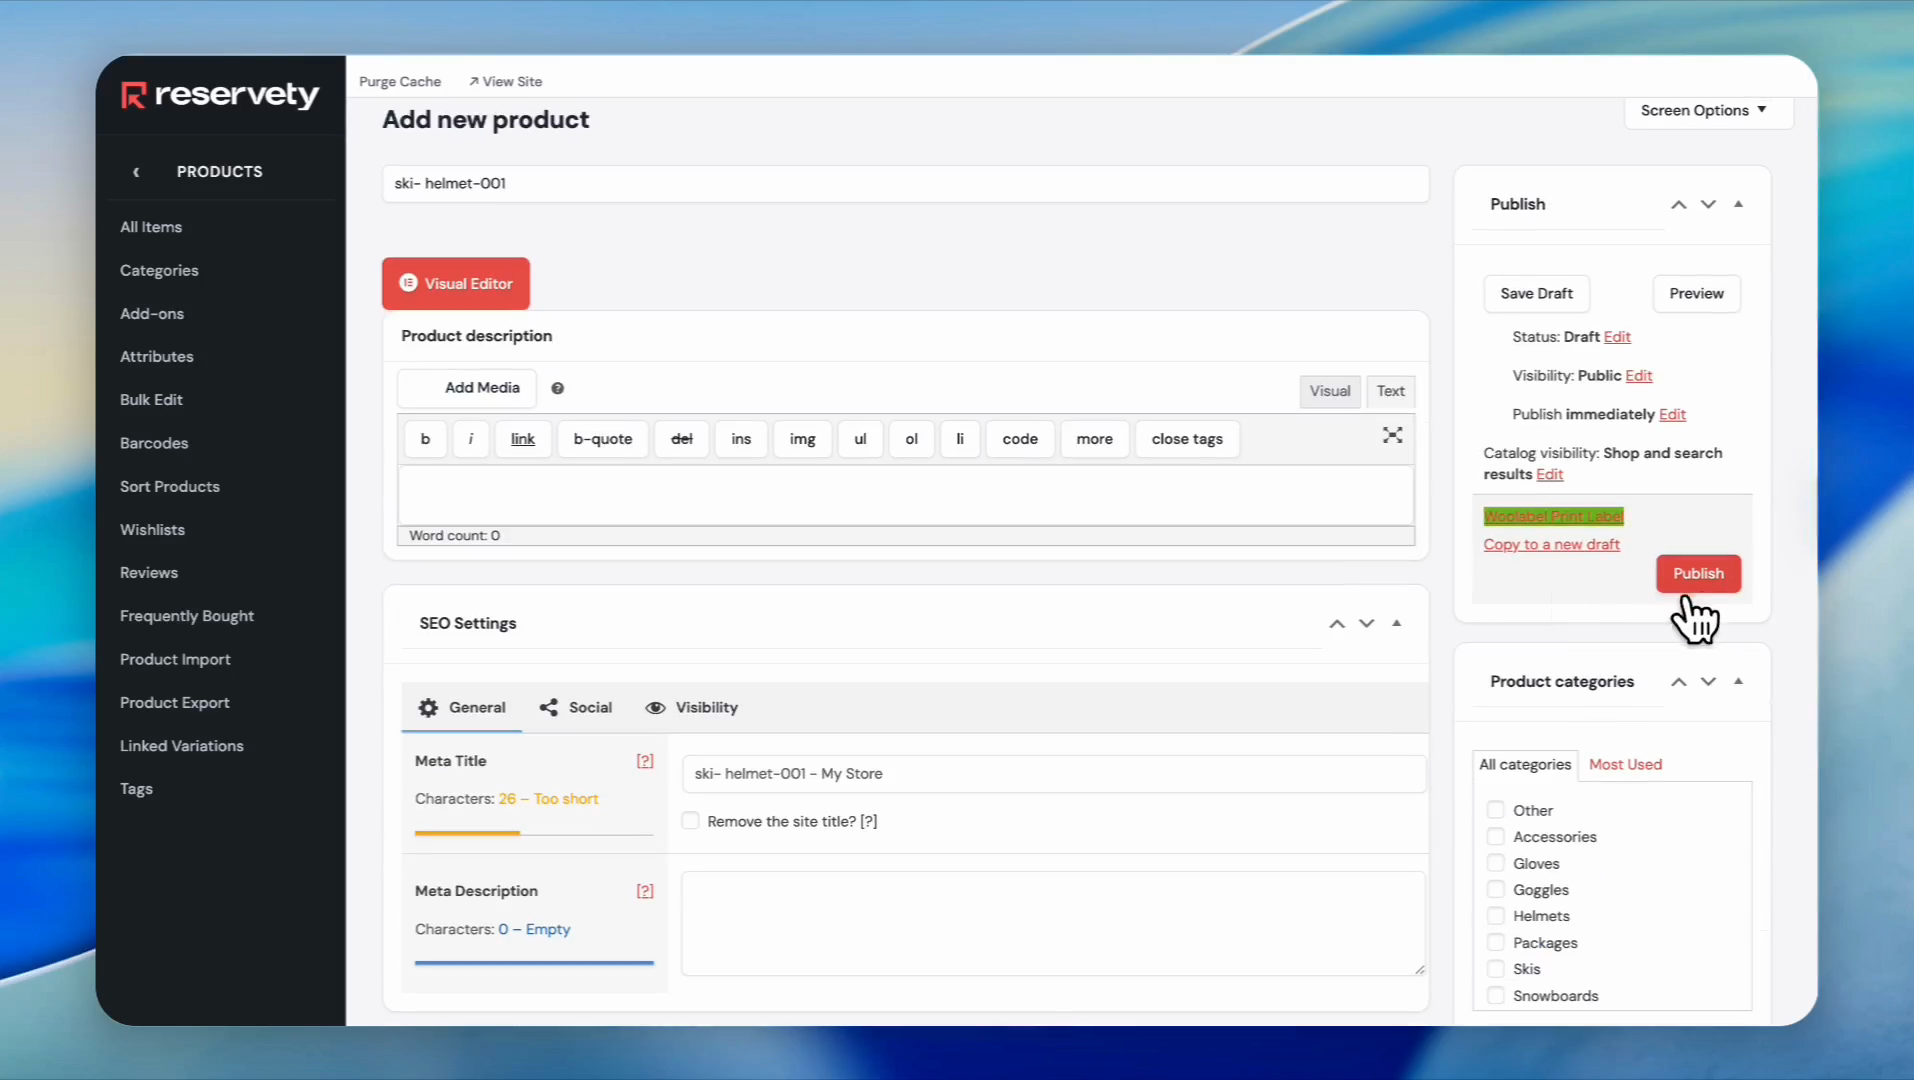
Click the Publish button on the right side of the page.
Step 10
11
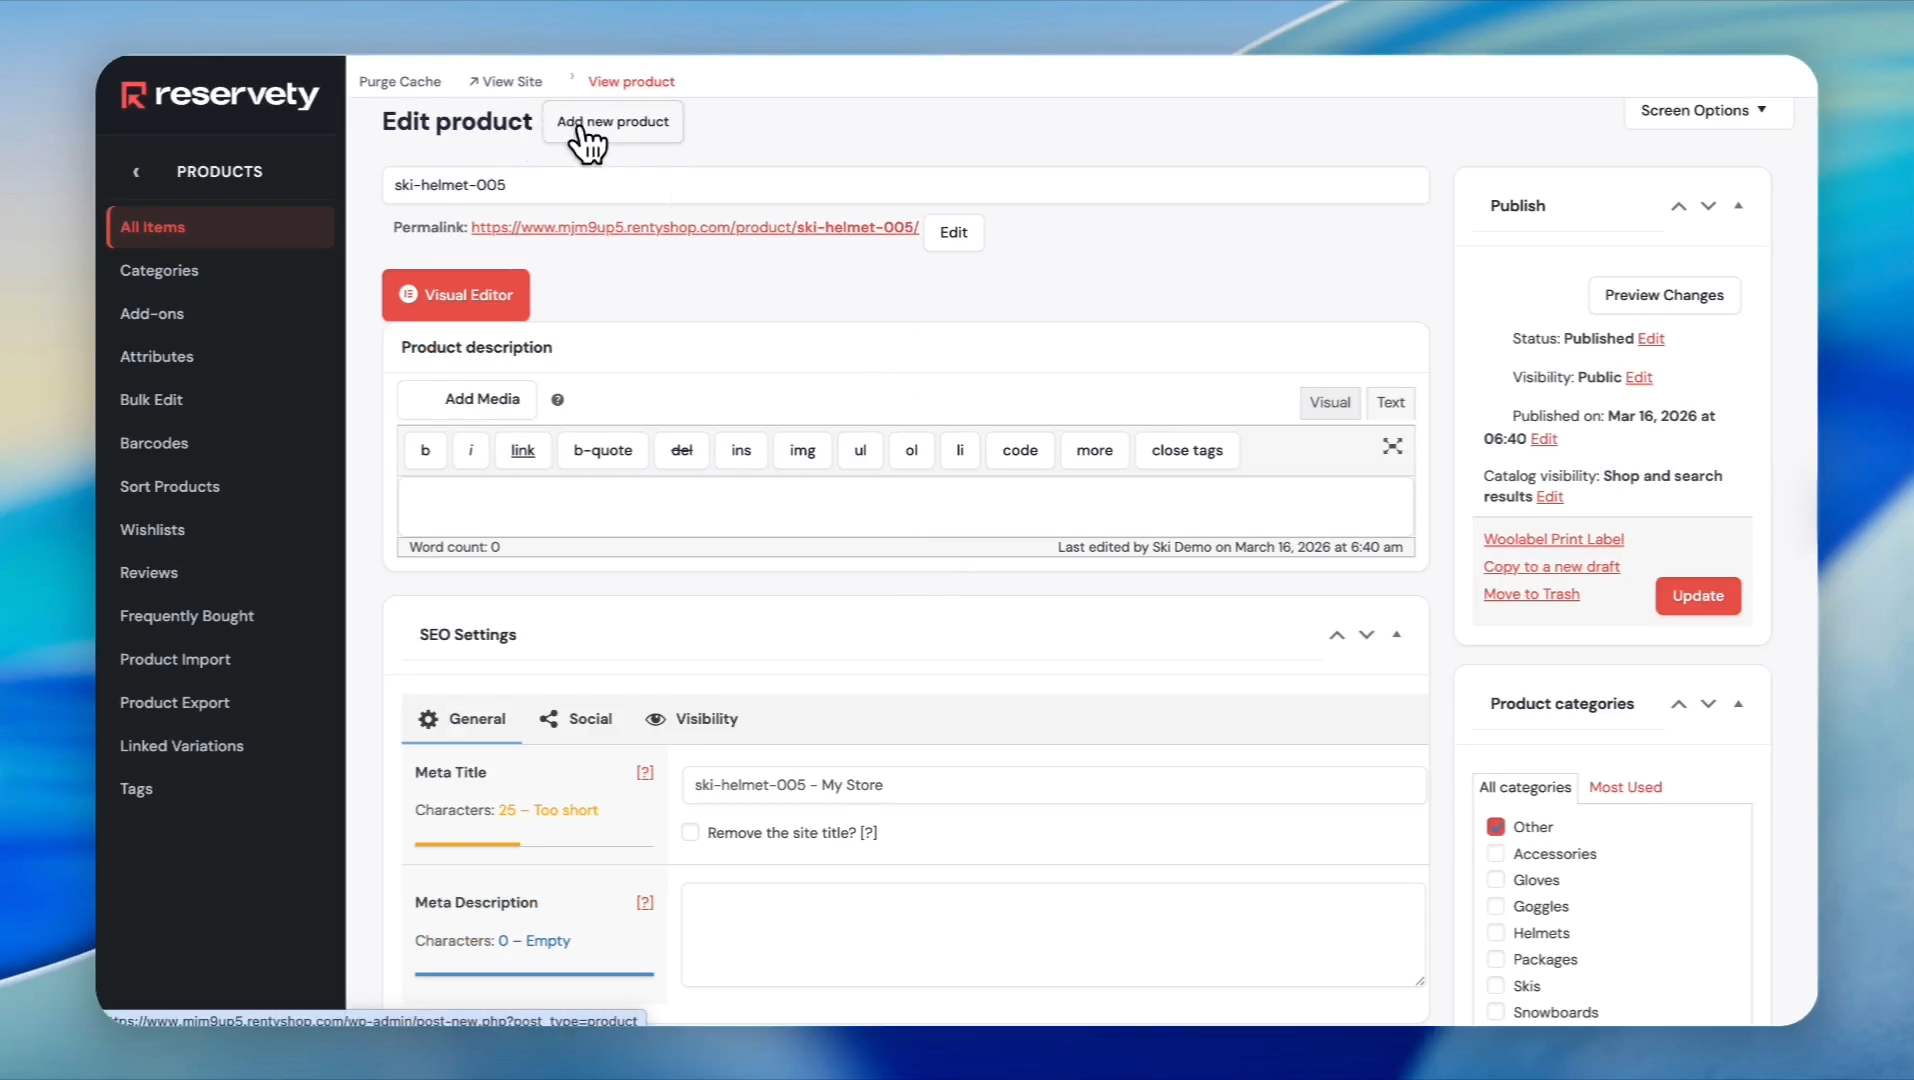
After publishing your first serial number, click "Add New Product" and repeat the same steps. Suppose we want to enter five serial numbers. Just change the serial number for each product.
Step 11
12
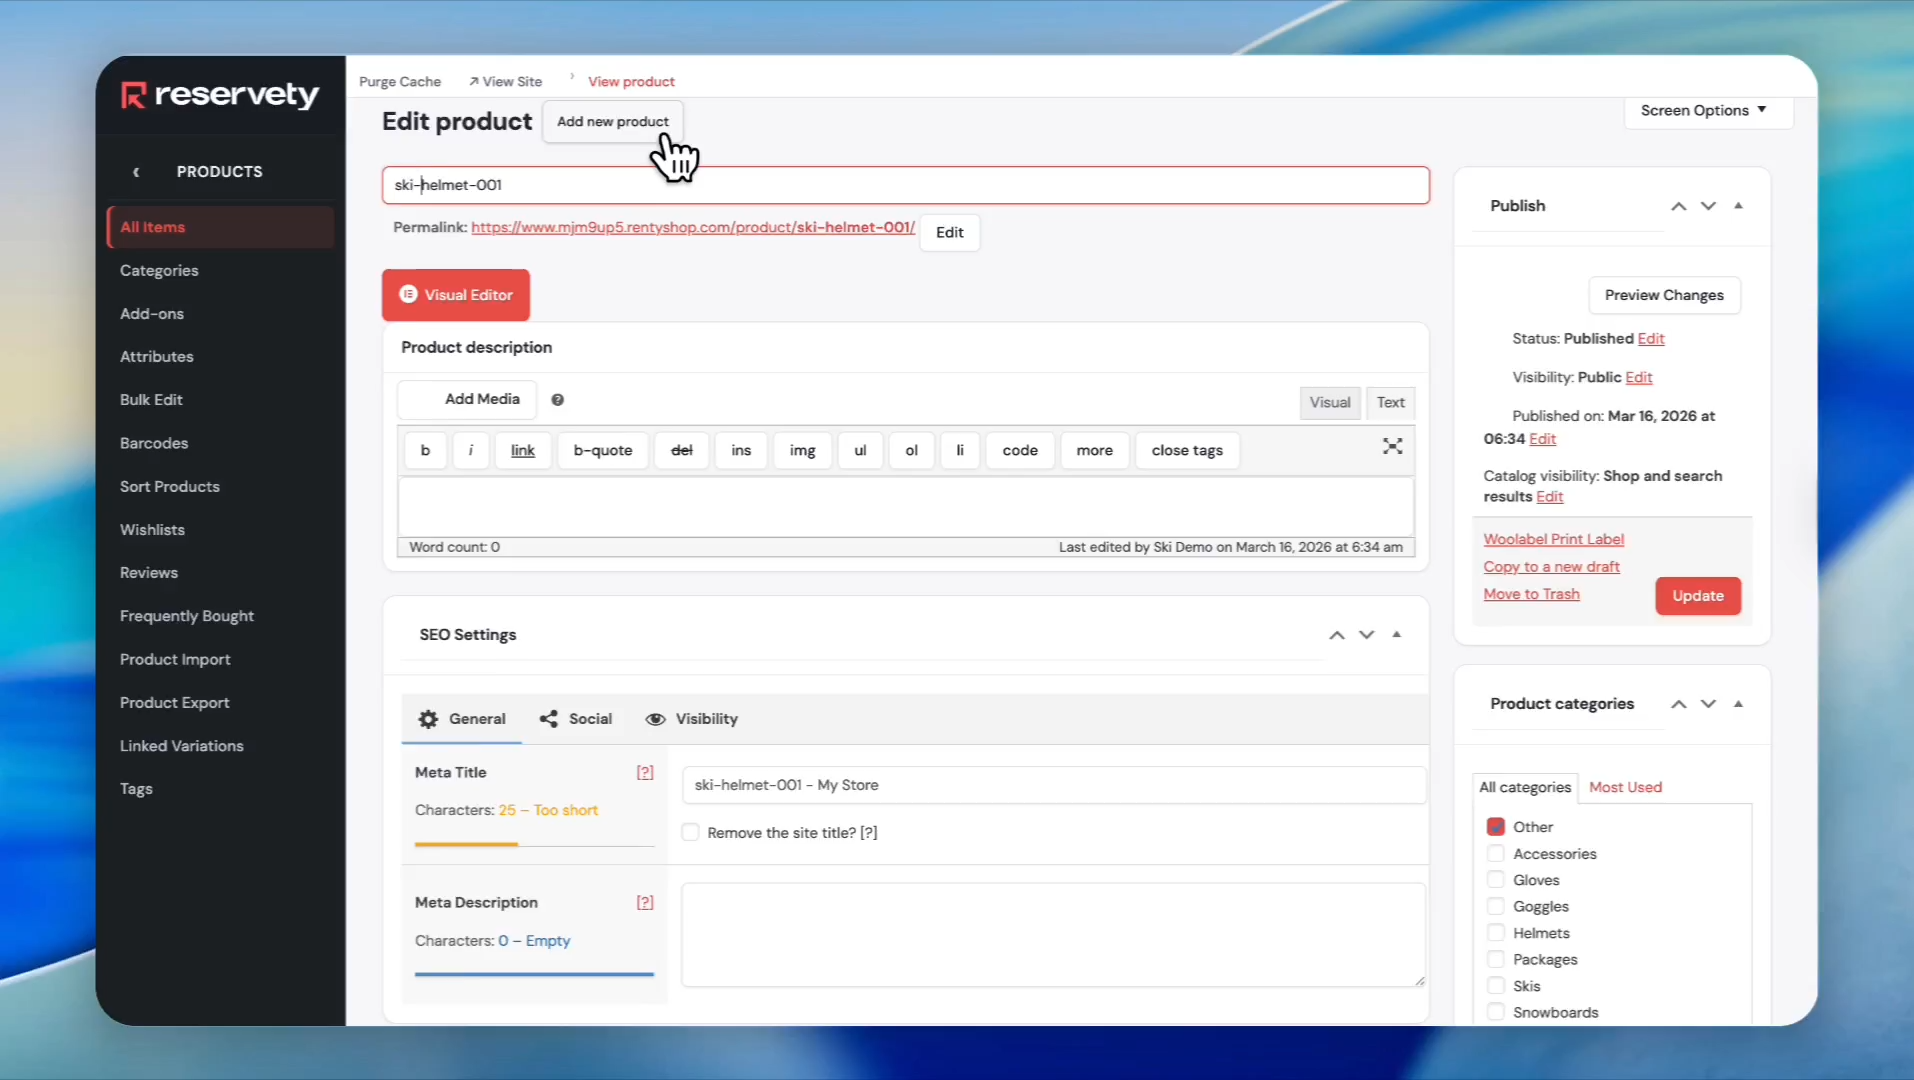
After adding all five serials, create a main product and assign the serials to it. To do that, click on "Add New Product."
Step 12
13
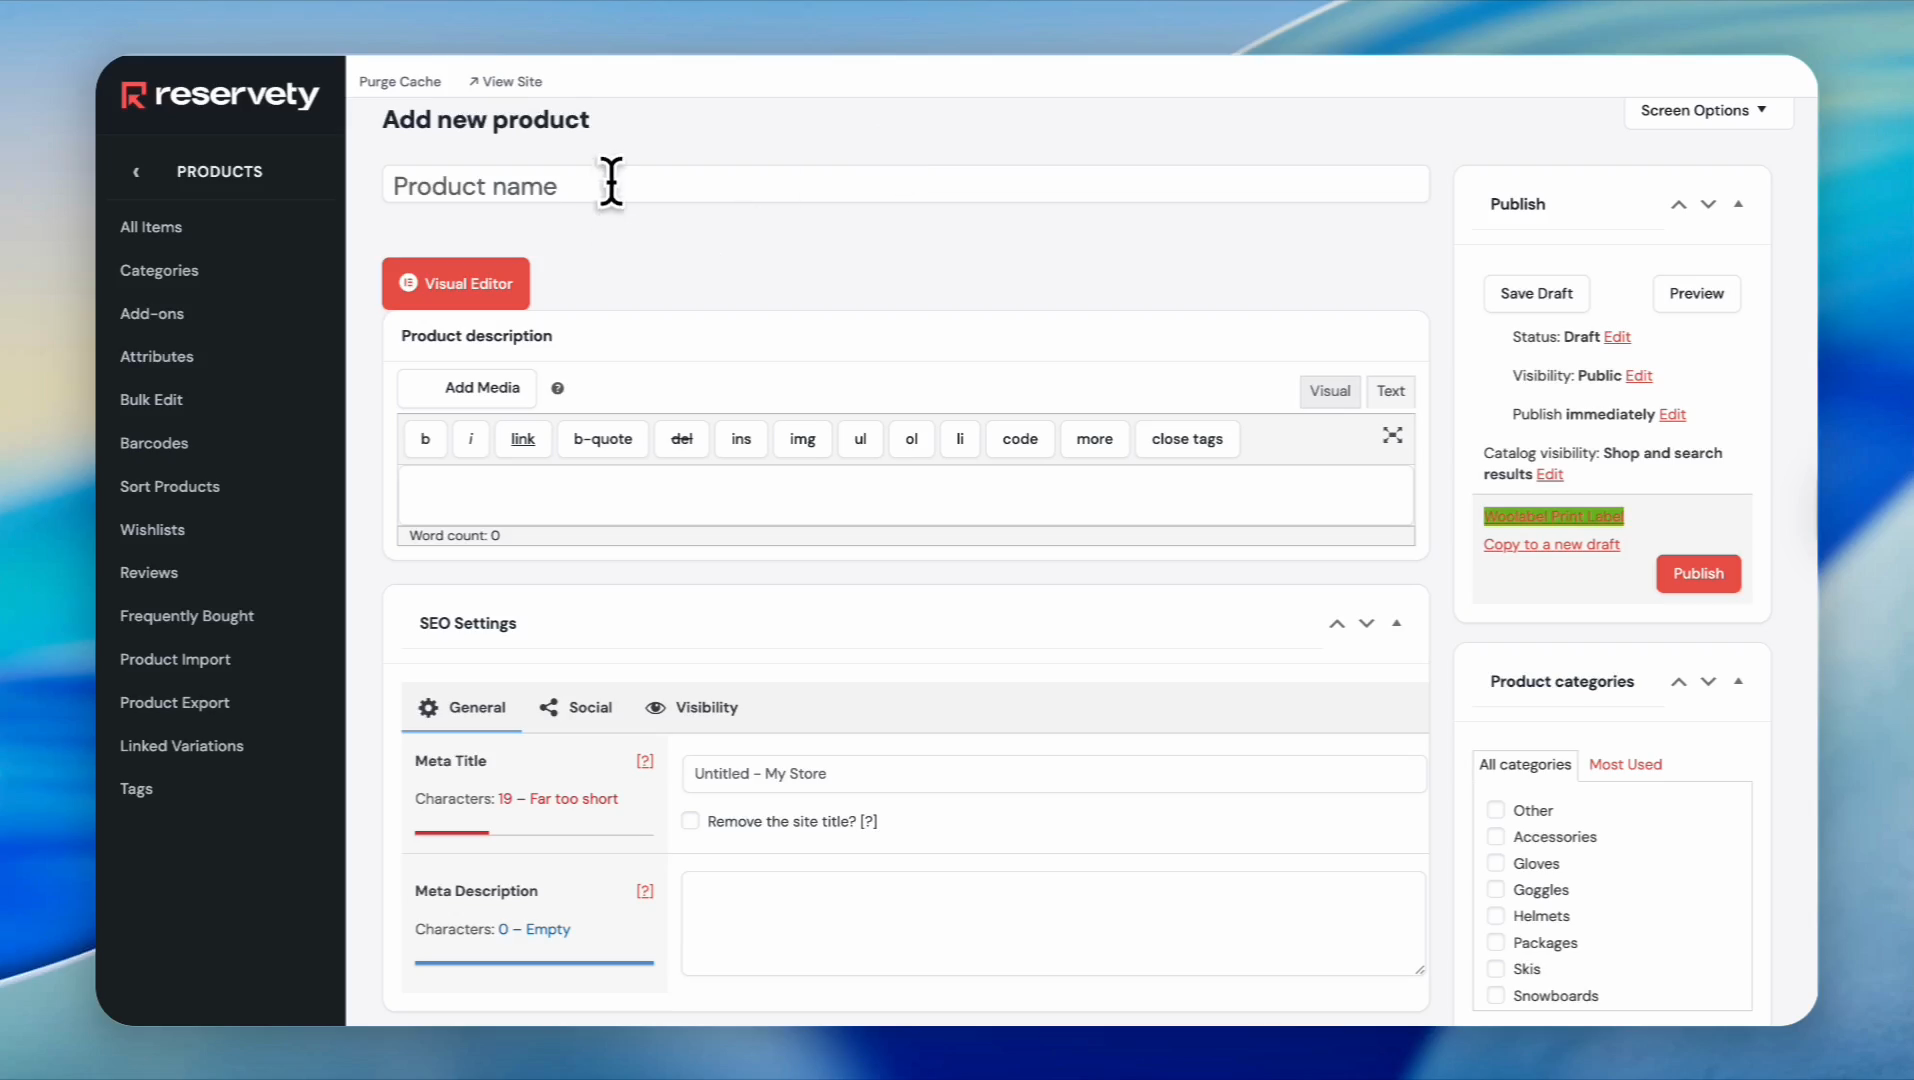
Click on the Product name field.
Step 13
14
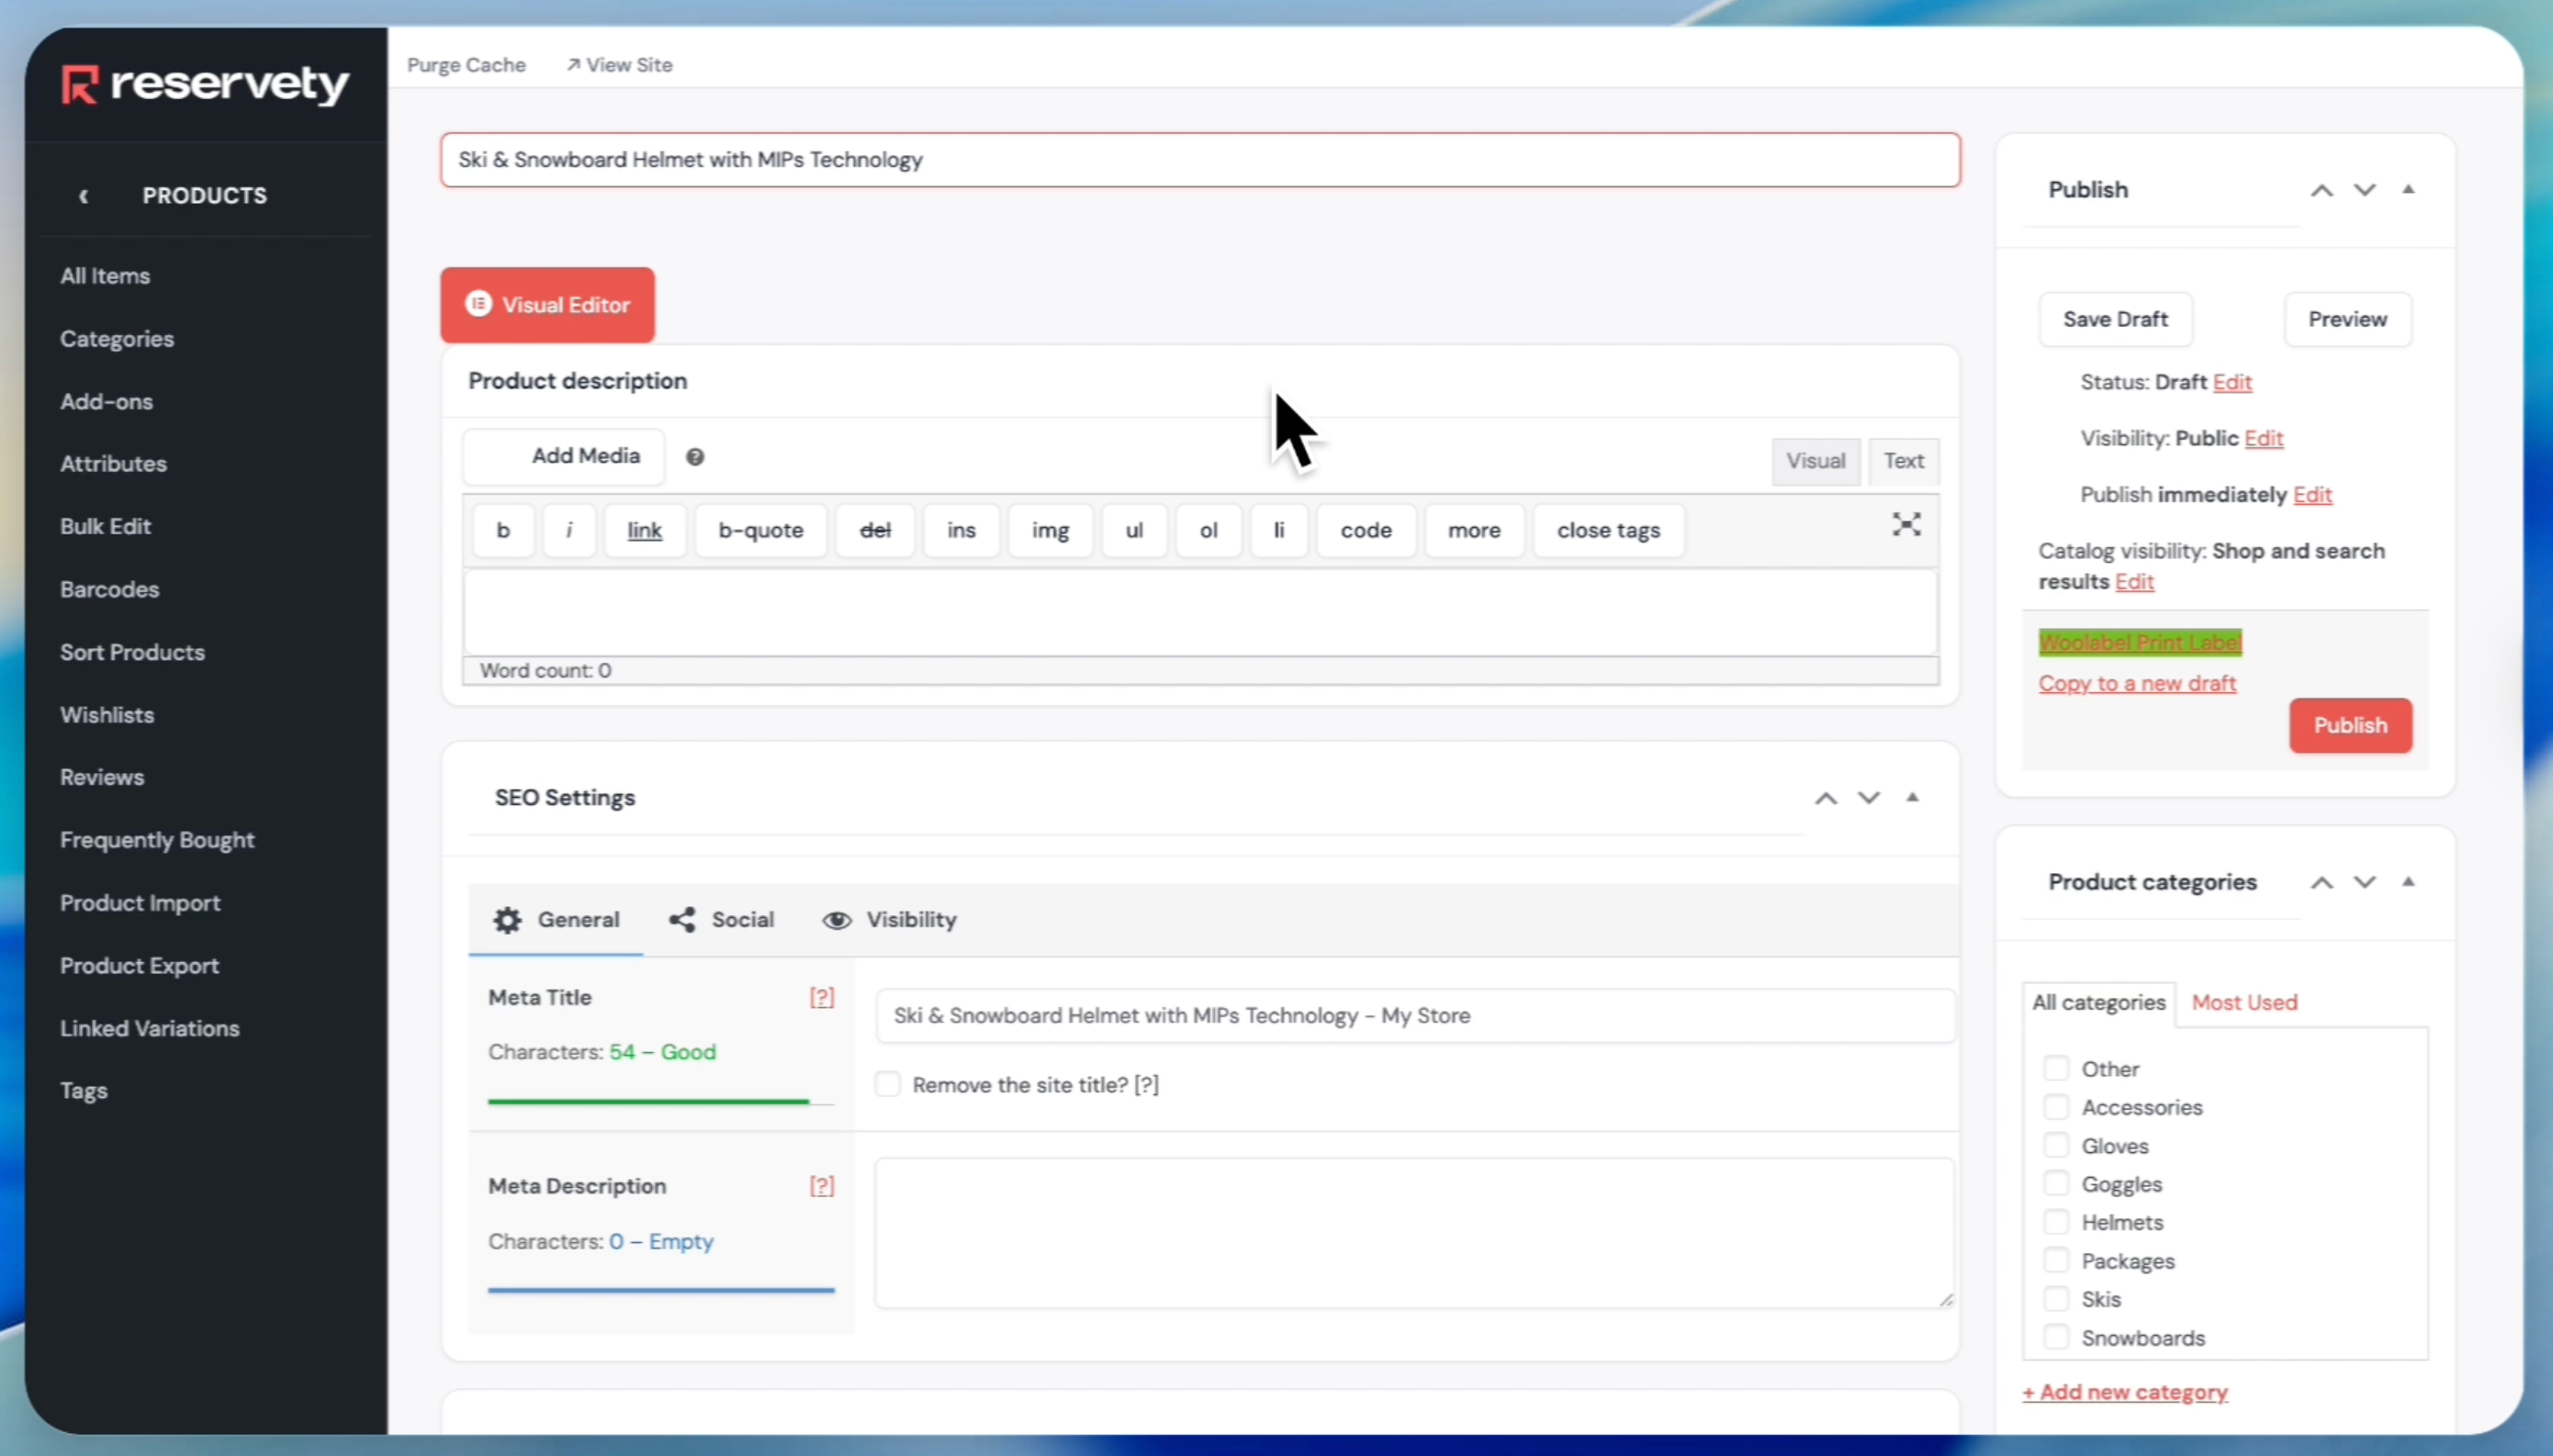
This time, write the full name of the product, as this is what customers will see when they view your product. For example, we wrote Ski & Snowboard Helmet with MIPS Technology.
Step 14
15
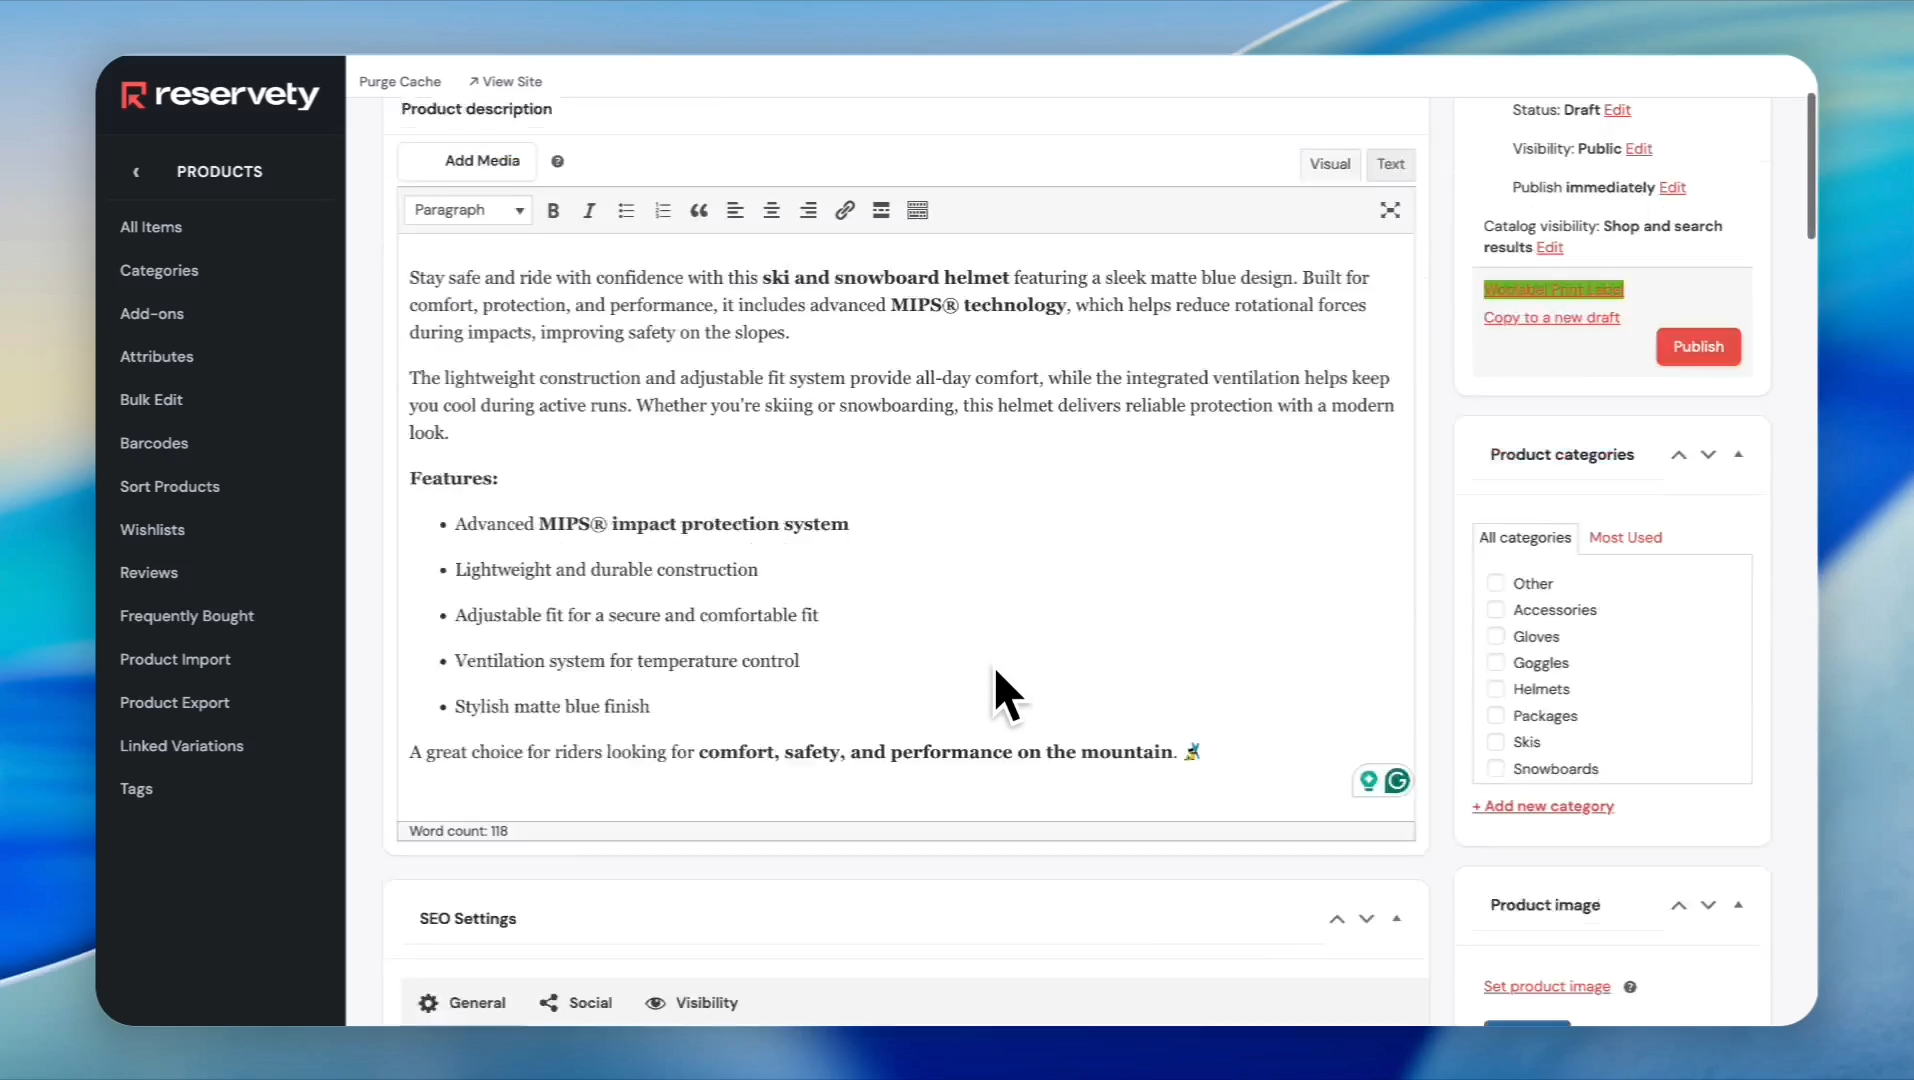
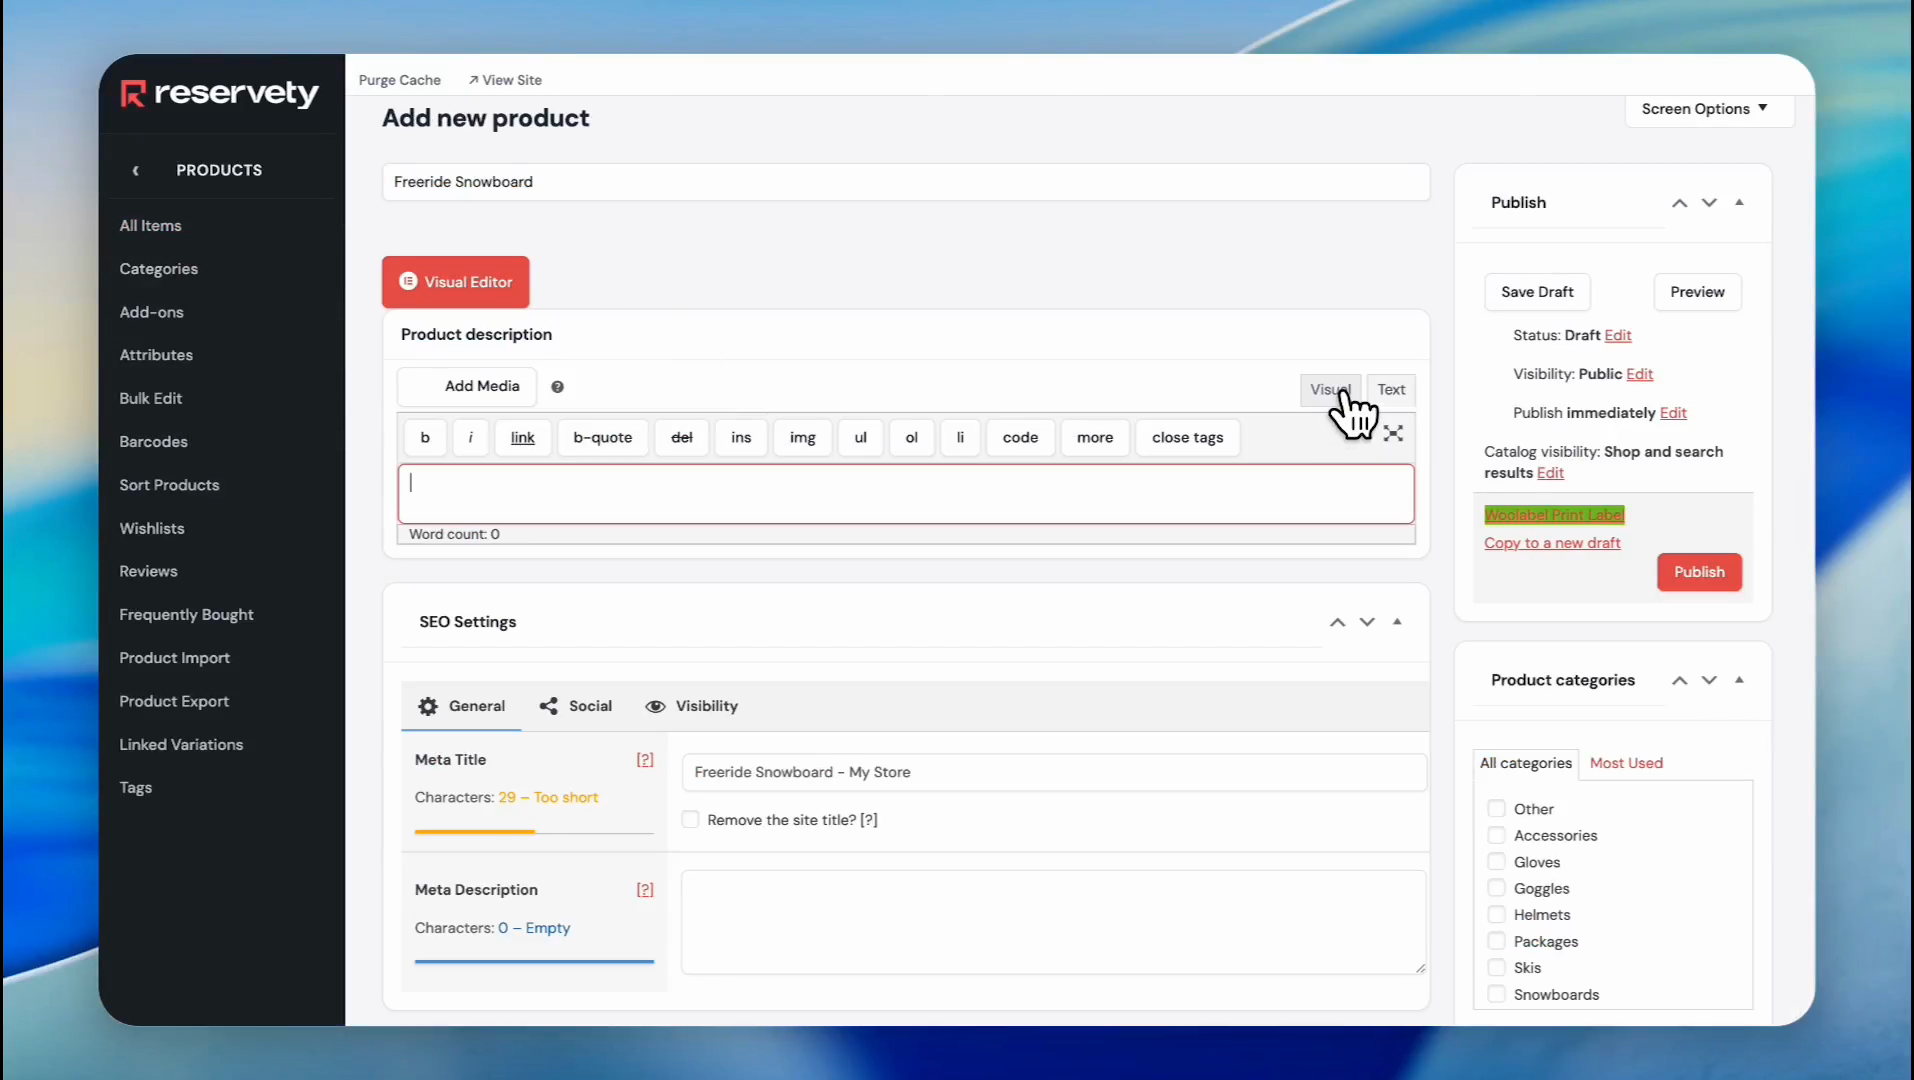
Go to the product description section, click on "Visual," and write a description for your product.
Step 15
16
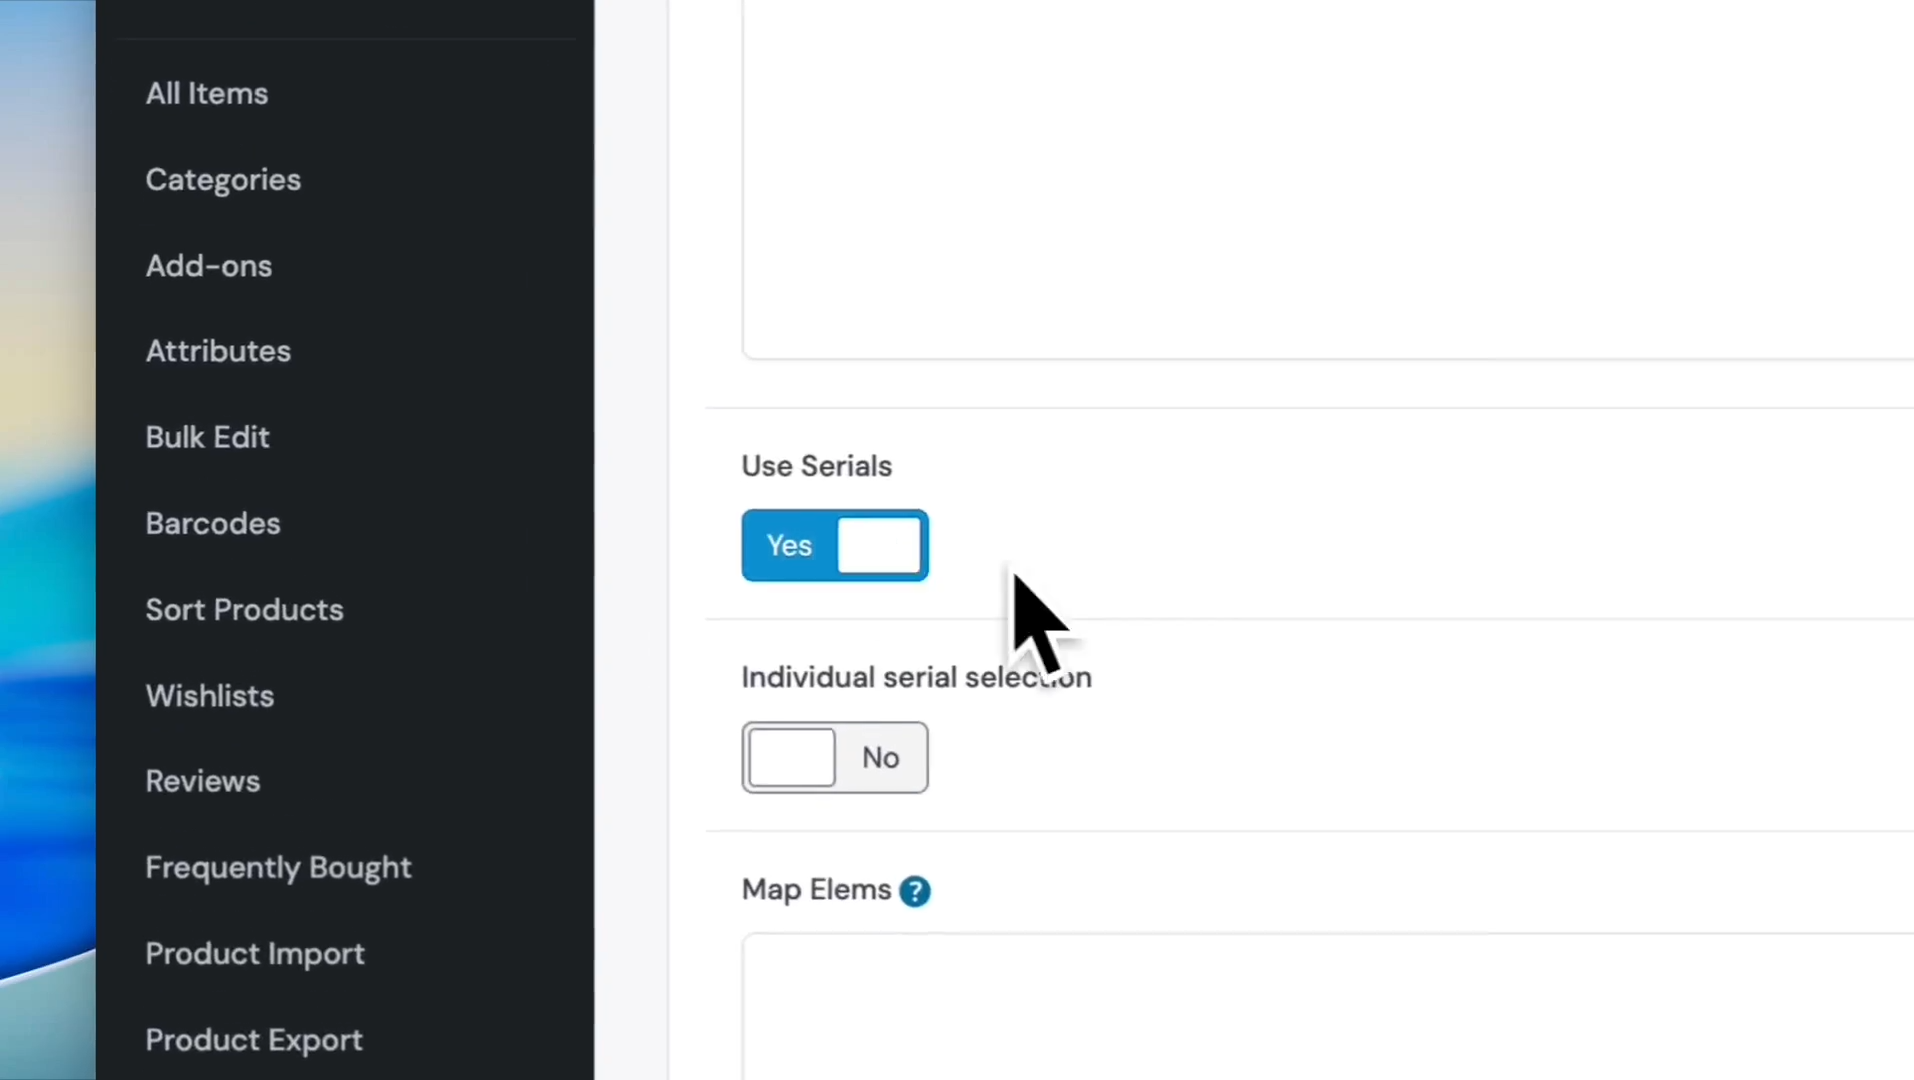
Scroll down and find the section labeled "use serials" and change it to "yes."
Step 16
17
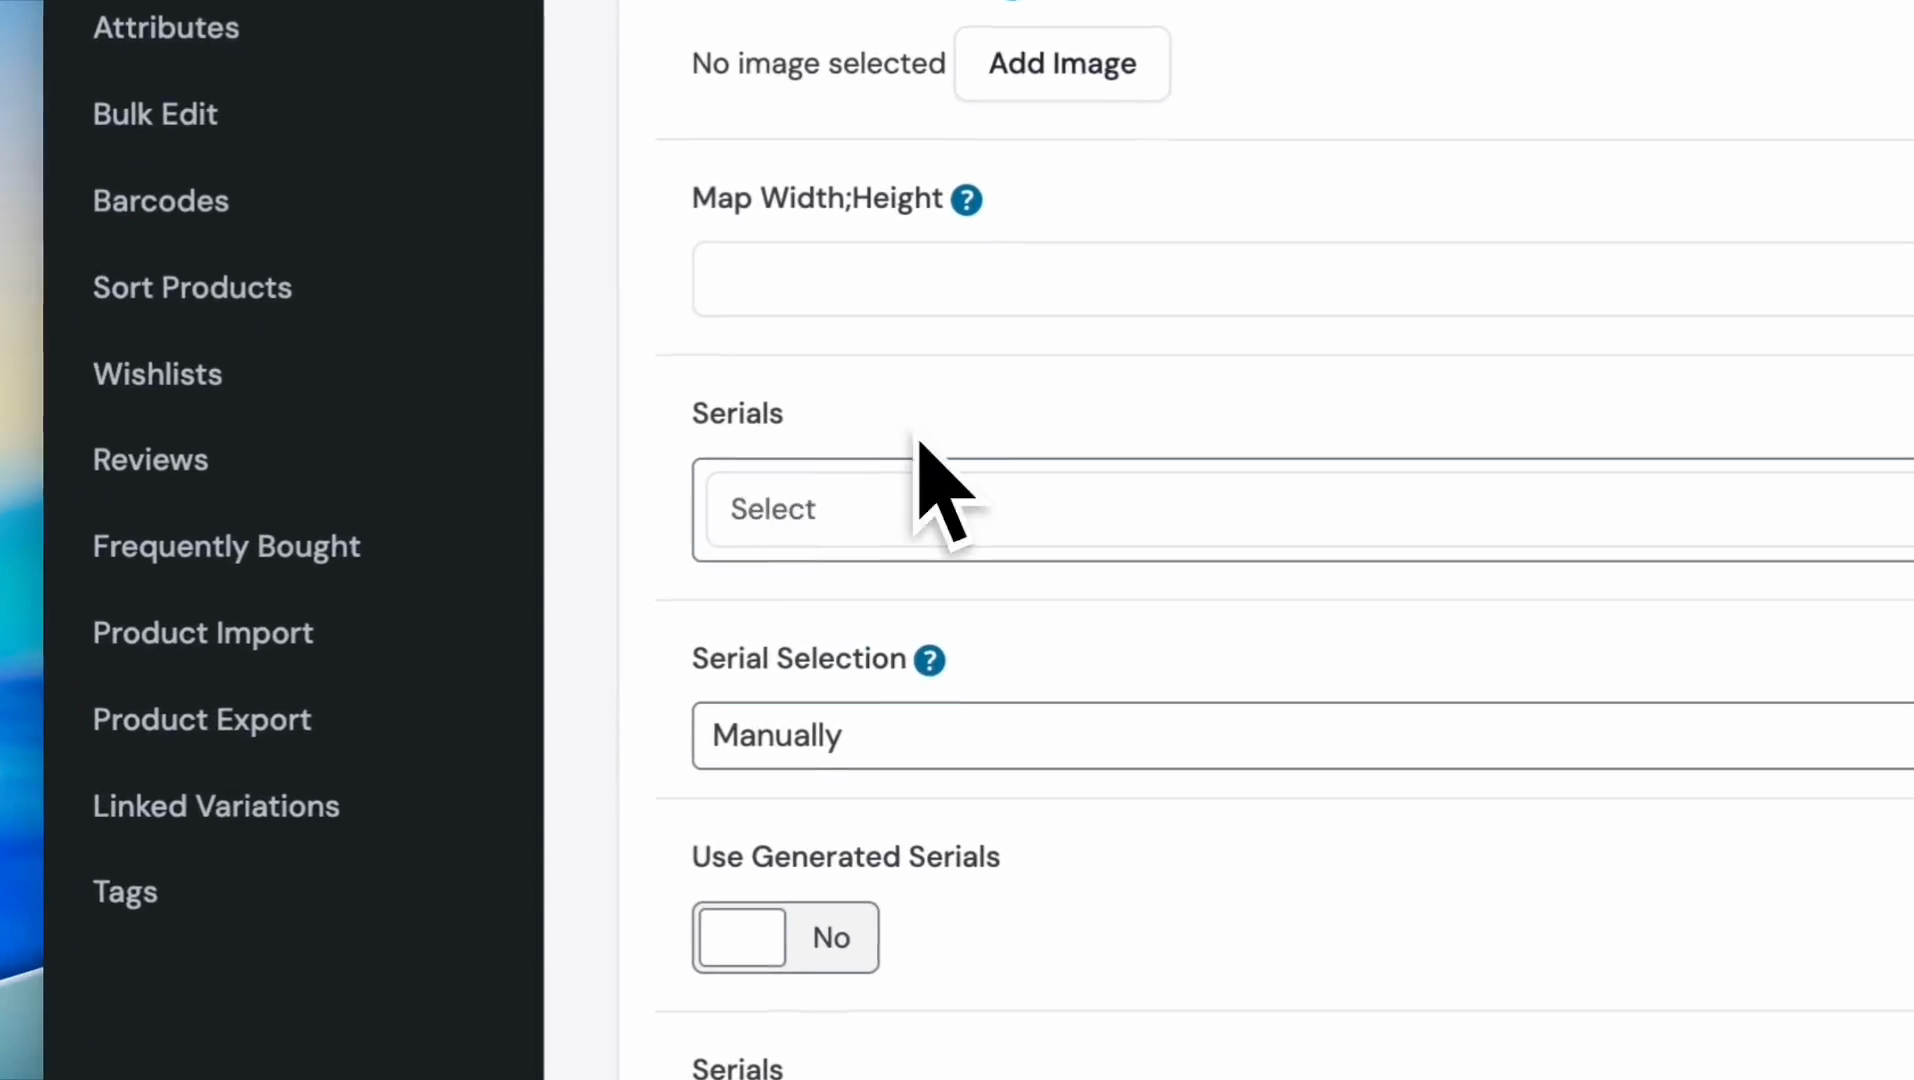
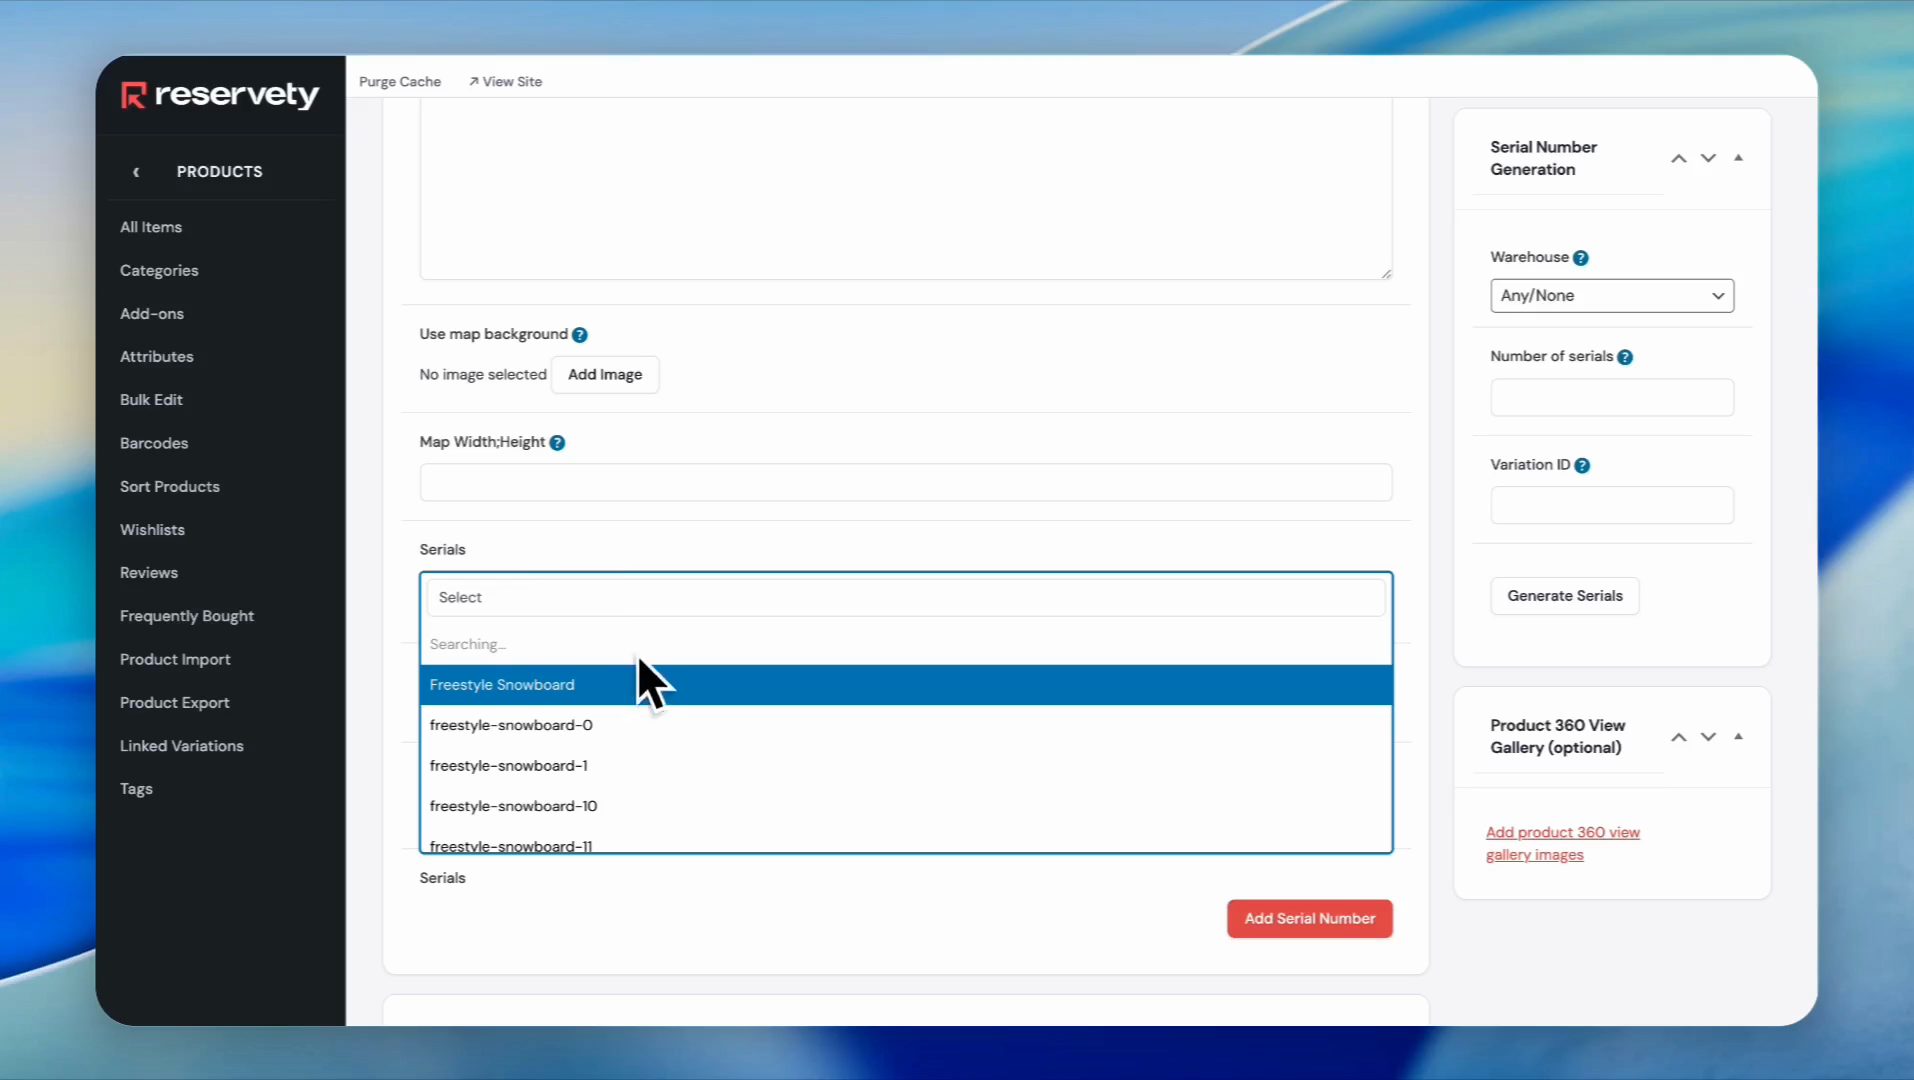
Find the section labeled "serials," and click on the field to search the serials.
Step 17
18
Locate the serials created earlier, and select all the required serials from the list.
Step 18
19
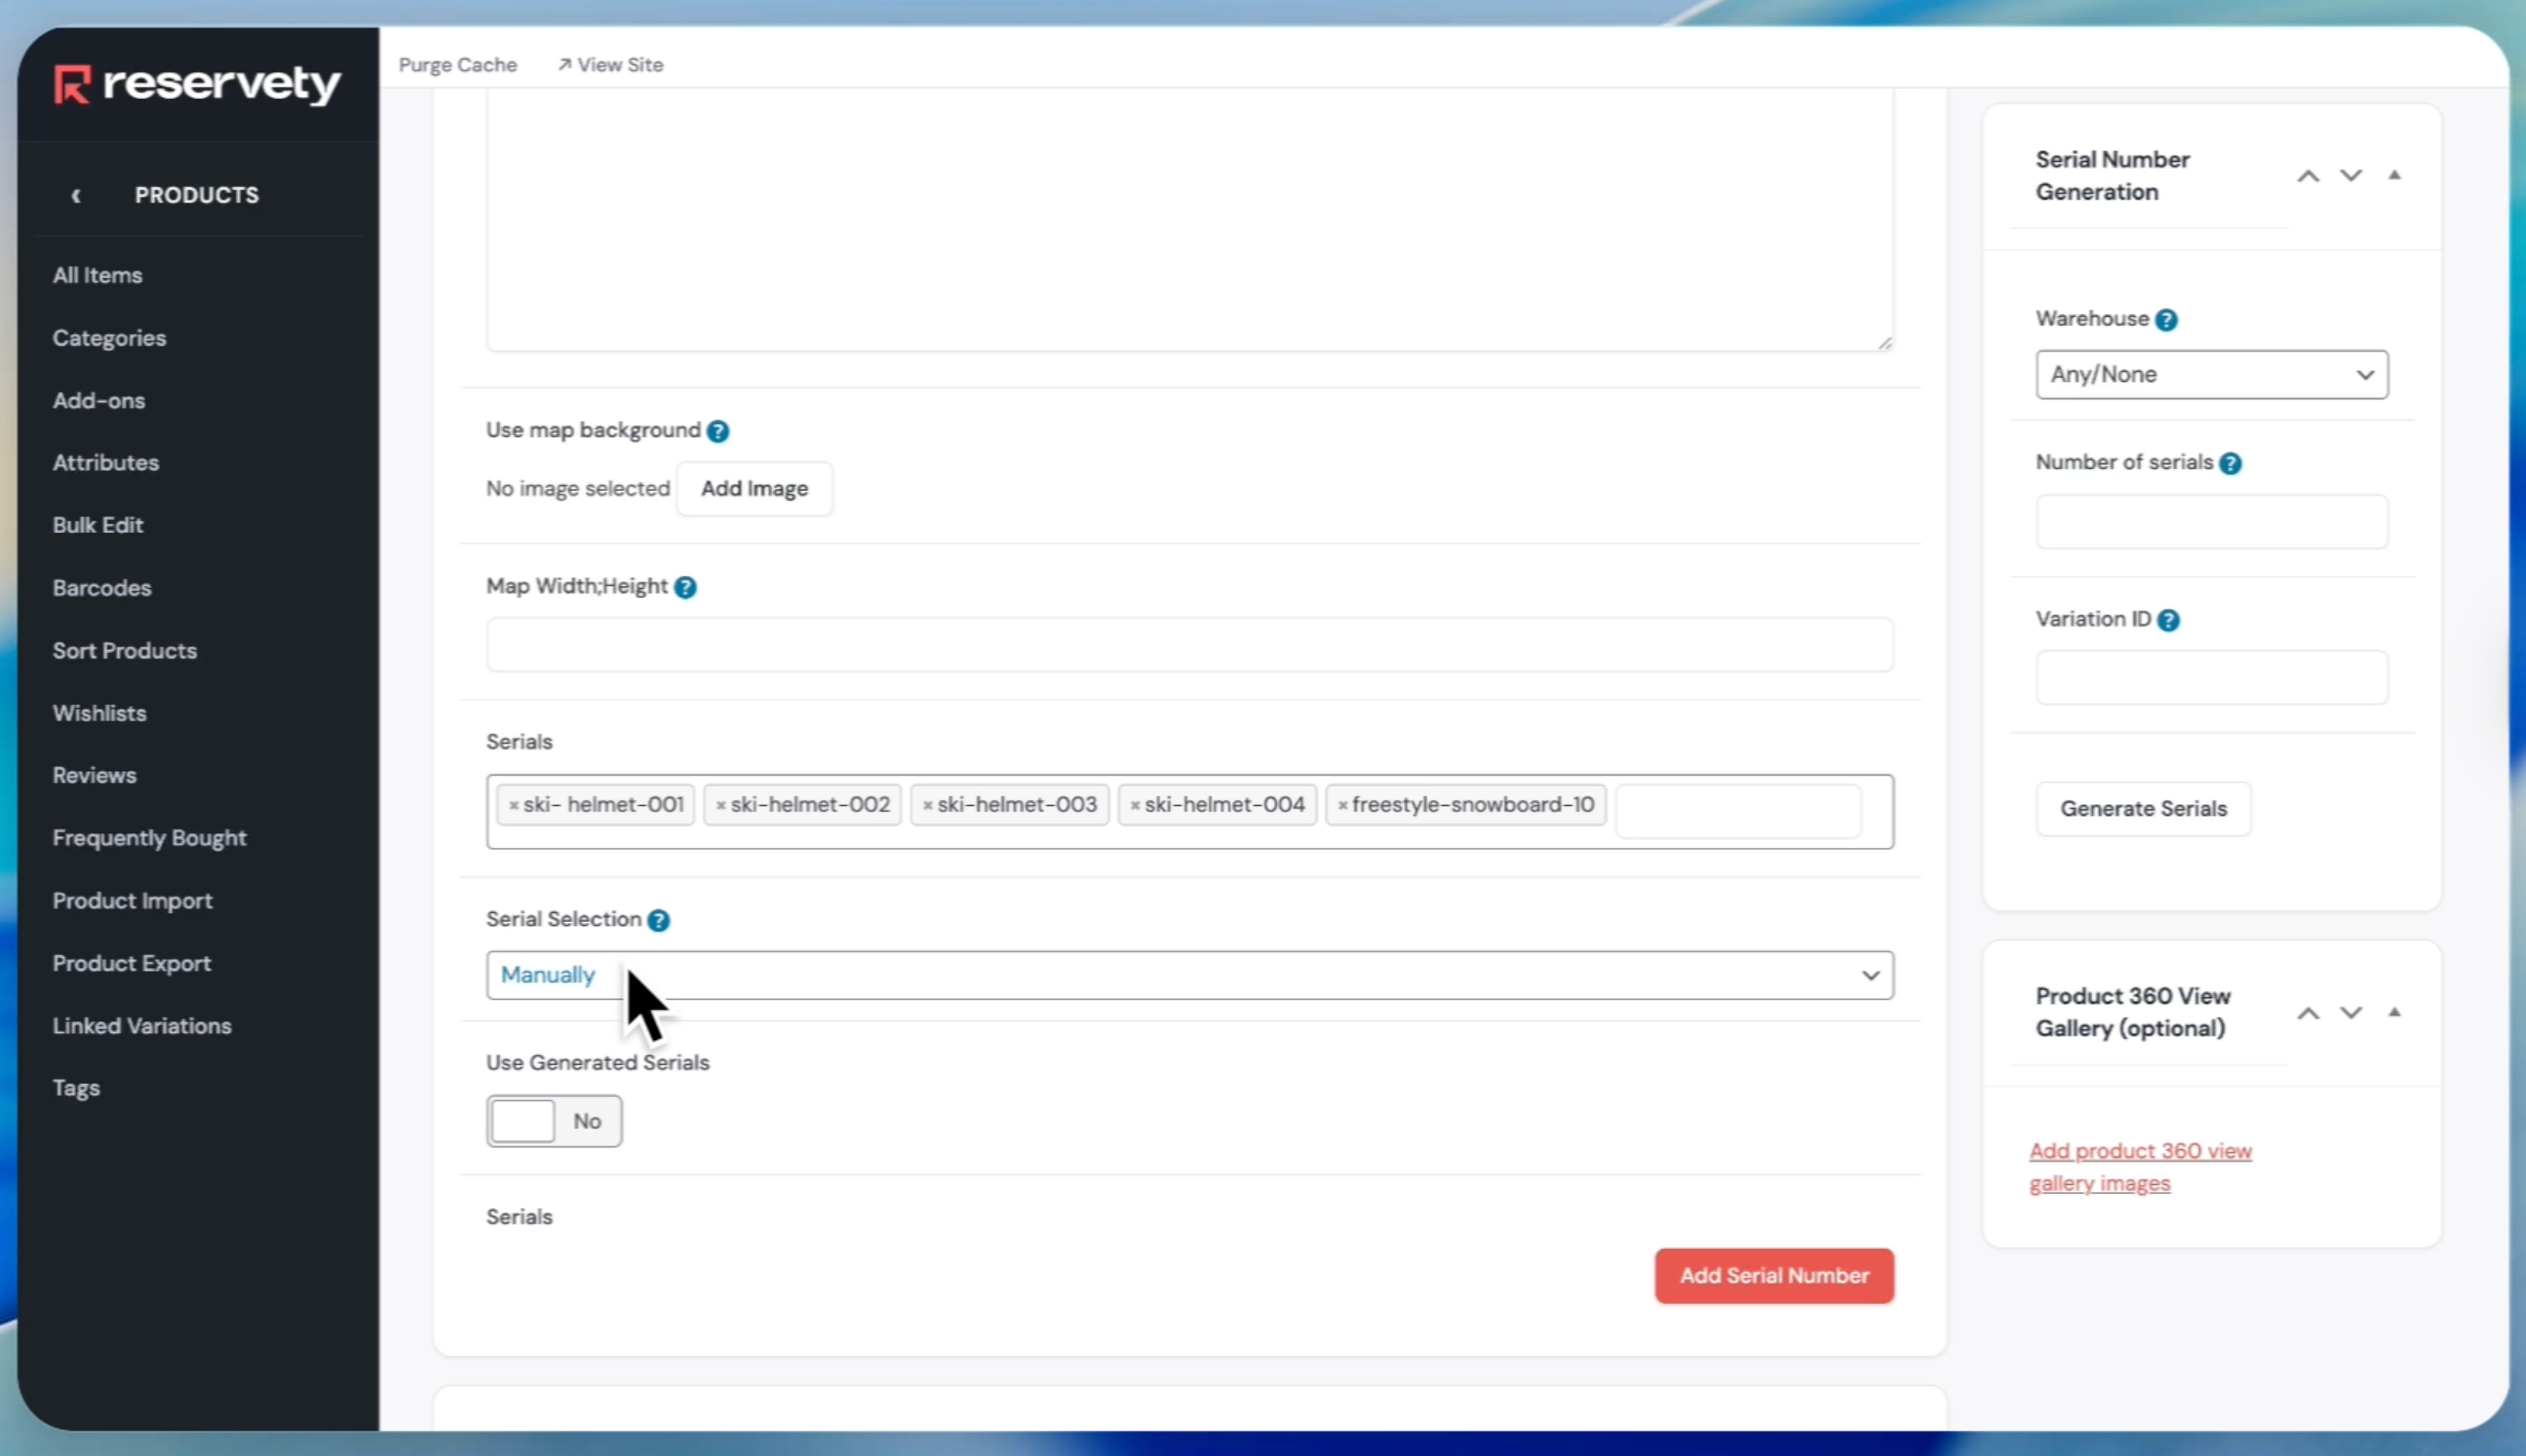
As you can see, we have added all five serials and left the serial selection for manual completion.
Step 19
20
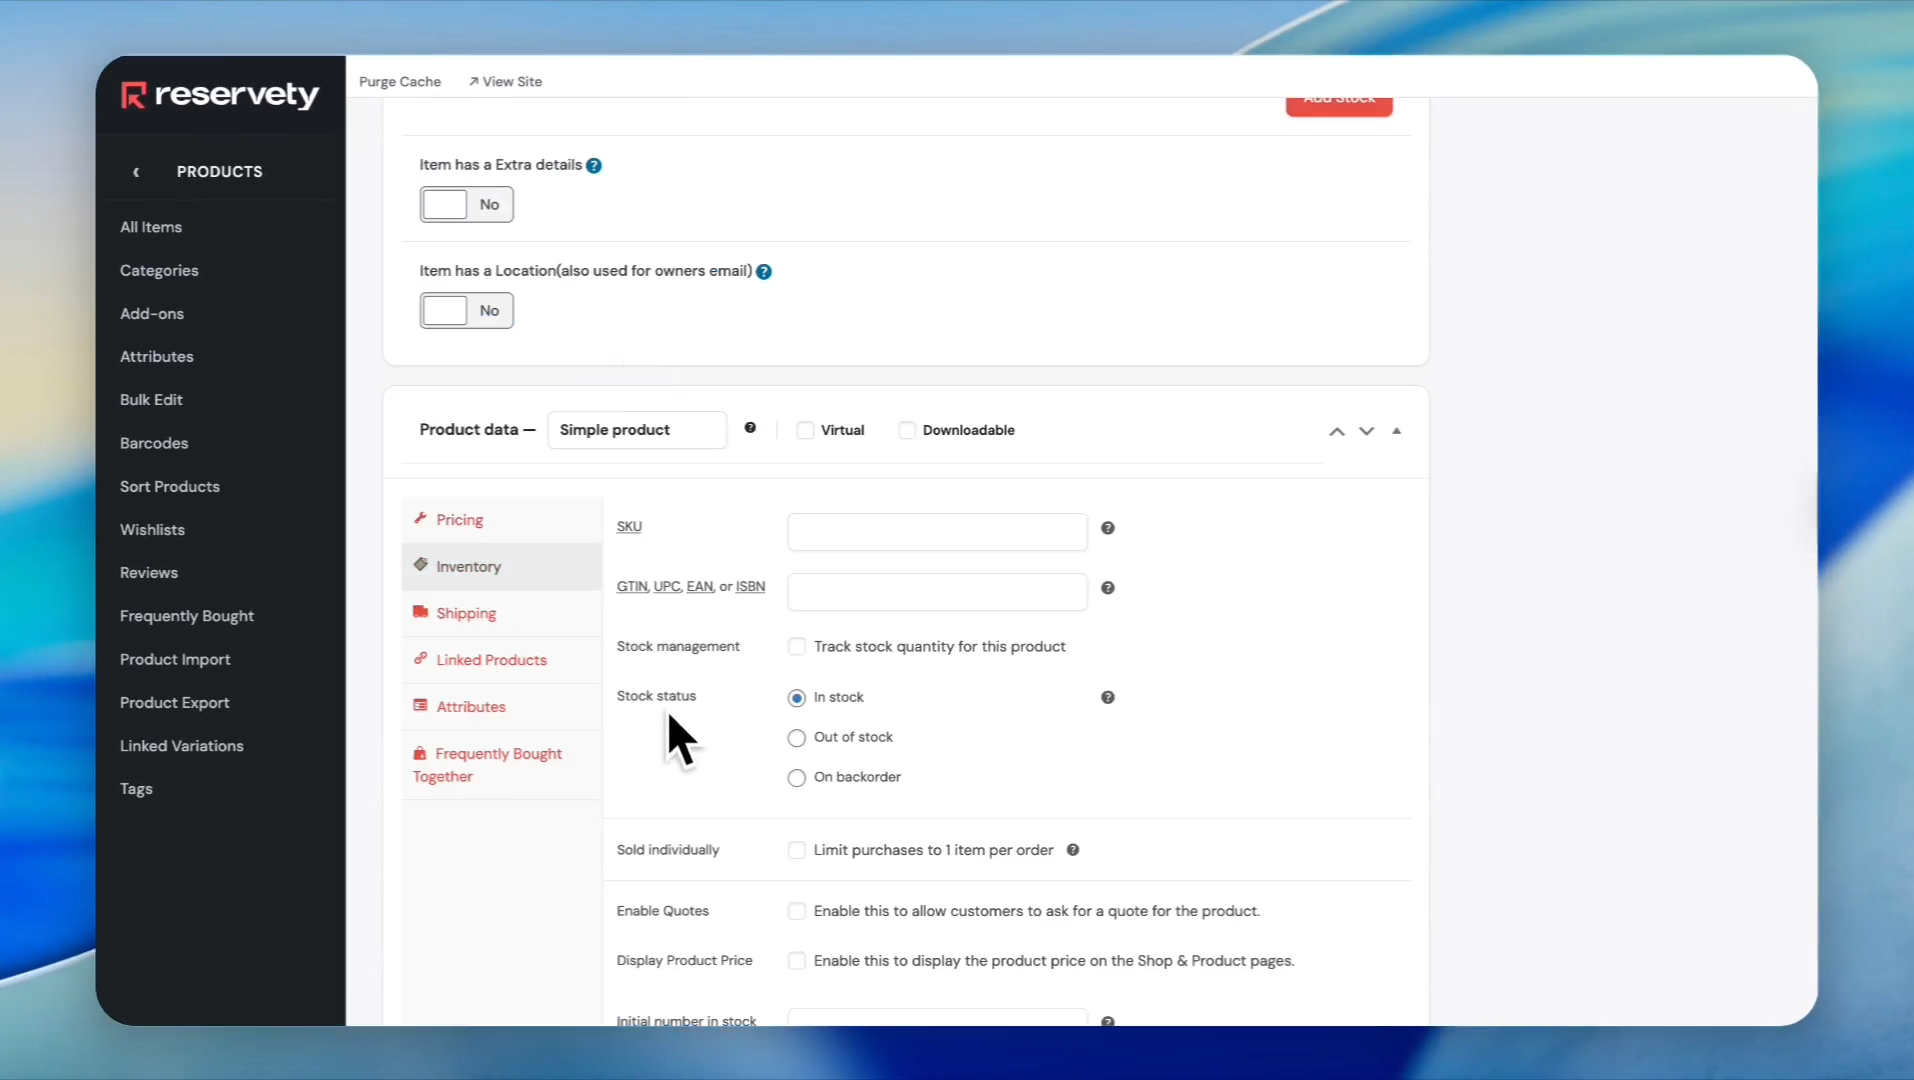
Click on Inventory and ensure the stock status is set to "In Stock." Do not check the option to track stock quantity for this product.
Step 20
21
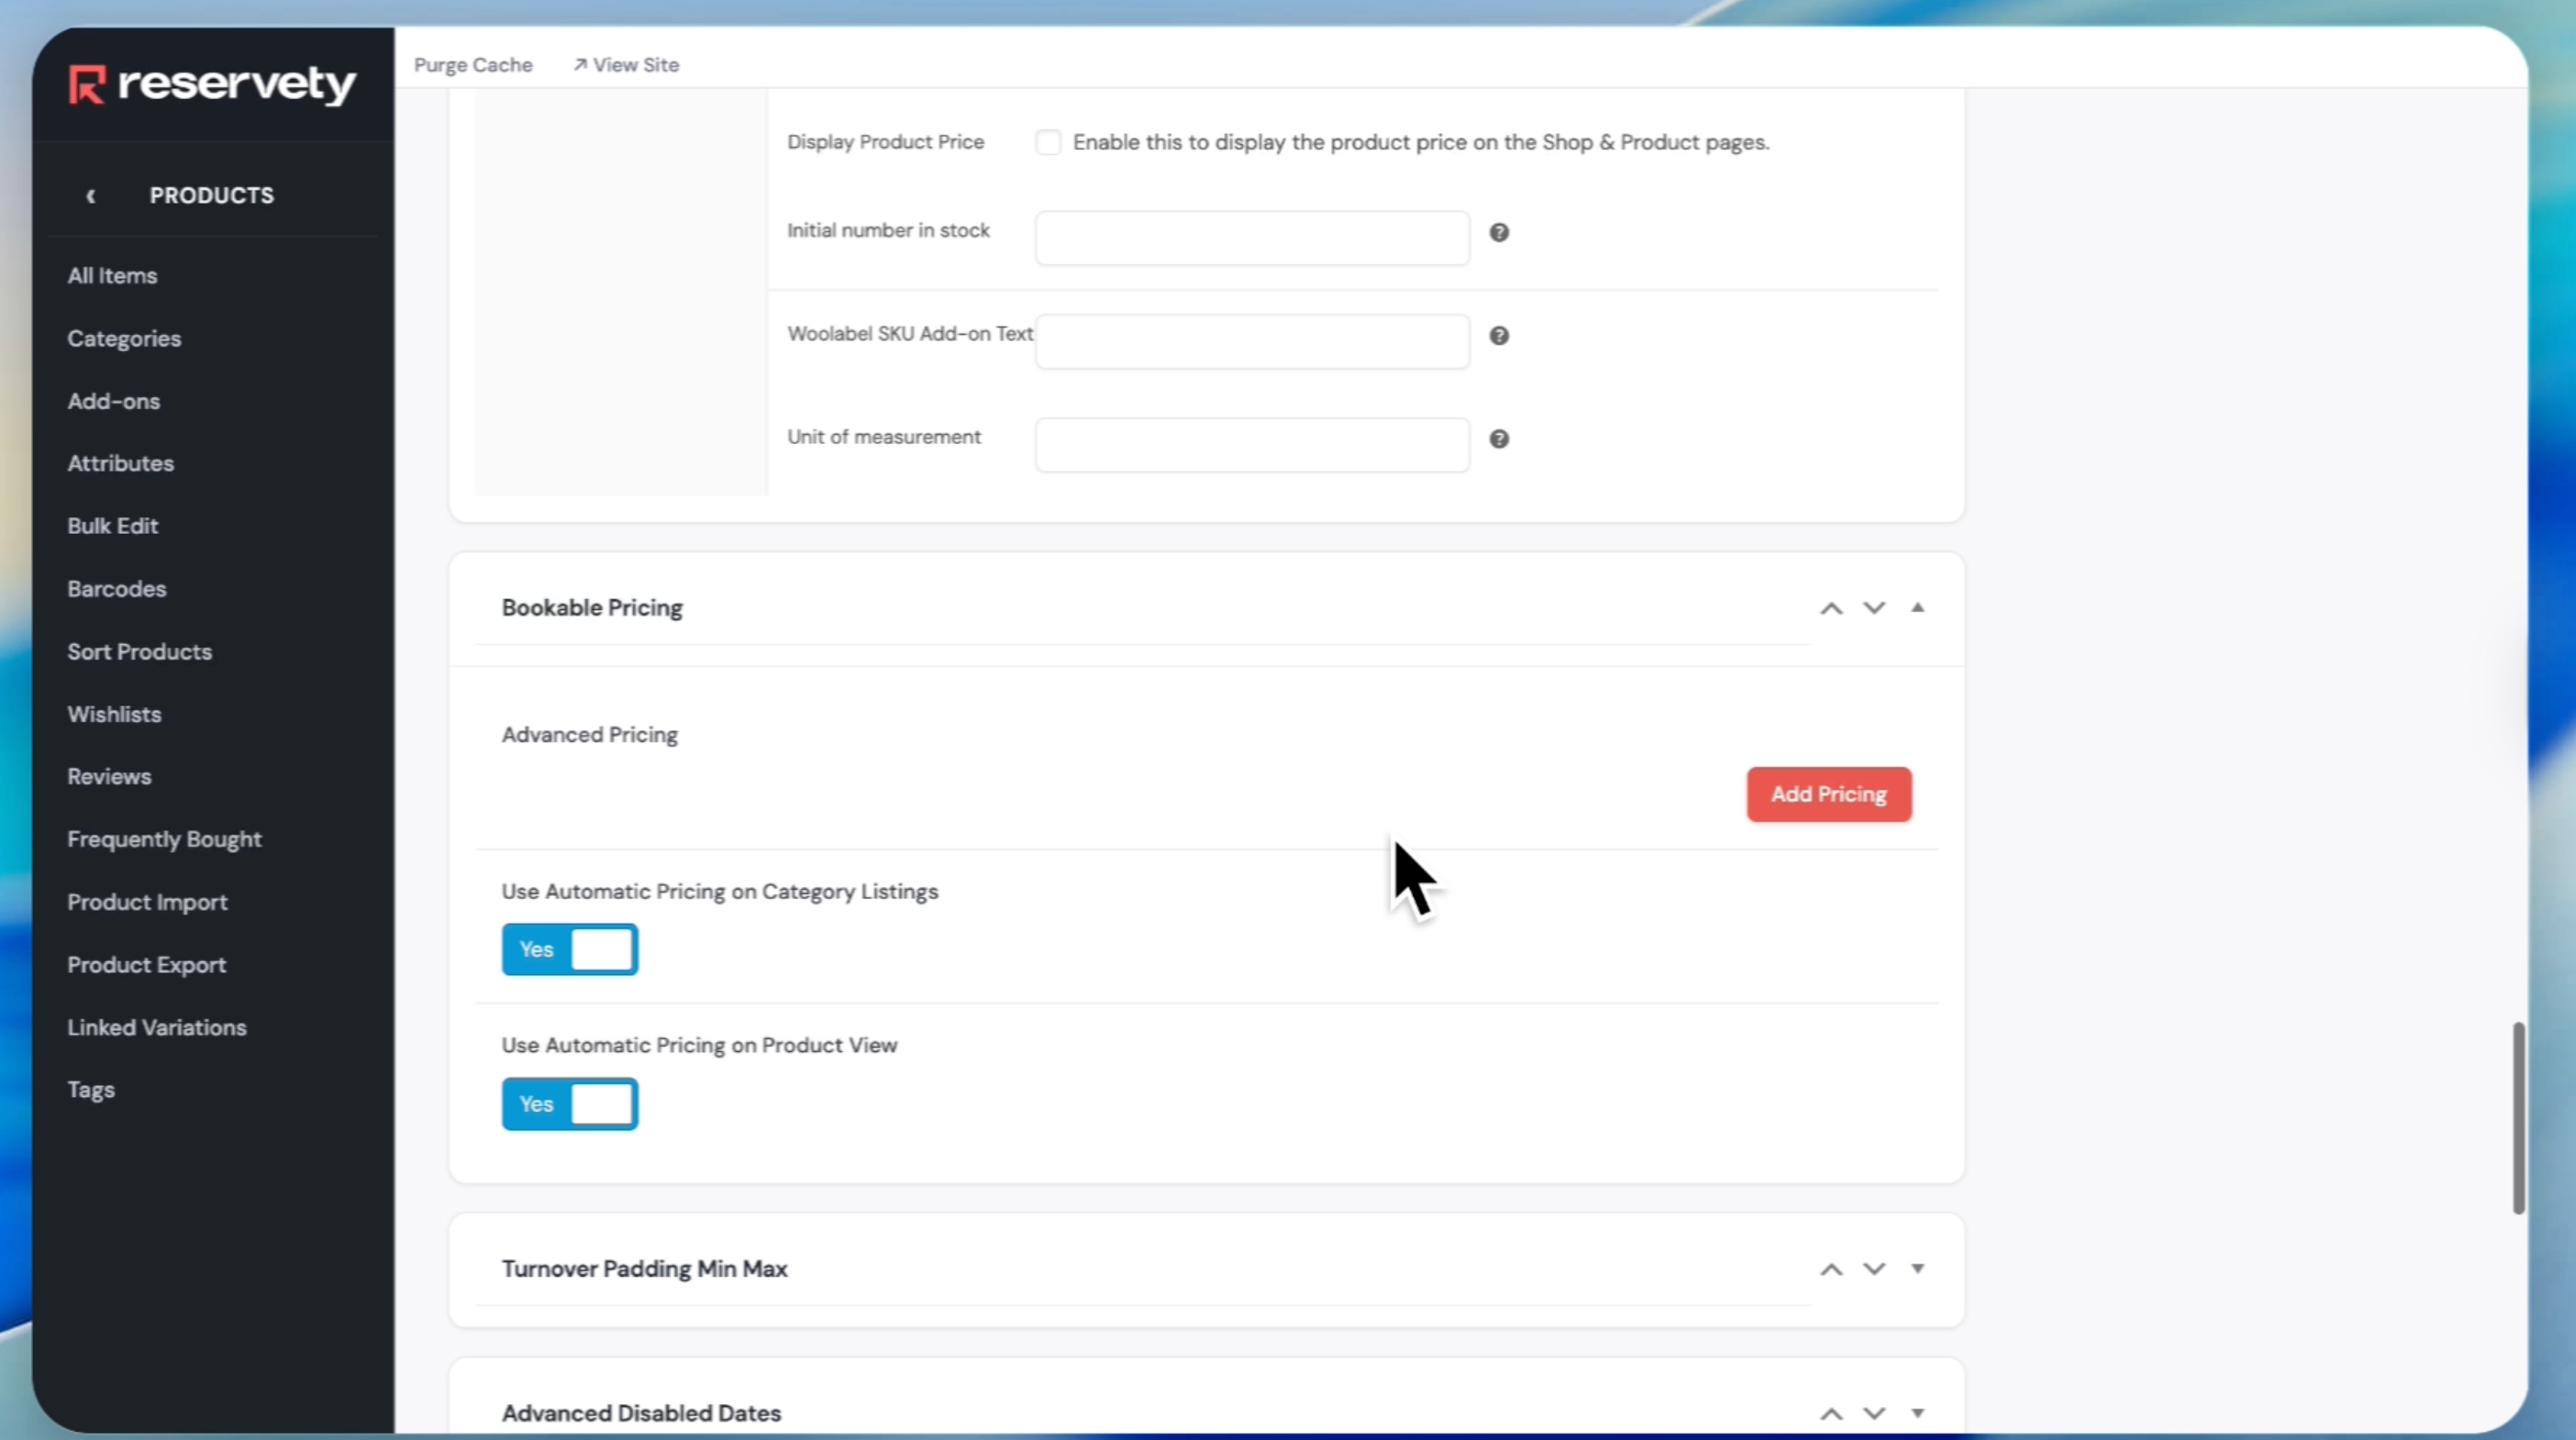
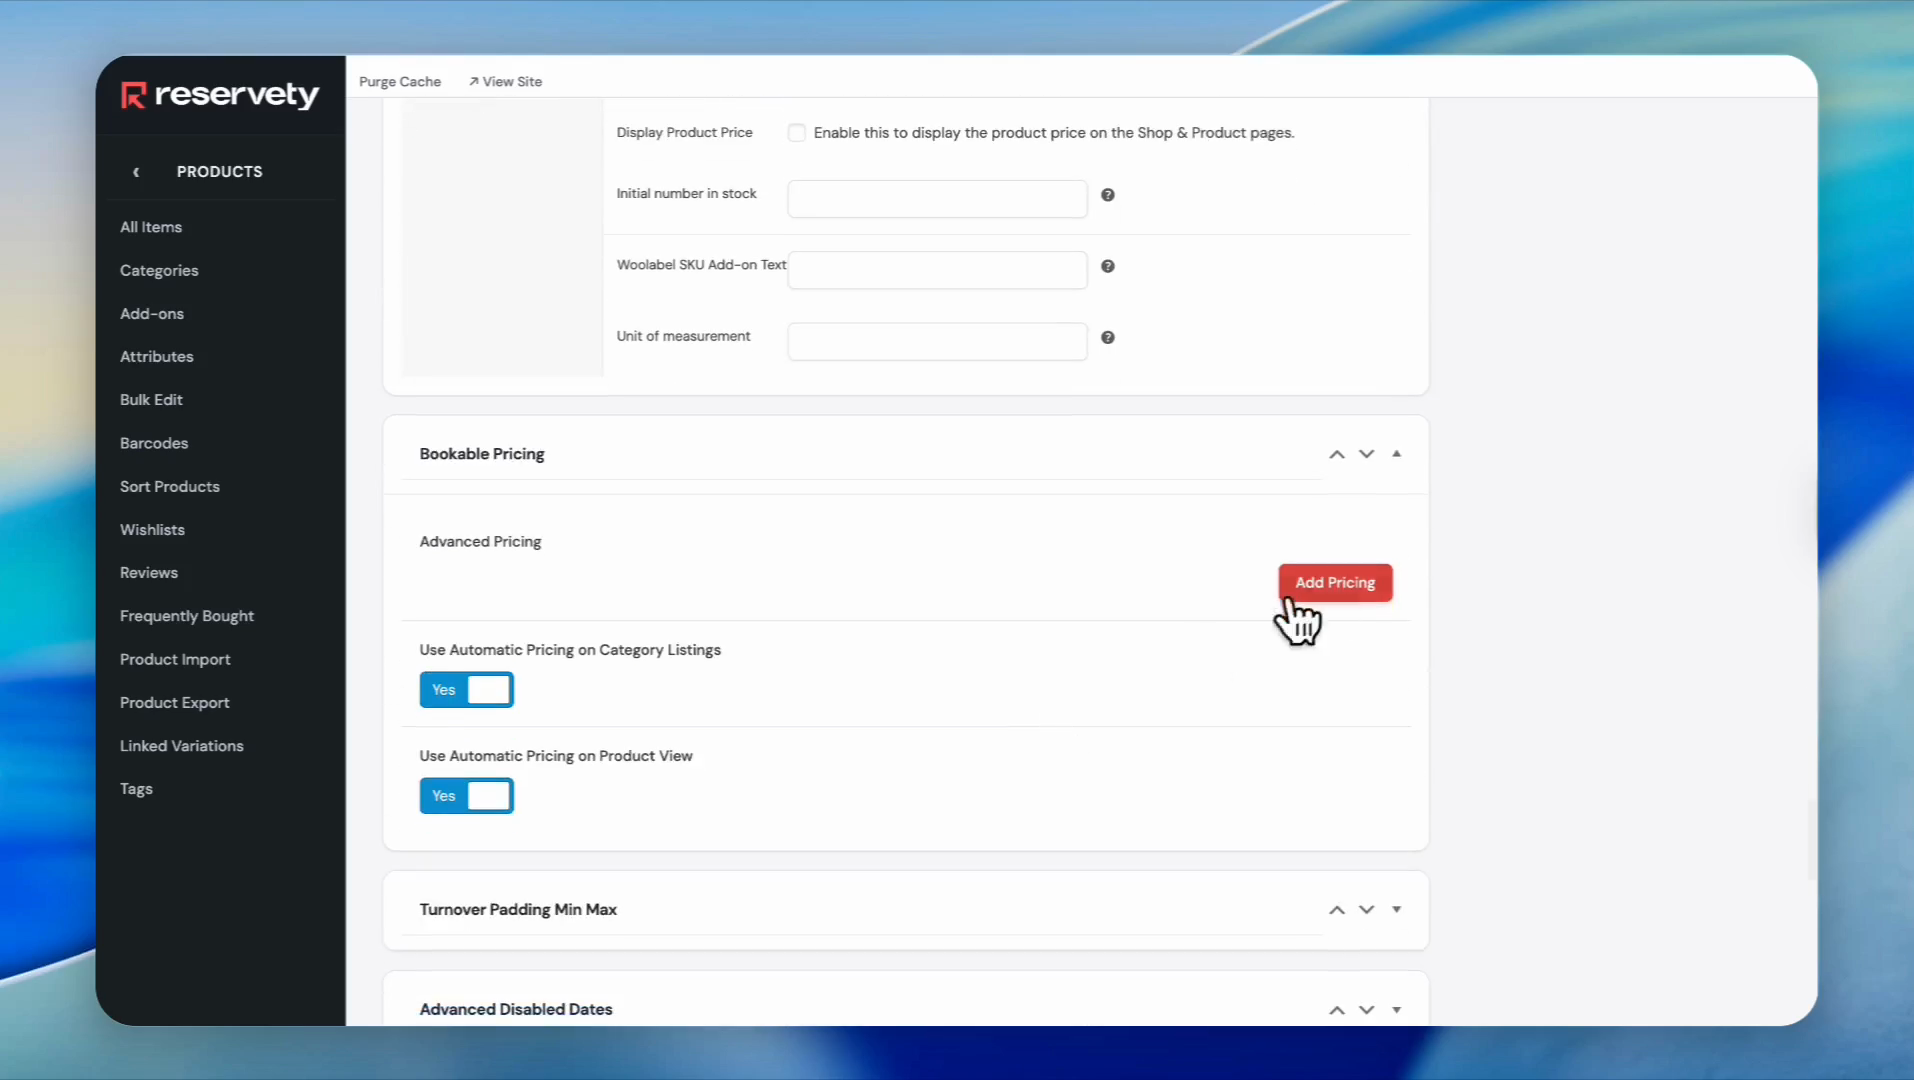
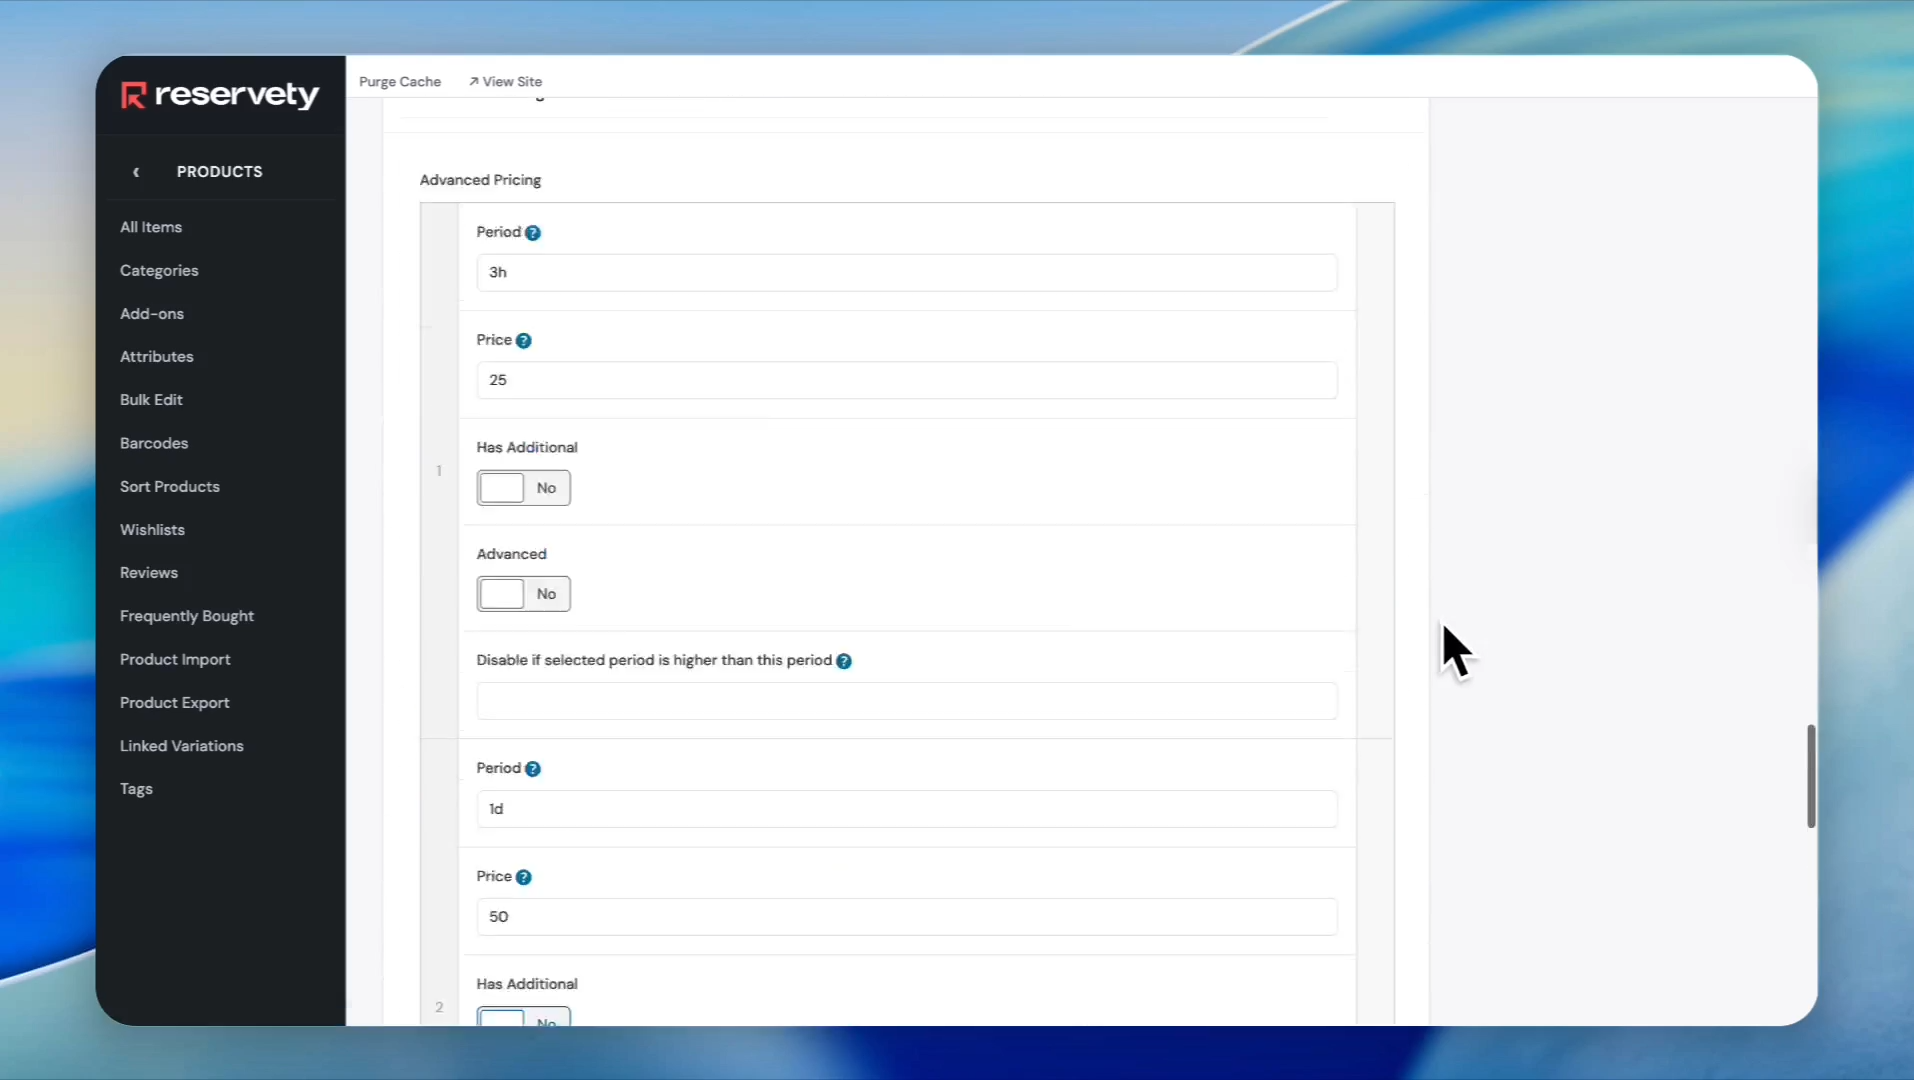
Click the Add Pricing button.
Step 21
22
Add your pricing
Step 22
23
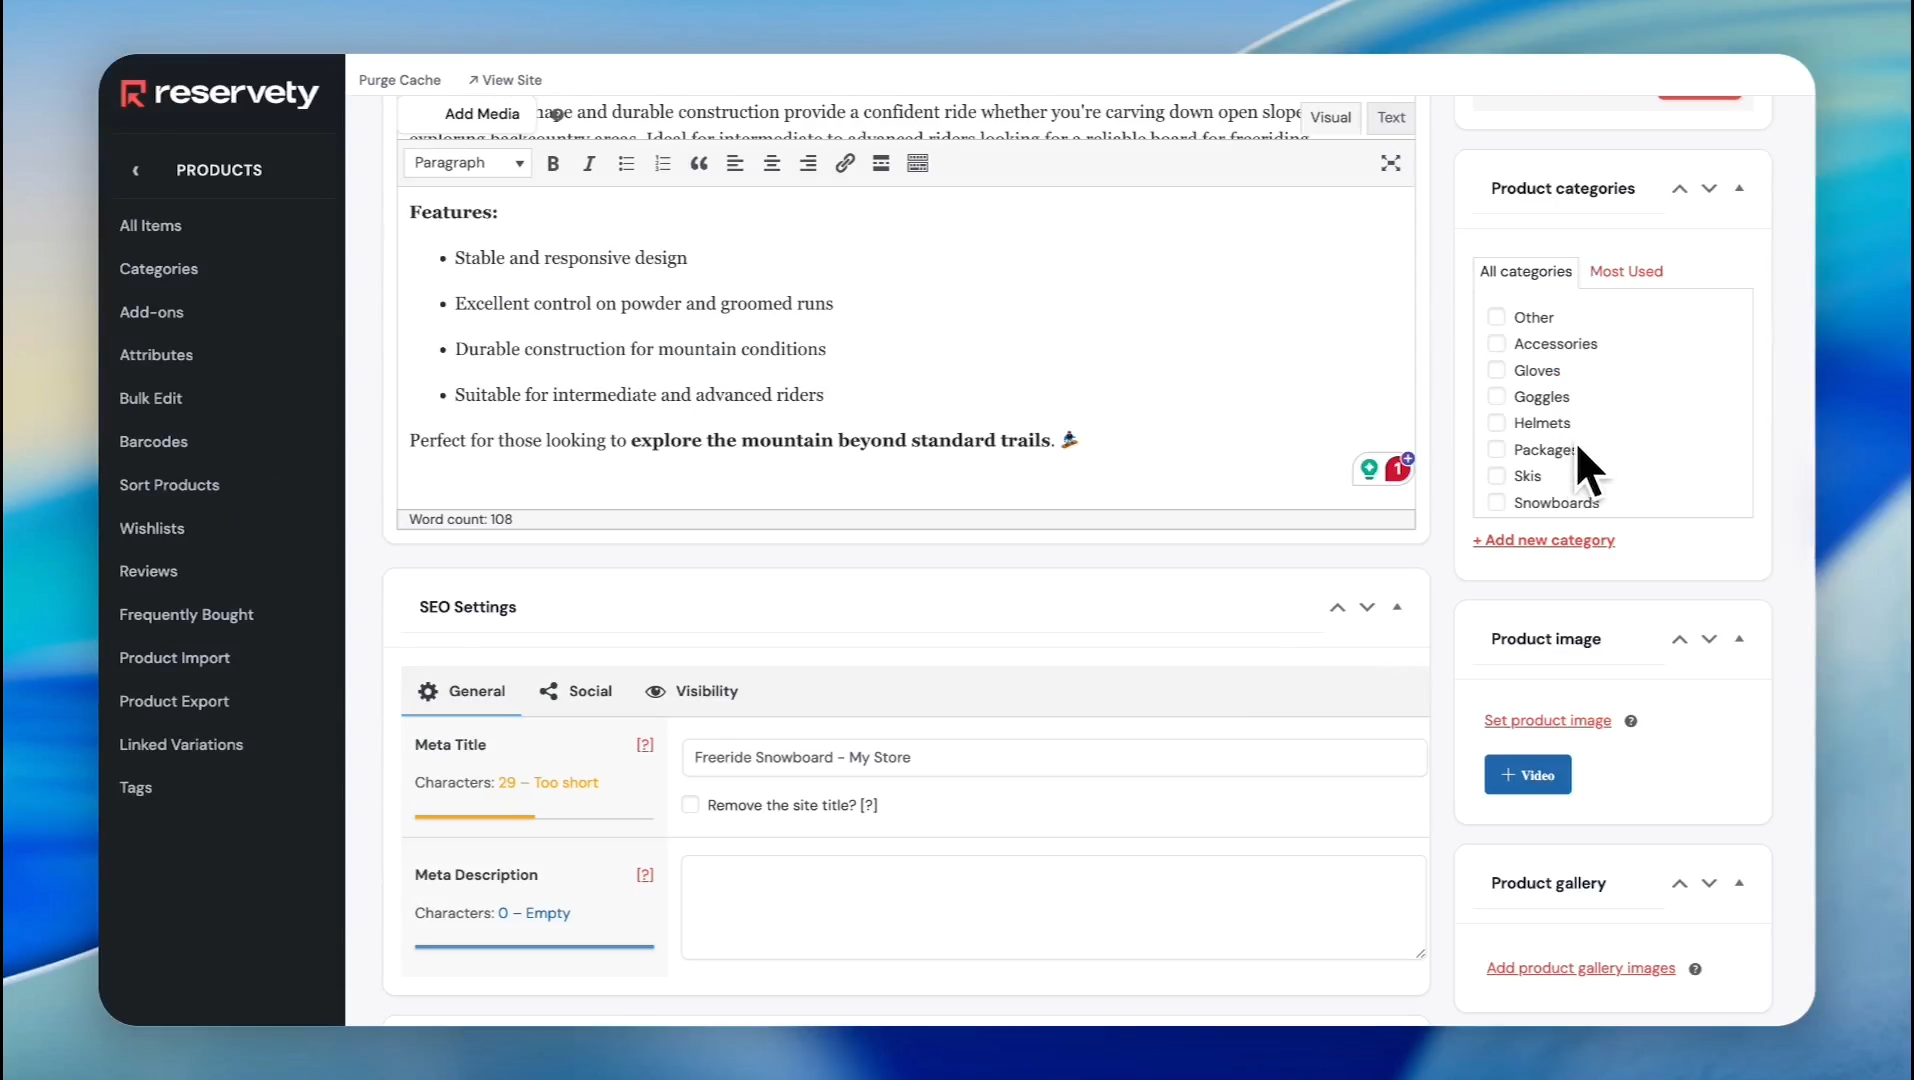
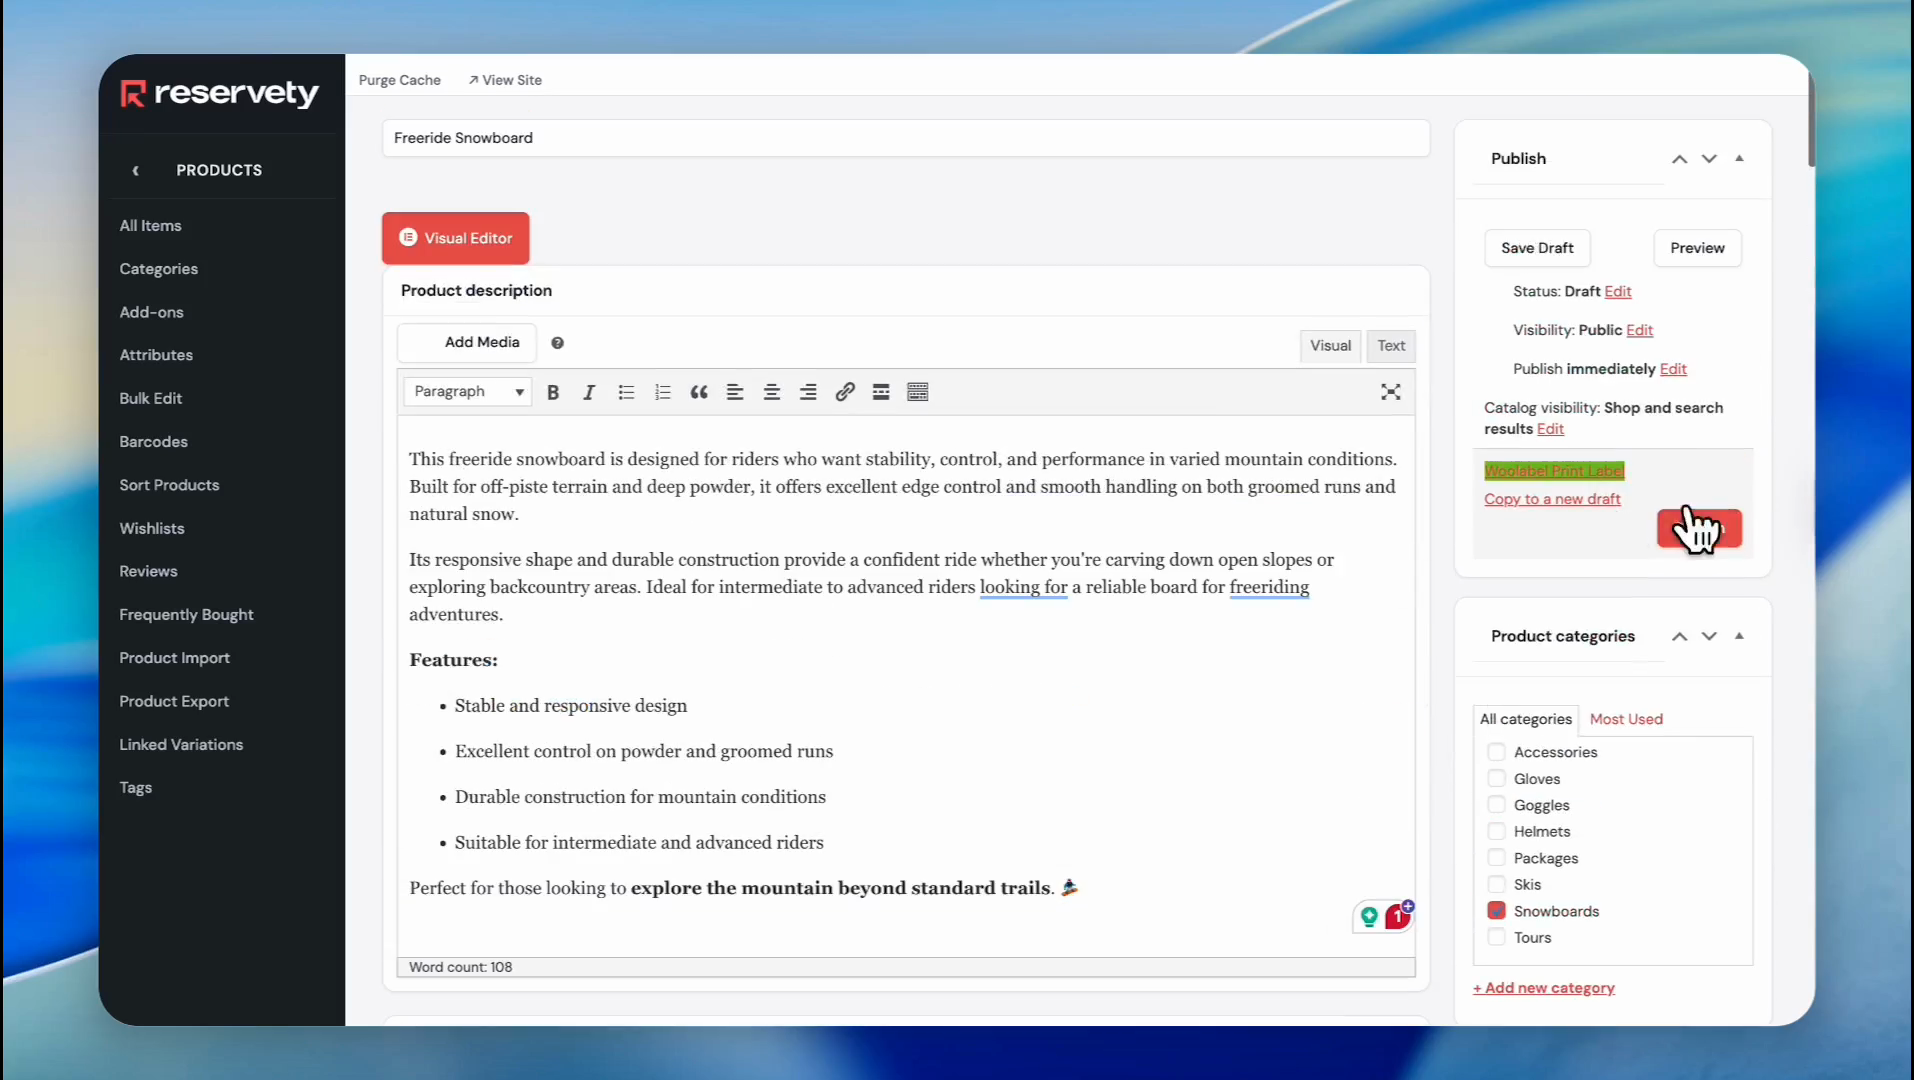
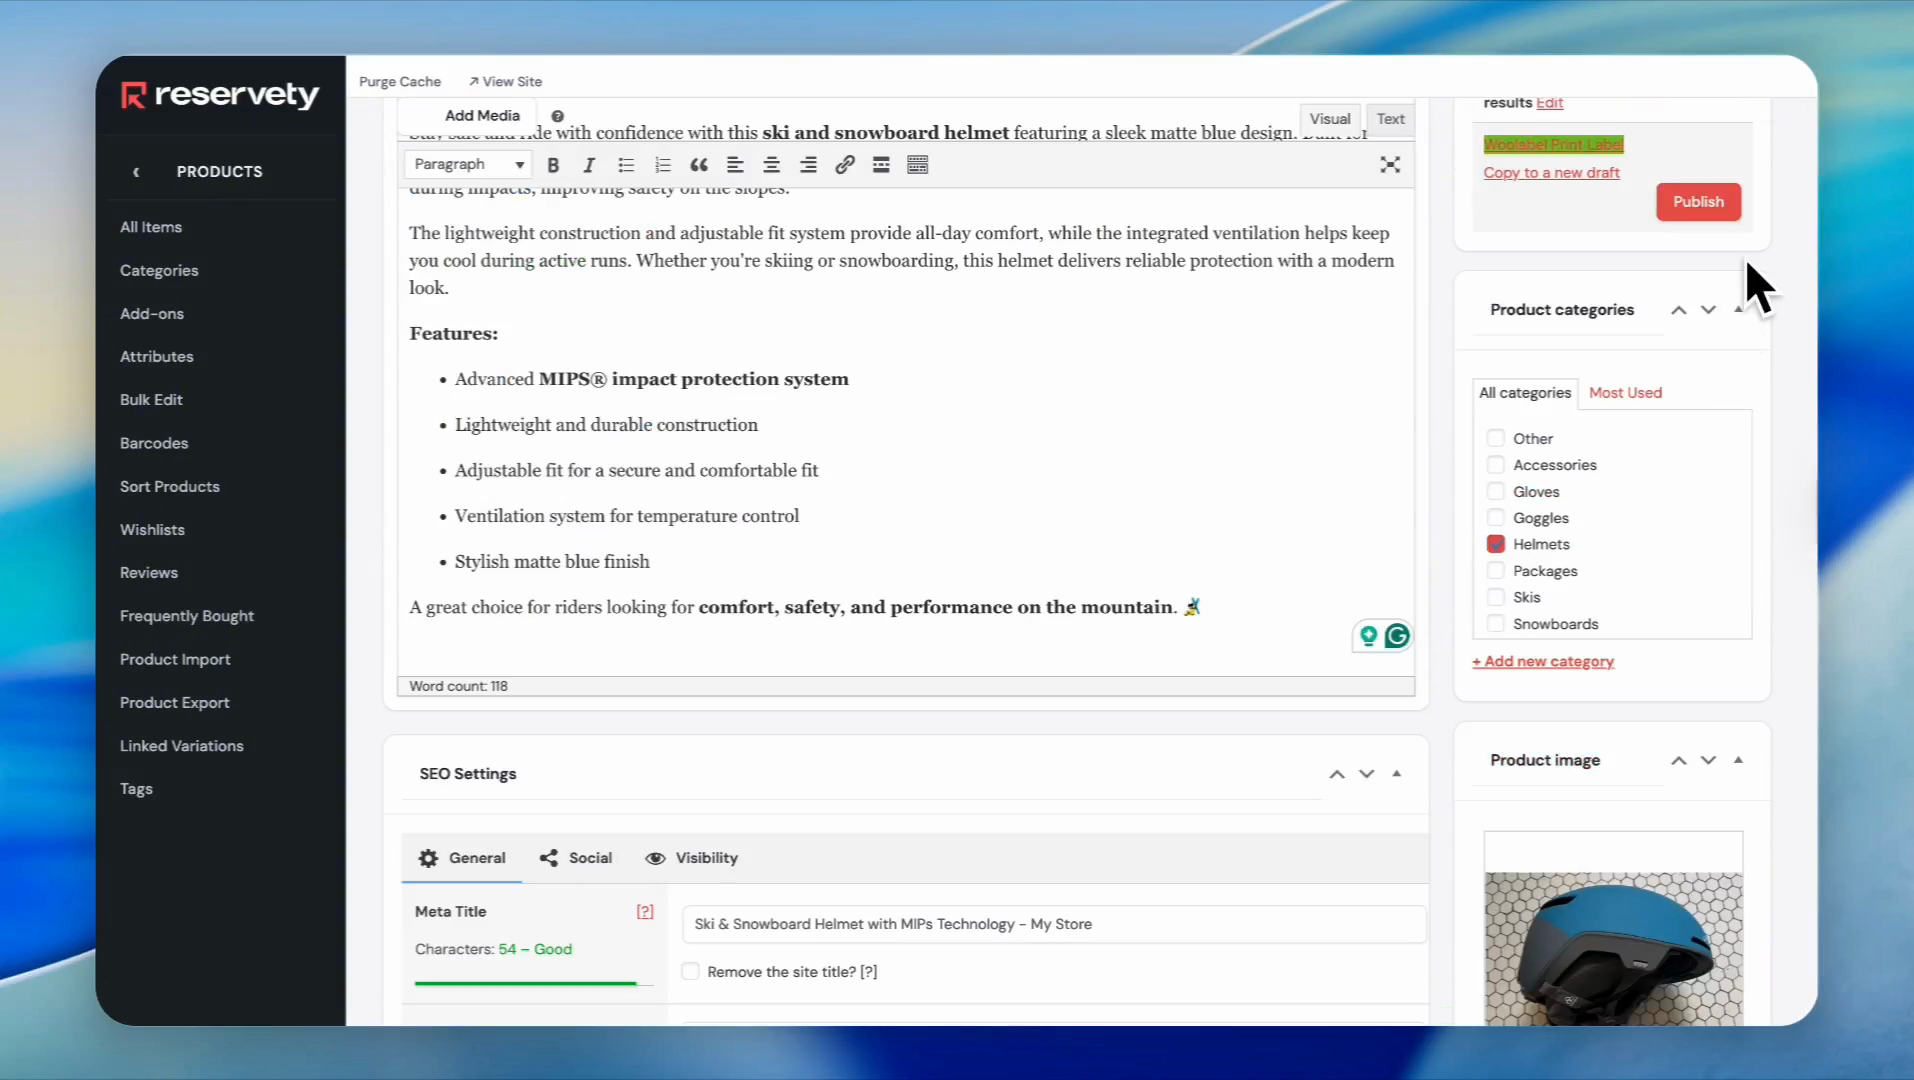
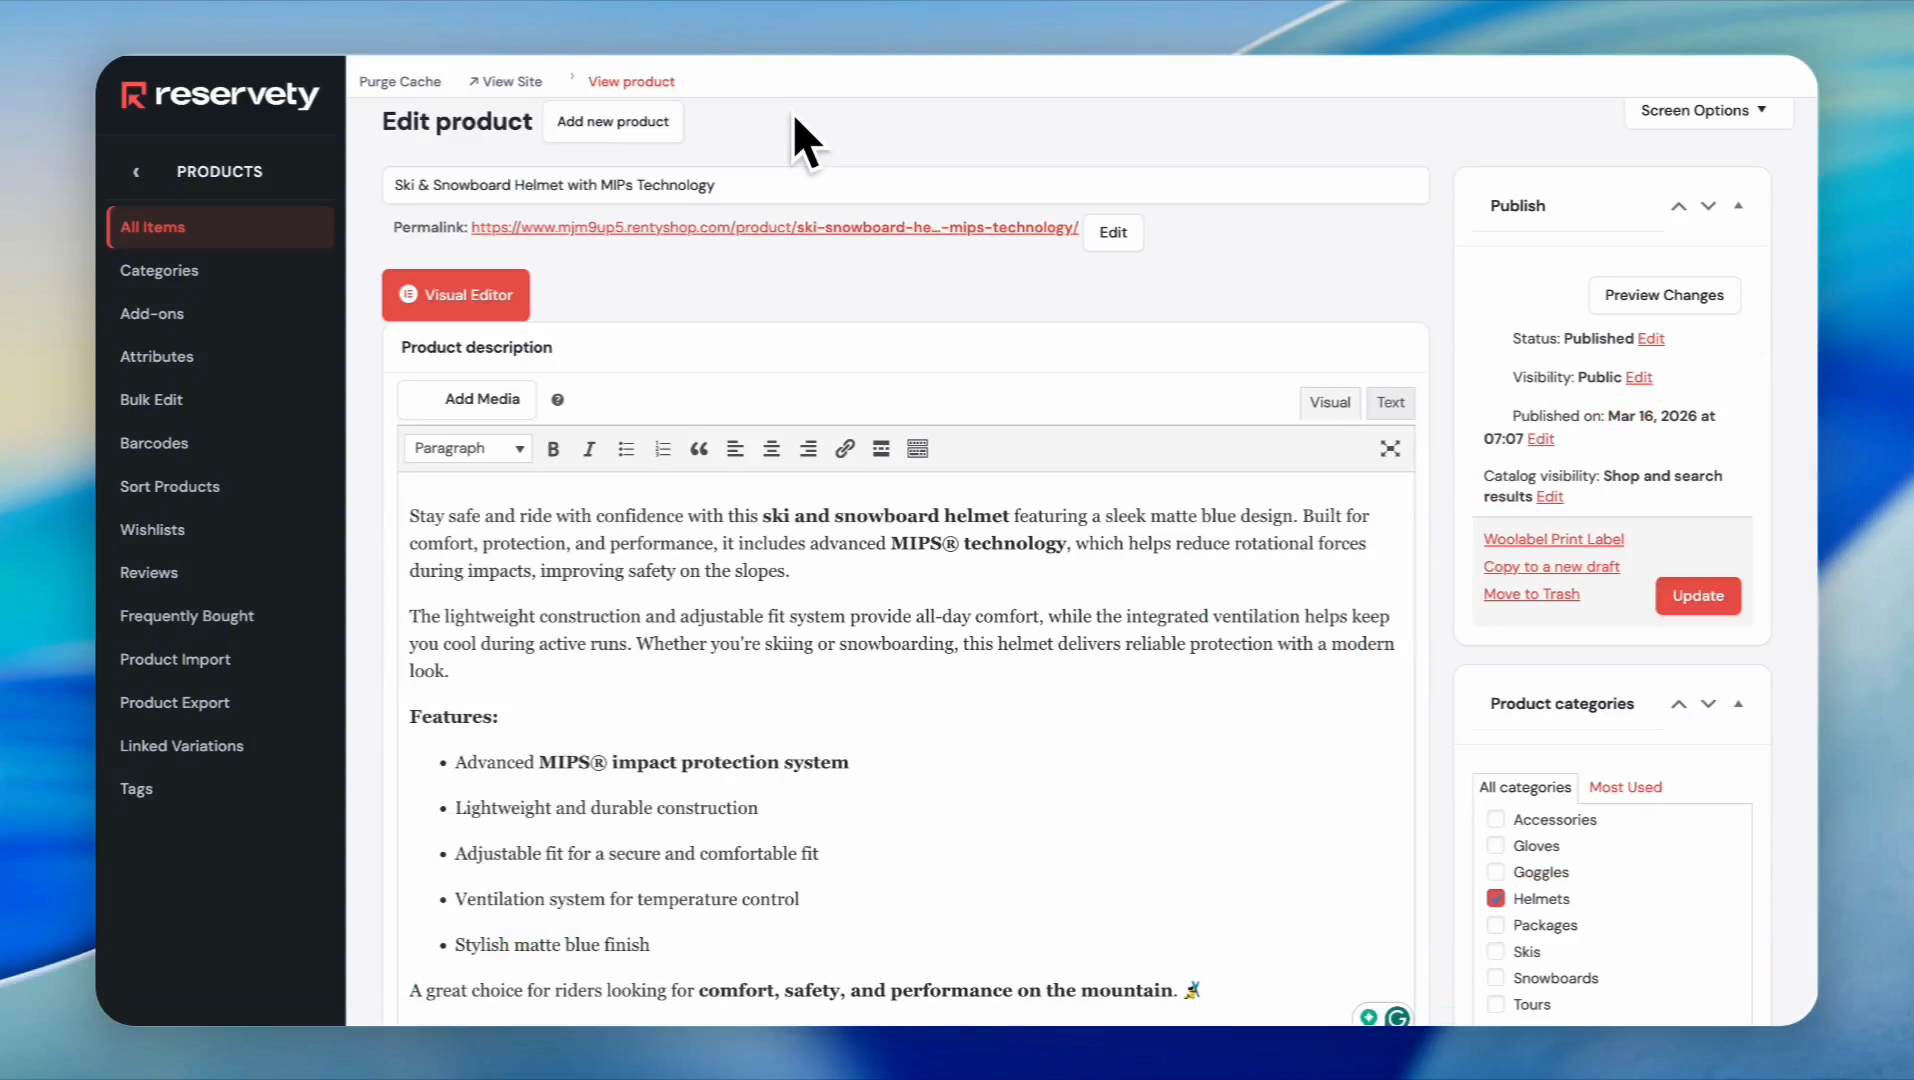
Go up and select the relevant category for your product.
Step 23
24
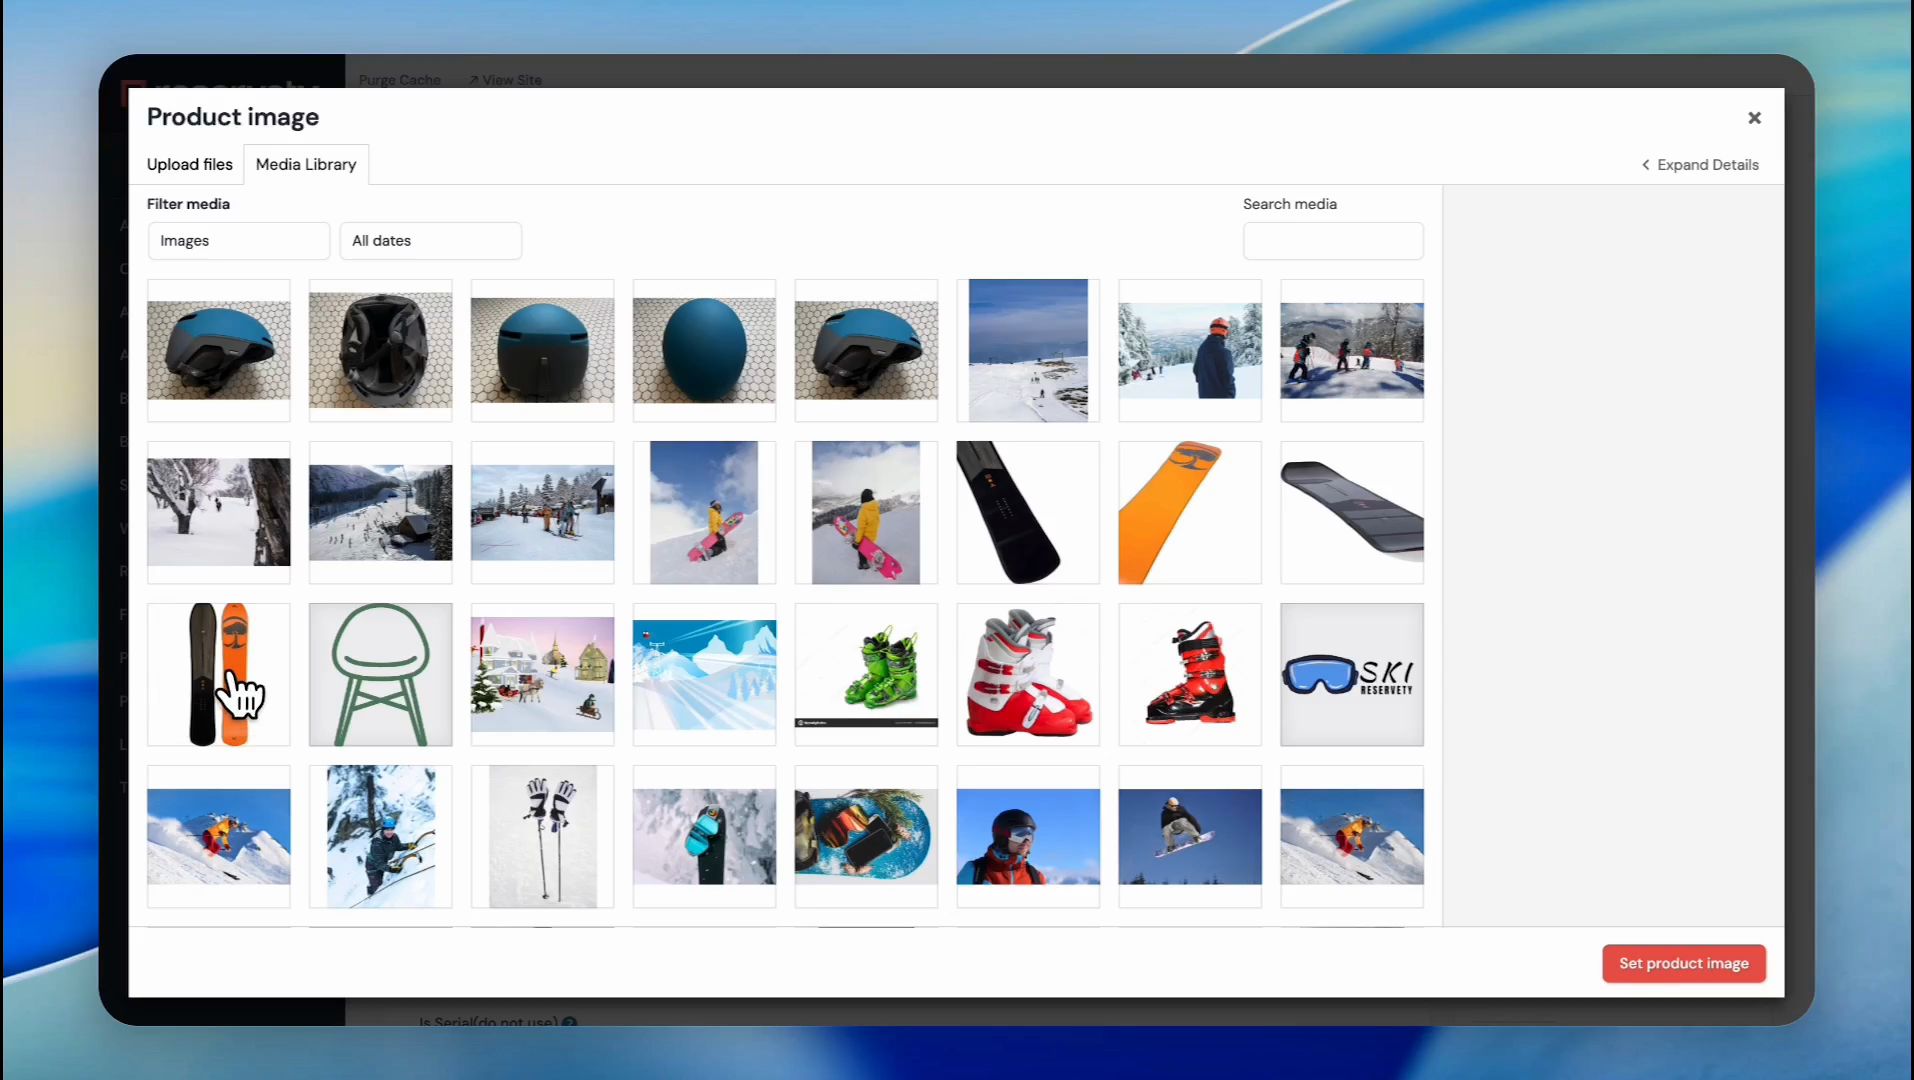
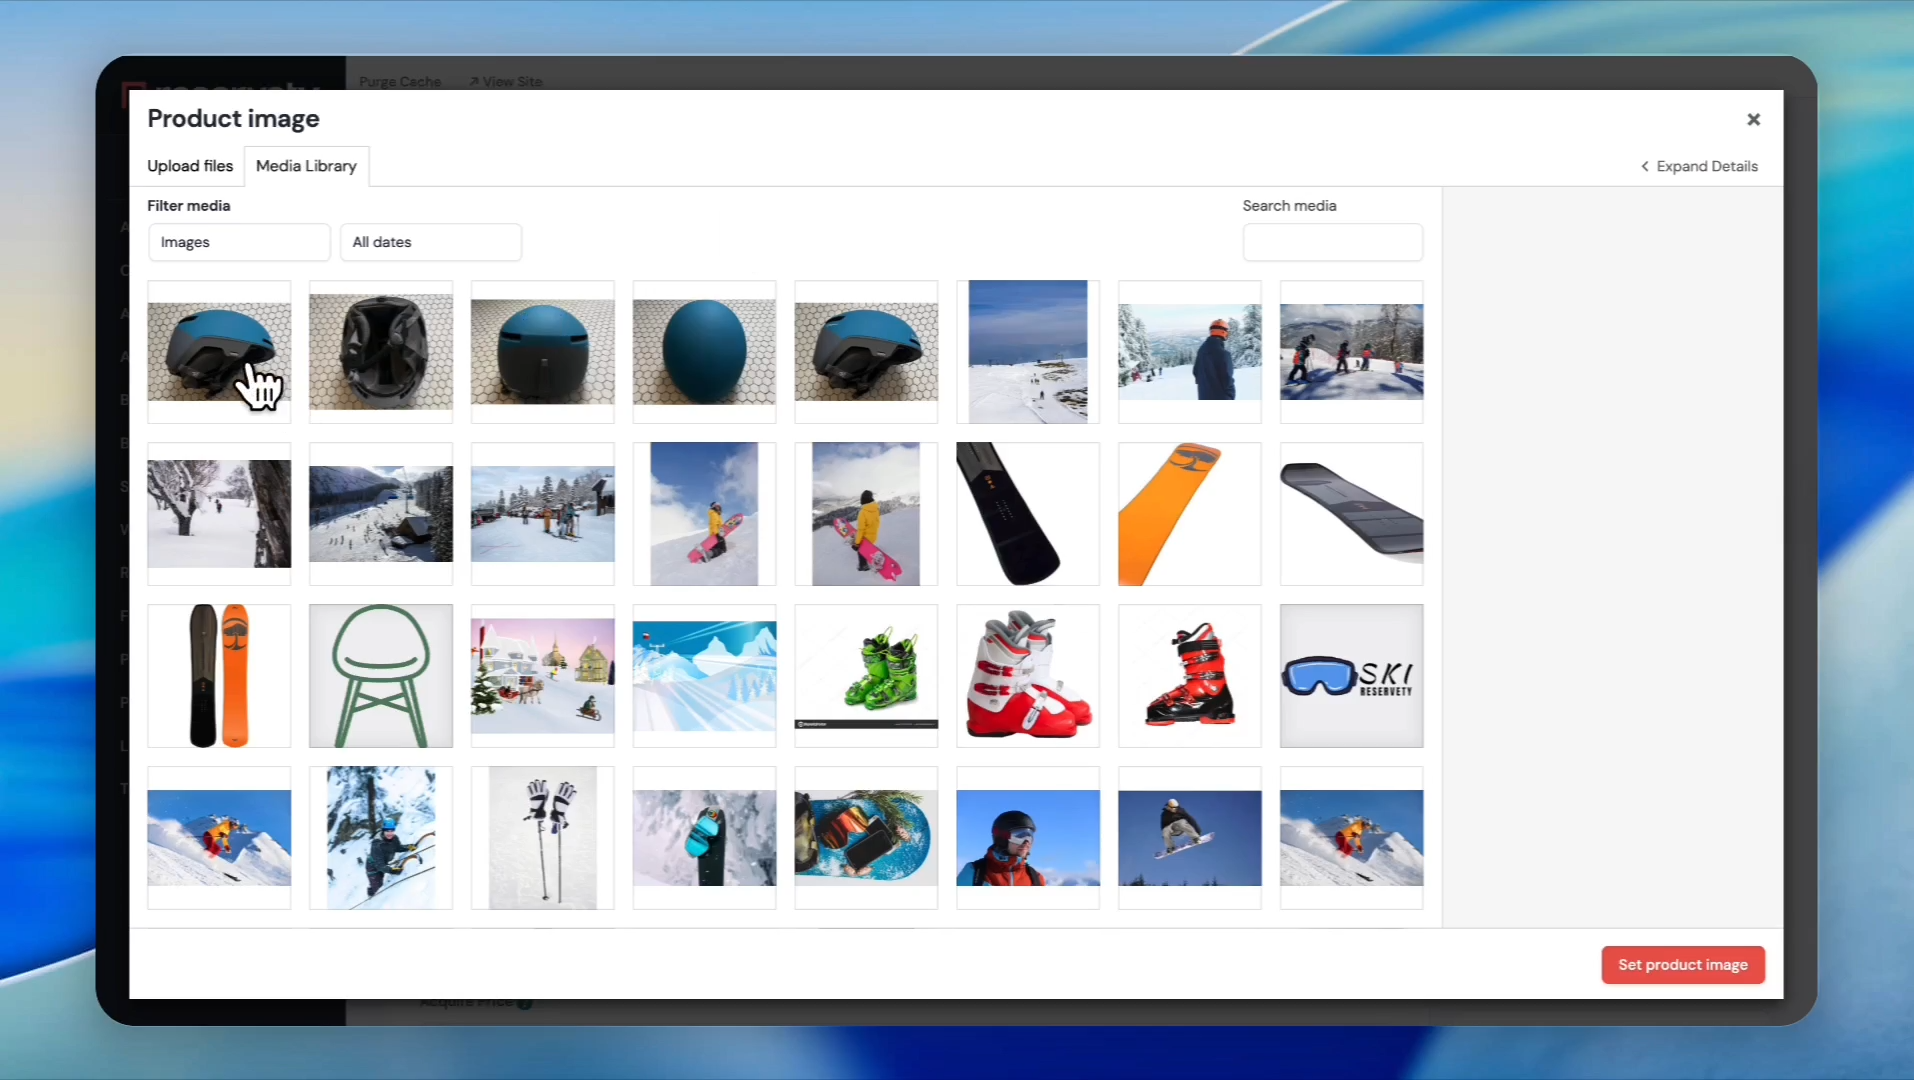
Add images by clicking on "Set Product Image" and "Add Product Gallery Images."
Step 24
25
Click the Publish button.
Step 25
26
Now let's check our item using the serial numbers. Click the View product link at the top of the page.
Step 26
27
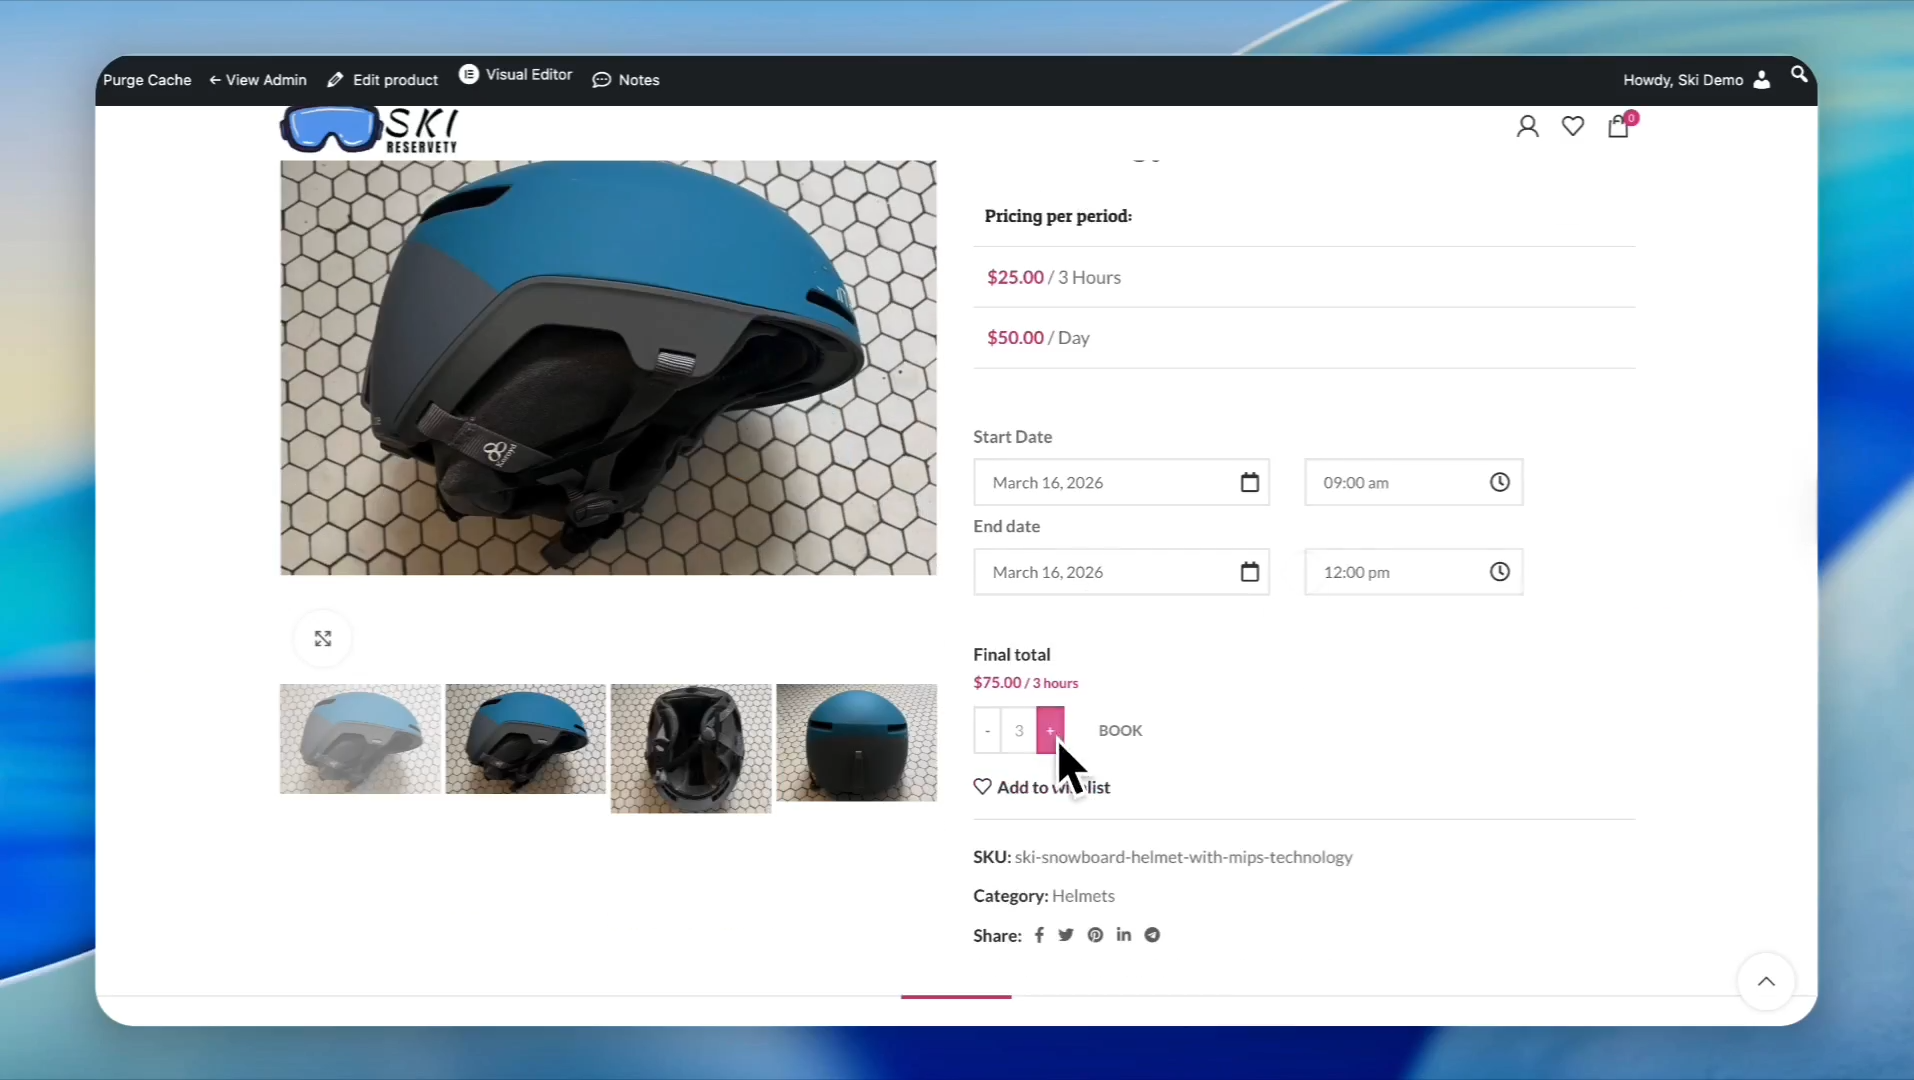
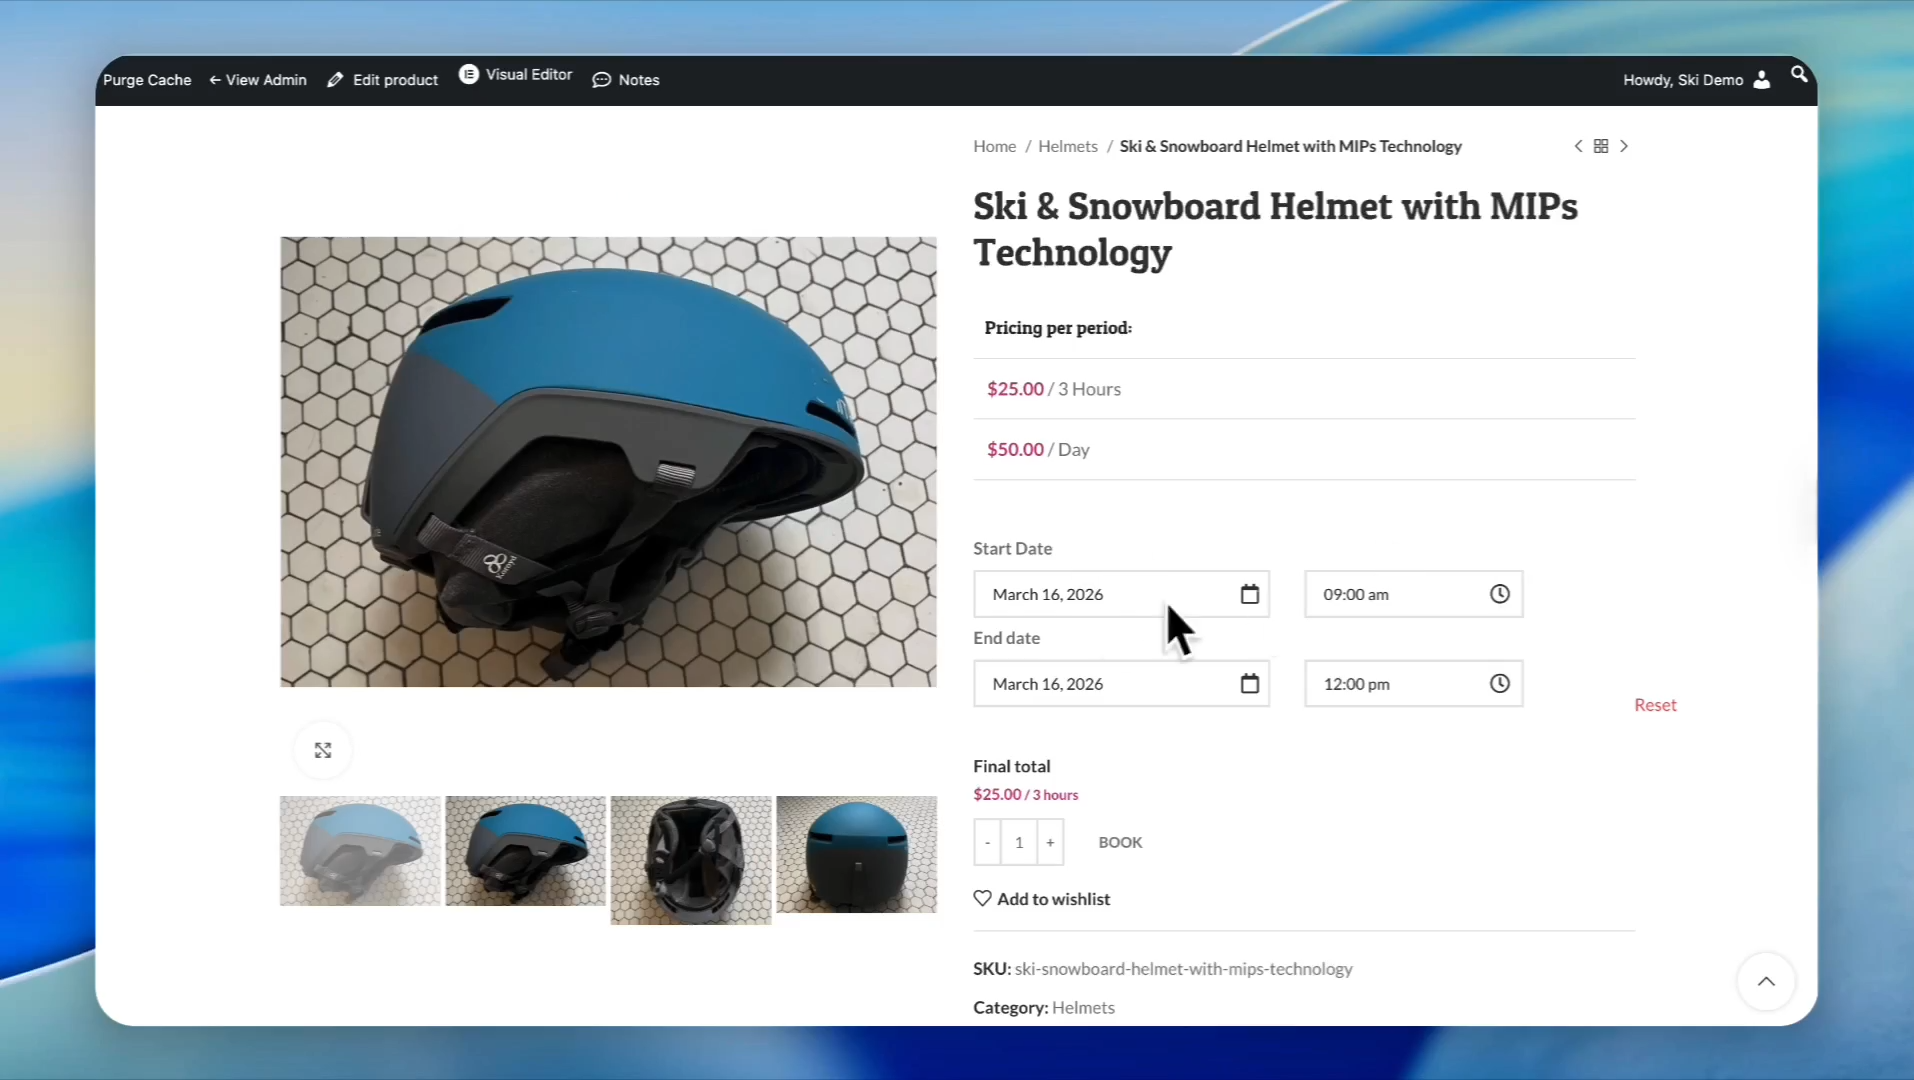
Let's create a test order to demonstrate how to add serial products to it. First, click on the Calendar icon and select a period.
Step 27
28
Let's say we want to book three of these helmets. Click the plus button to increase the quantity to 3.
Step 28
29
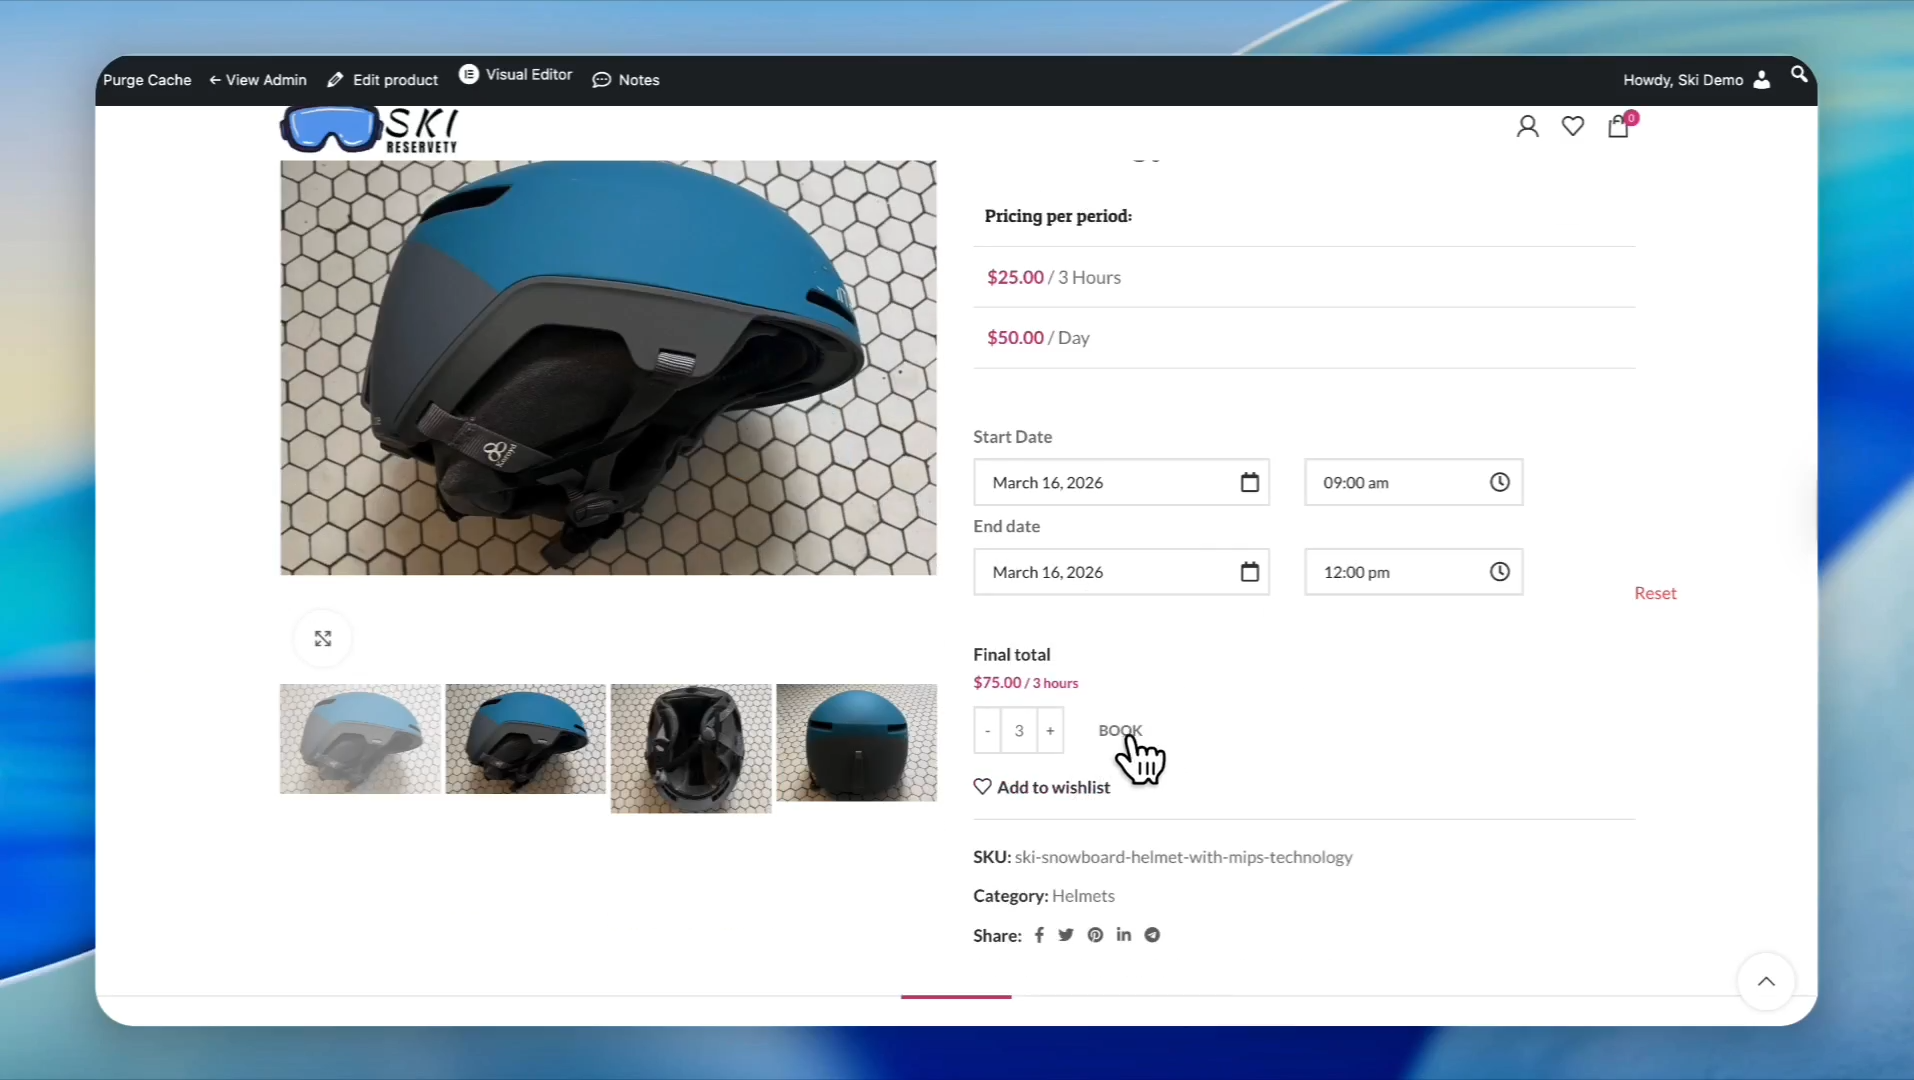
Click the BOOK button.
Step 29
30
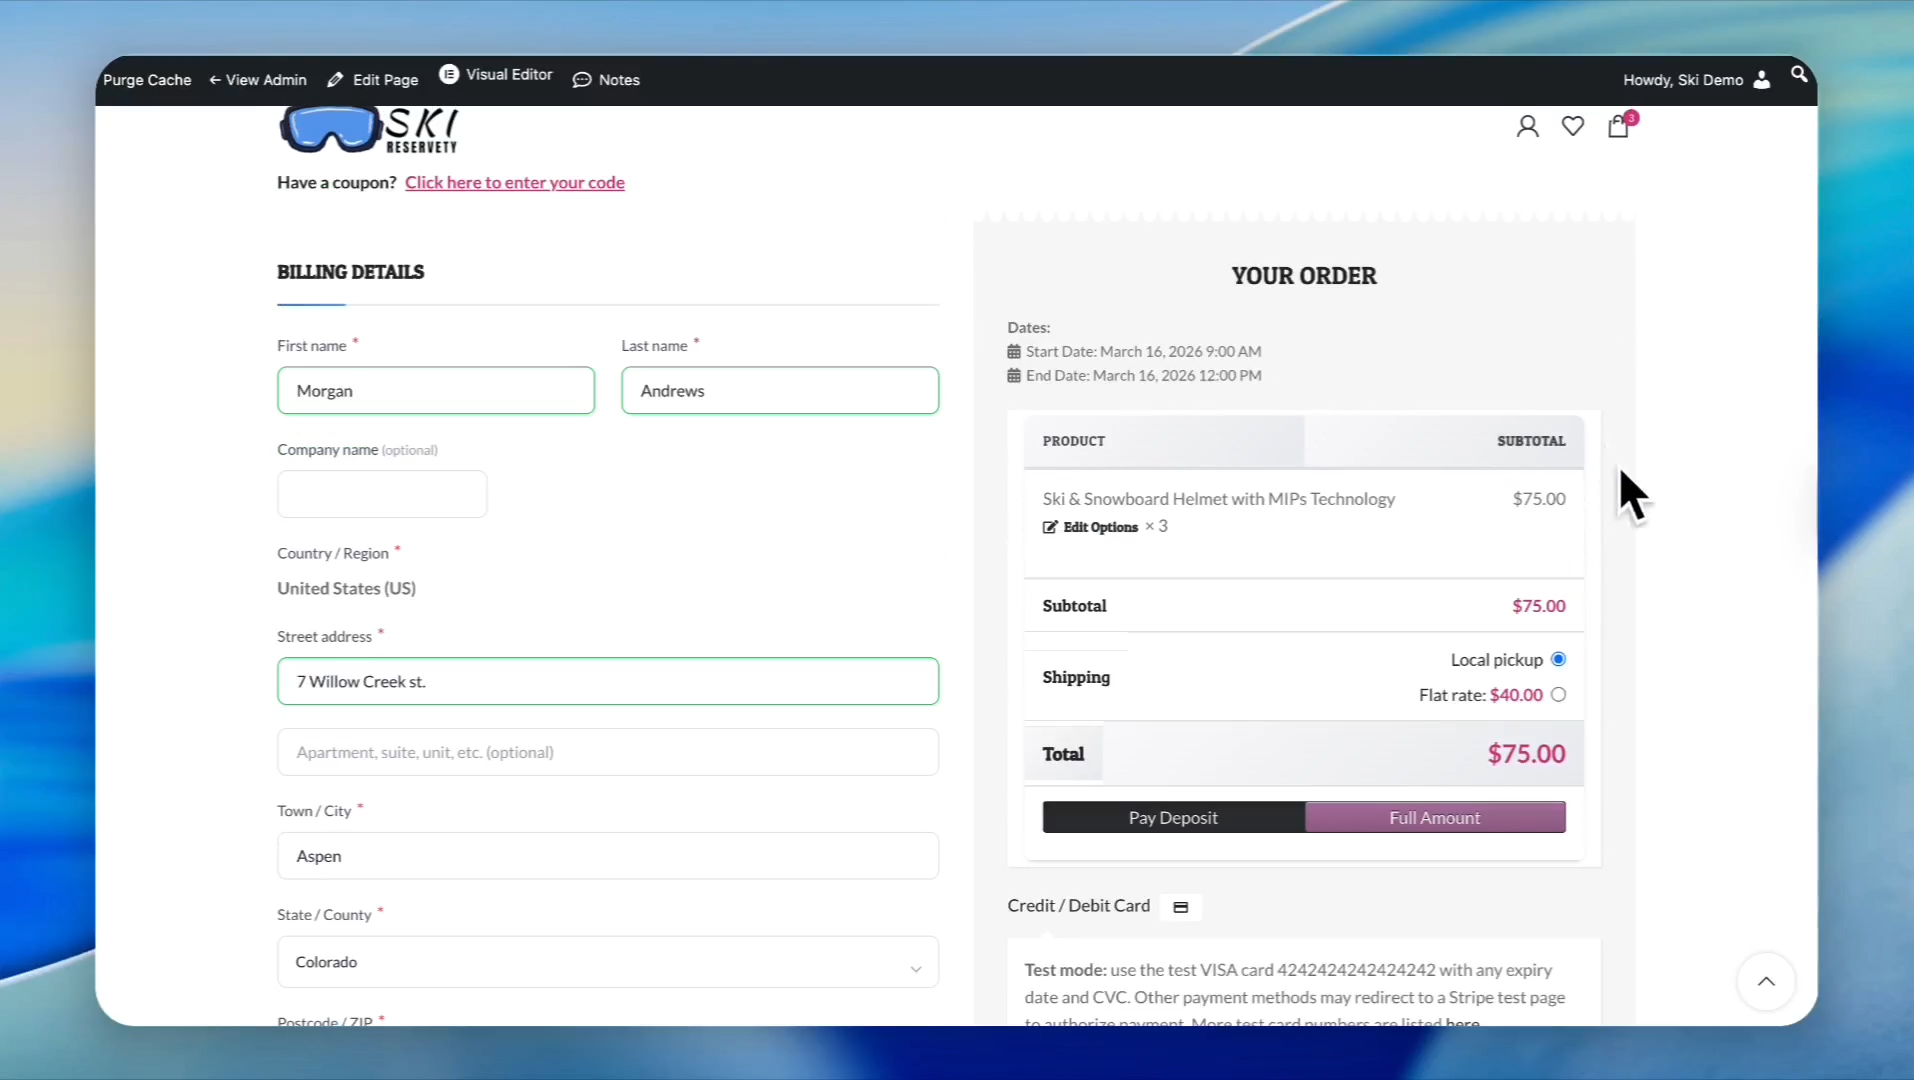
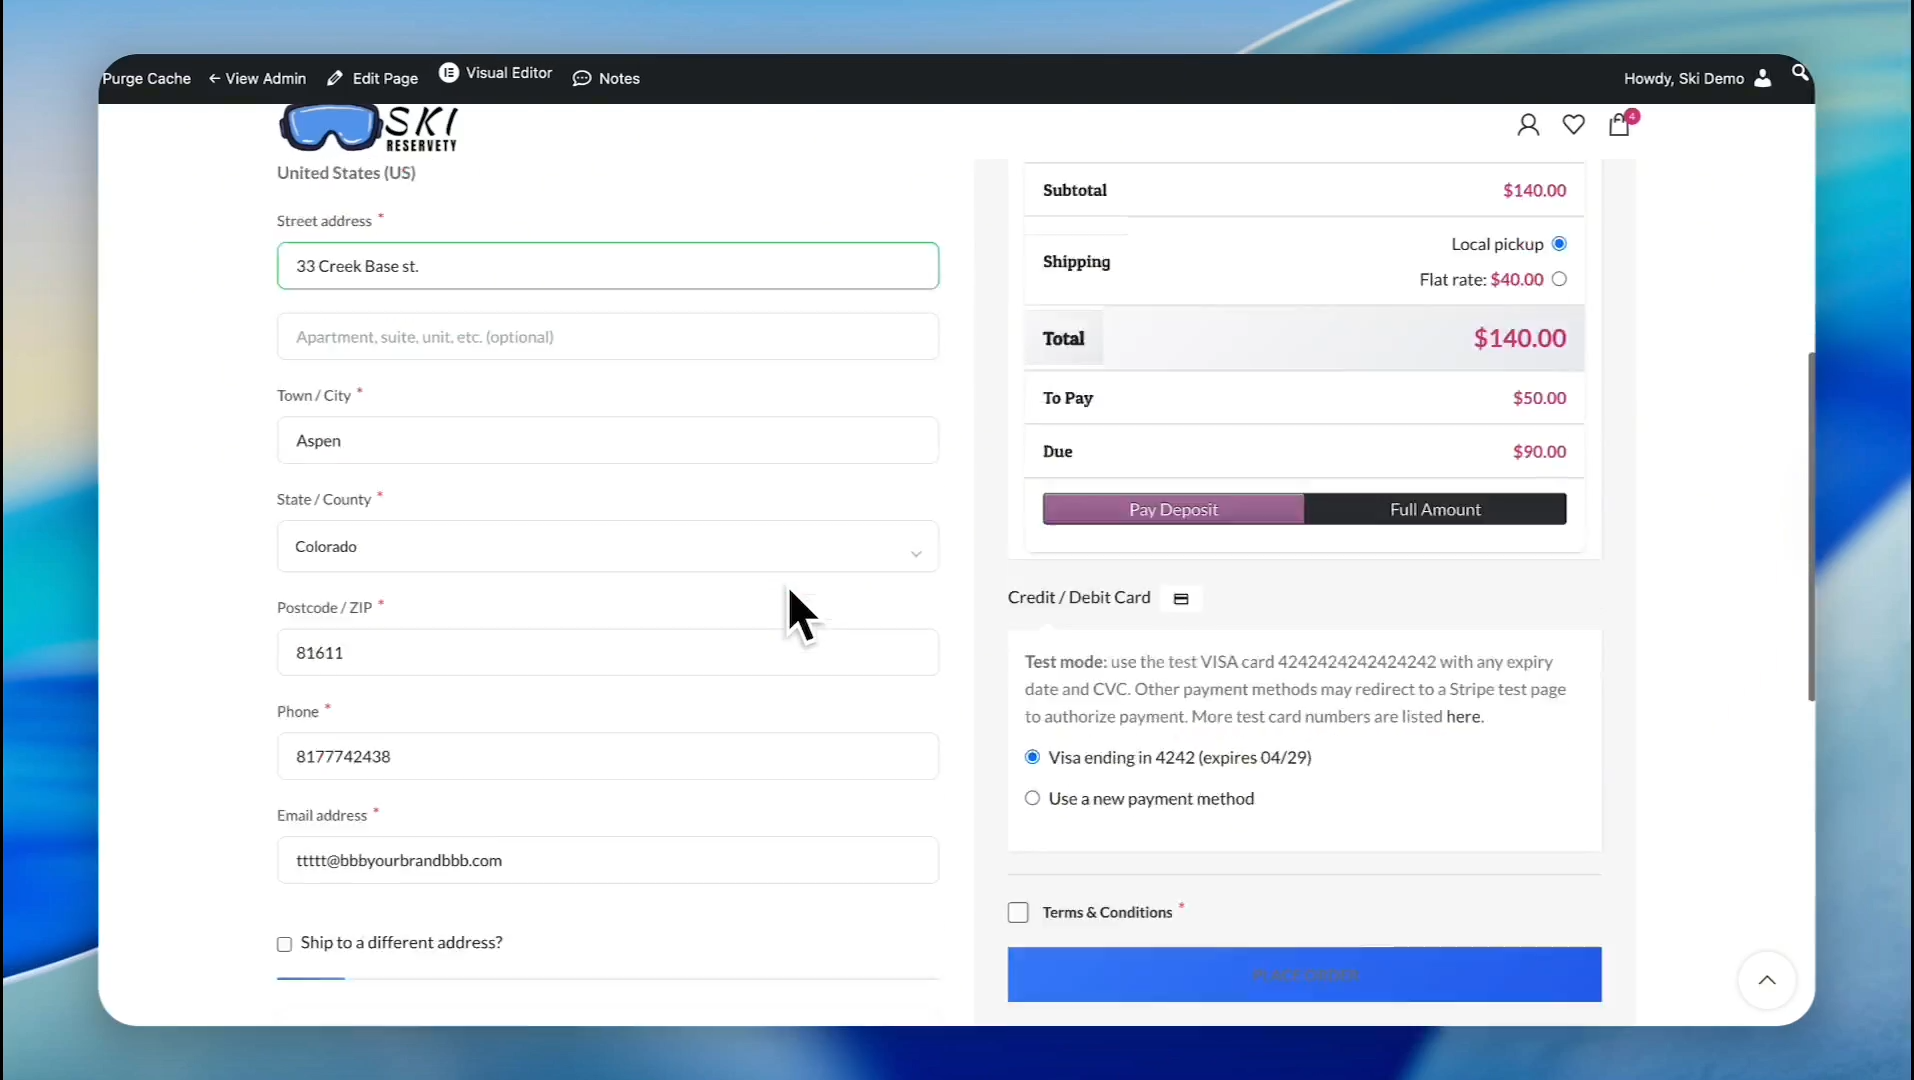
Go to the checkout. On the checkout page, enter the customer information, ensure the amount is correct, and select the payment method.
Step 30
31
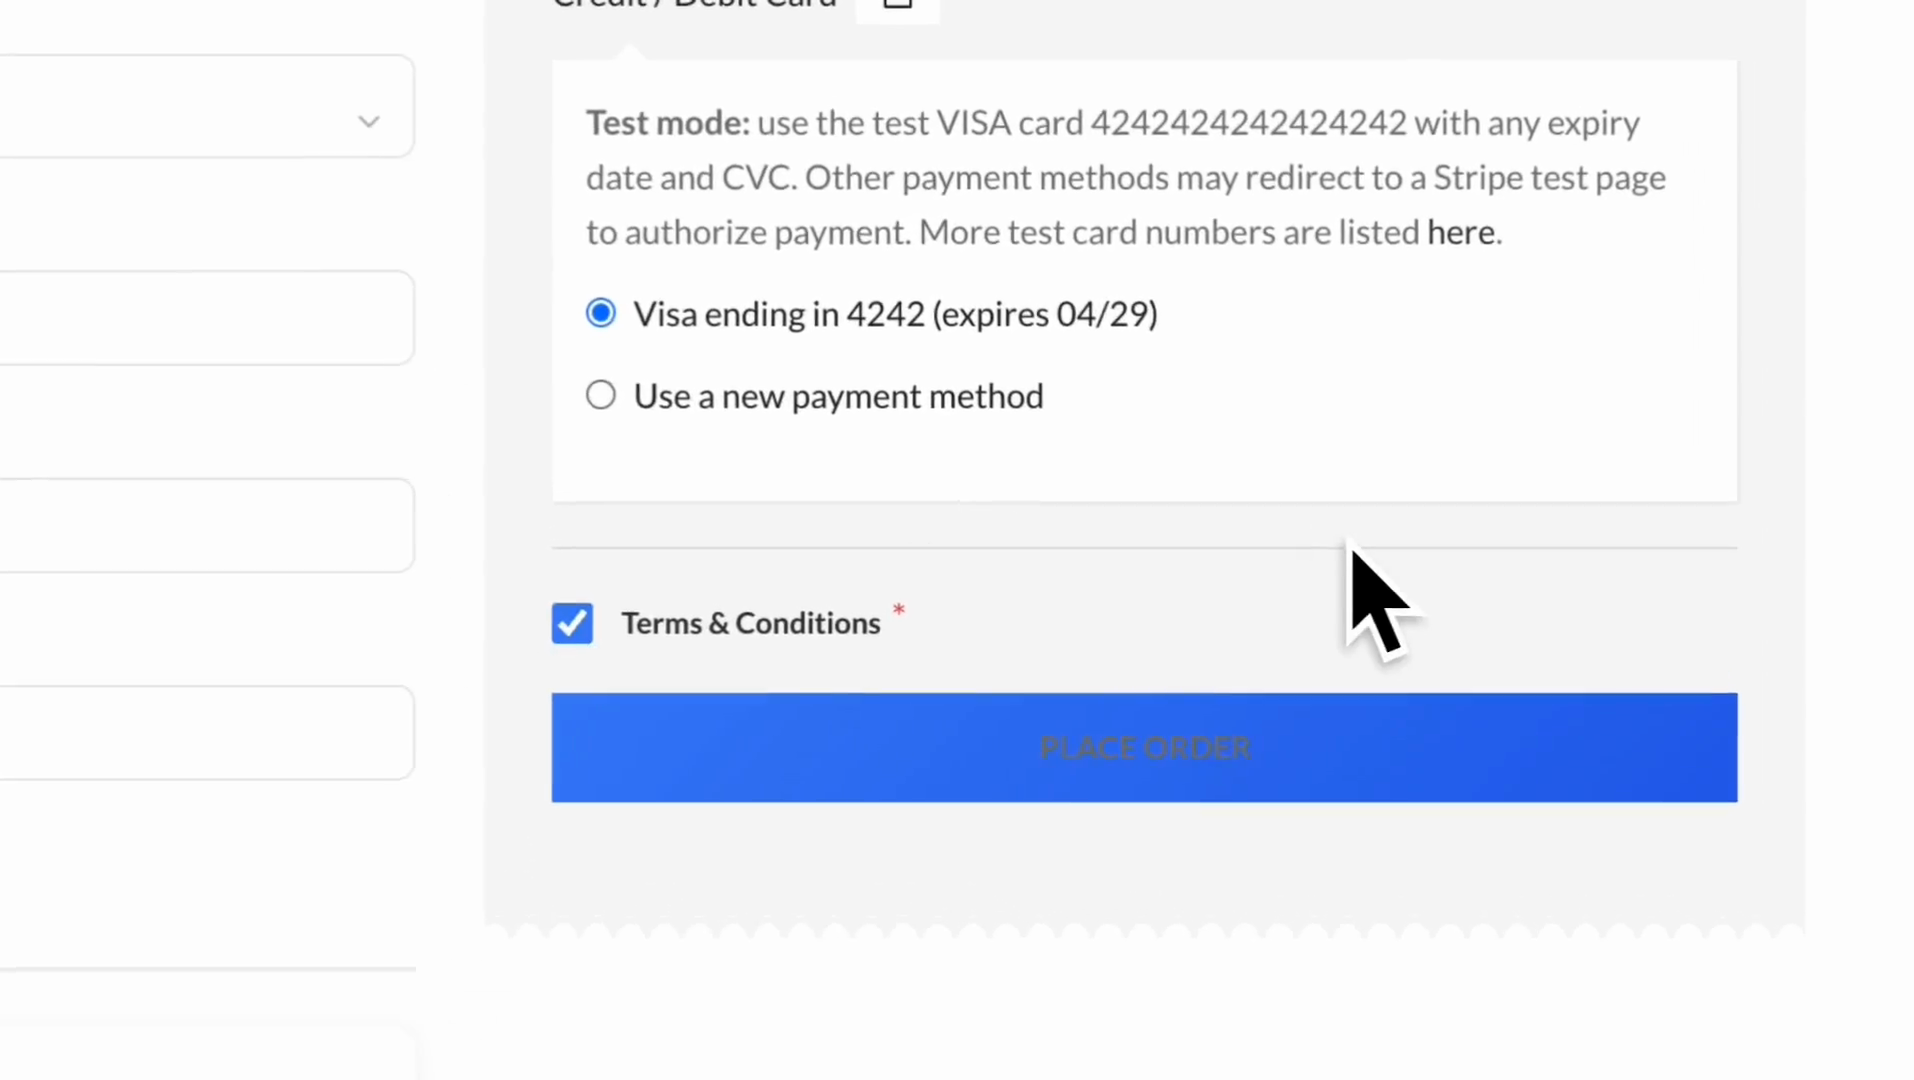
Put a check mark next to Terms & Conditions and click the PLACE ORDER button.
Step 31
32
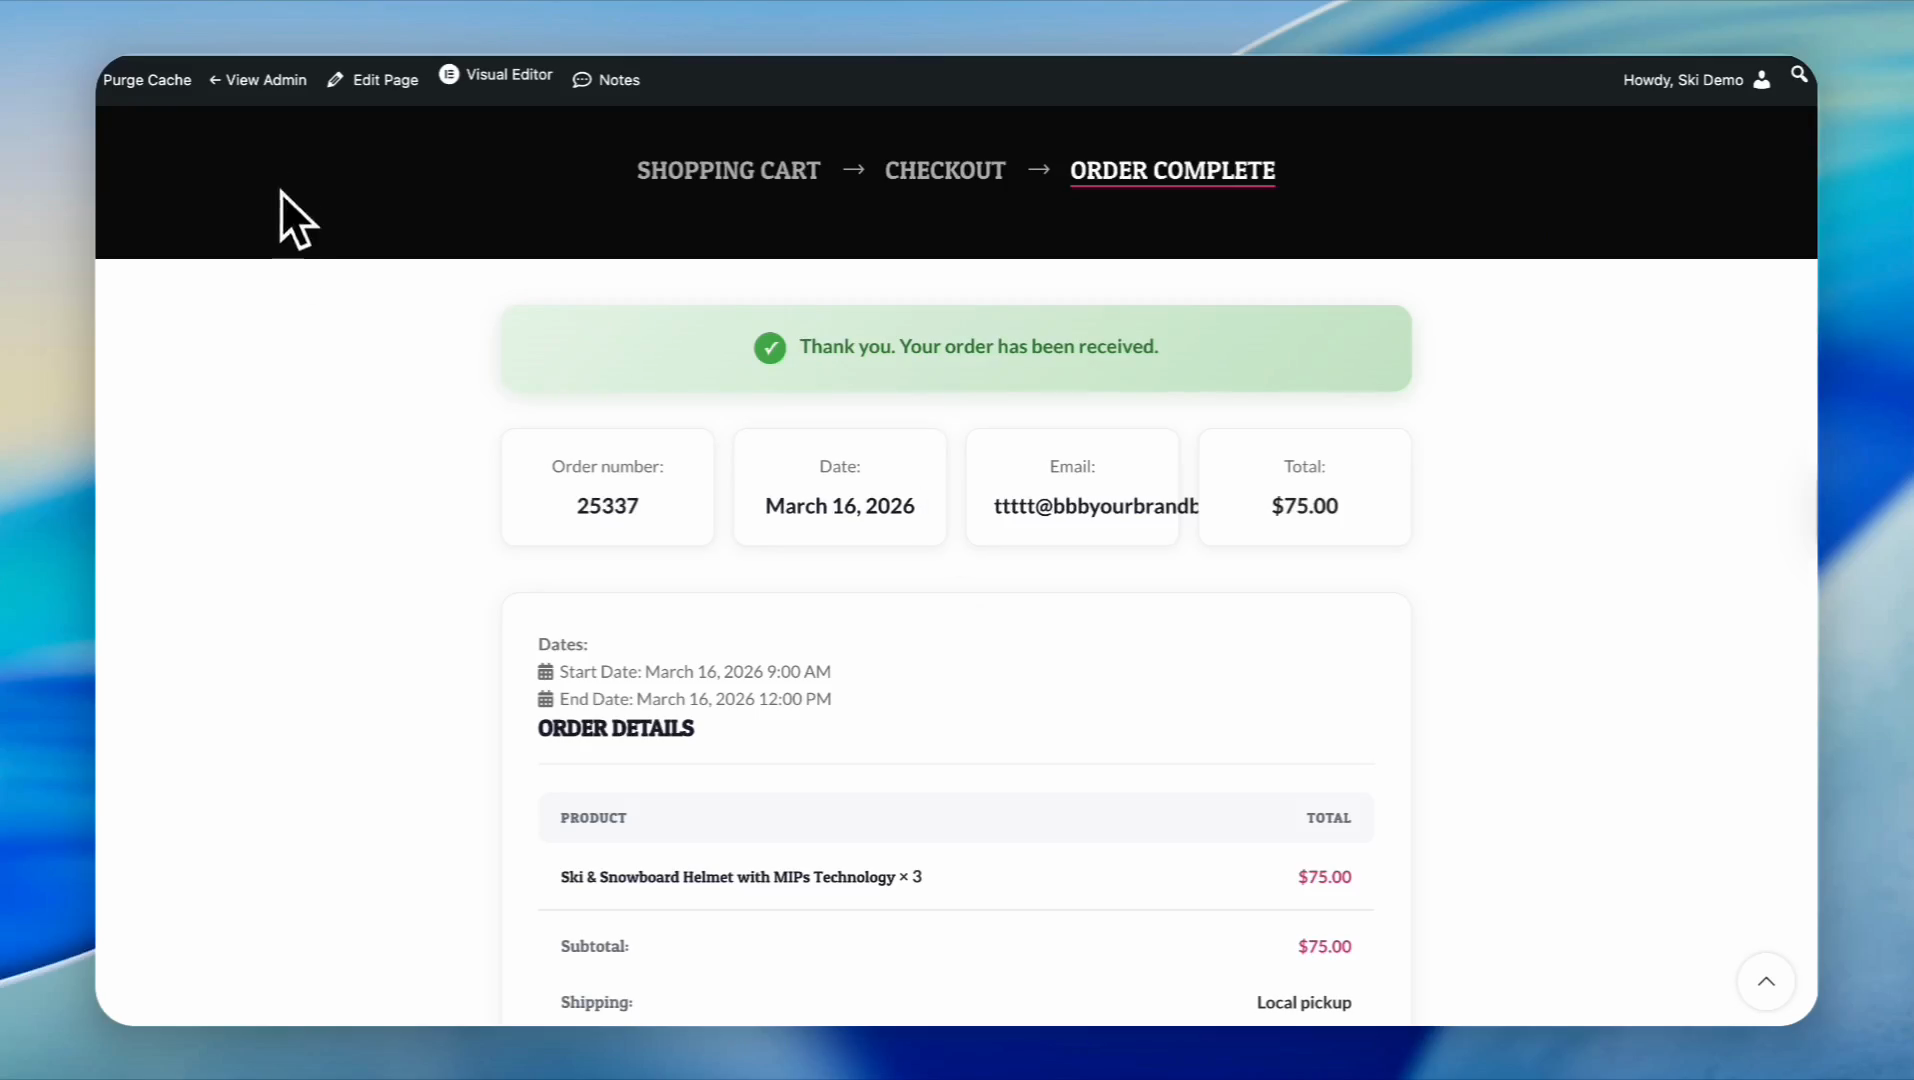
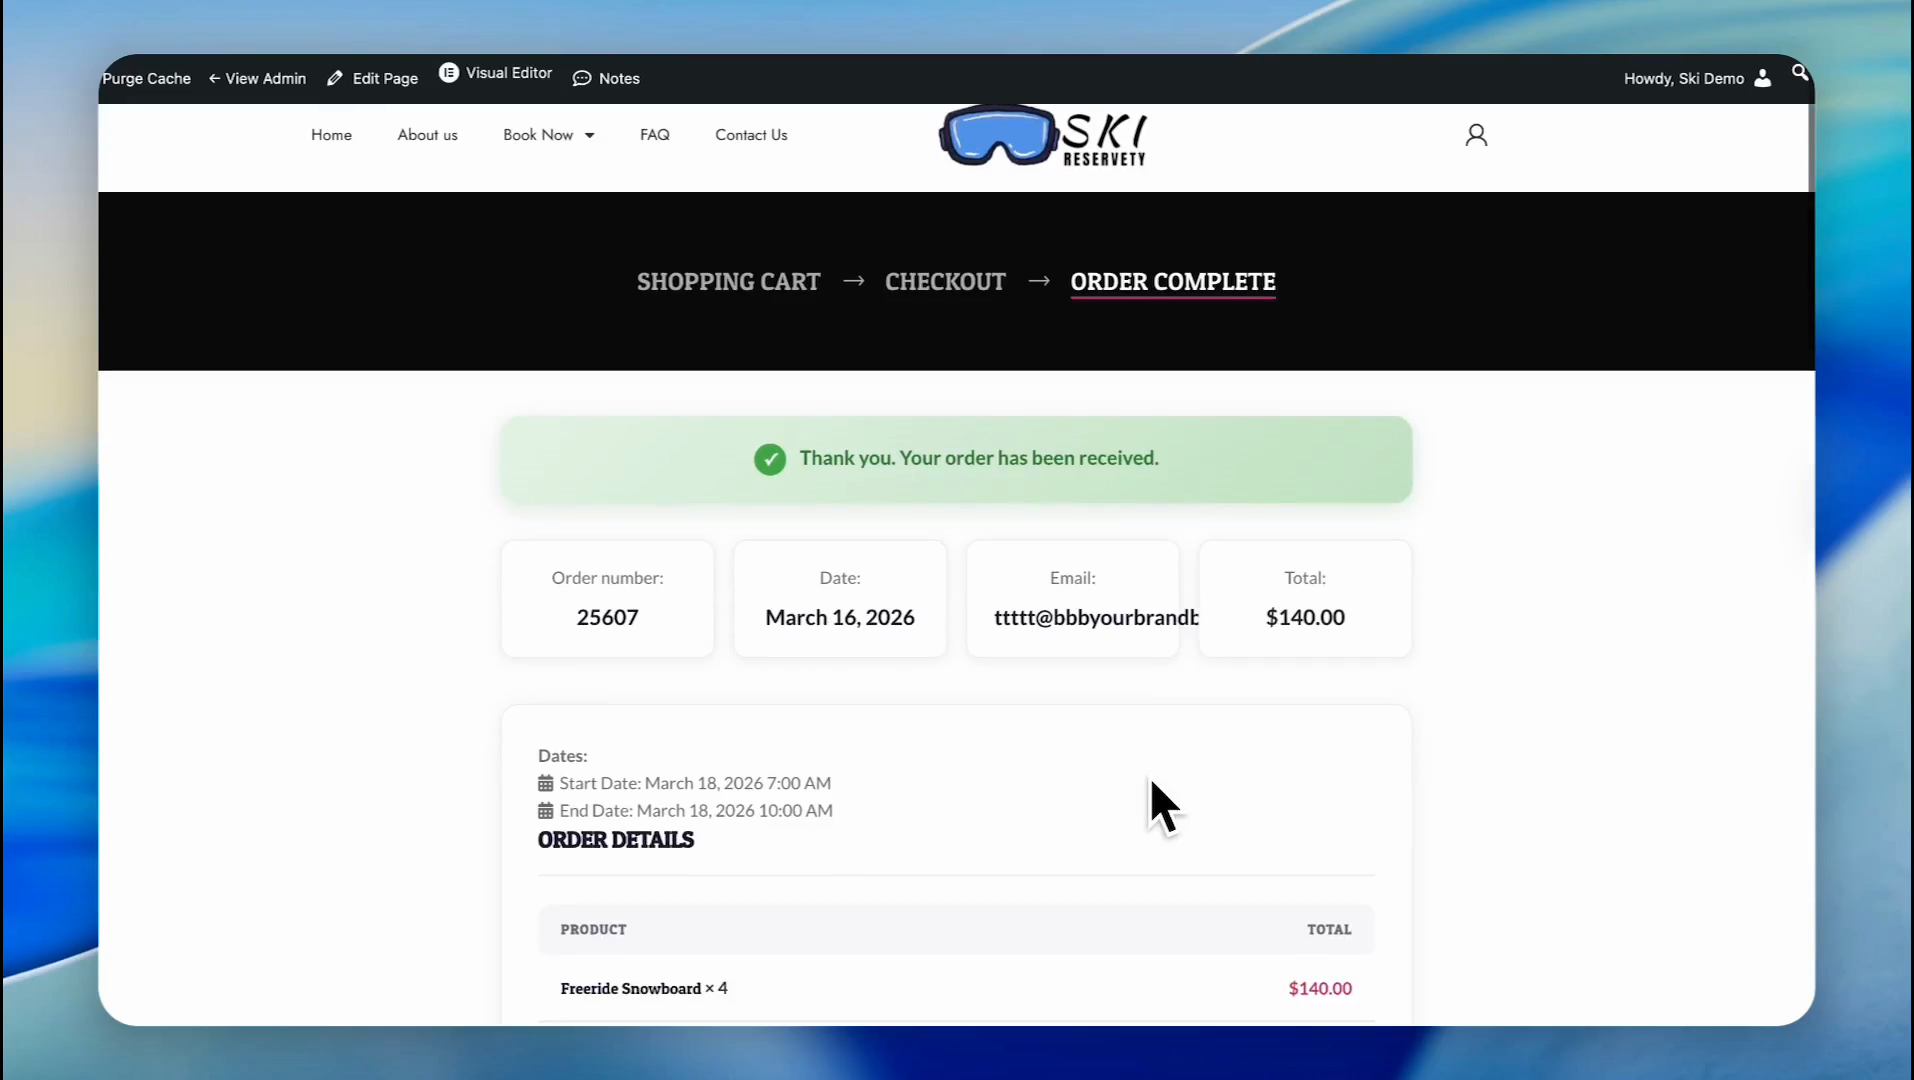
Our order has been received. Let's assign serial numbers to this order. To do that, go to the admin dashboard.
Step 32
33
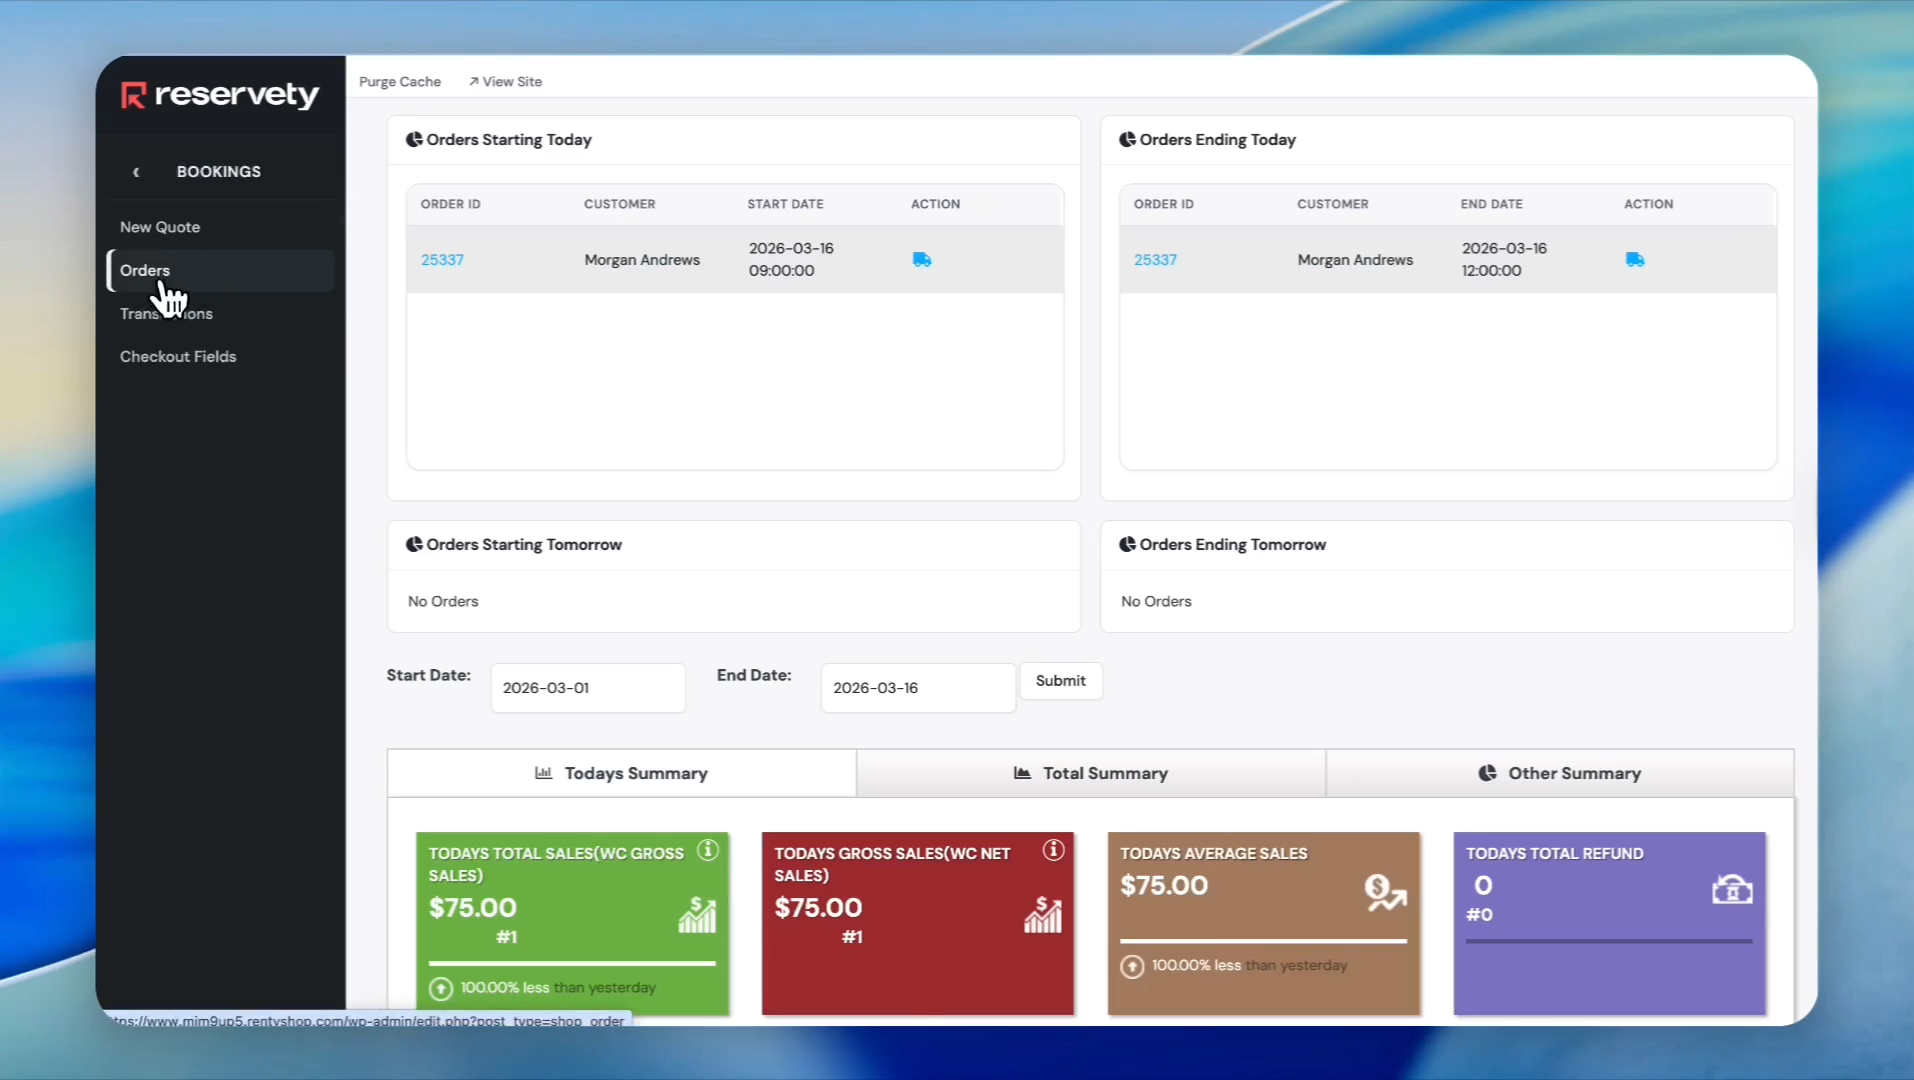
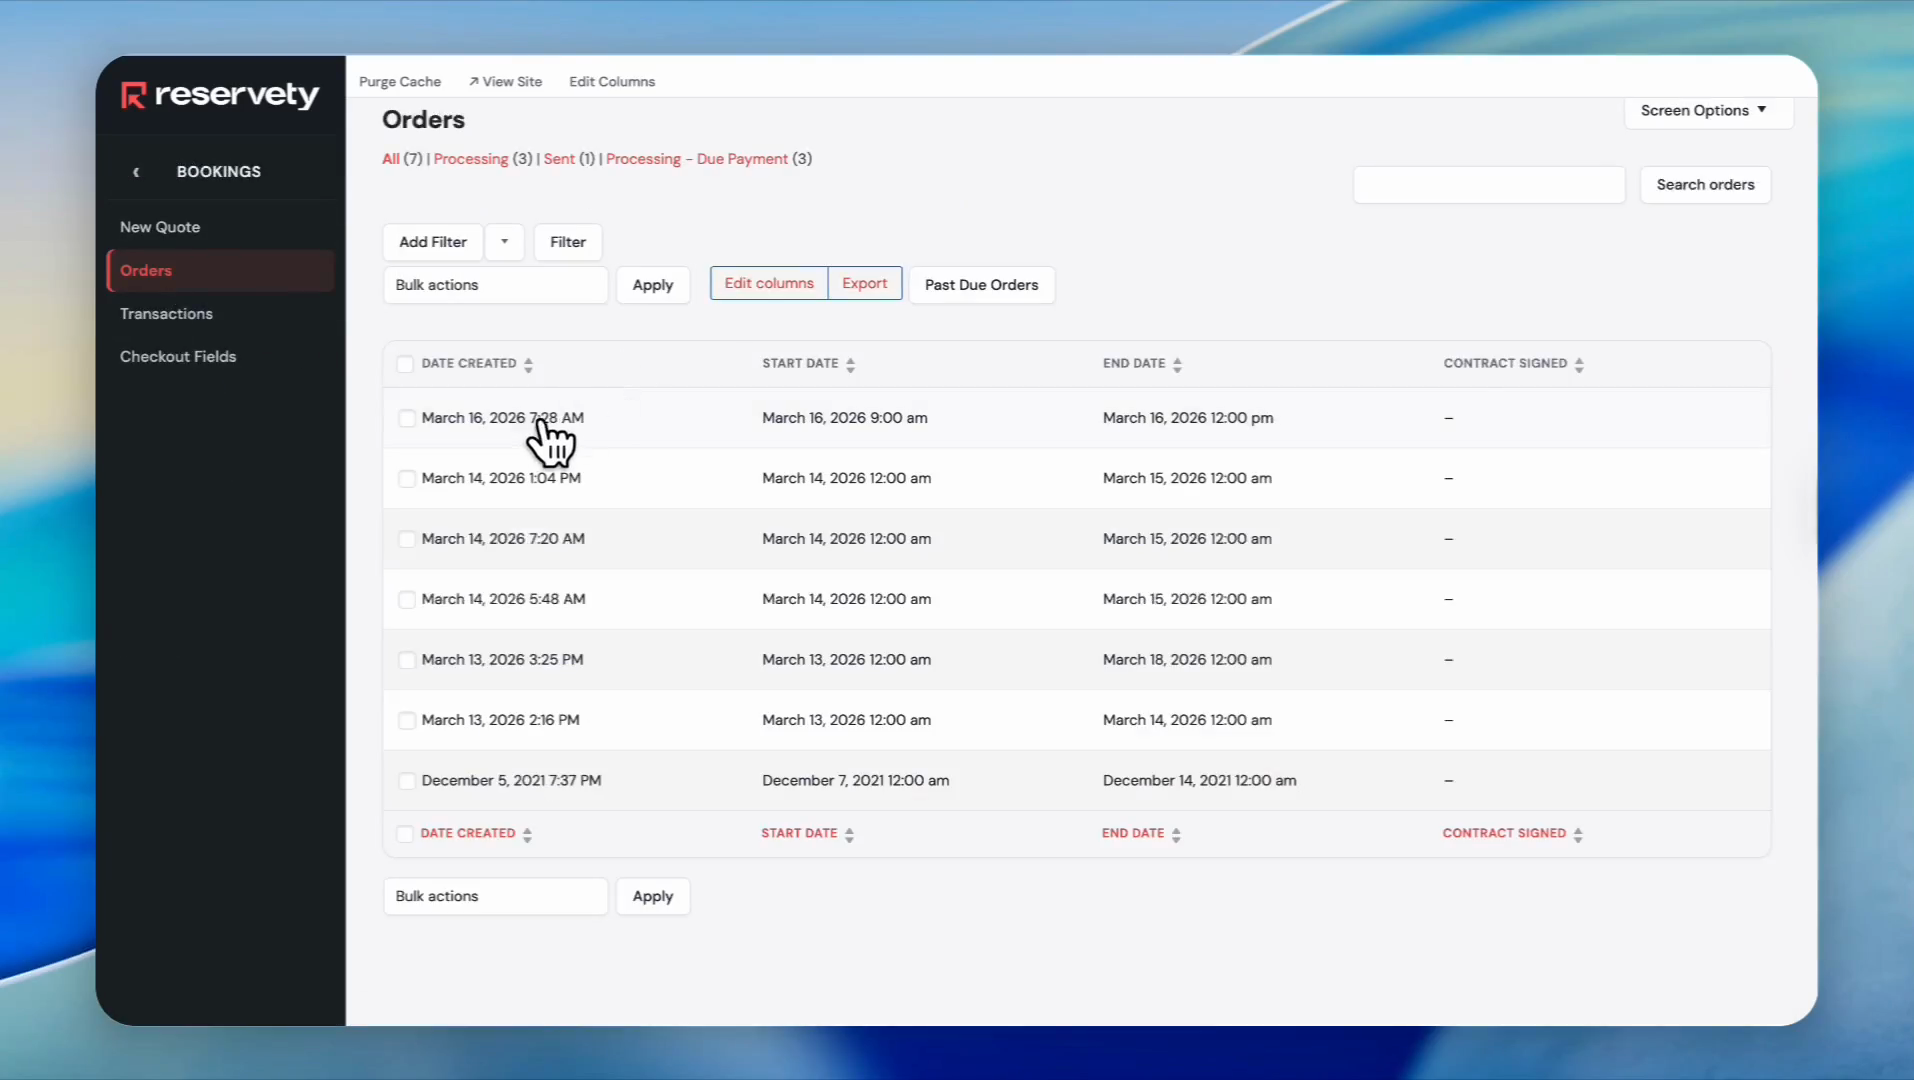
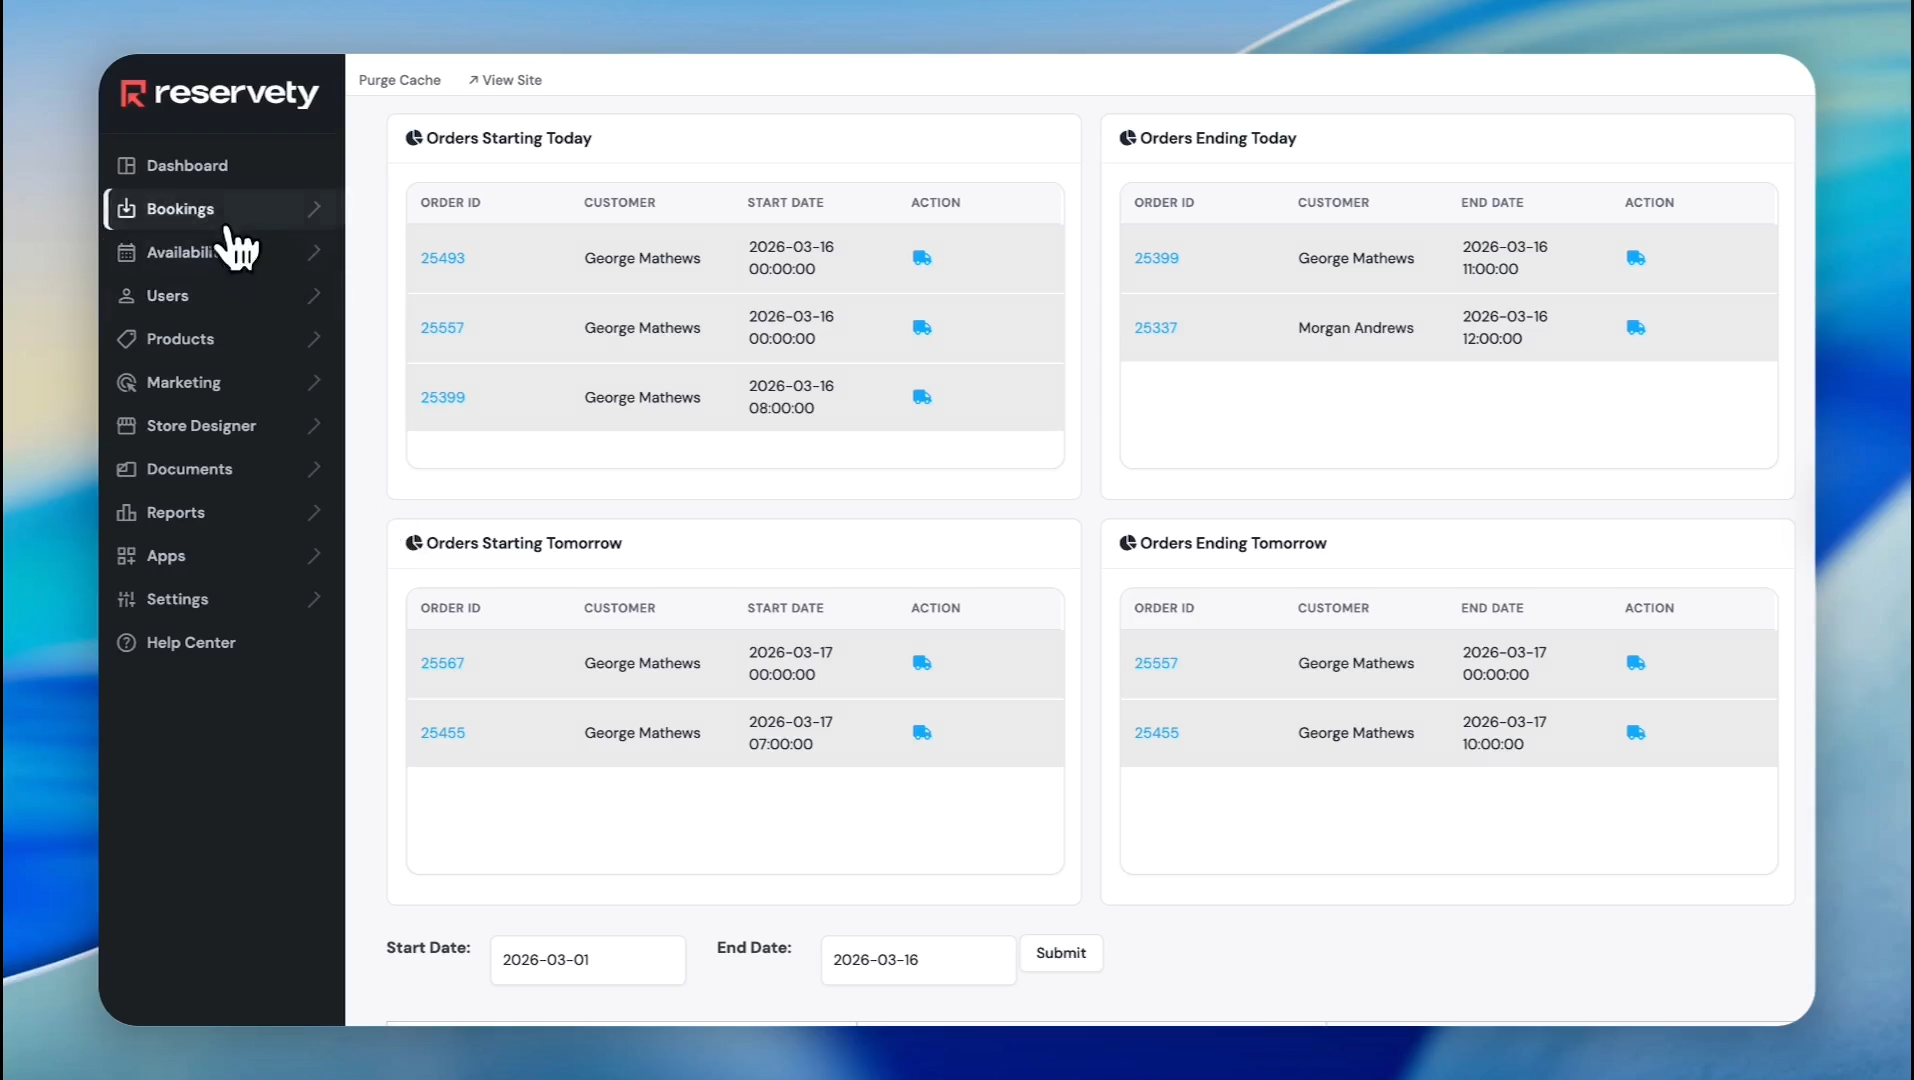
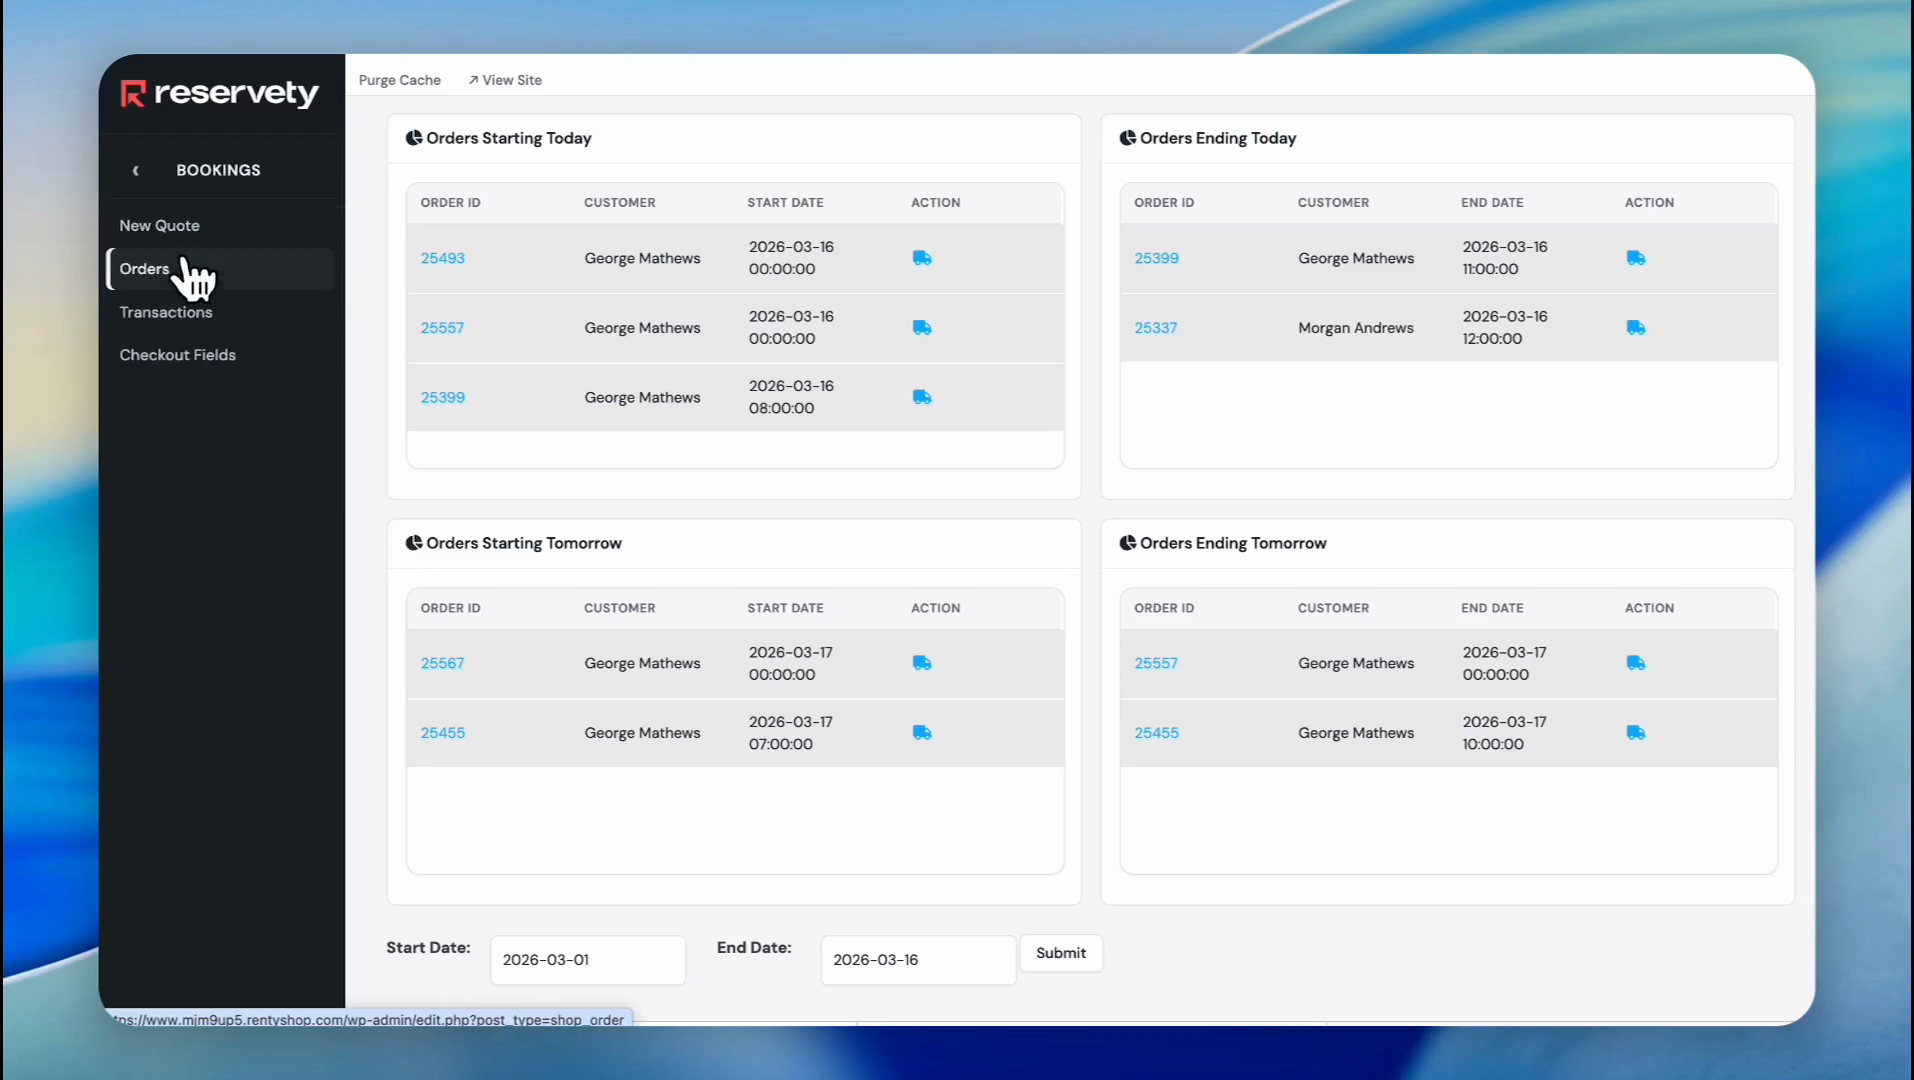
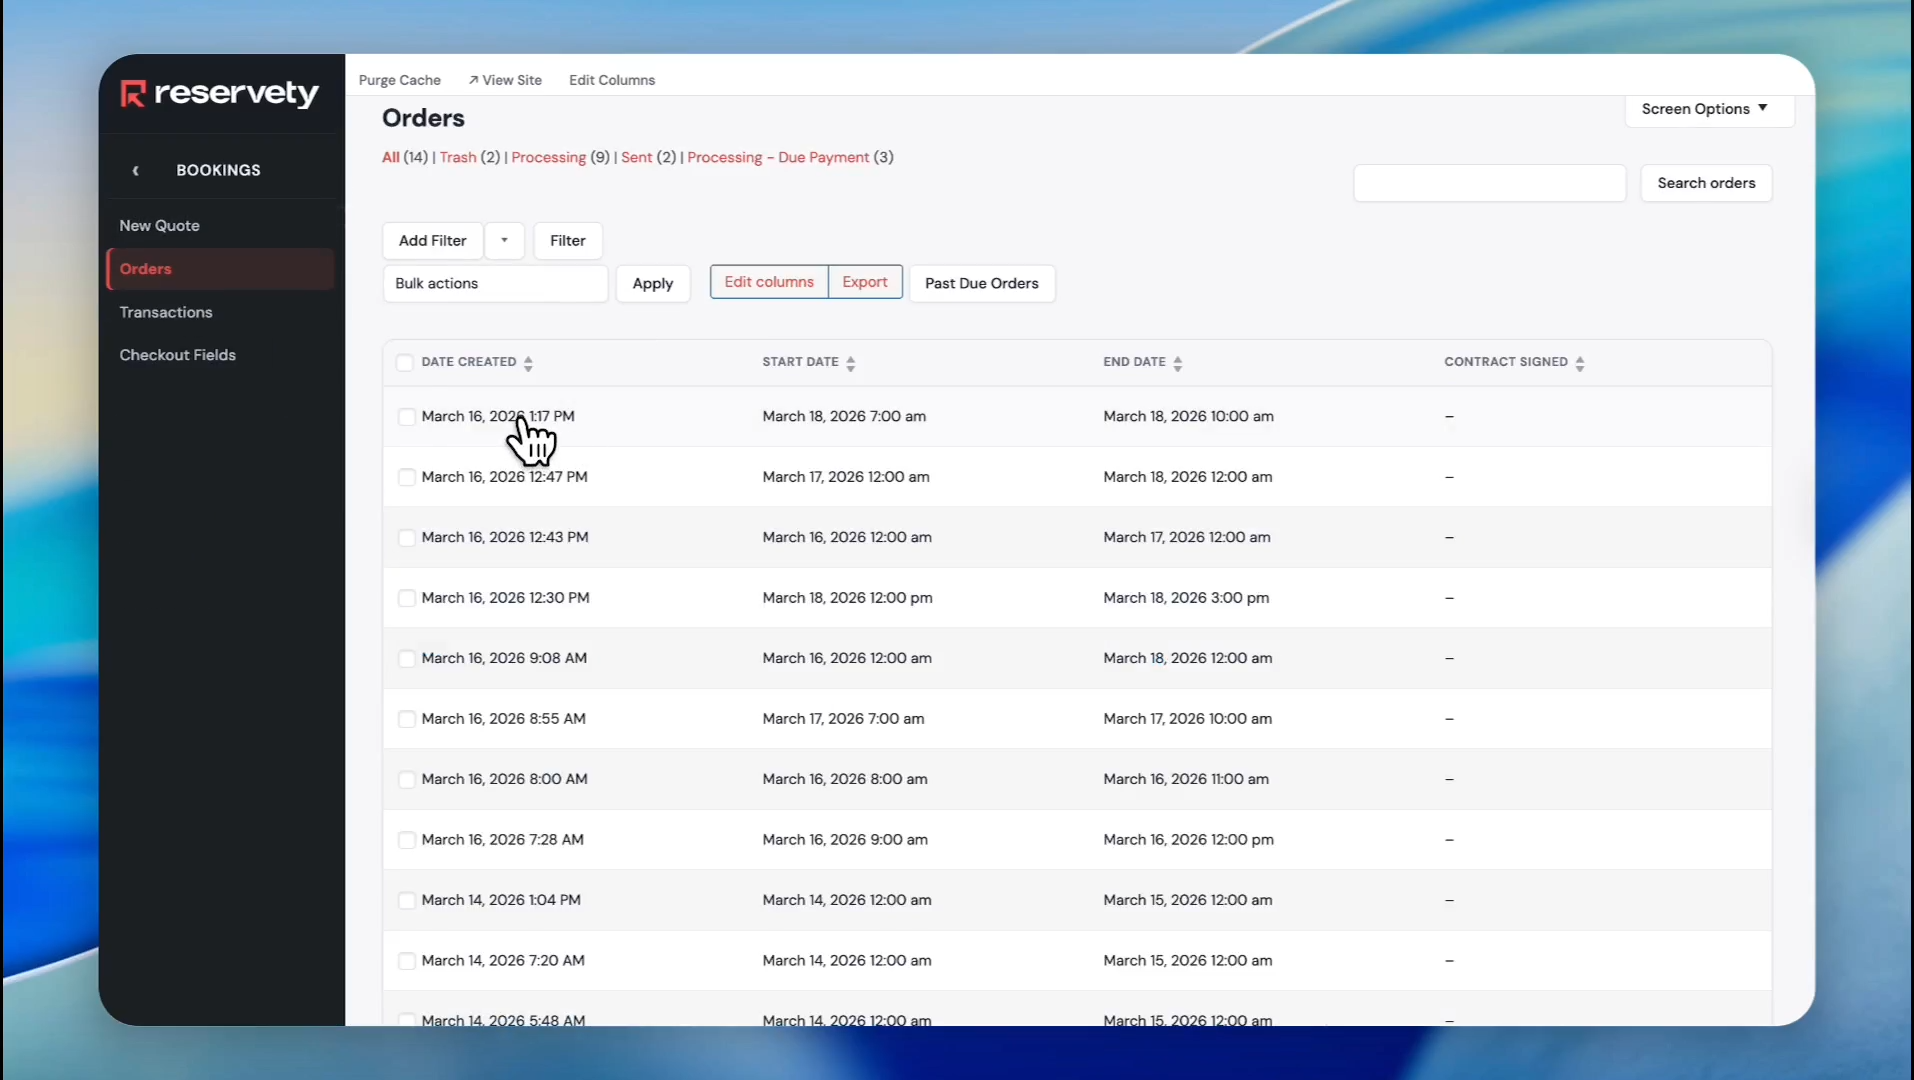
Click on Bookings, then click on Orders
Step 33
34
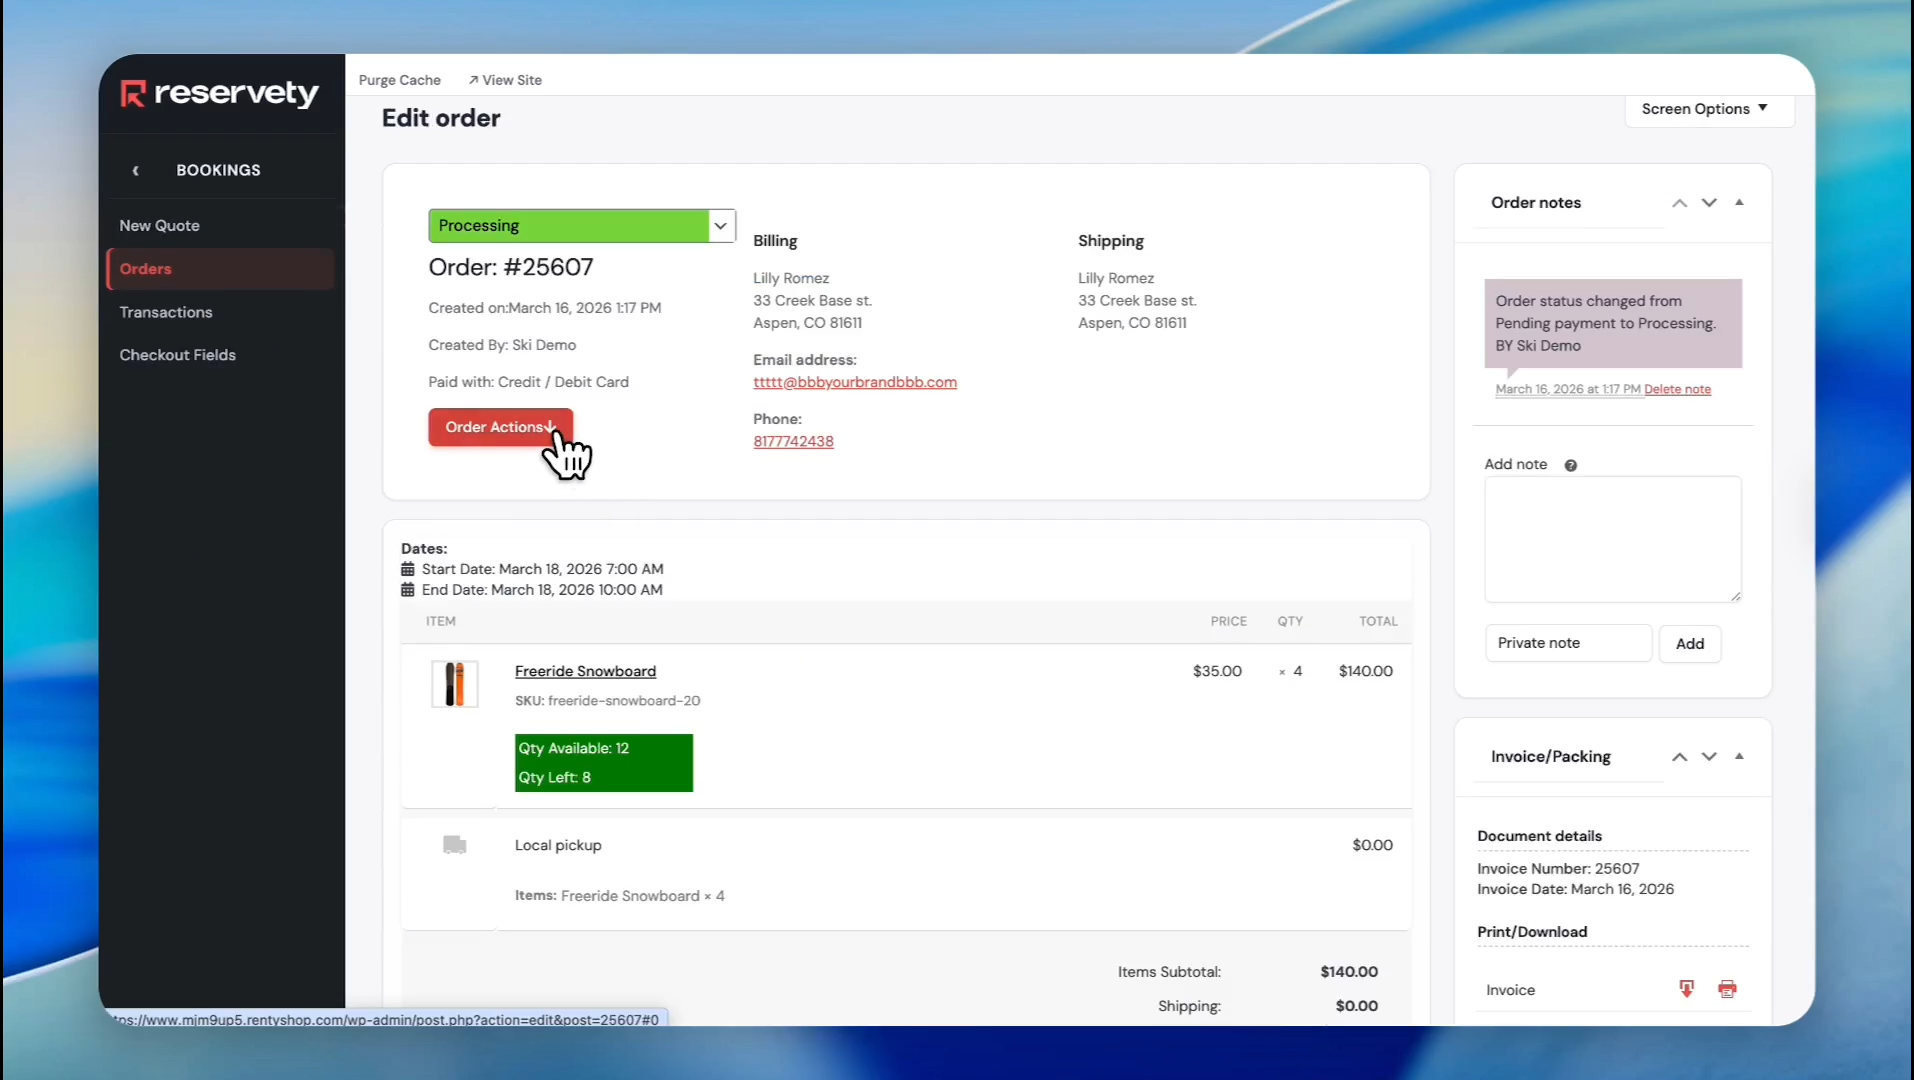
Click on the order you need to fulfill
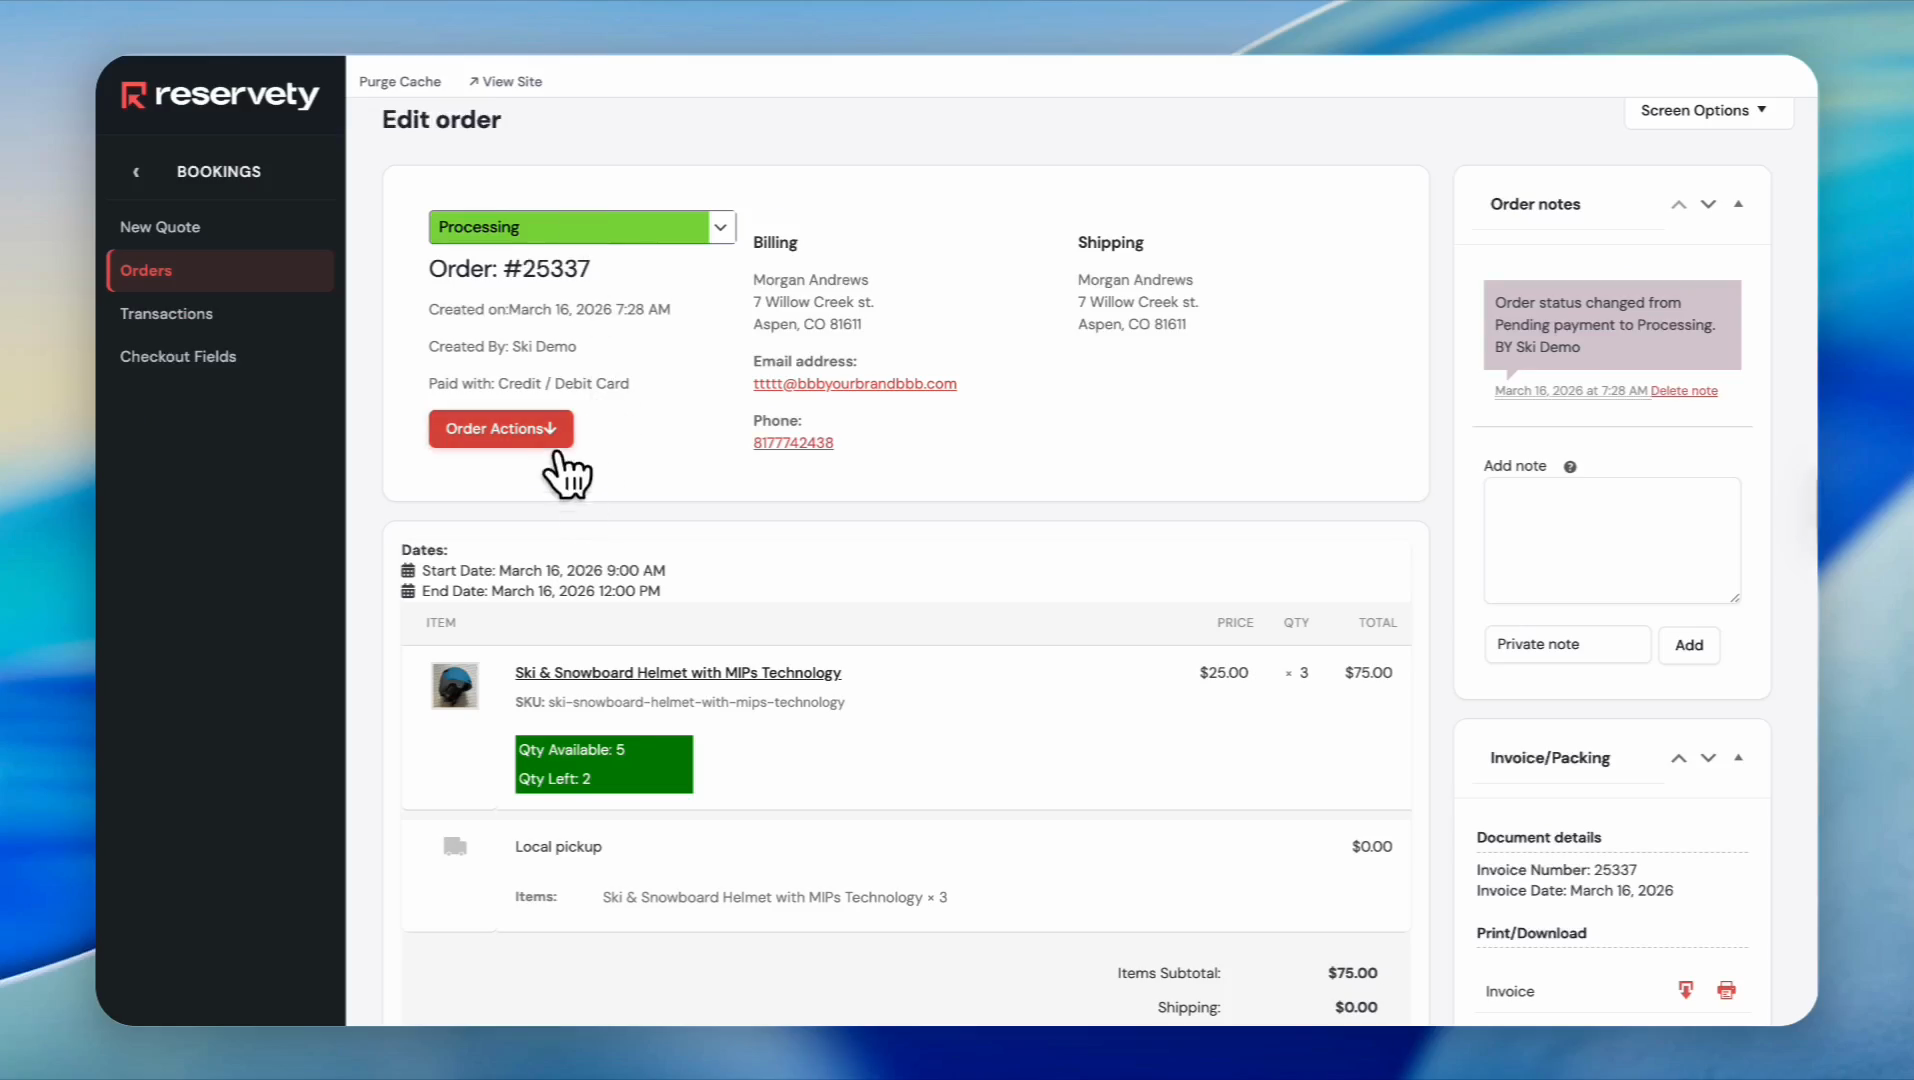
Step 34
35
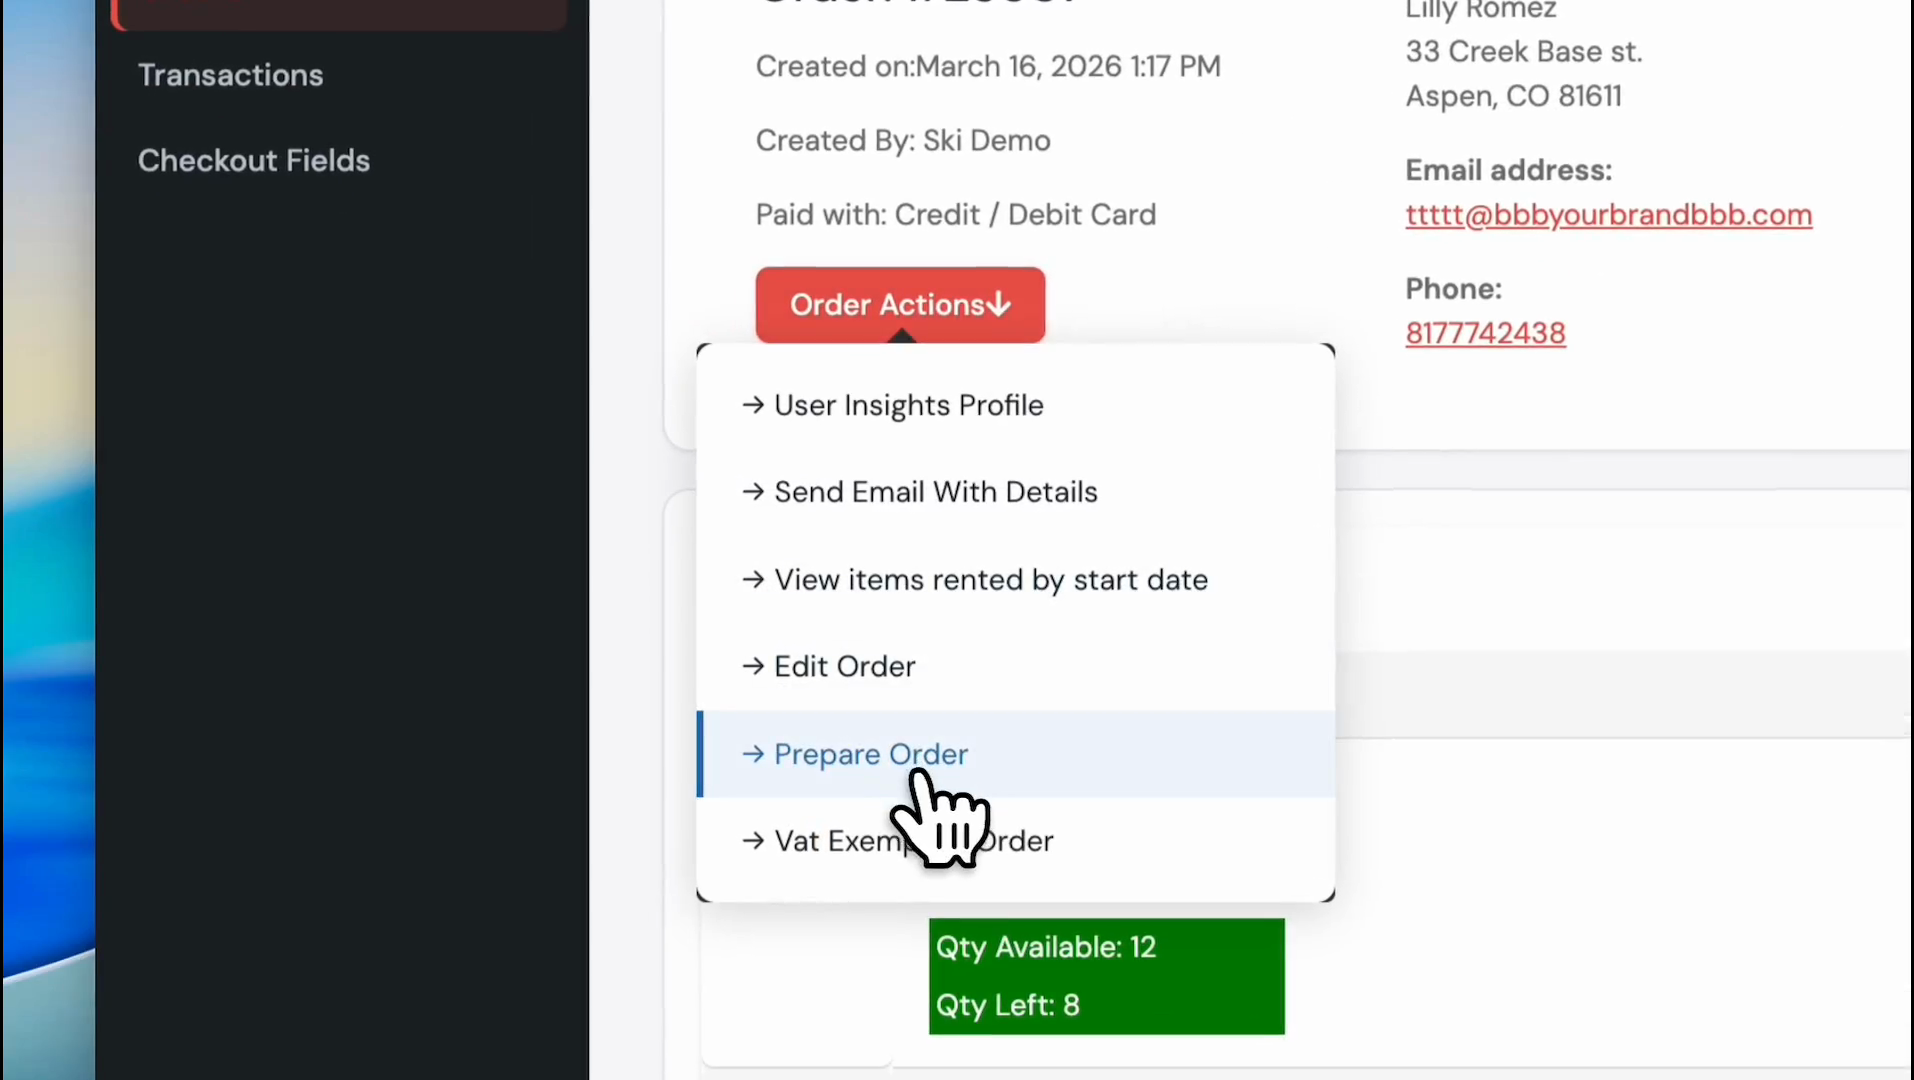
Click the Order Actions button.
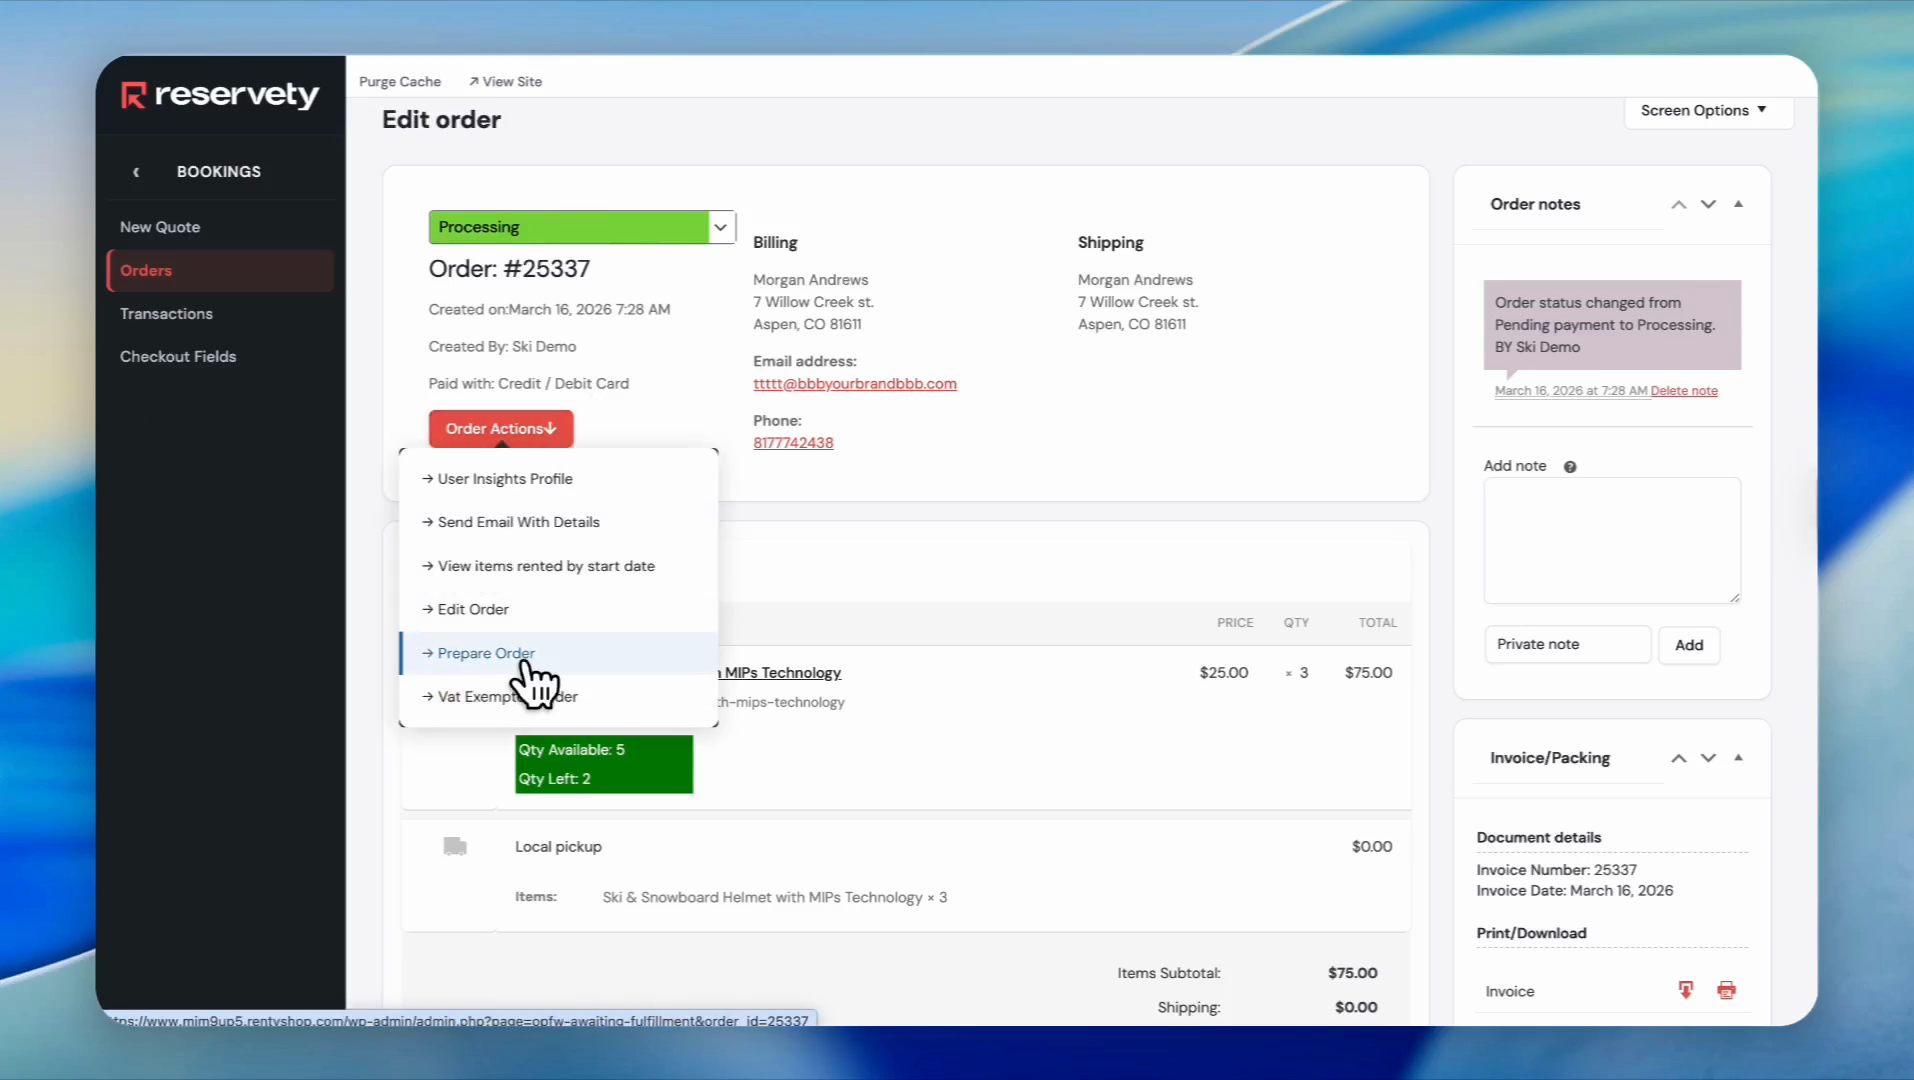
Step 35
36
Click Prepare Order from the dropdown menu.
Step 36
37
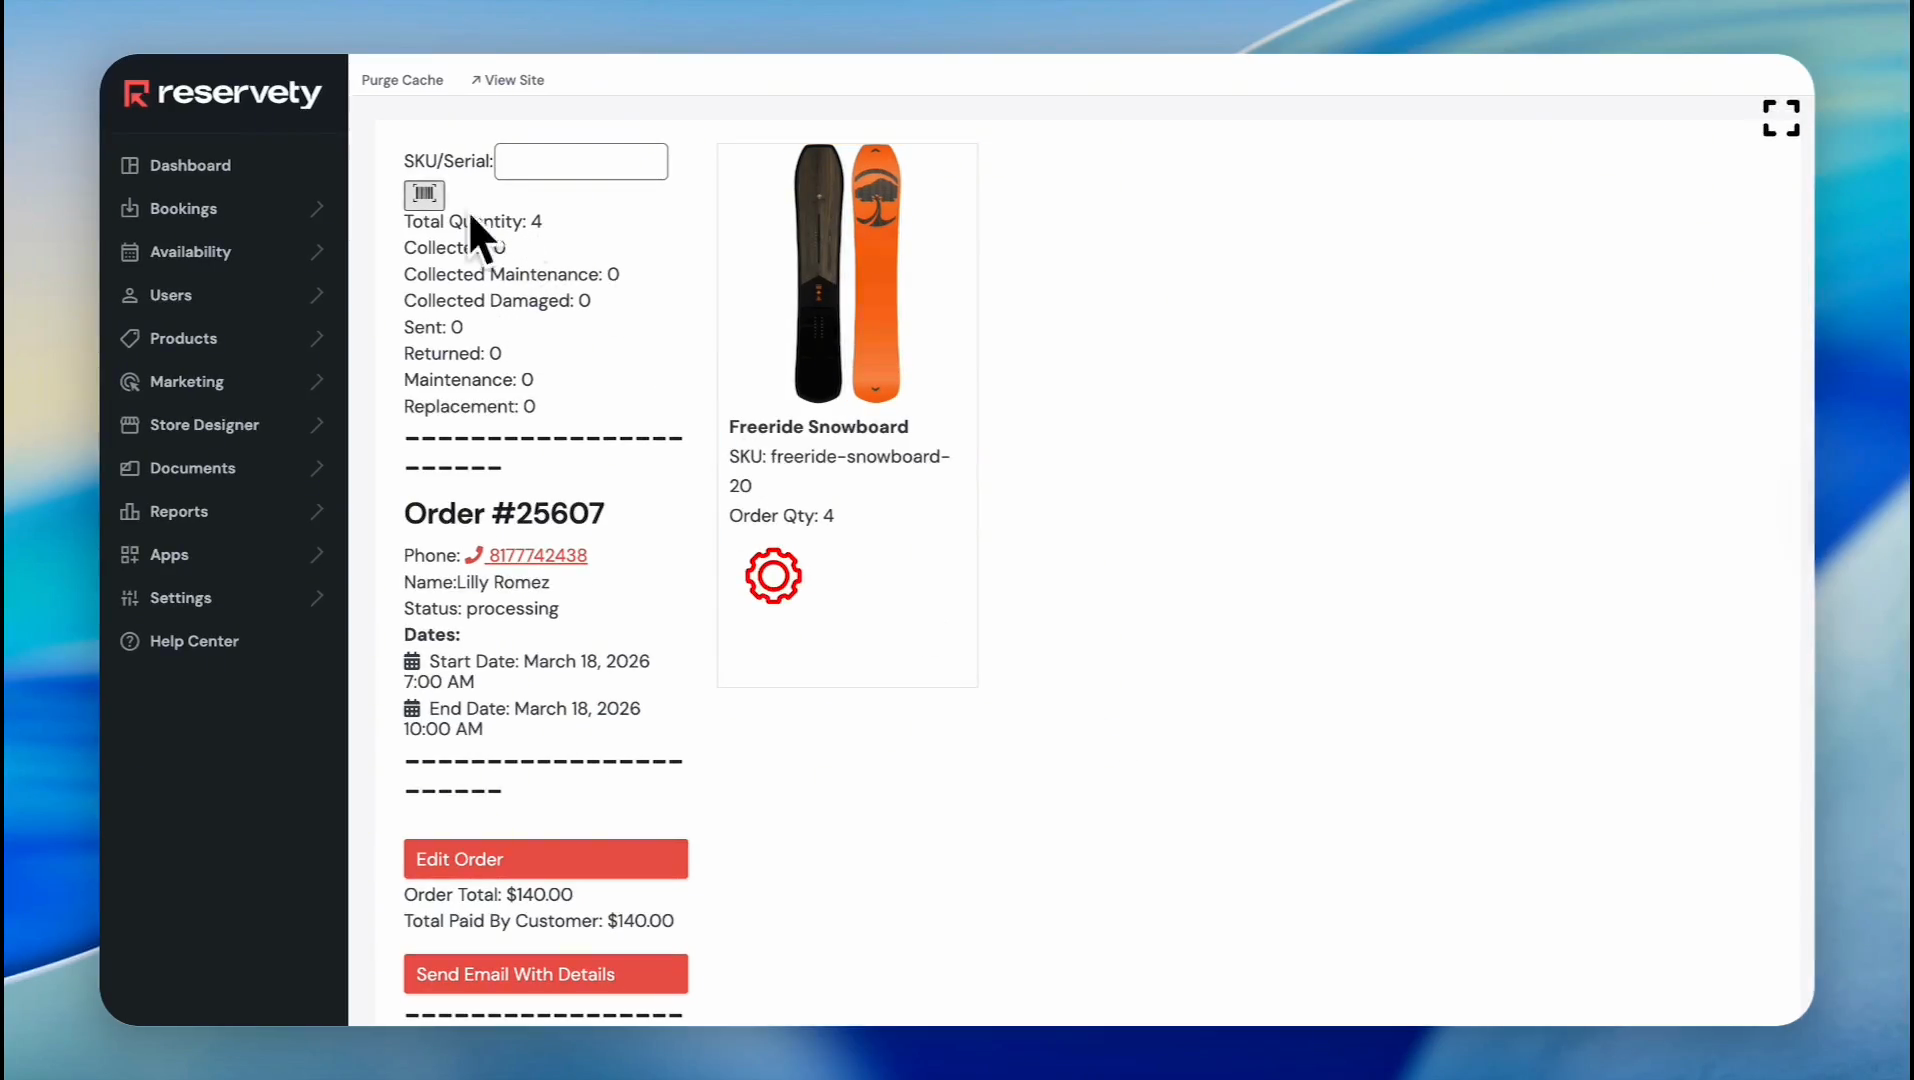
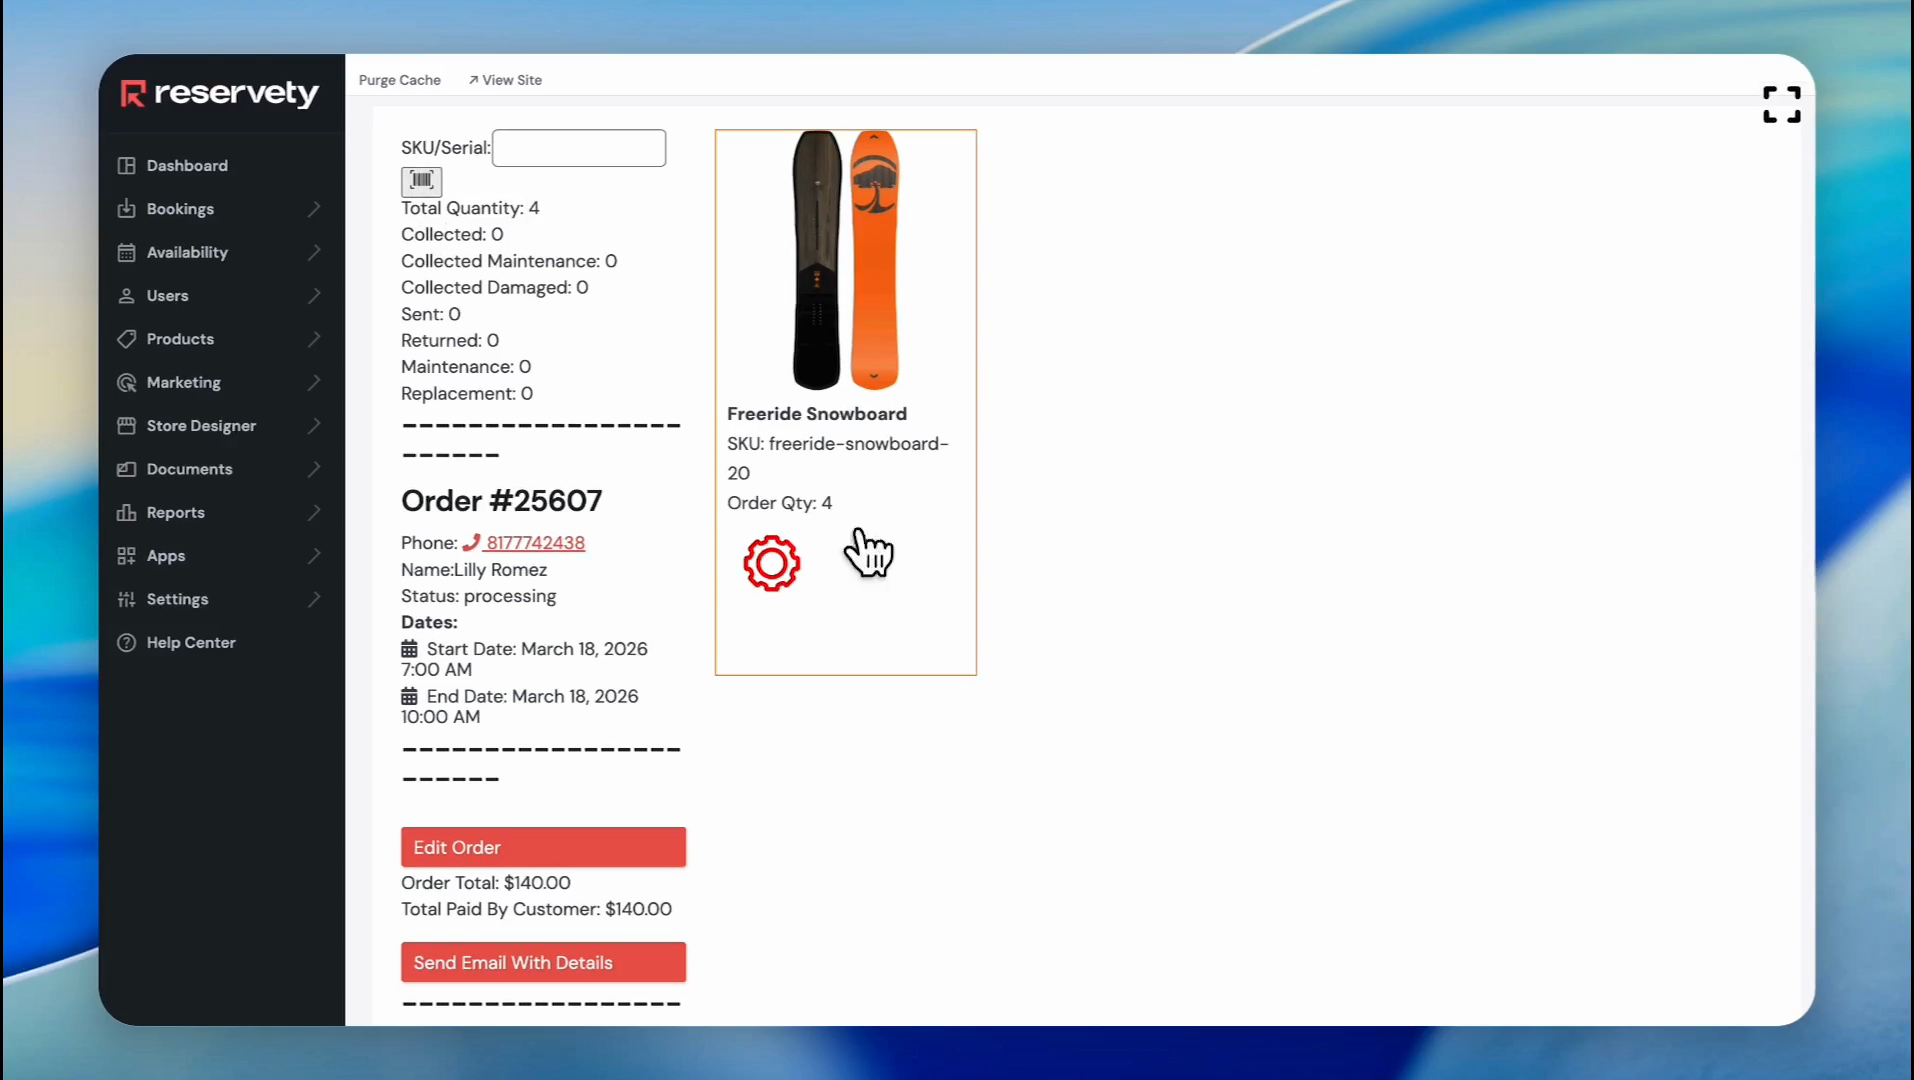
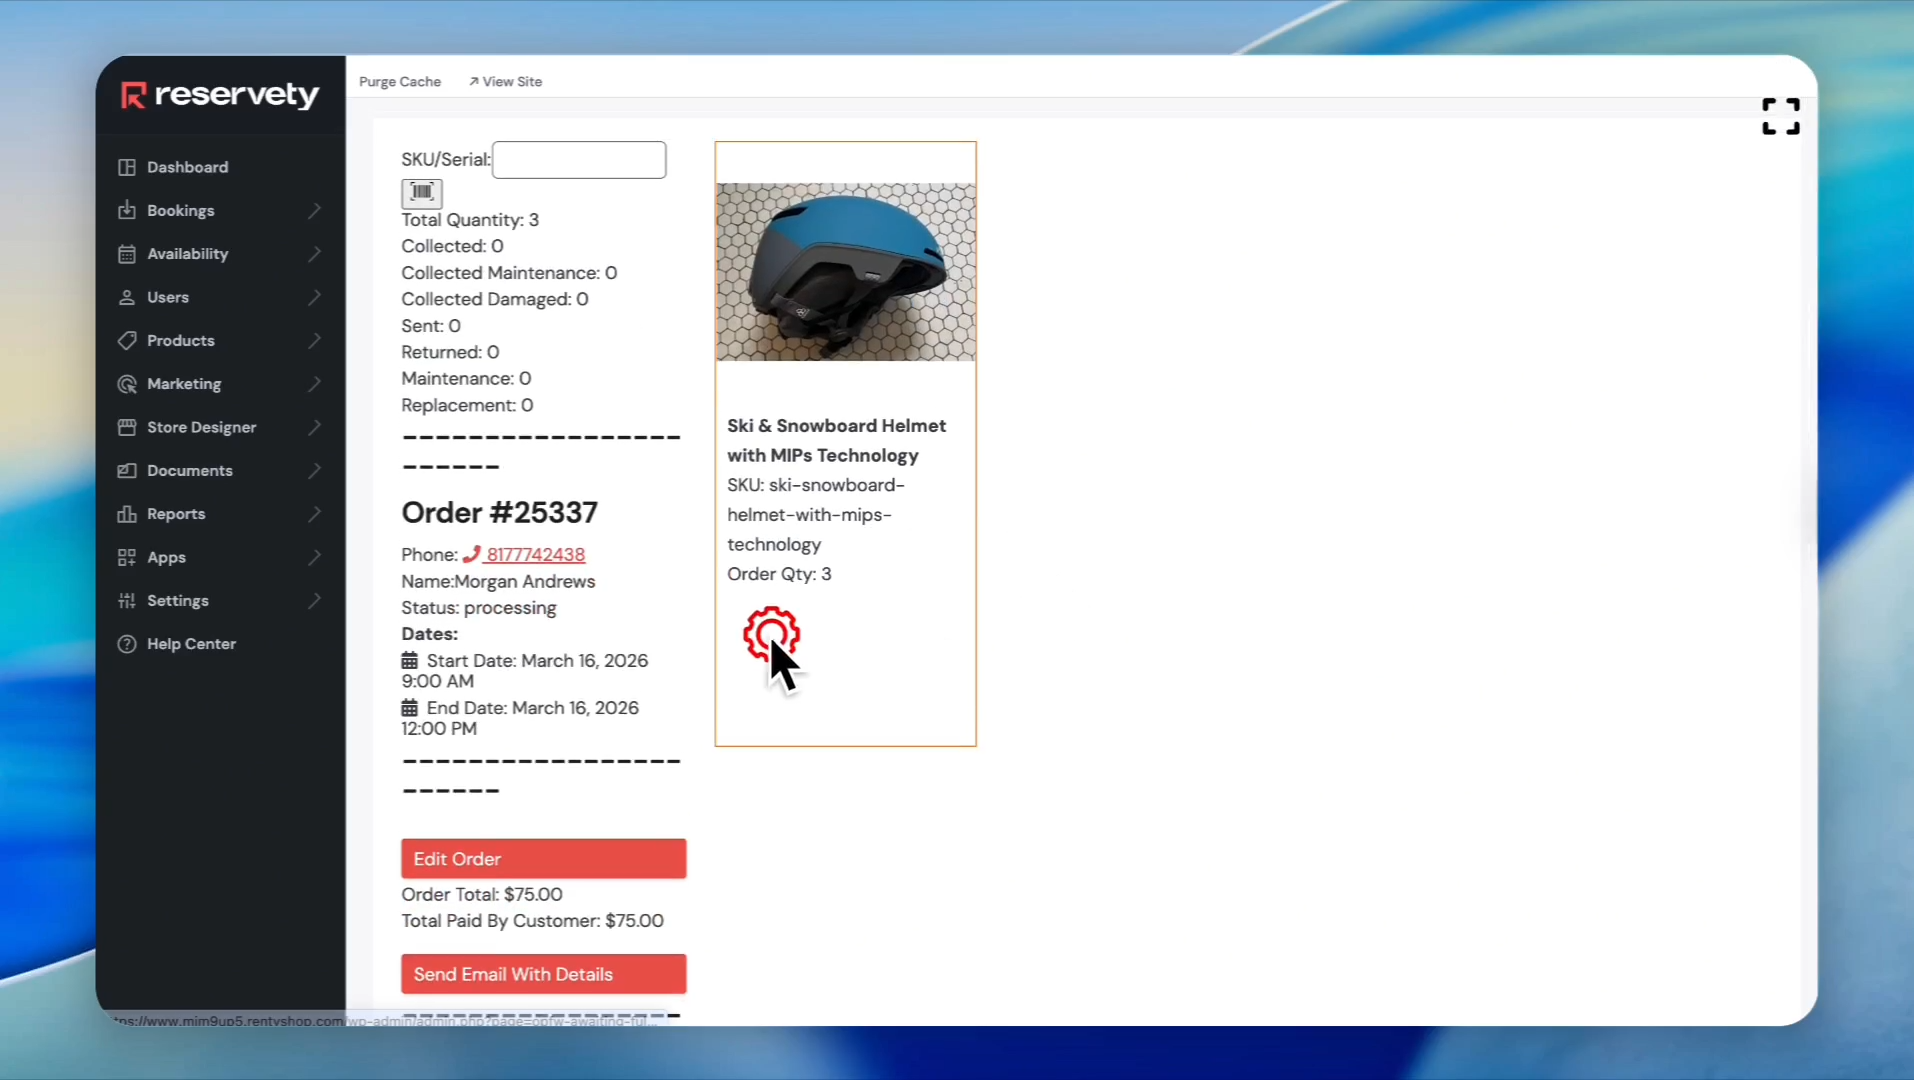
Now, let's select serial numbers to fulfill the order. Click the settings icon to assign serial numbers.
Step 37
38
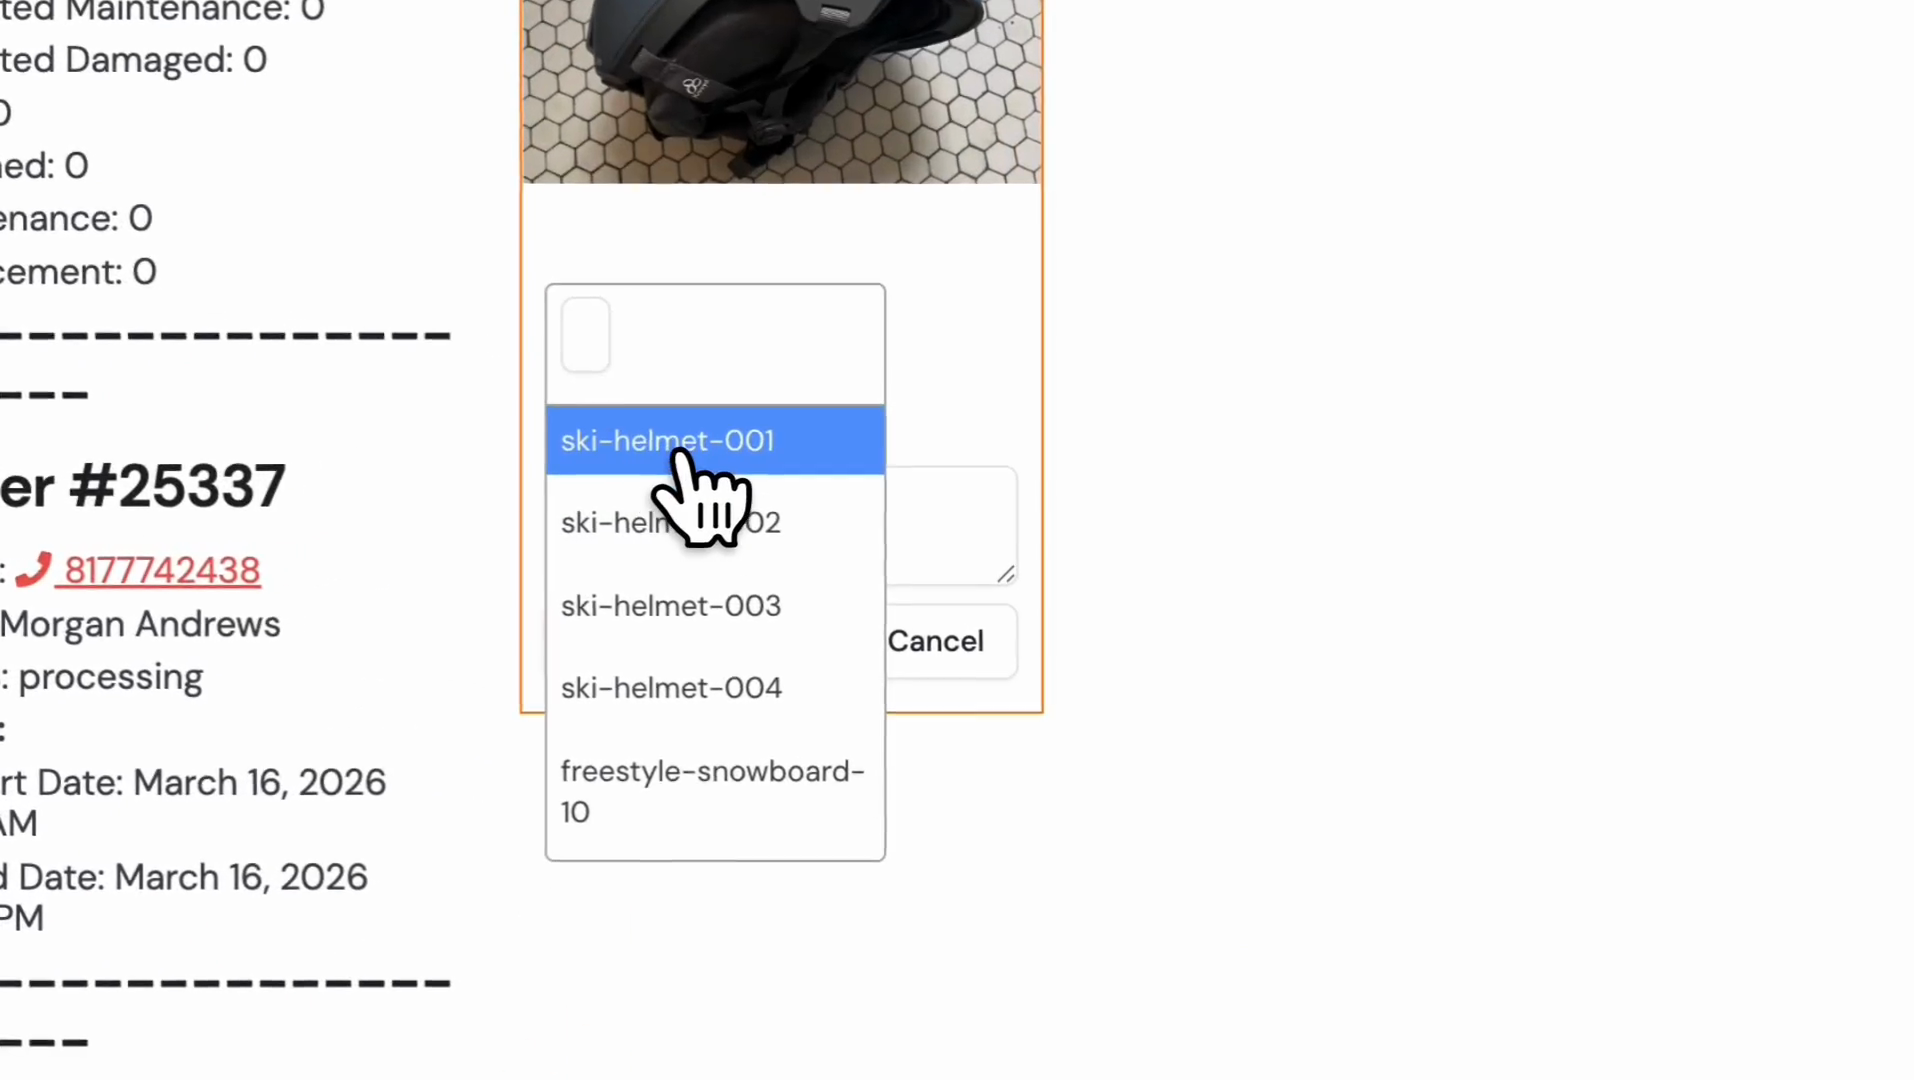
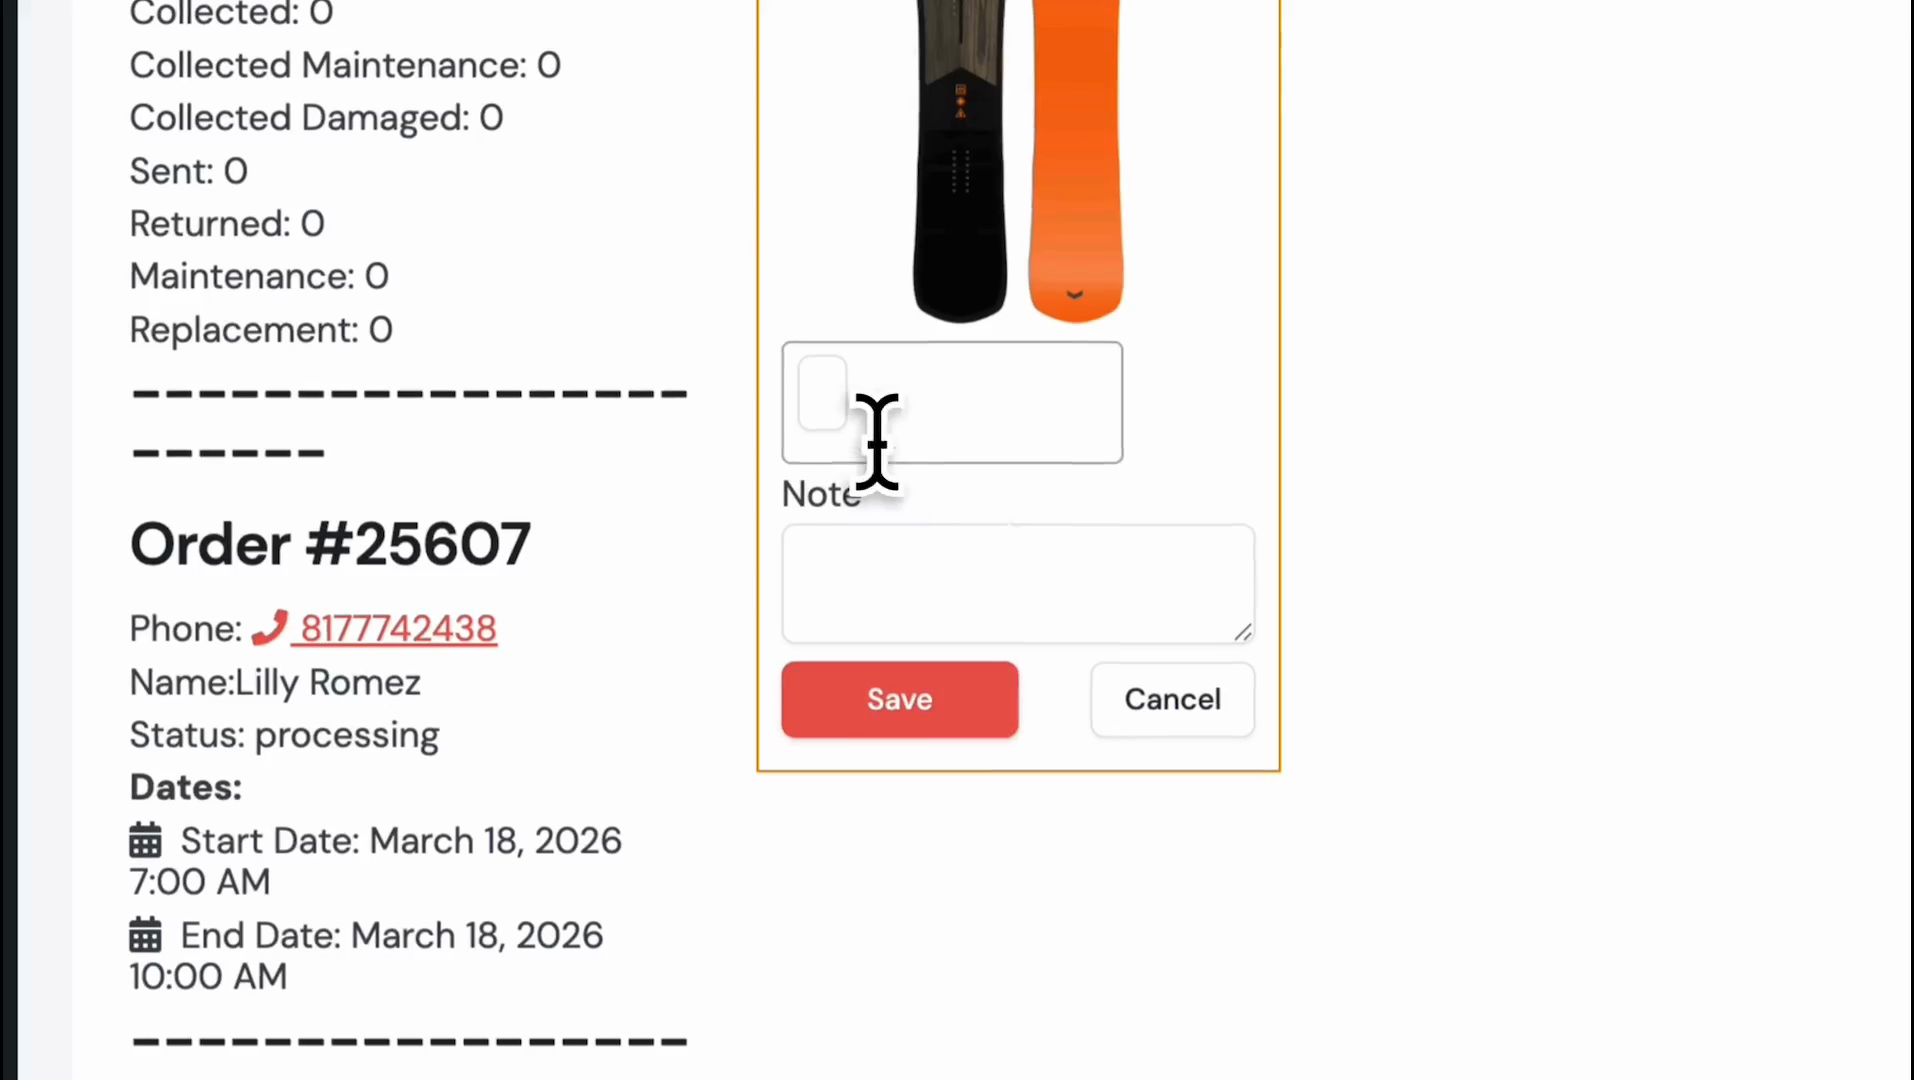
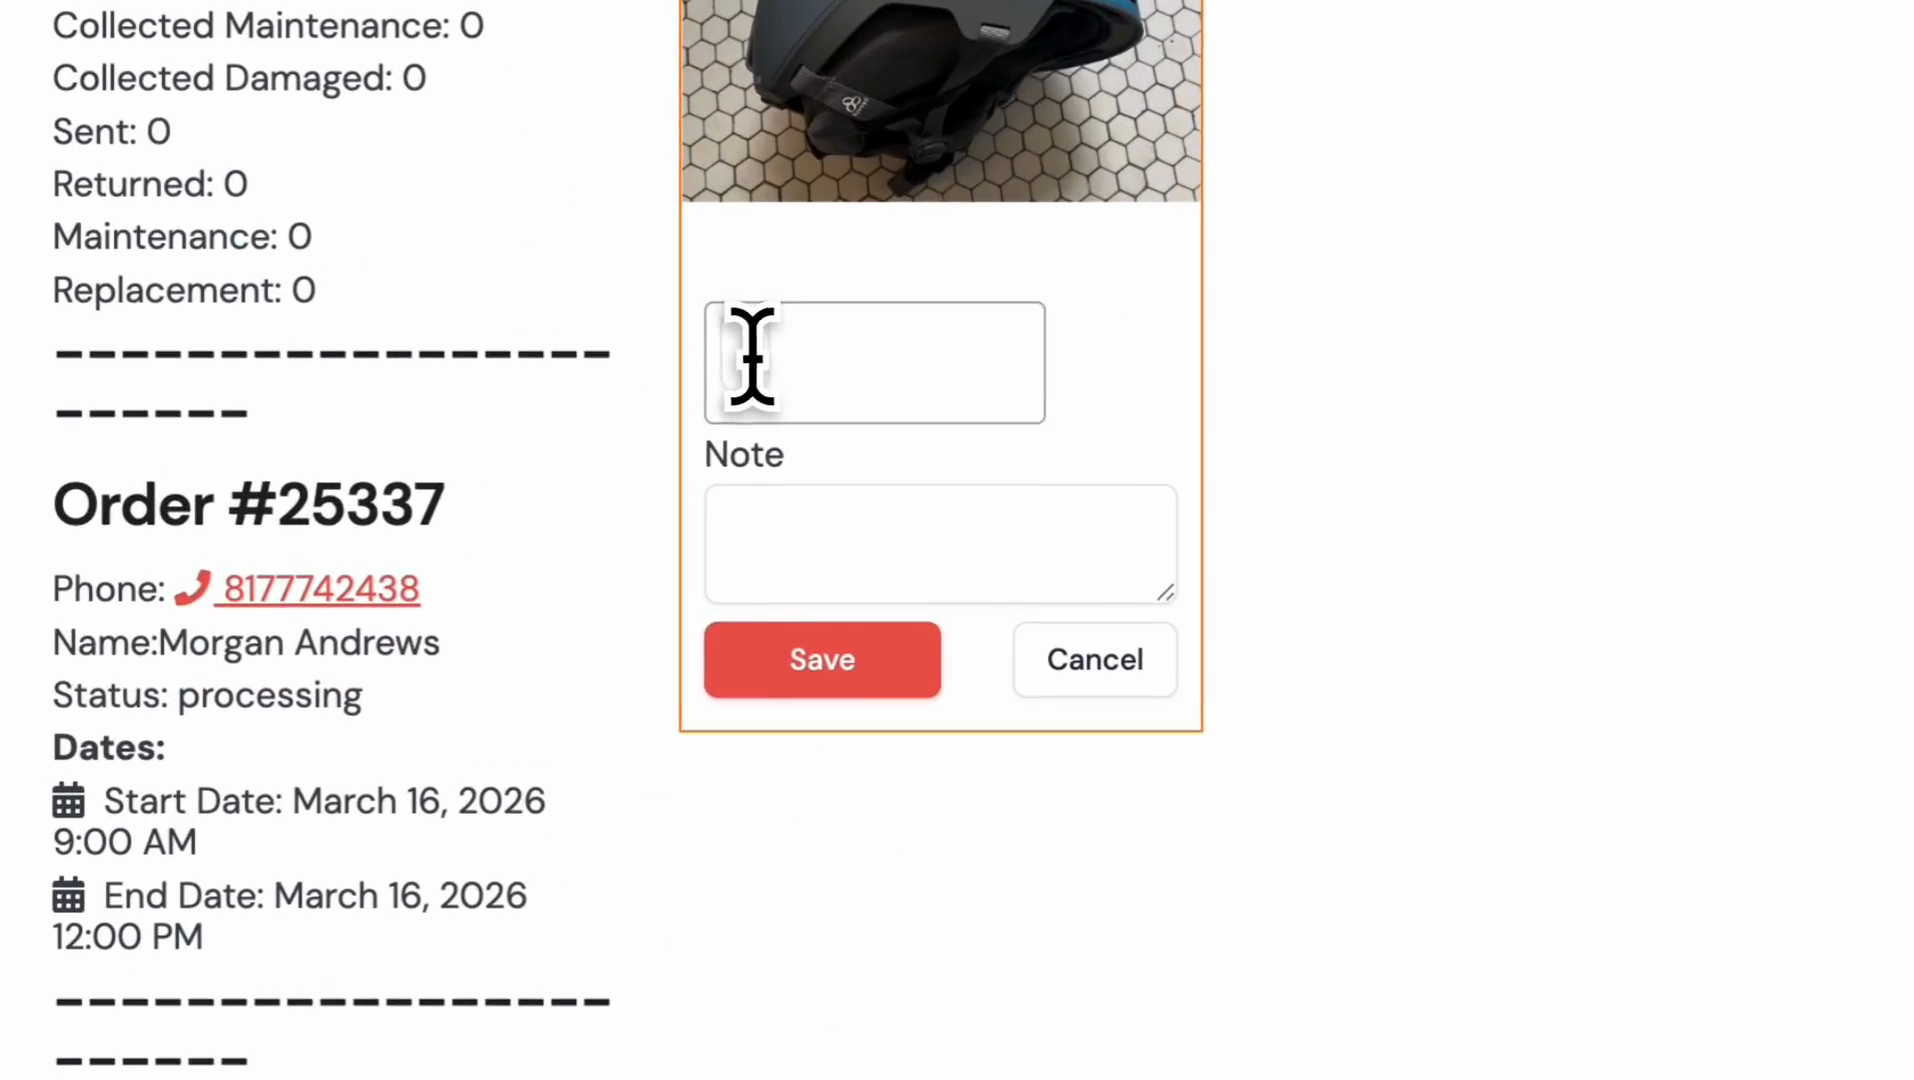
Click the input field to select a serial number.
Step 38
39
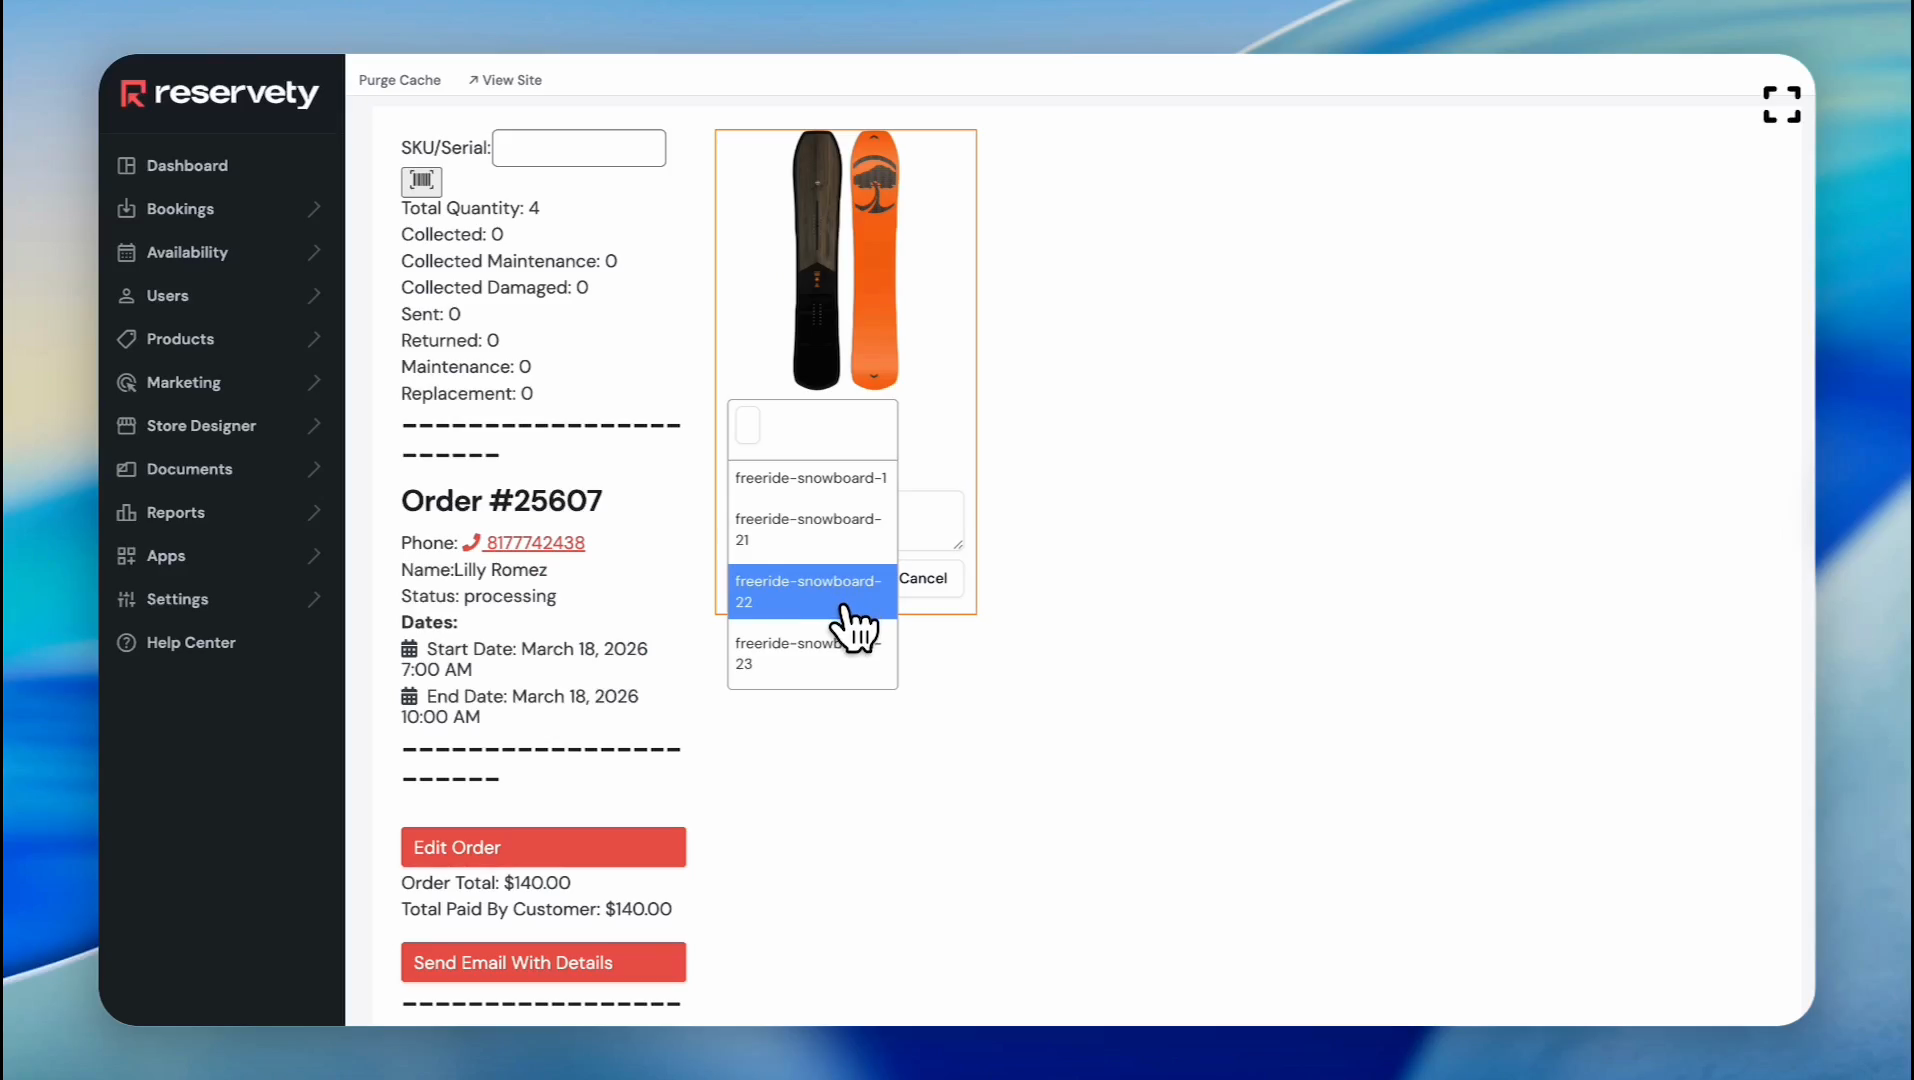
We want to select ski helmets with numbers 1, 3, and 4.
Step 39
40
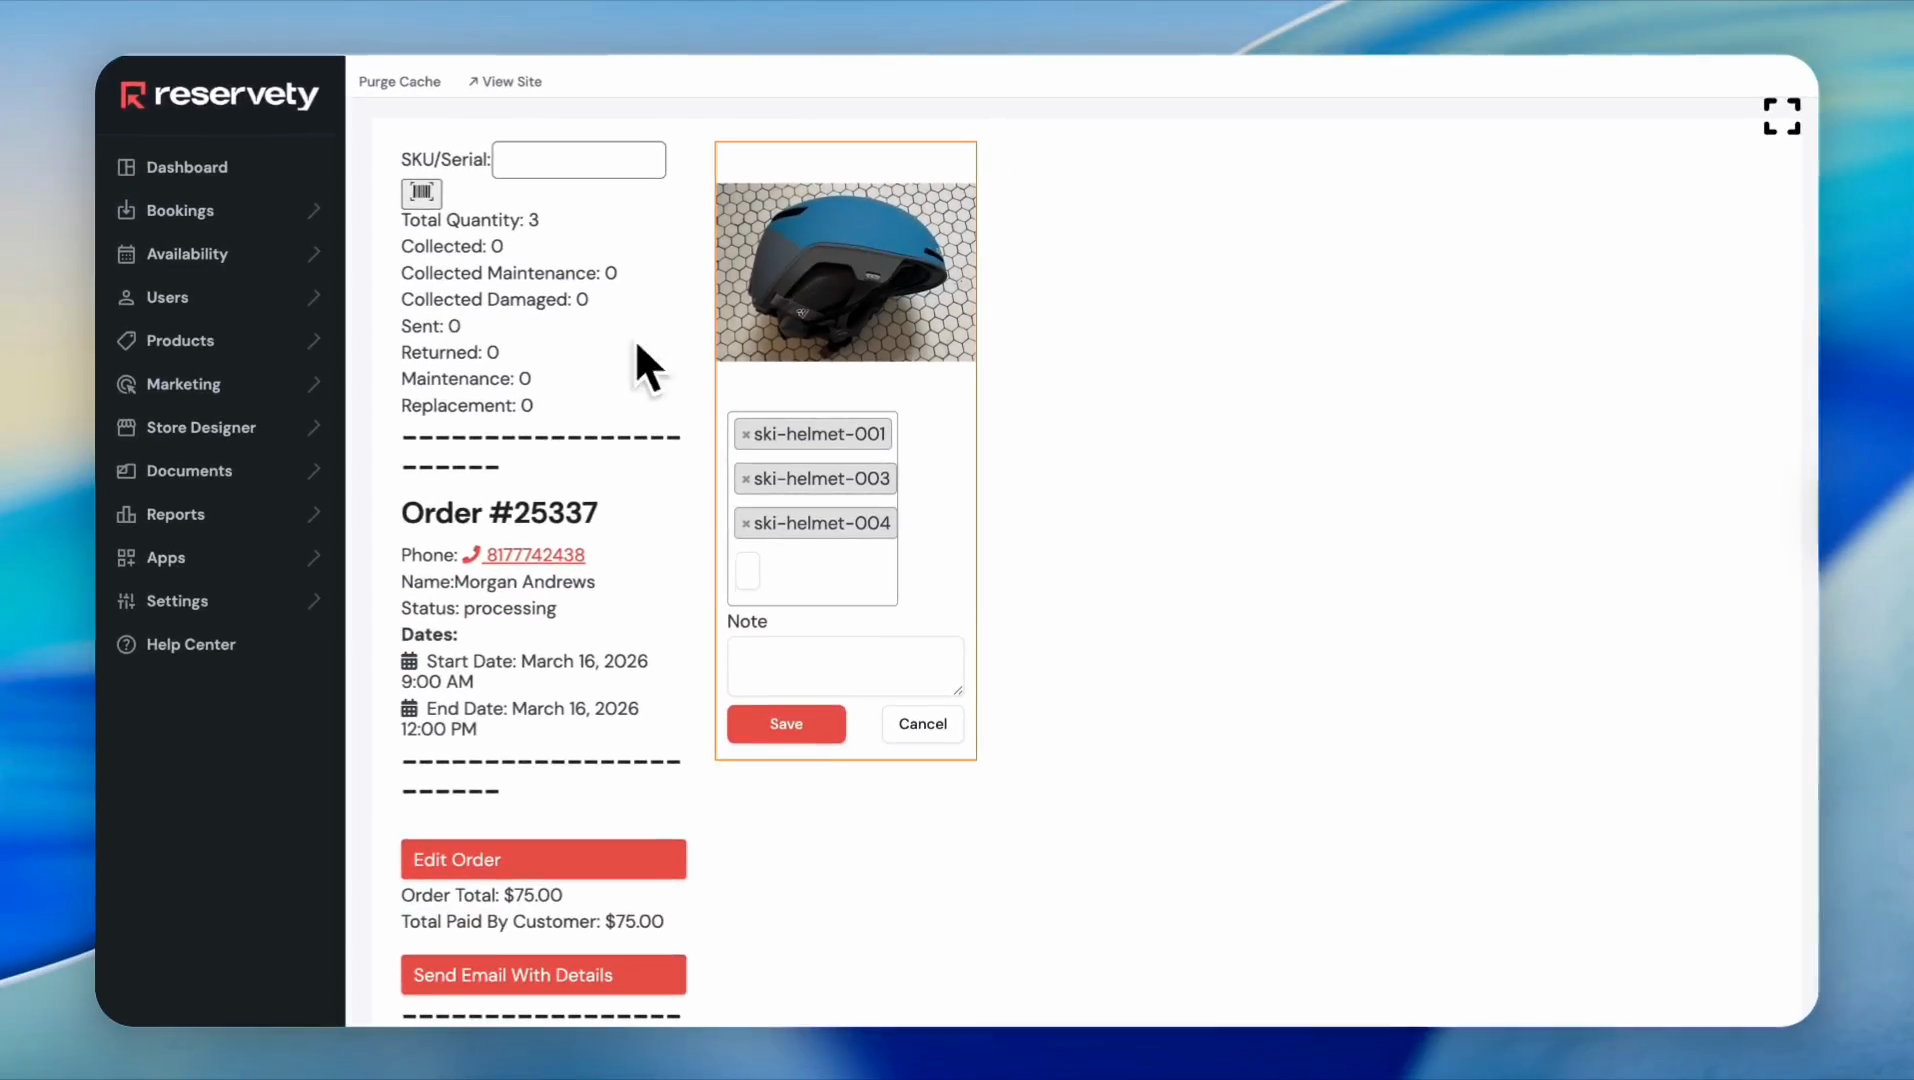
After selecting three serials for this order, click the Save button.
Step 40
41
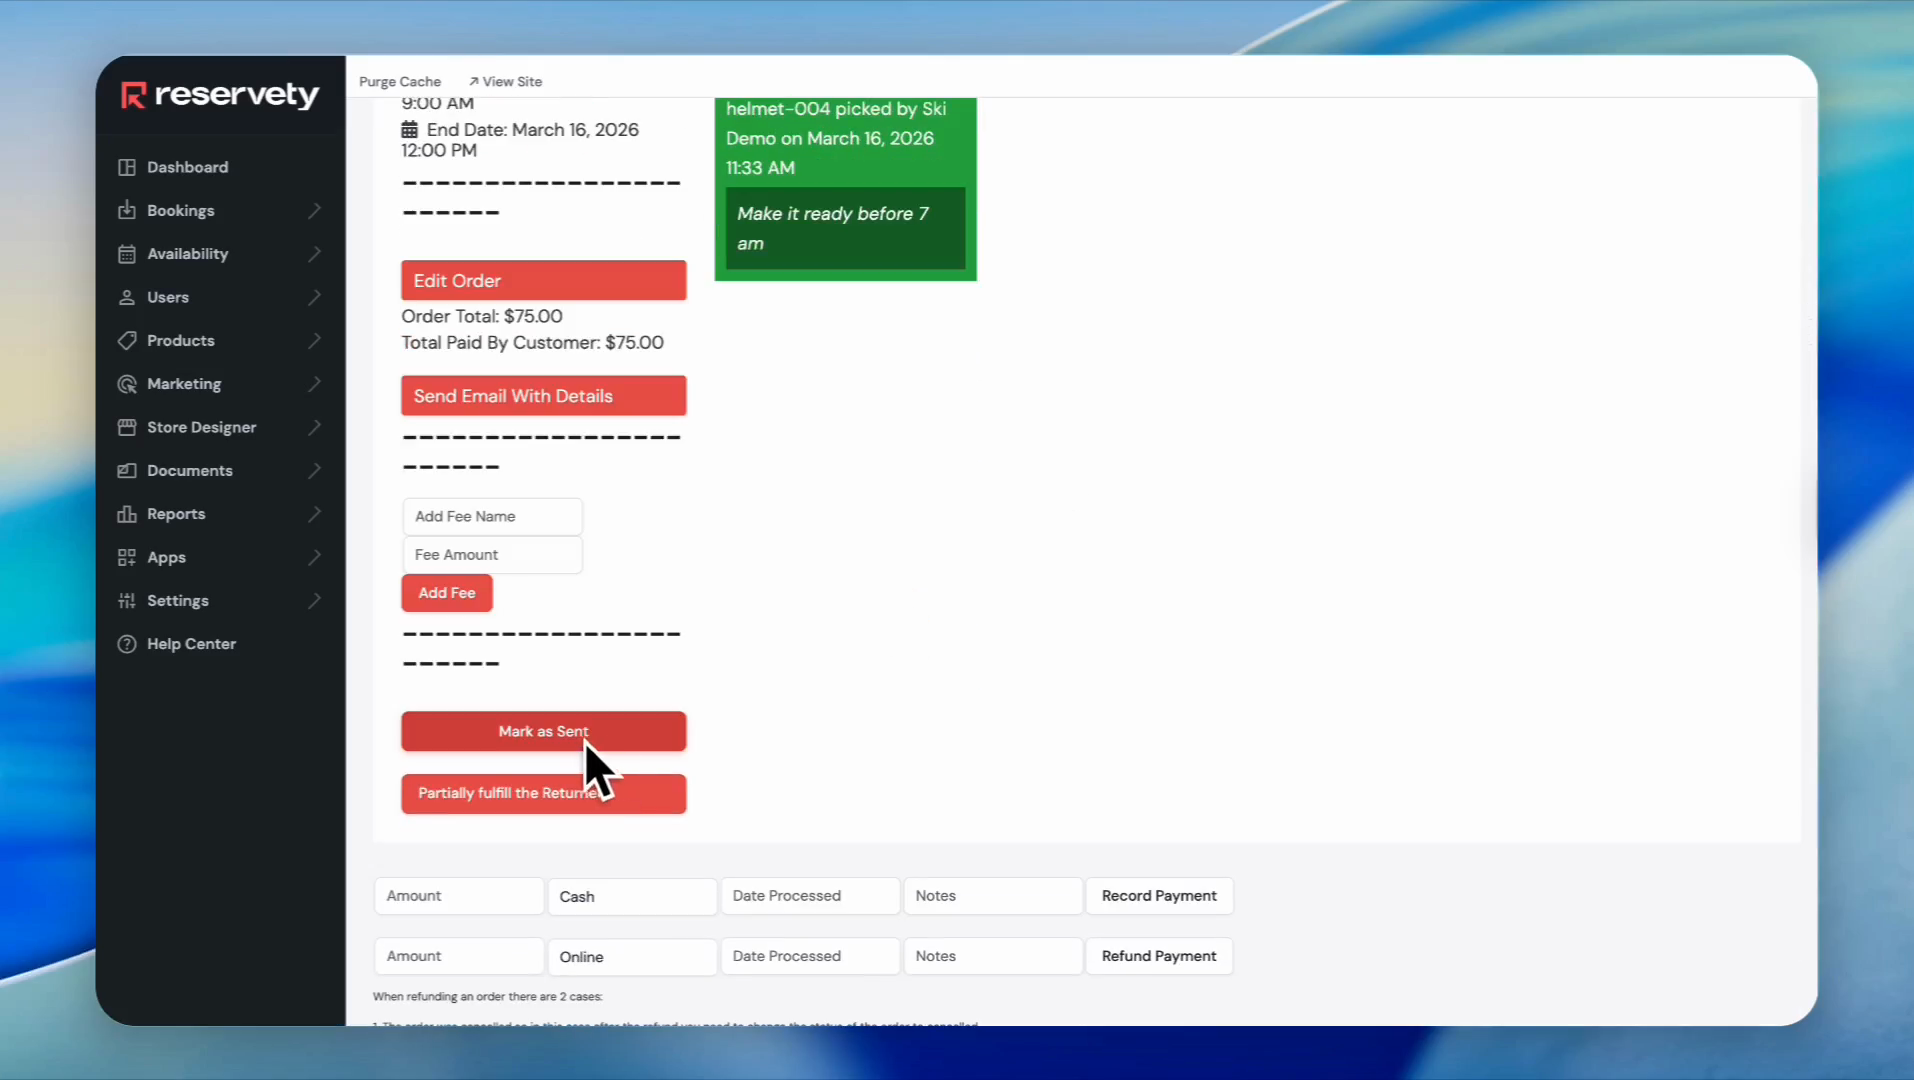
Three helmets are assigned to our order. After giving the helmets to the customer, click "Mark as Sent."
Step 41
42
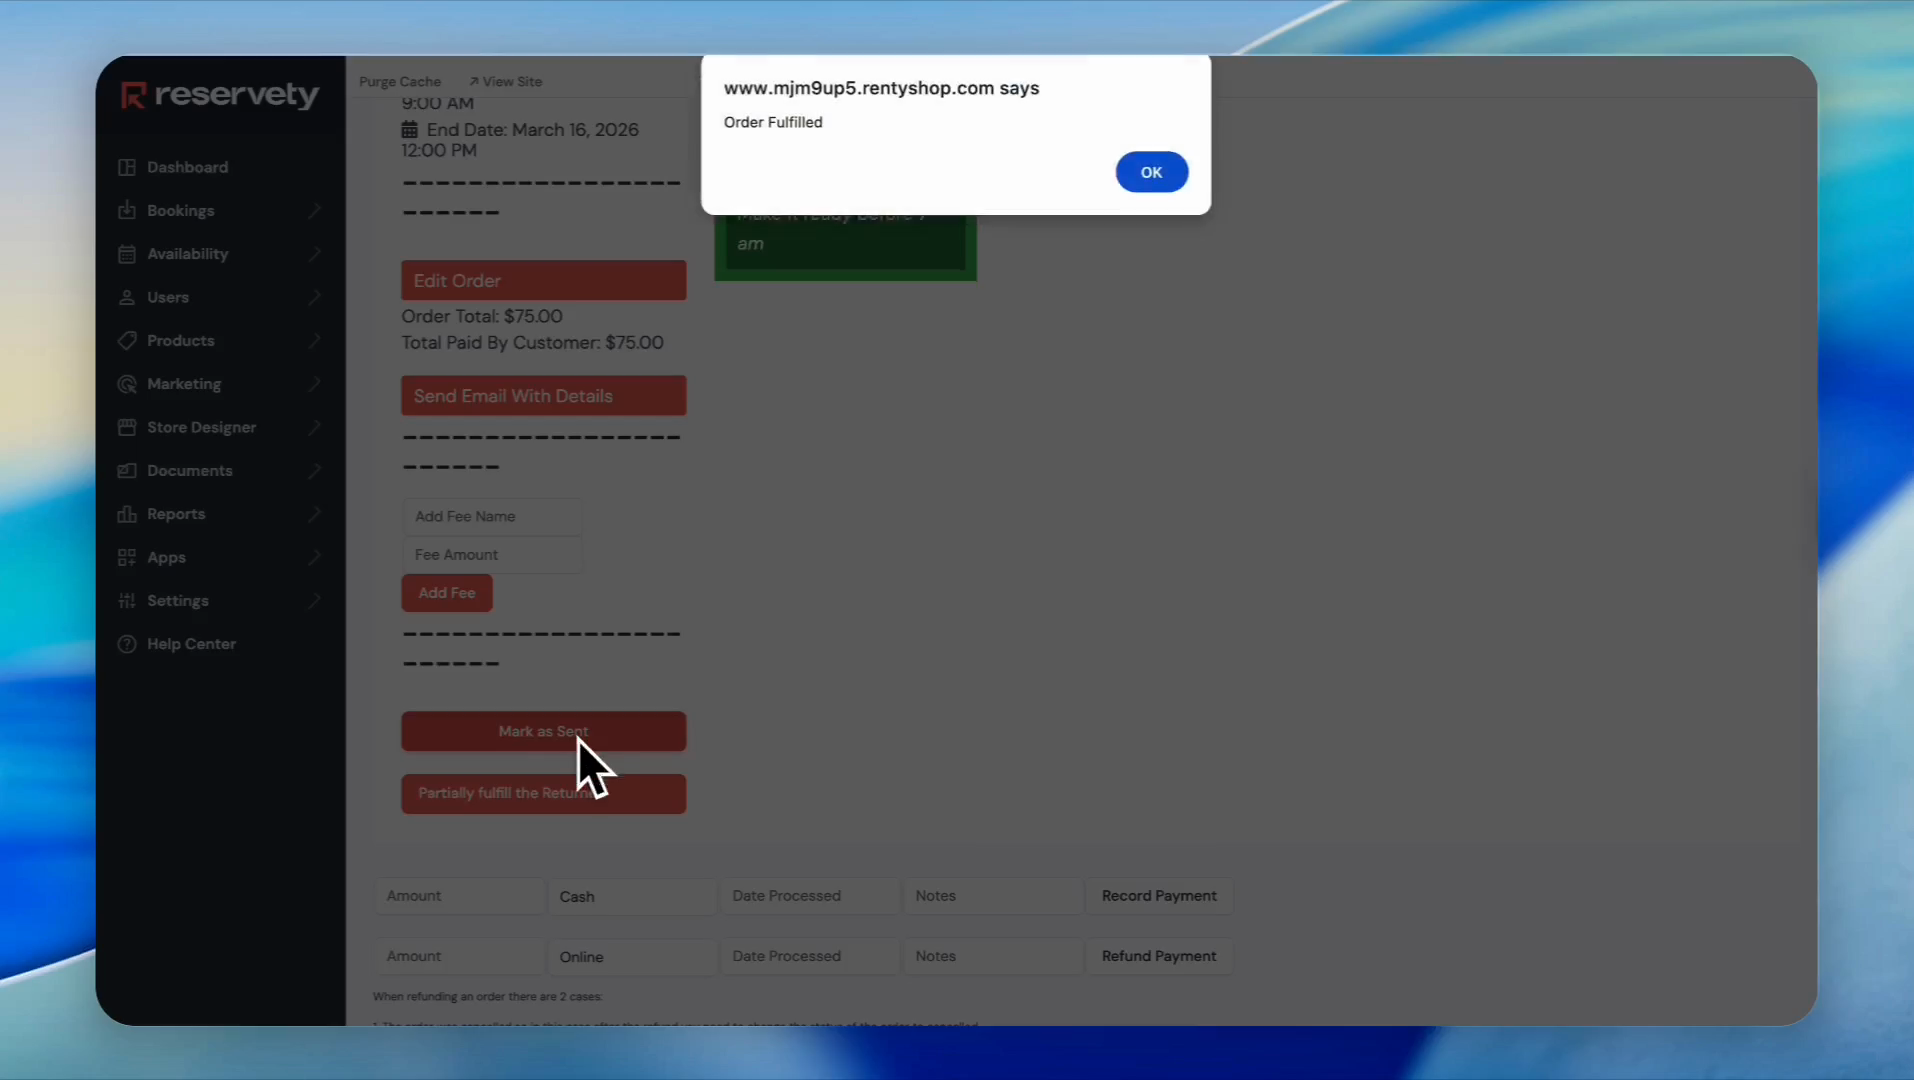
Click the OK button in the confirmation pop-up.
Step 42
43
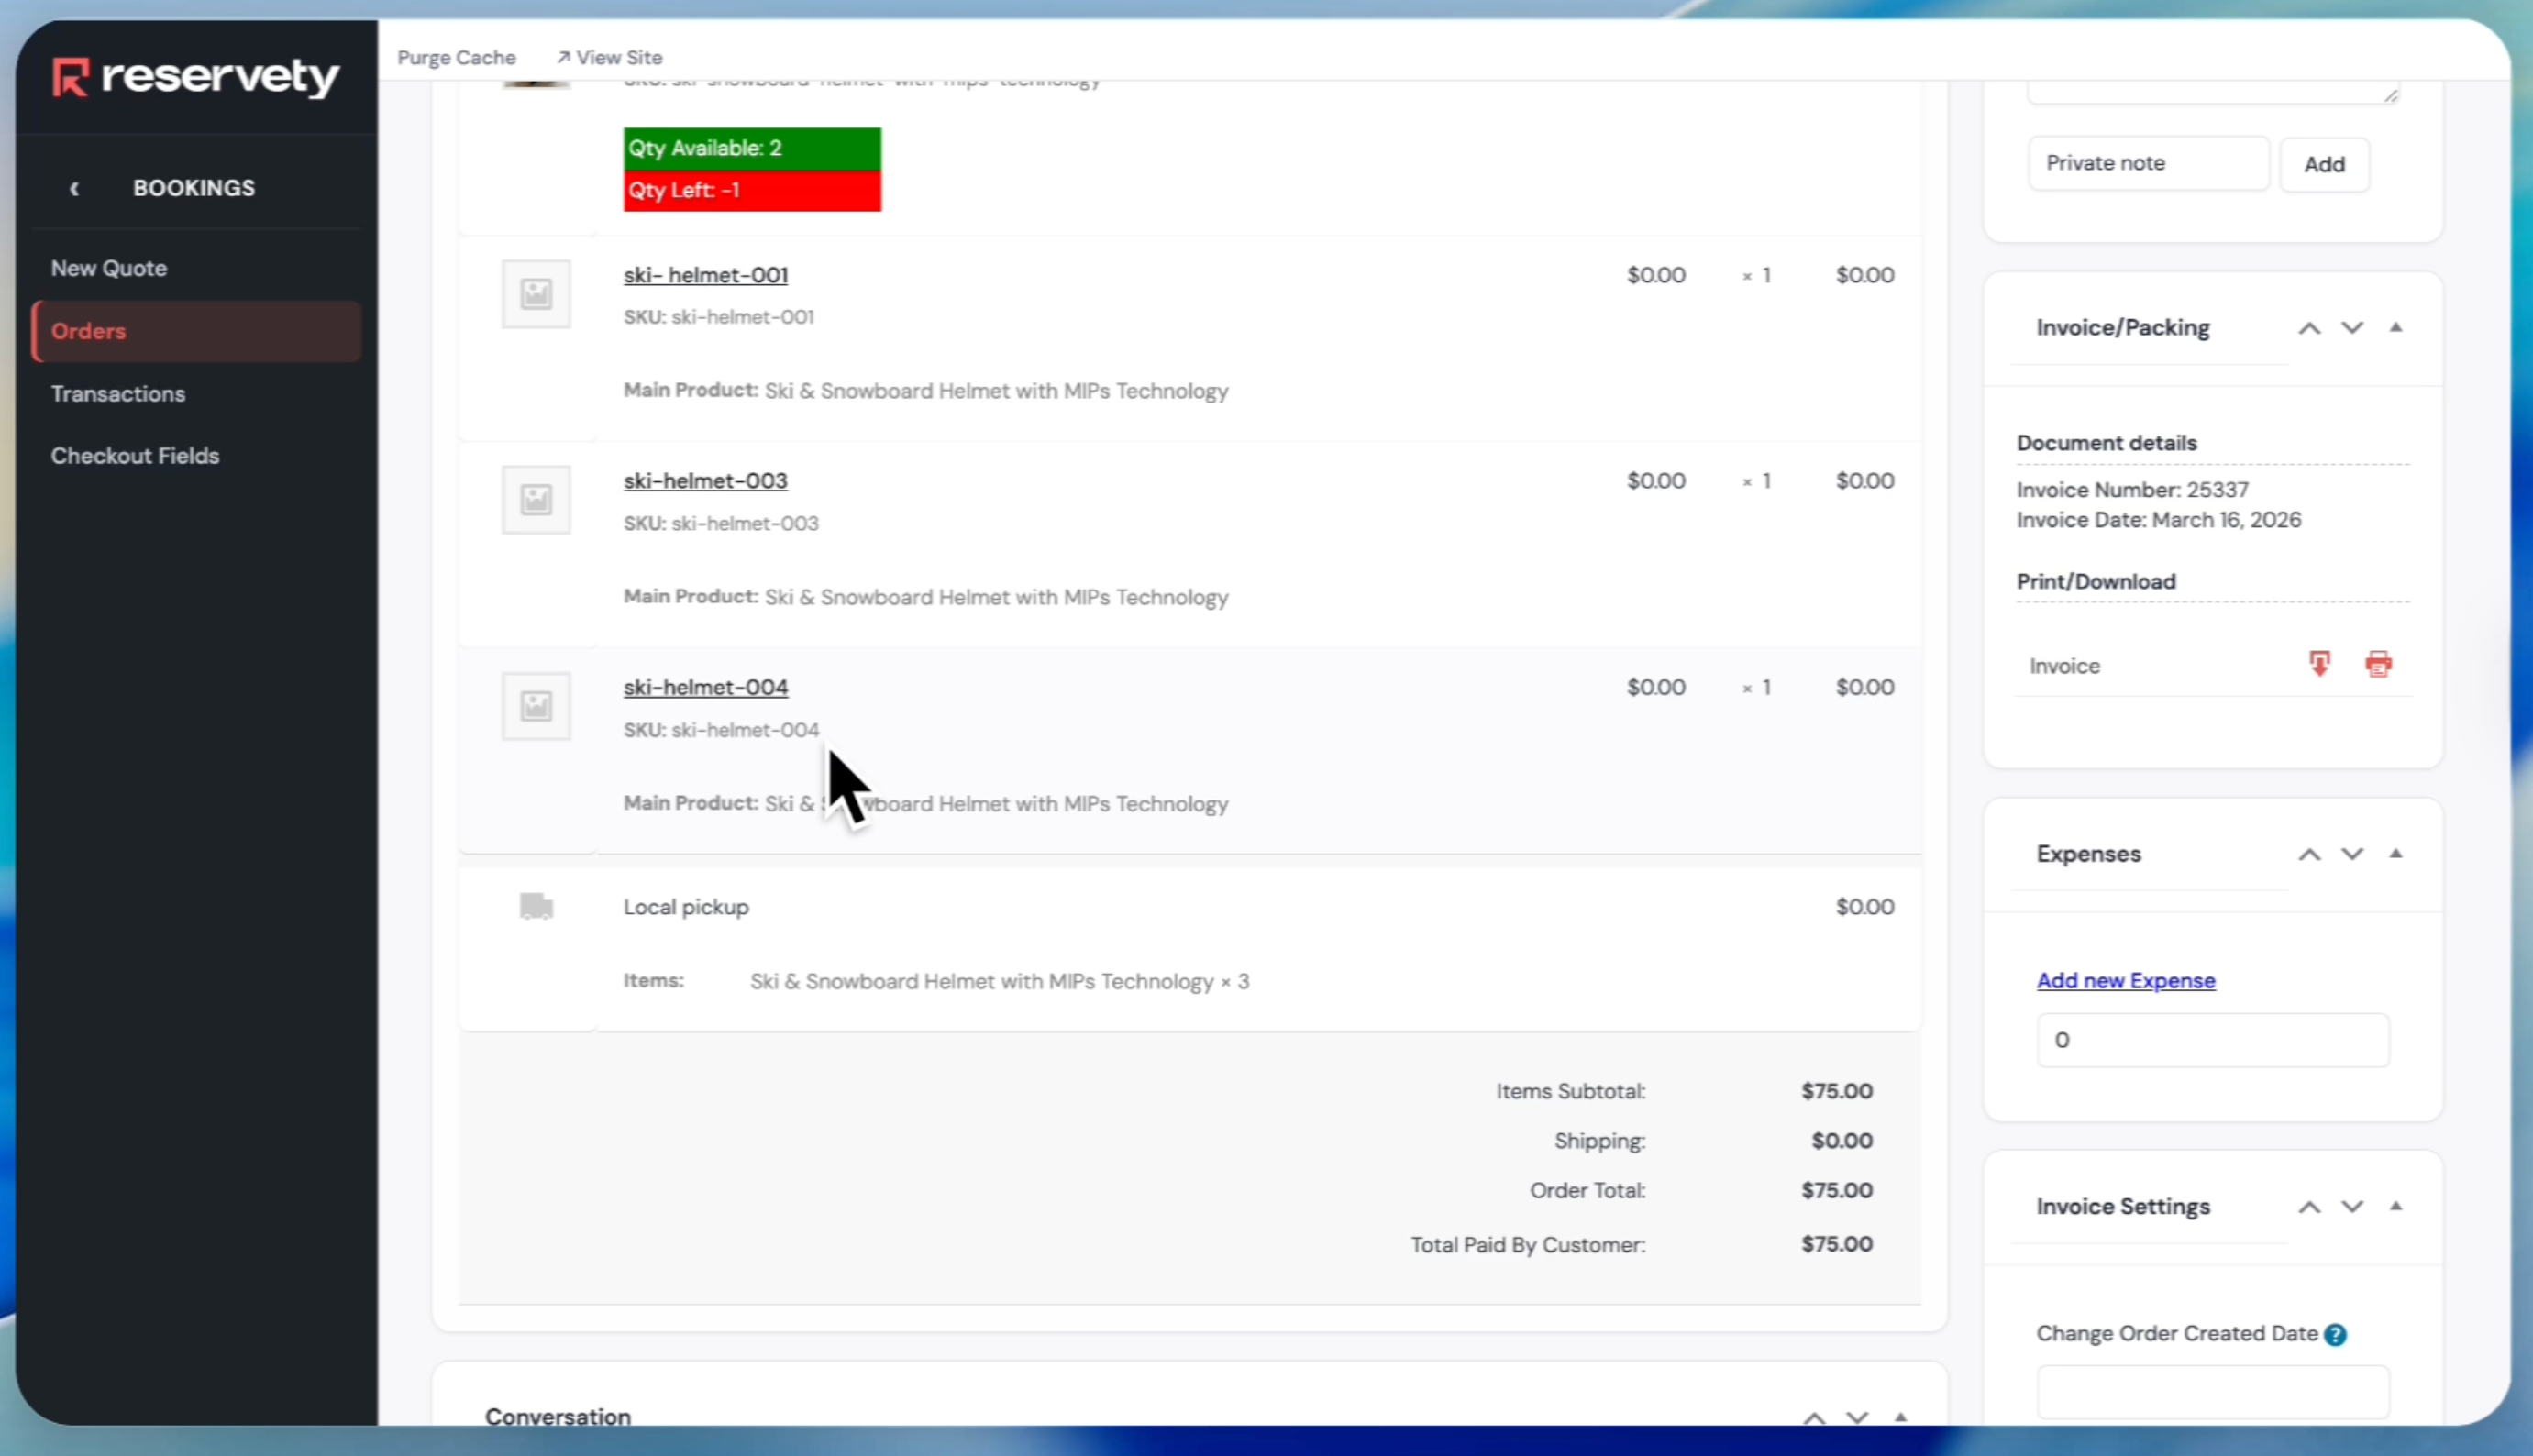
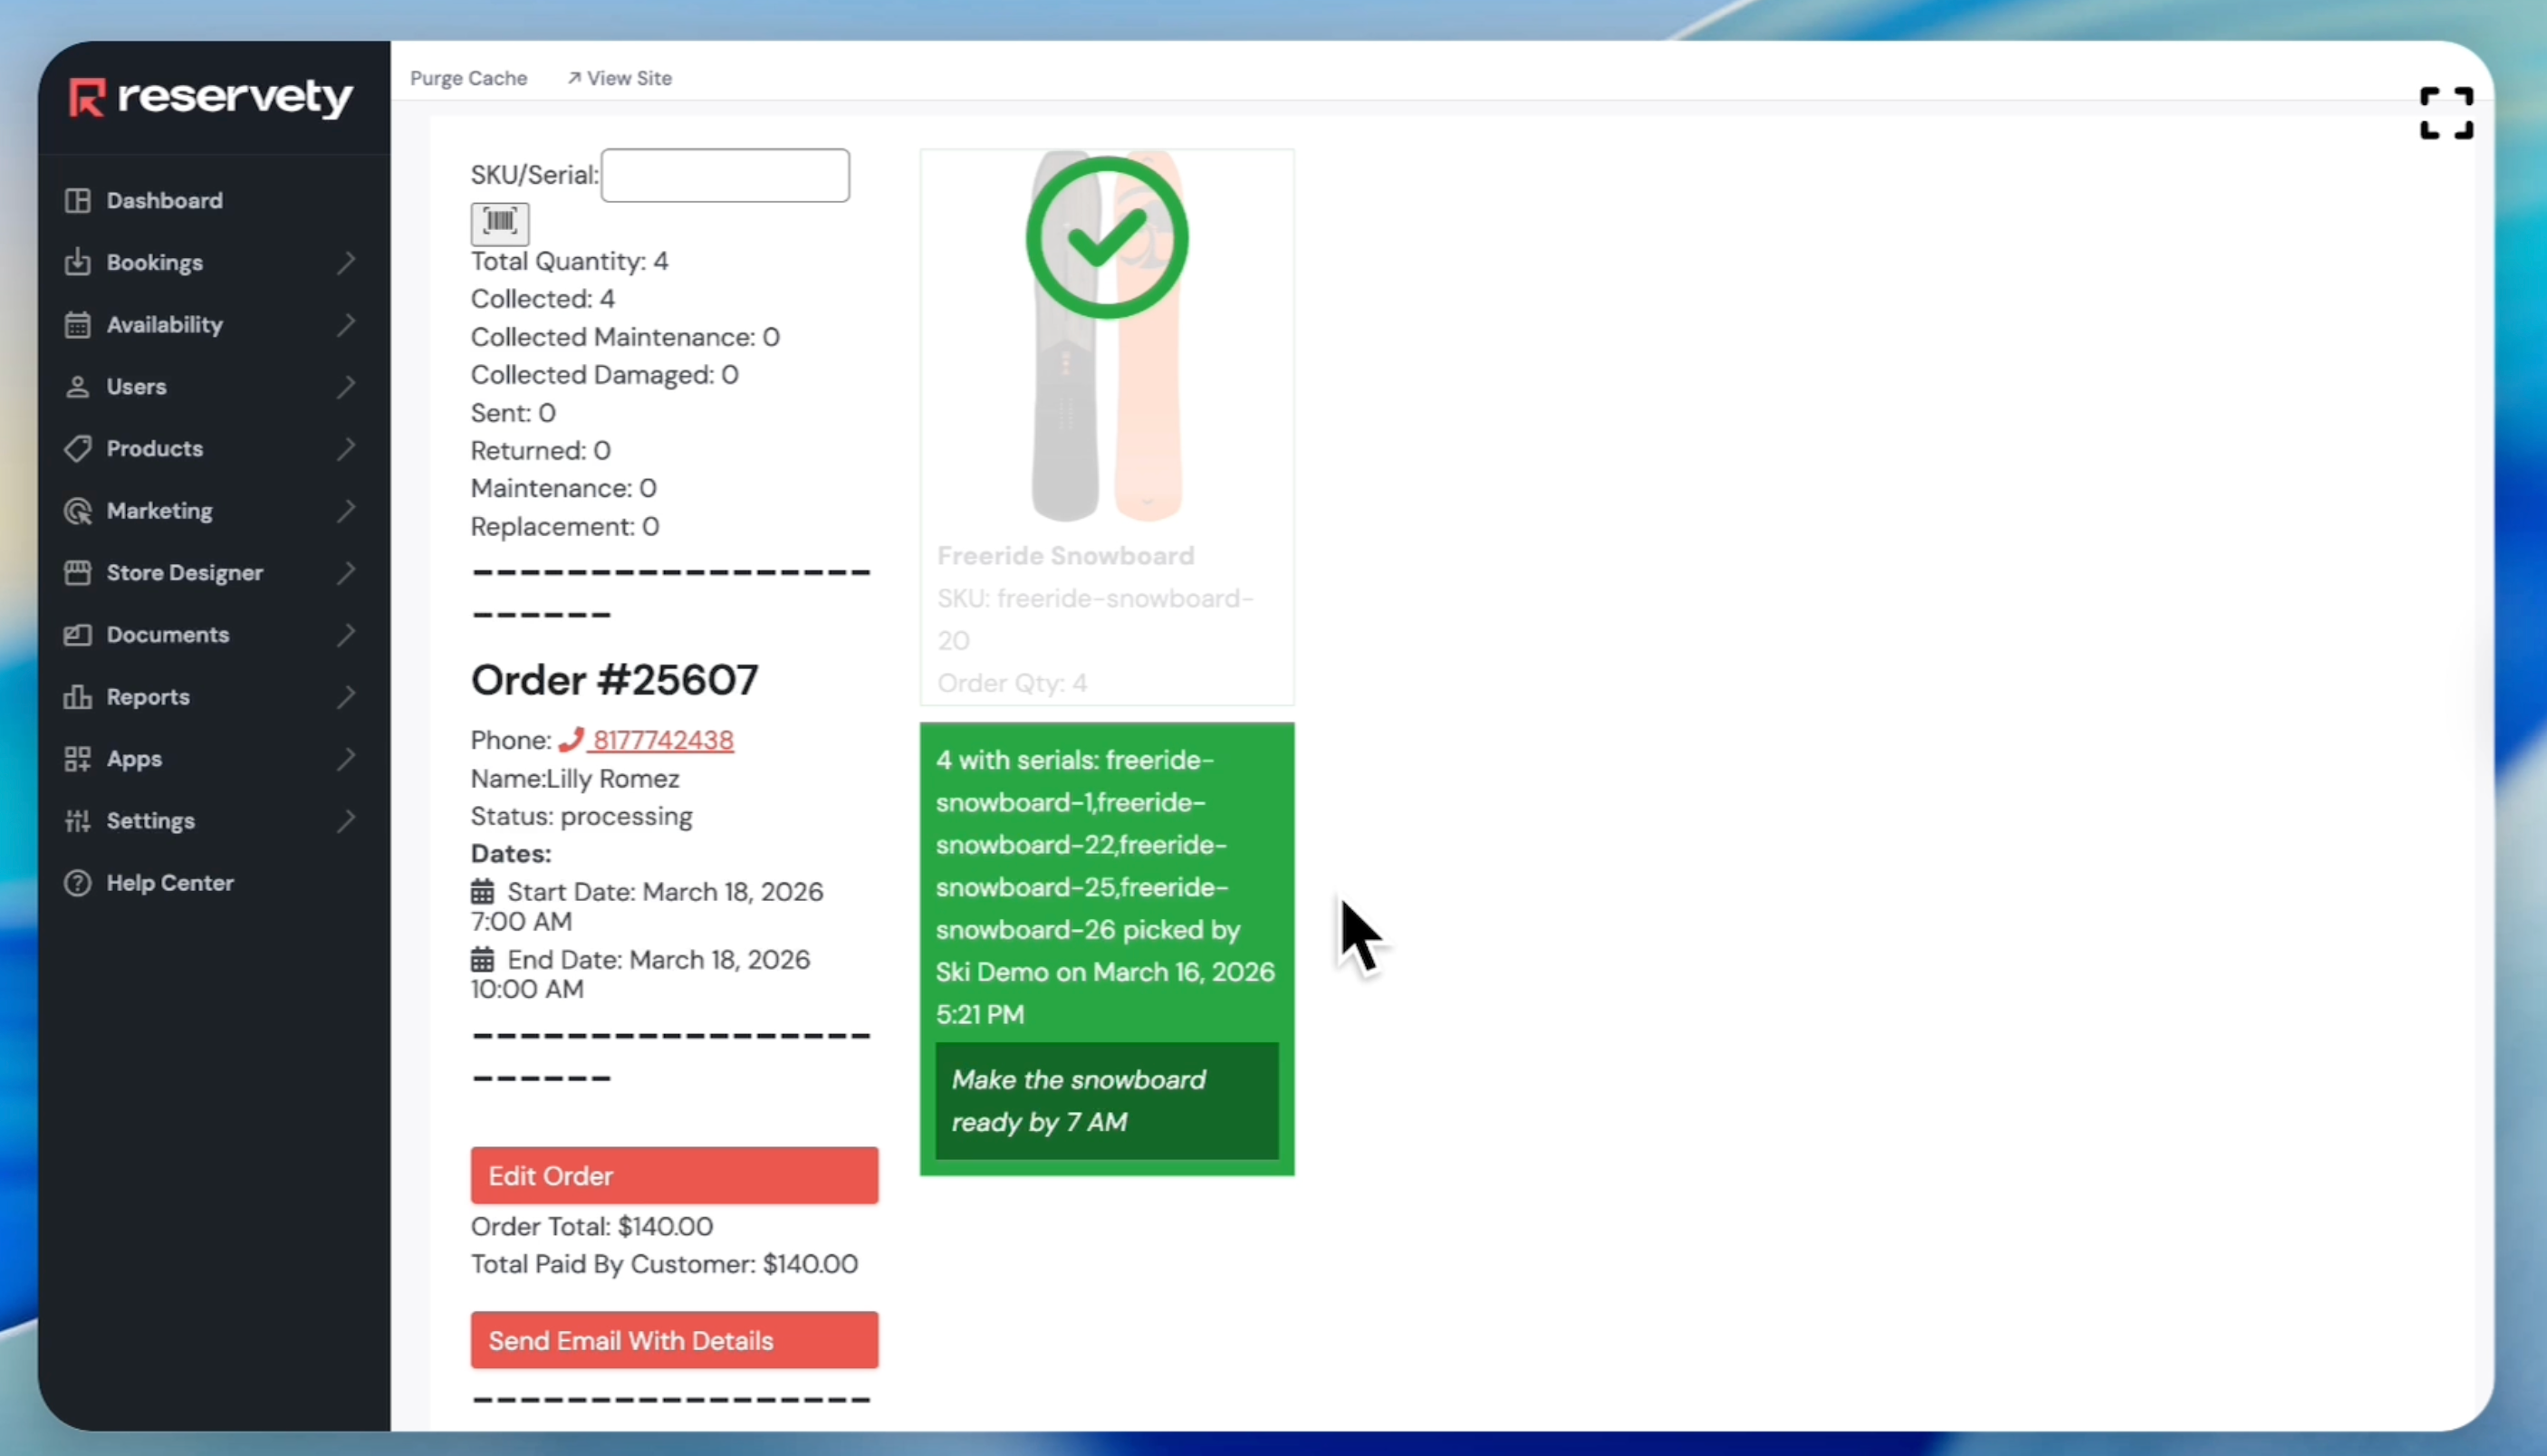
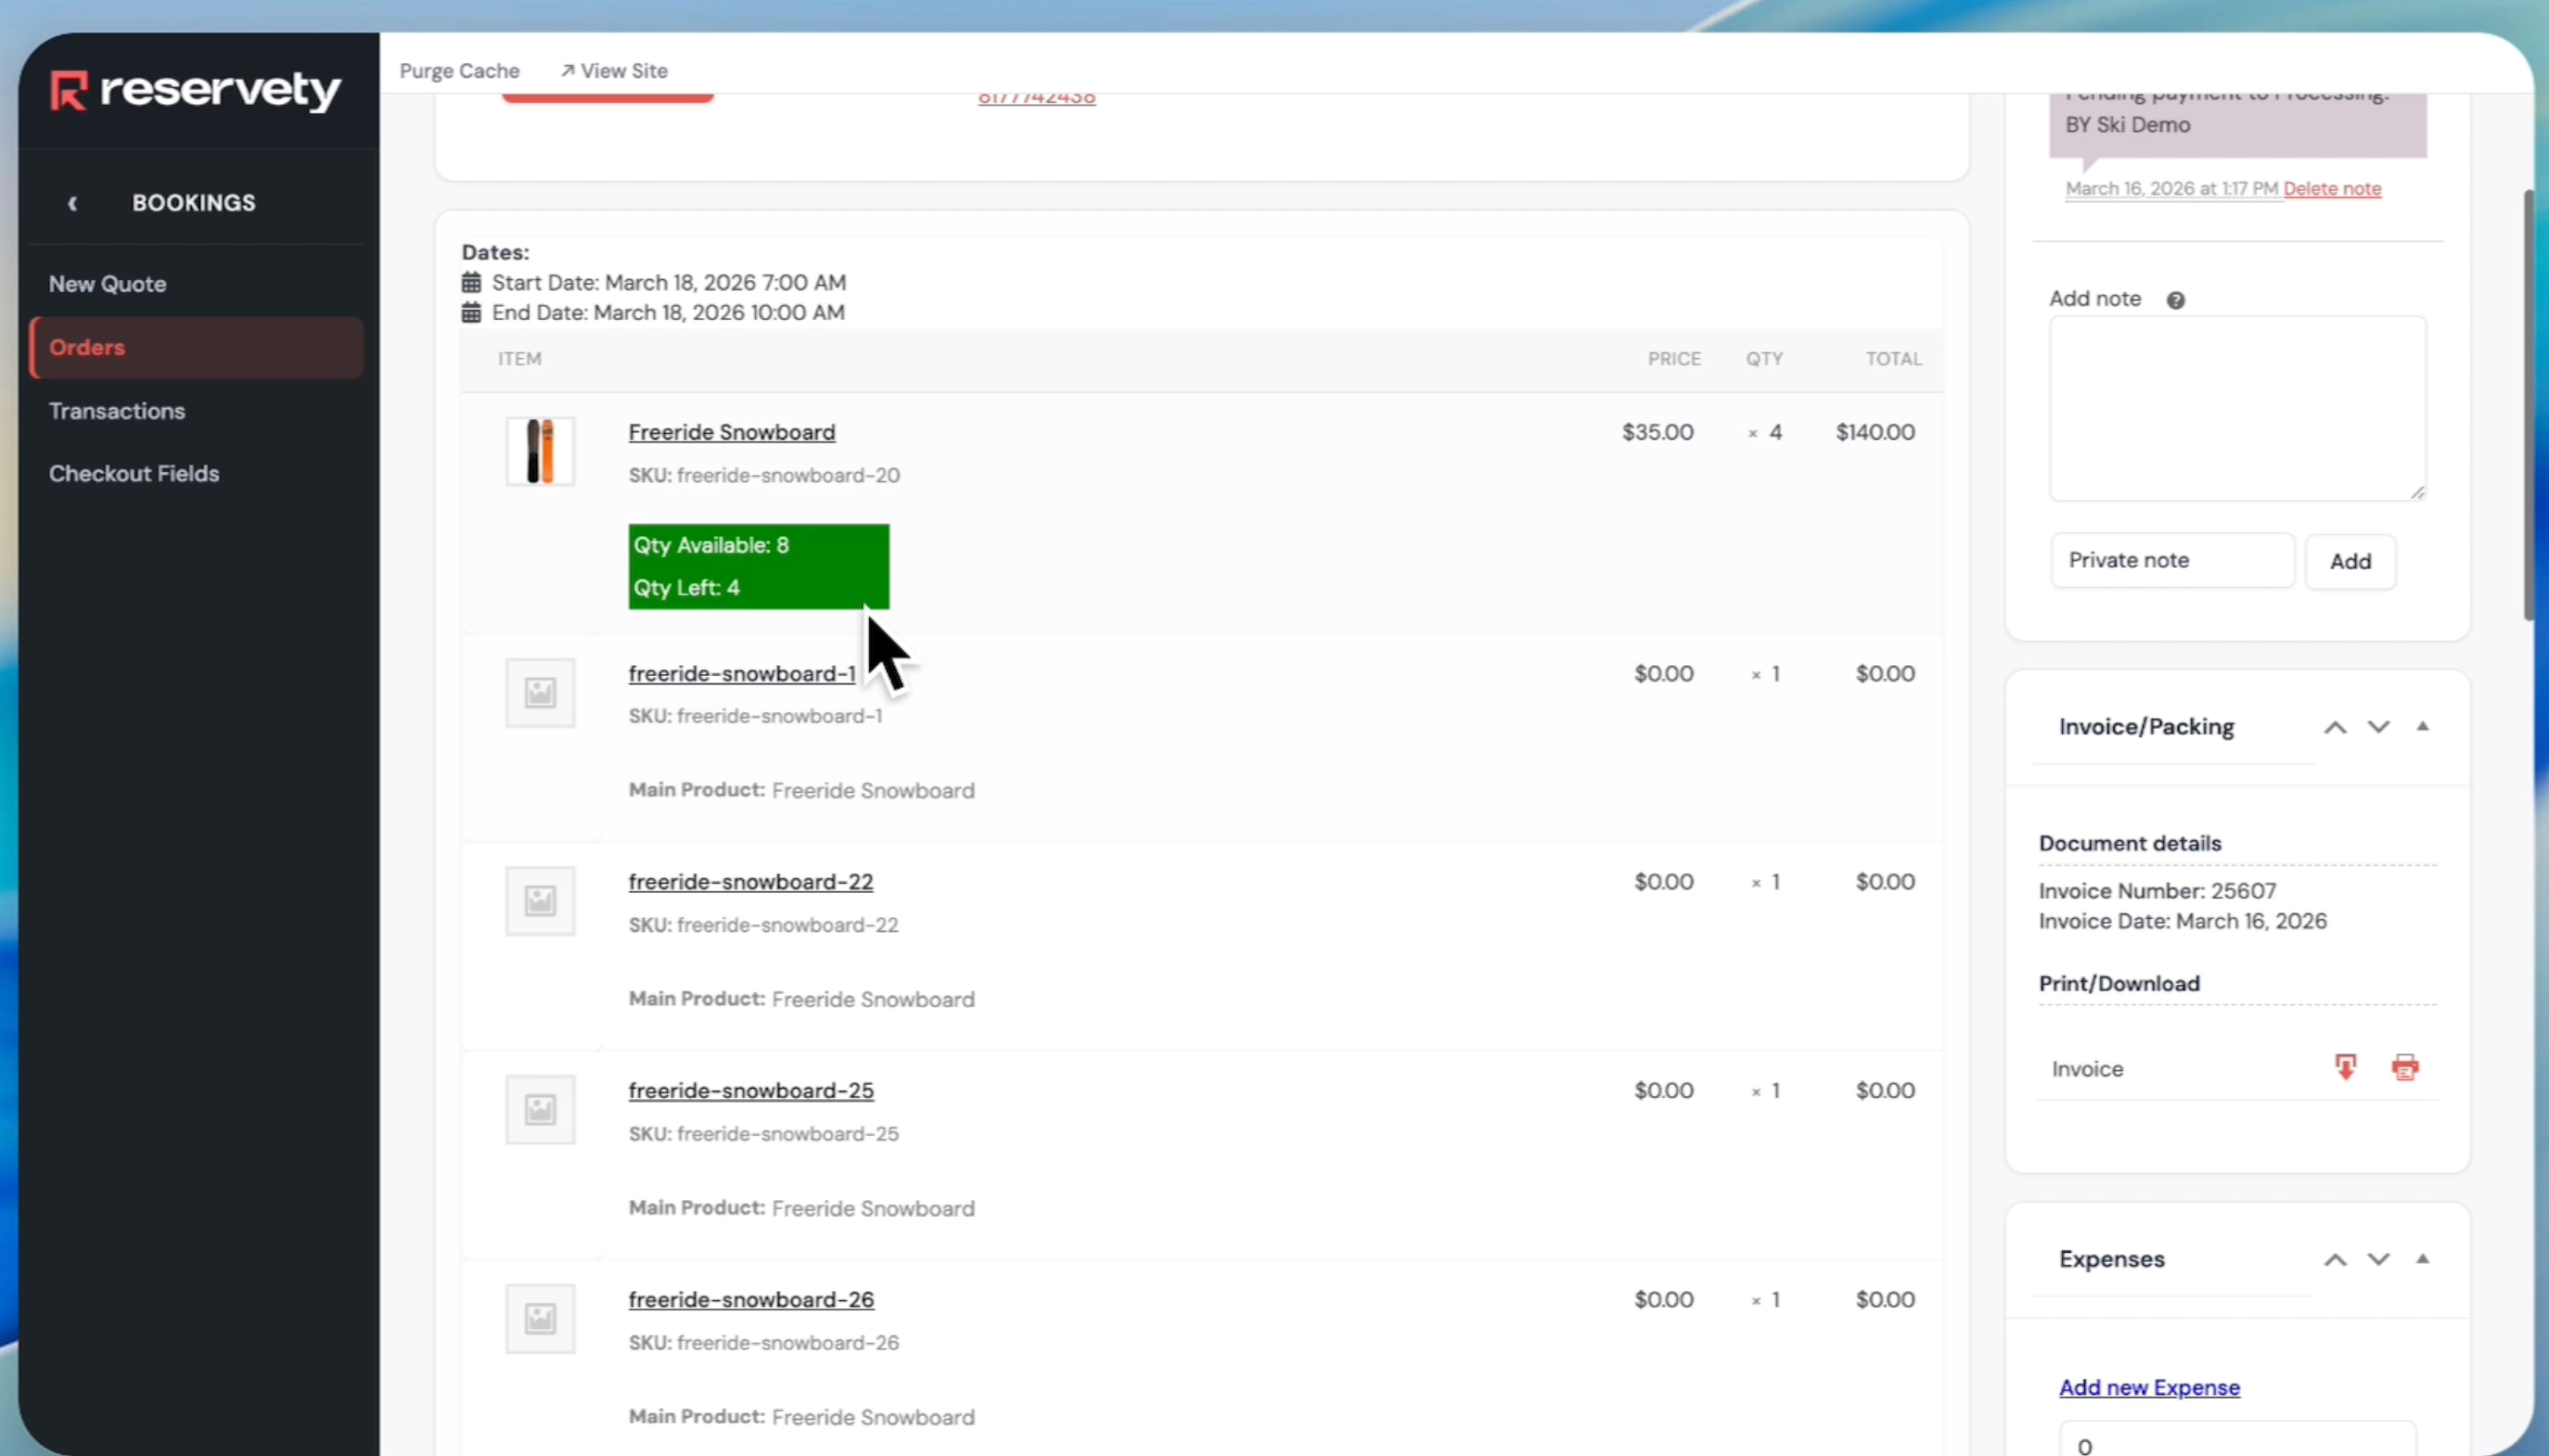
Click on the orders again to go to the order we fulfilled. Here, you will see the three serial numbers assigned to this order.
Step 43
44
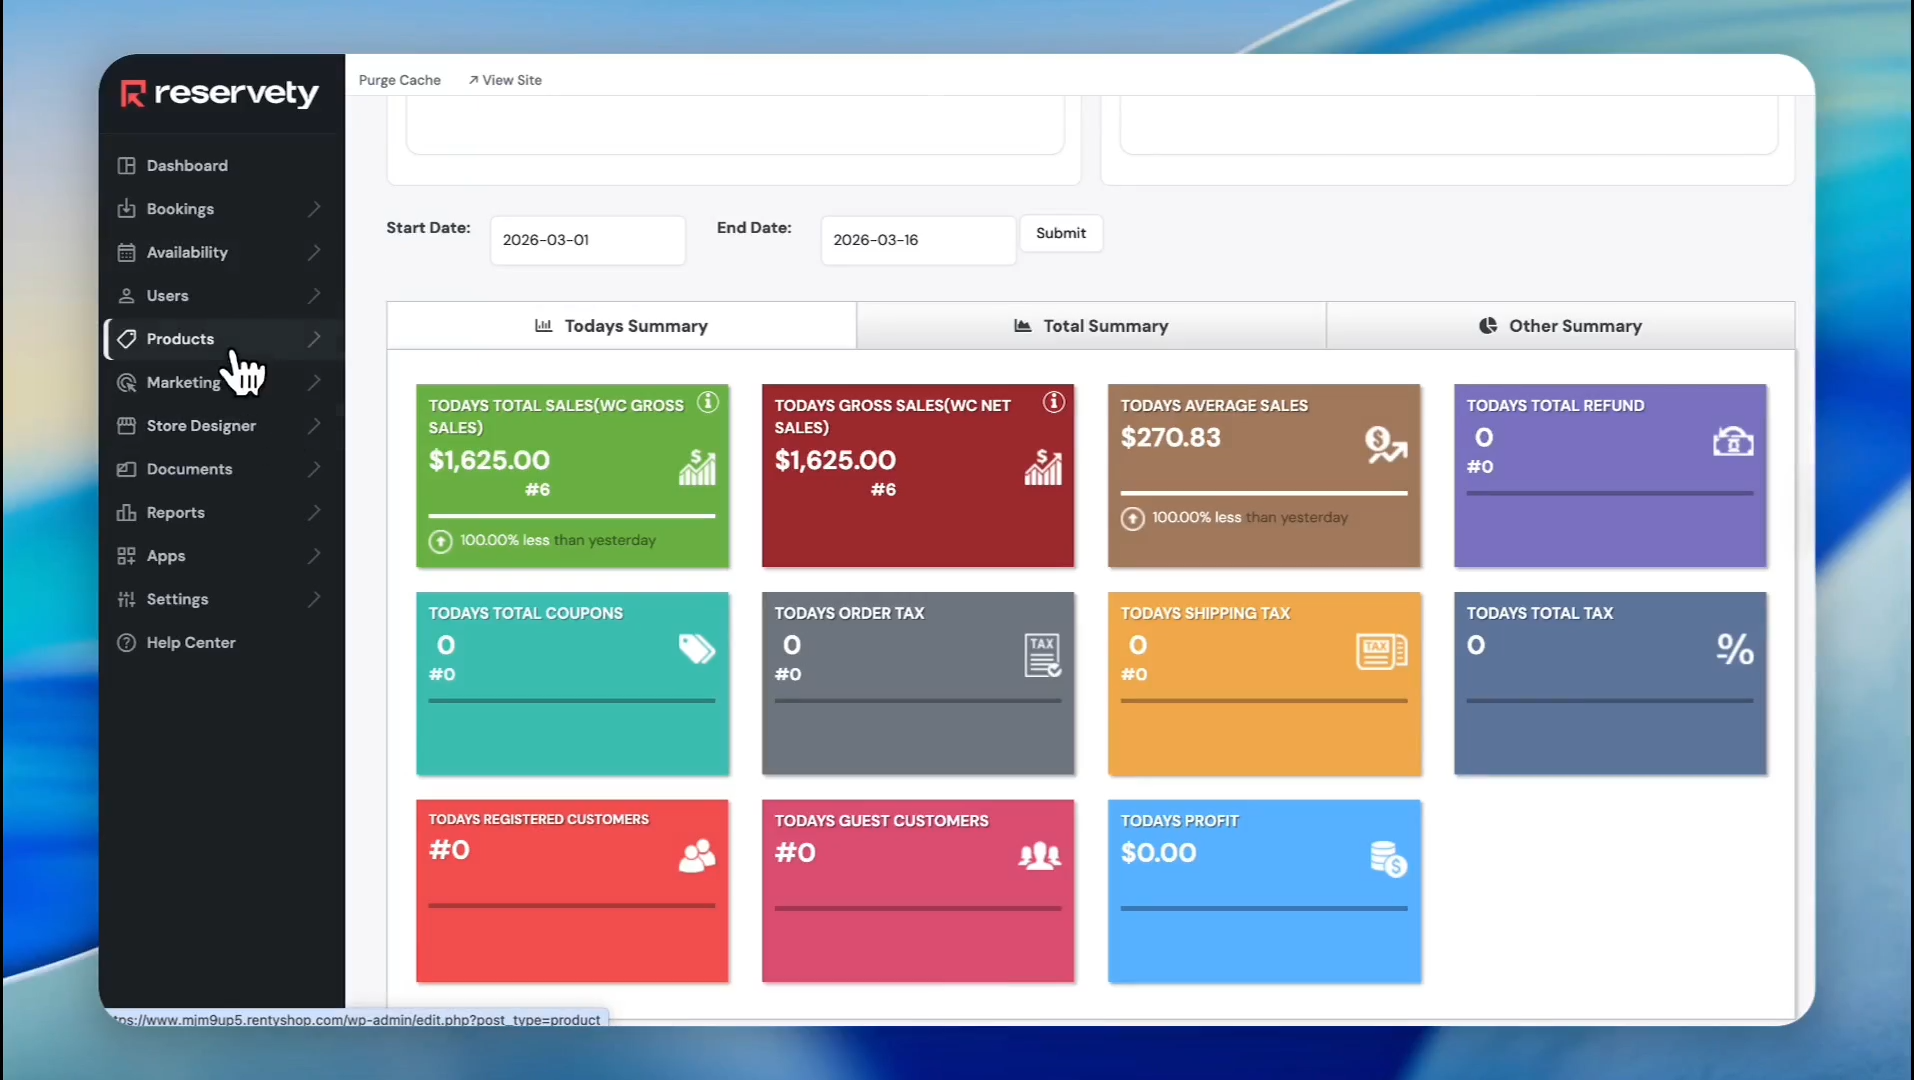
Navigate to the Products page.
Step 44
45
Click on All Items.
Step 45
46
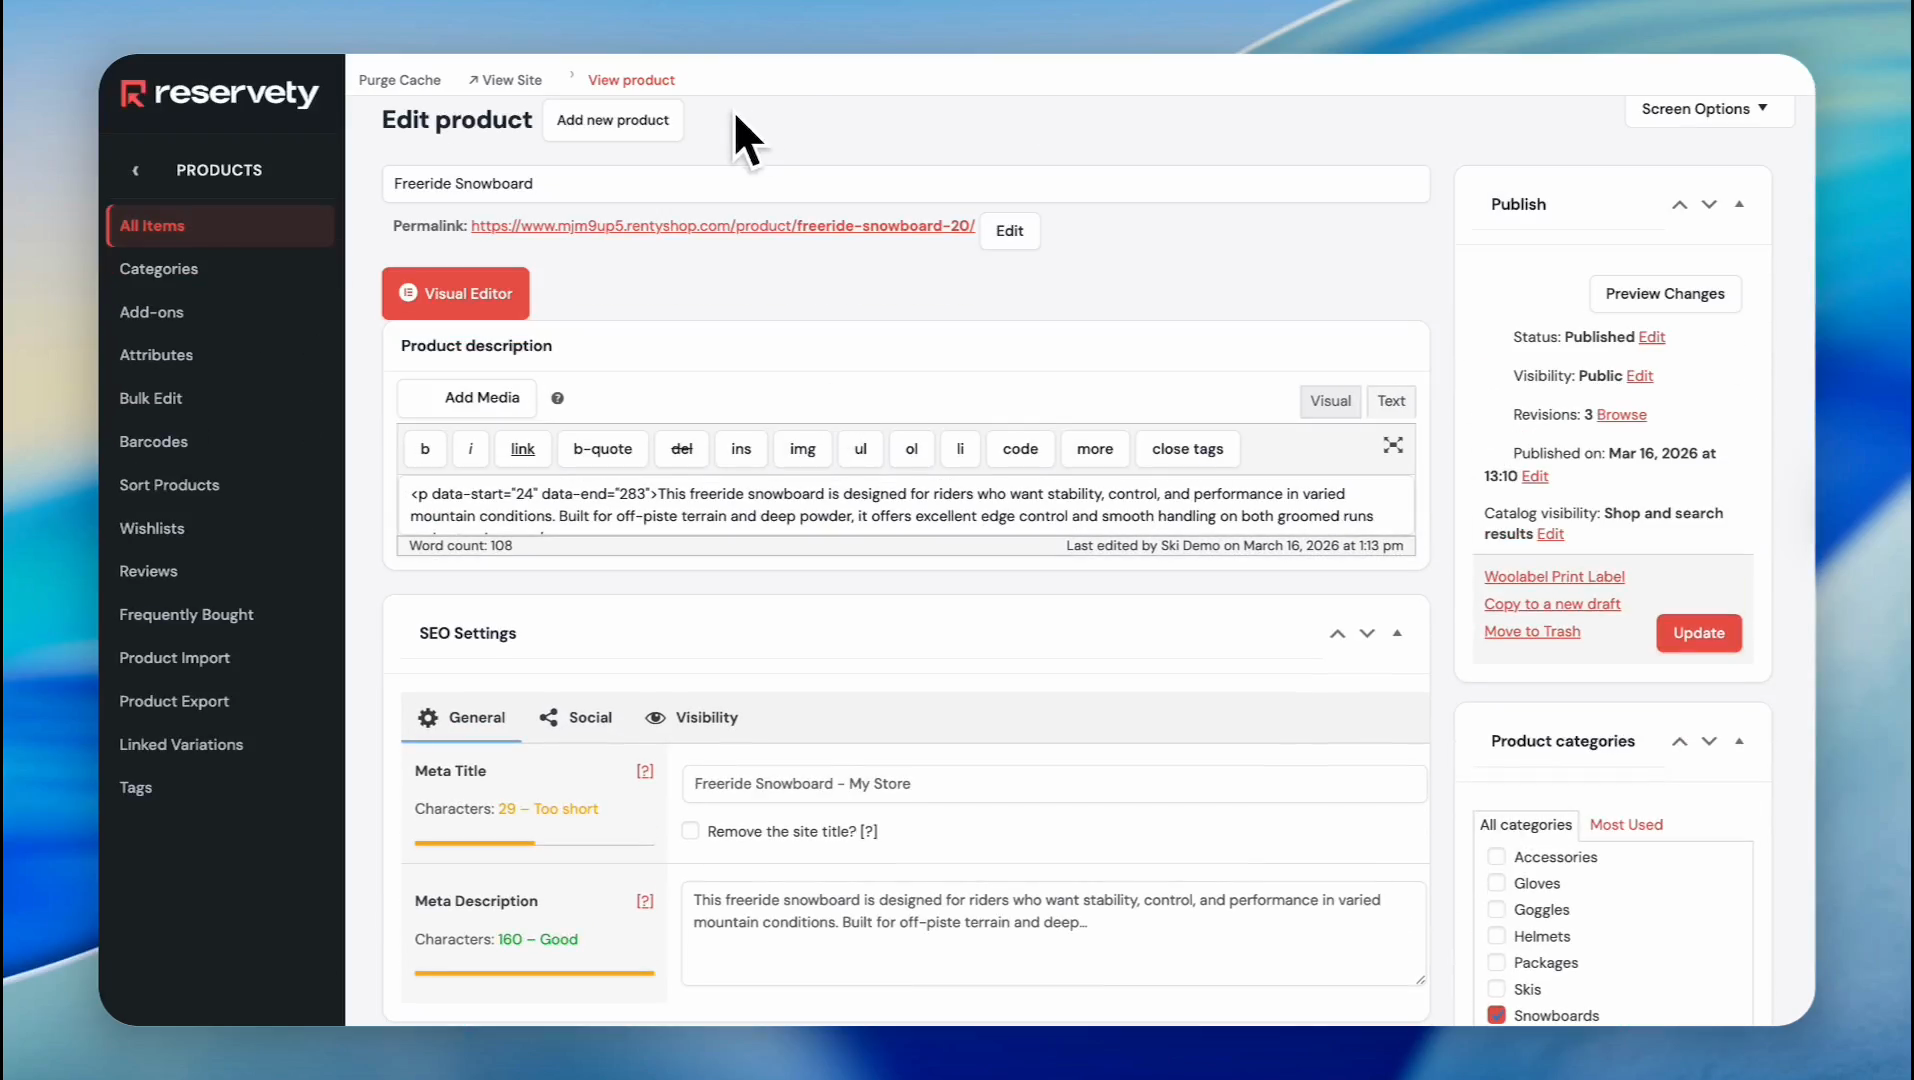
Click the Add new product button.
Step 46
47
Enter the product name.
Step 47
48
Click on the Visual tab and write your description.
Step 48
49
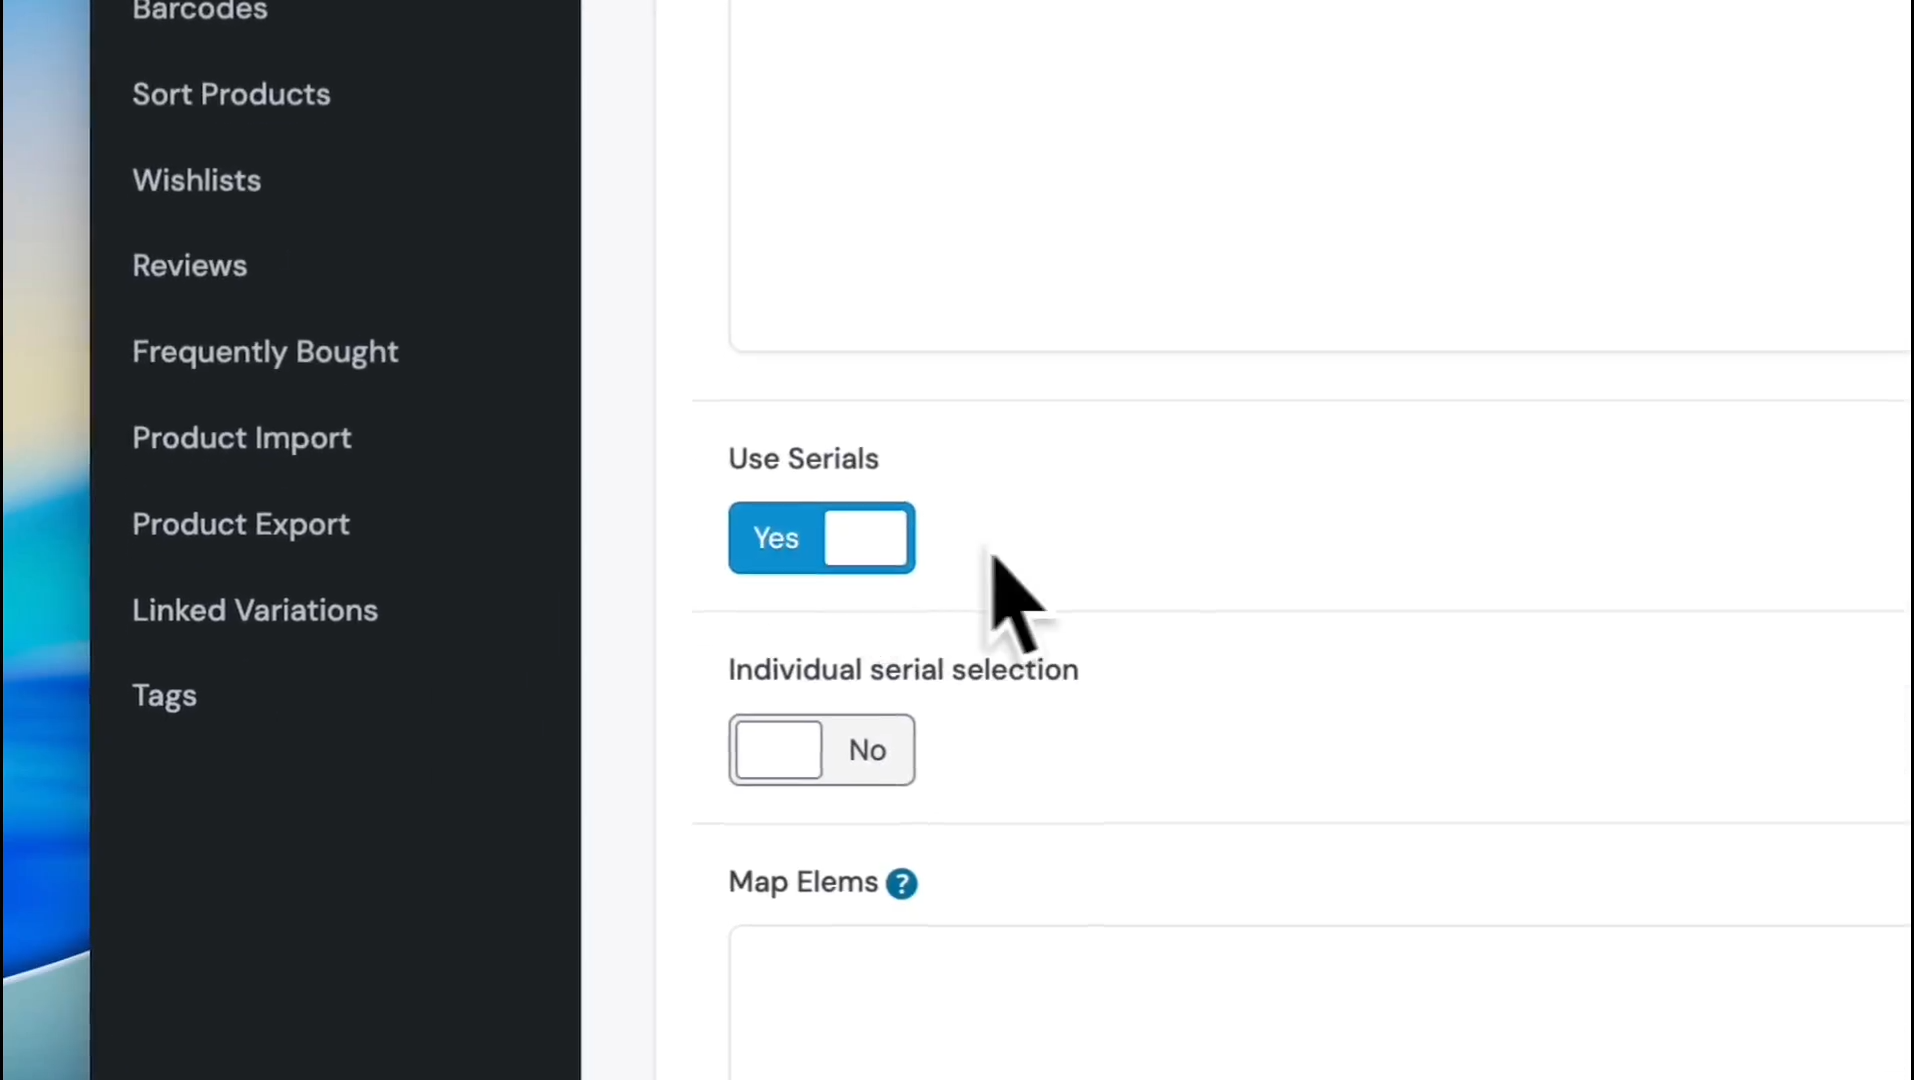
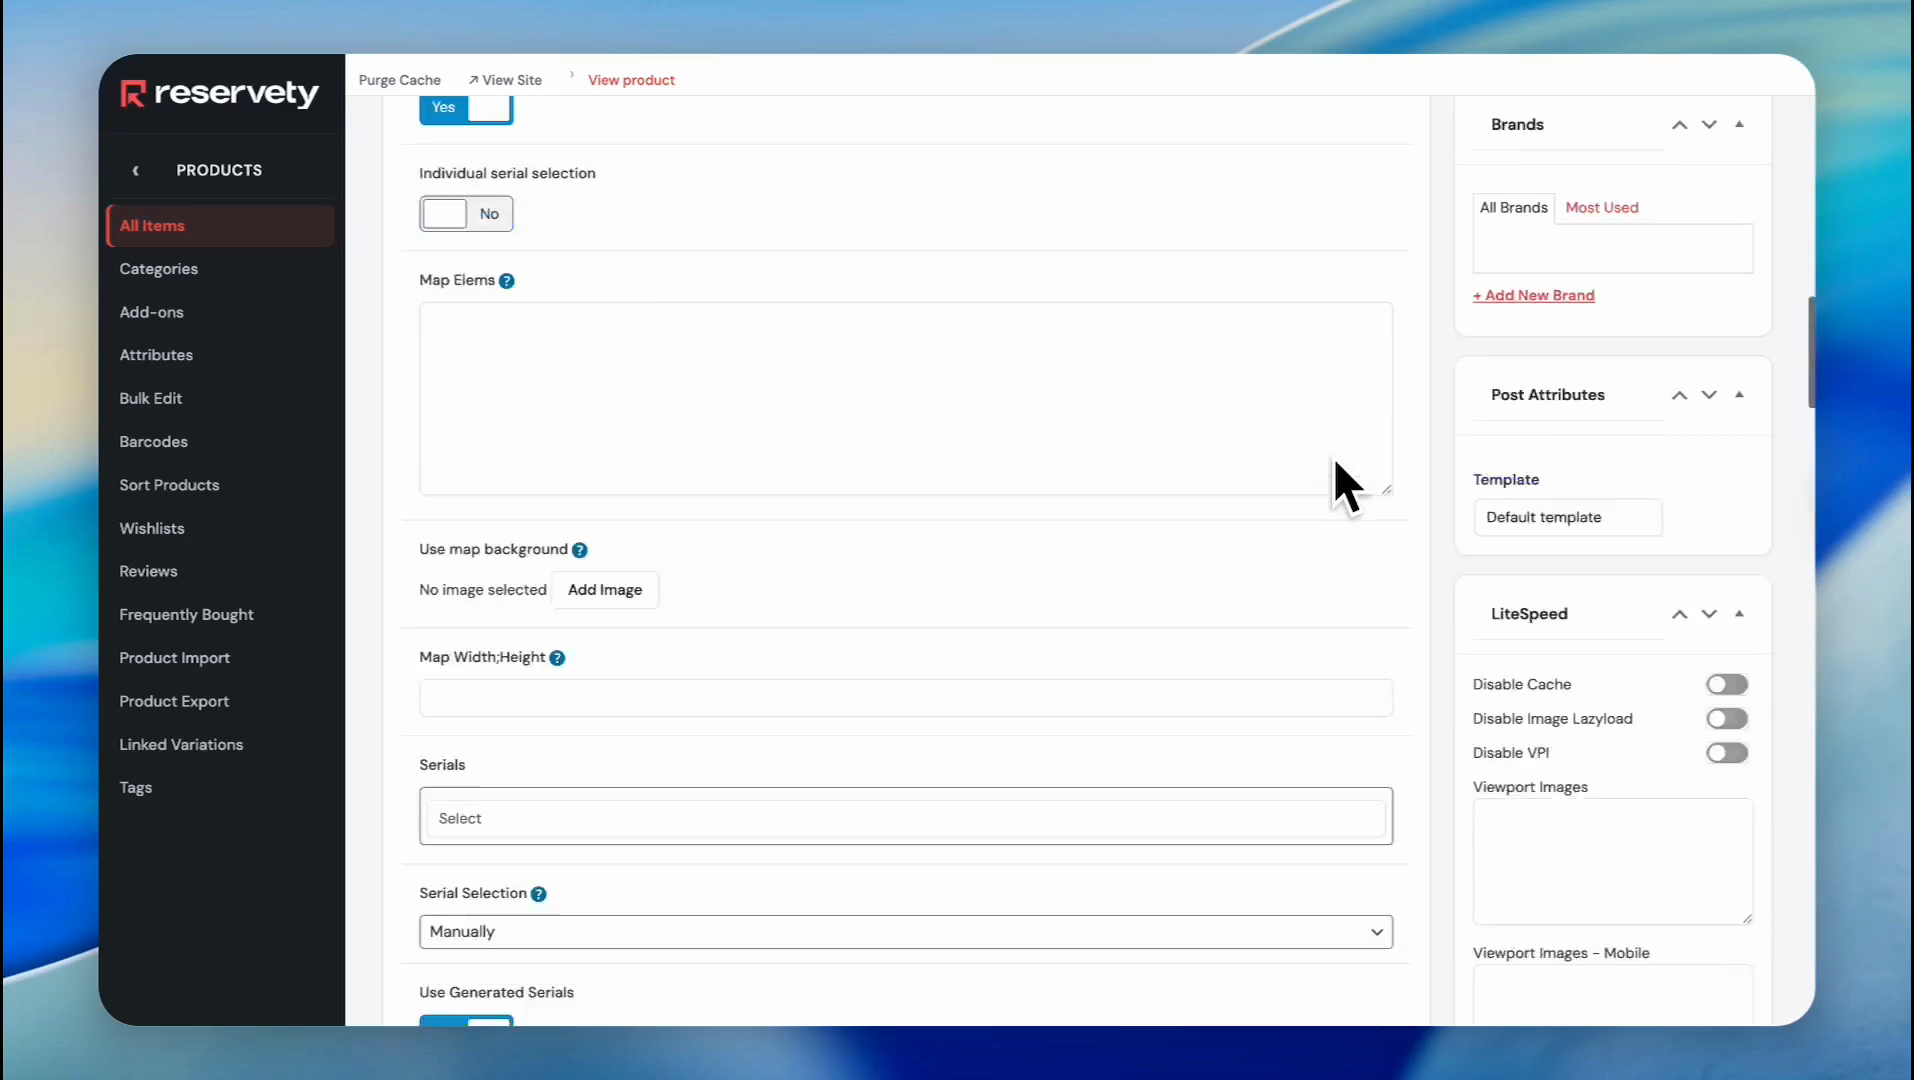
Scroll down and find the section labeled "Use Serials." Switch it to "Yes."
Step 49
50
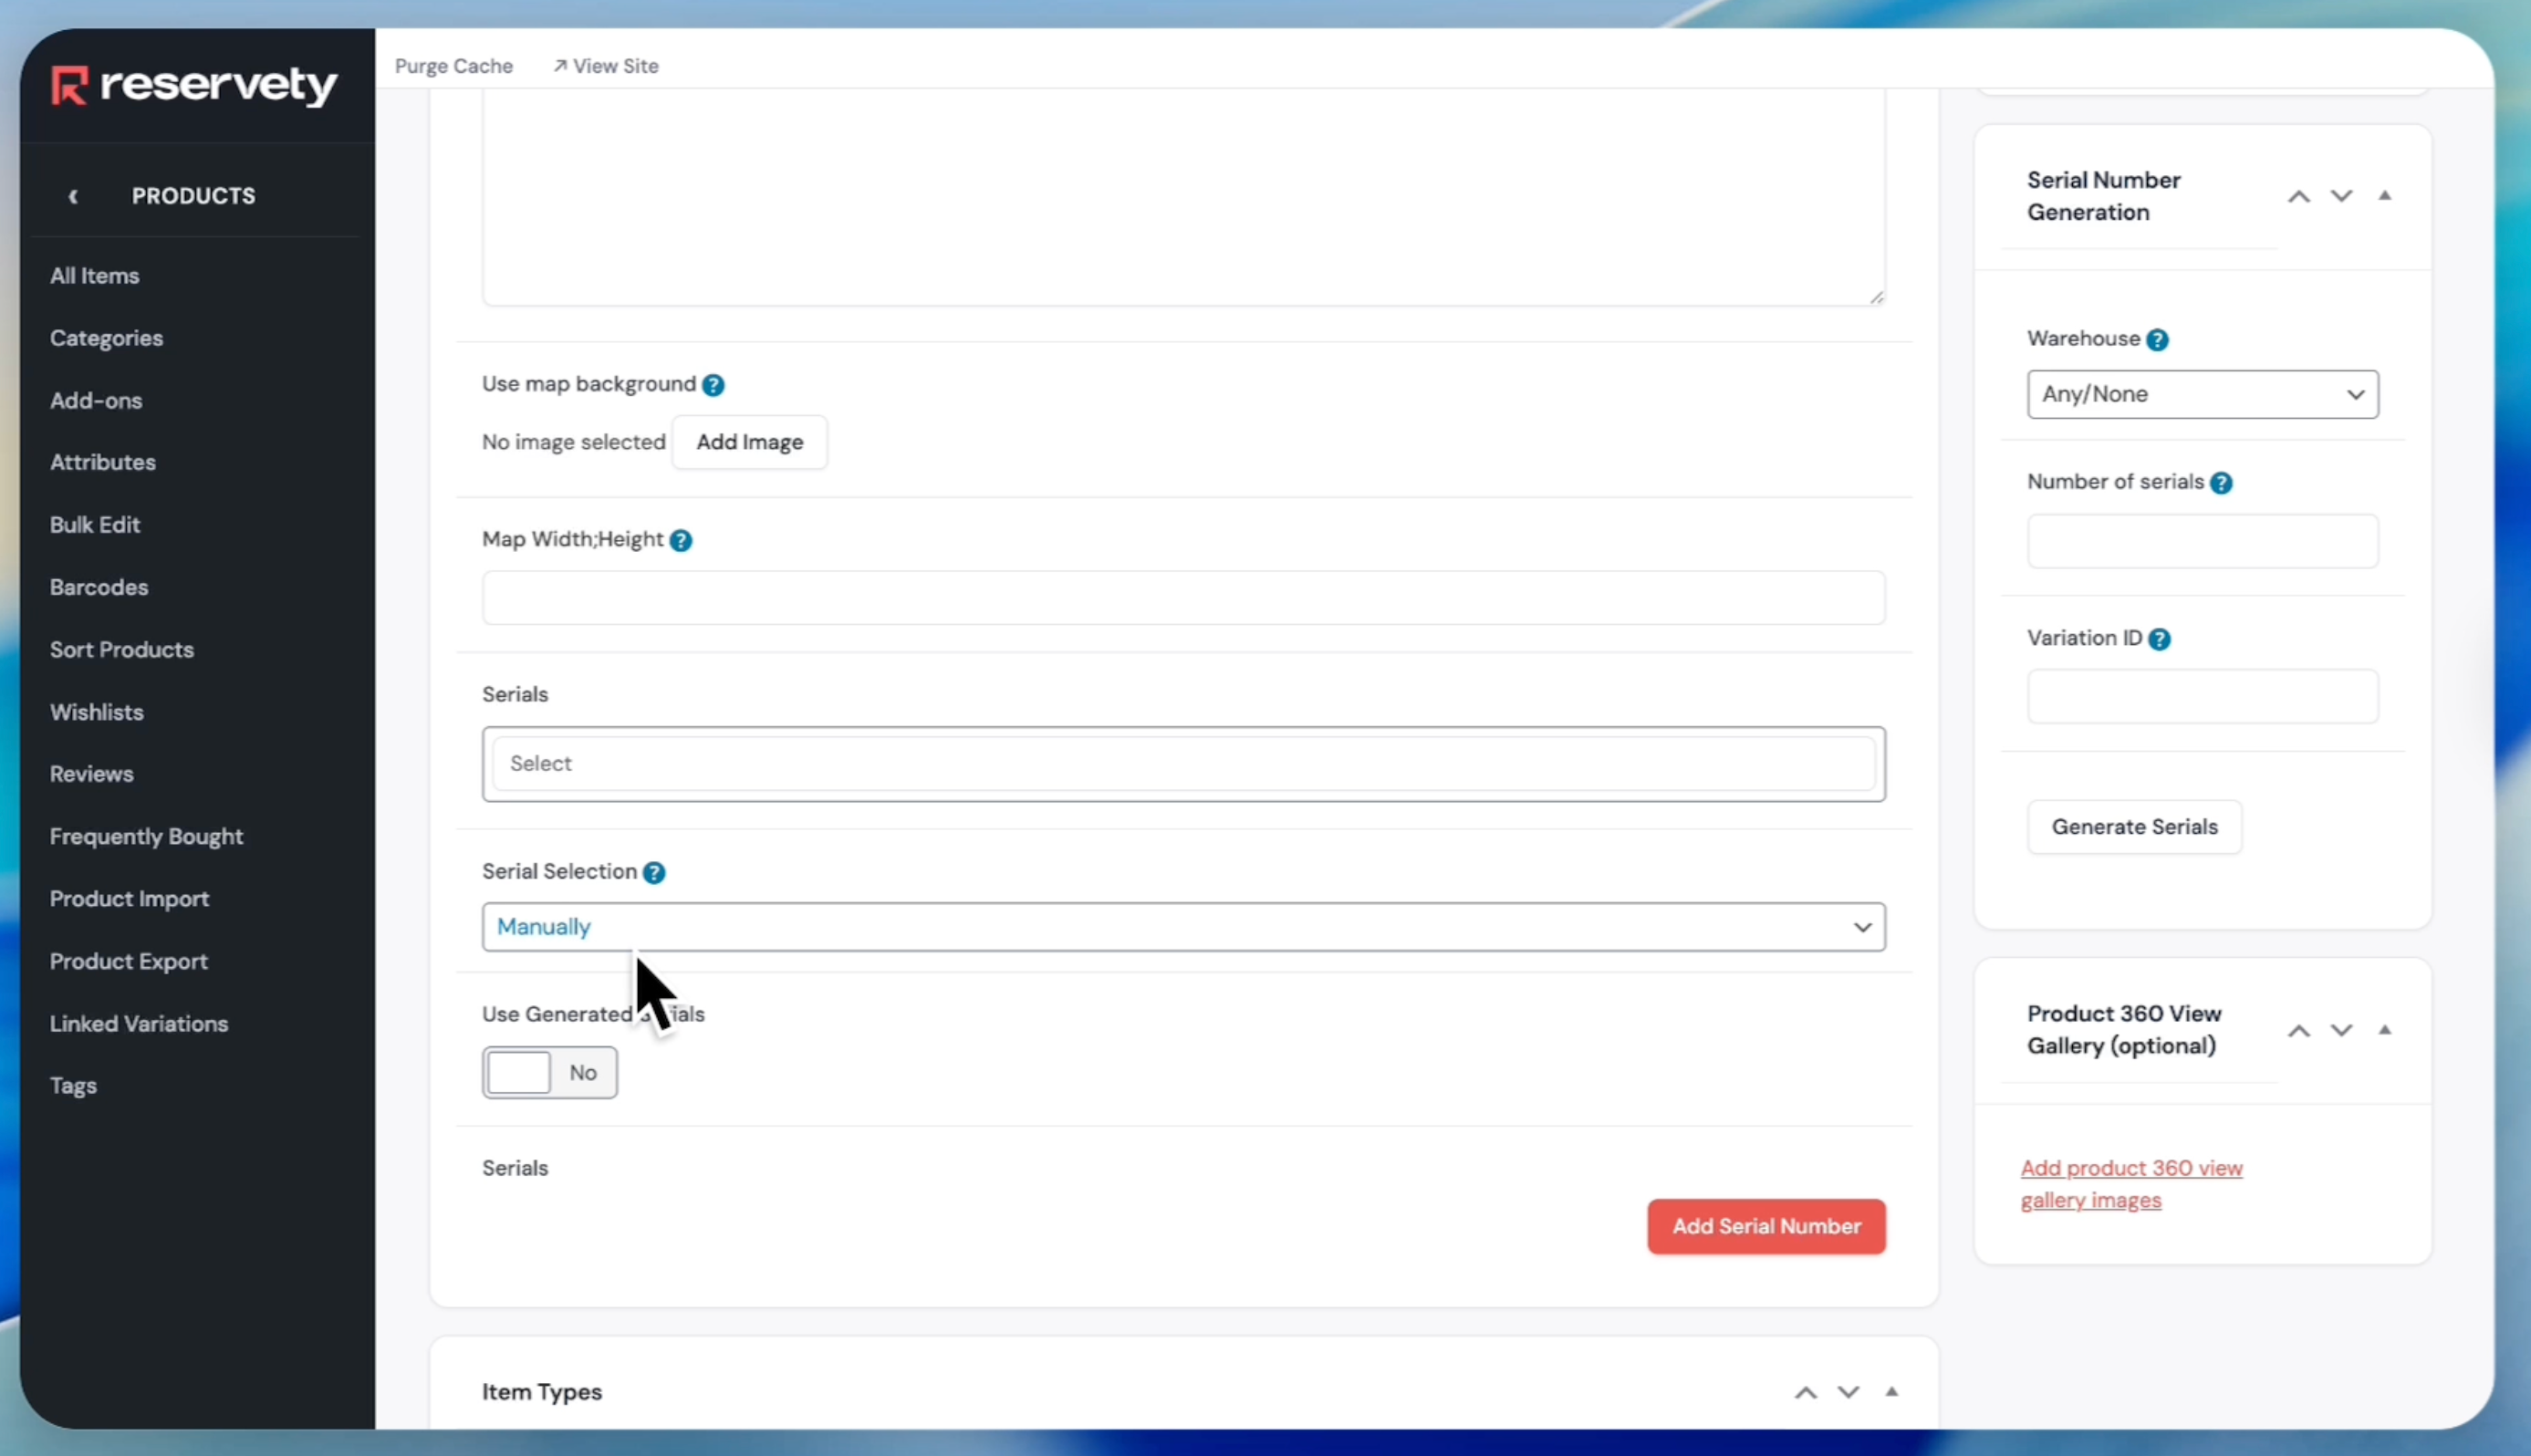
Set Serial Selection to "Manually"
Step 50
51
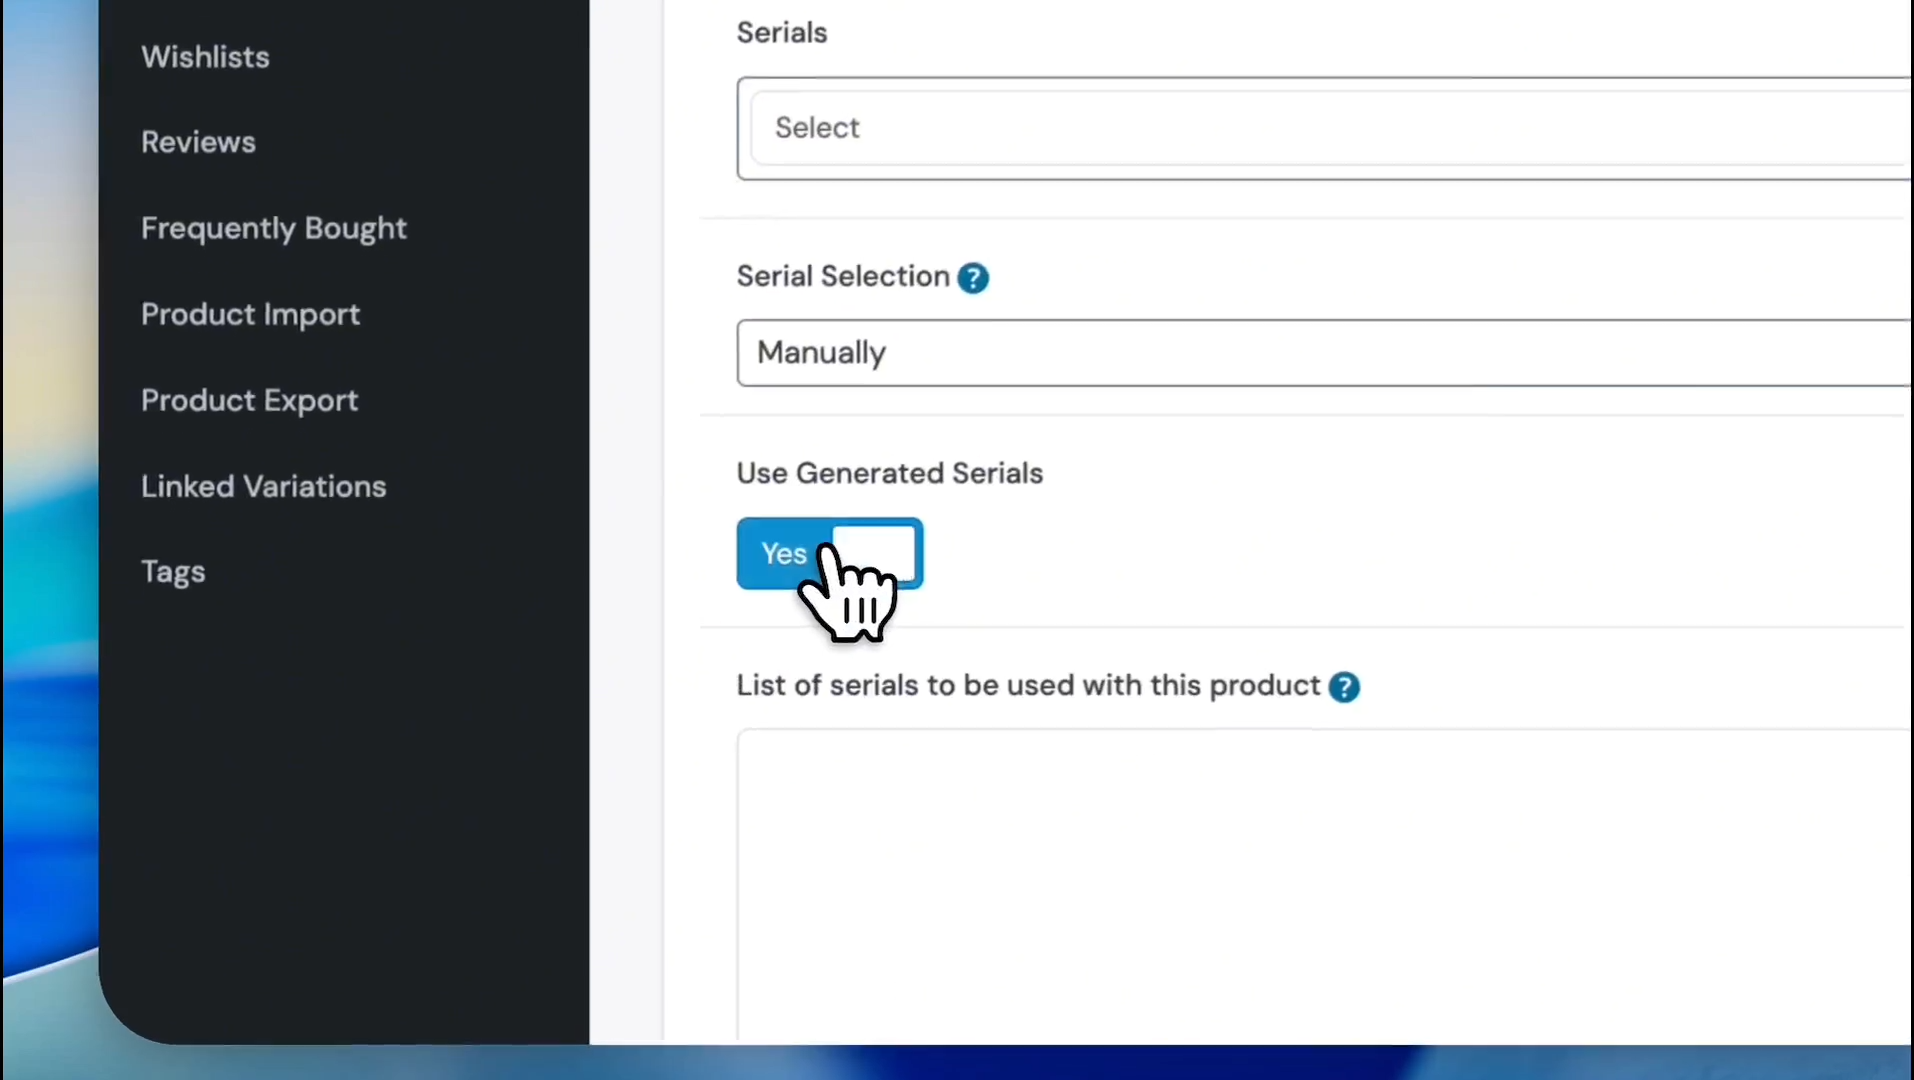
Click the Use Generated Serials toggle to switch it to Yes.
Step 51
52
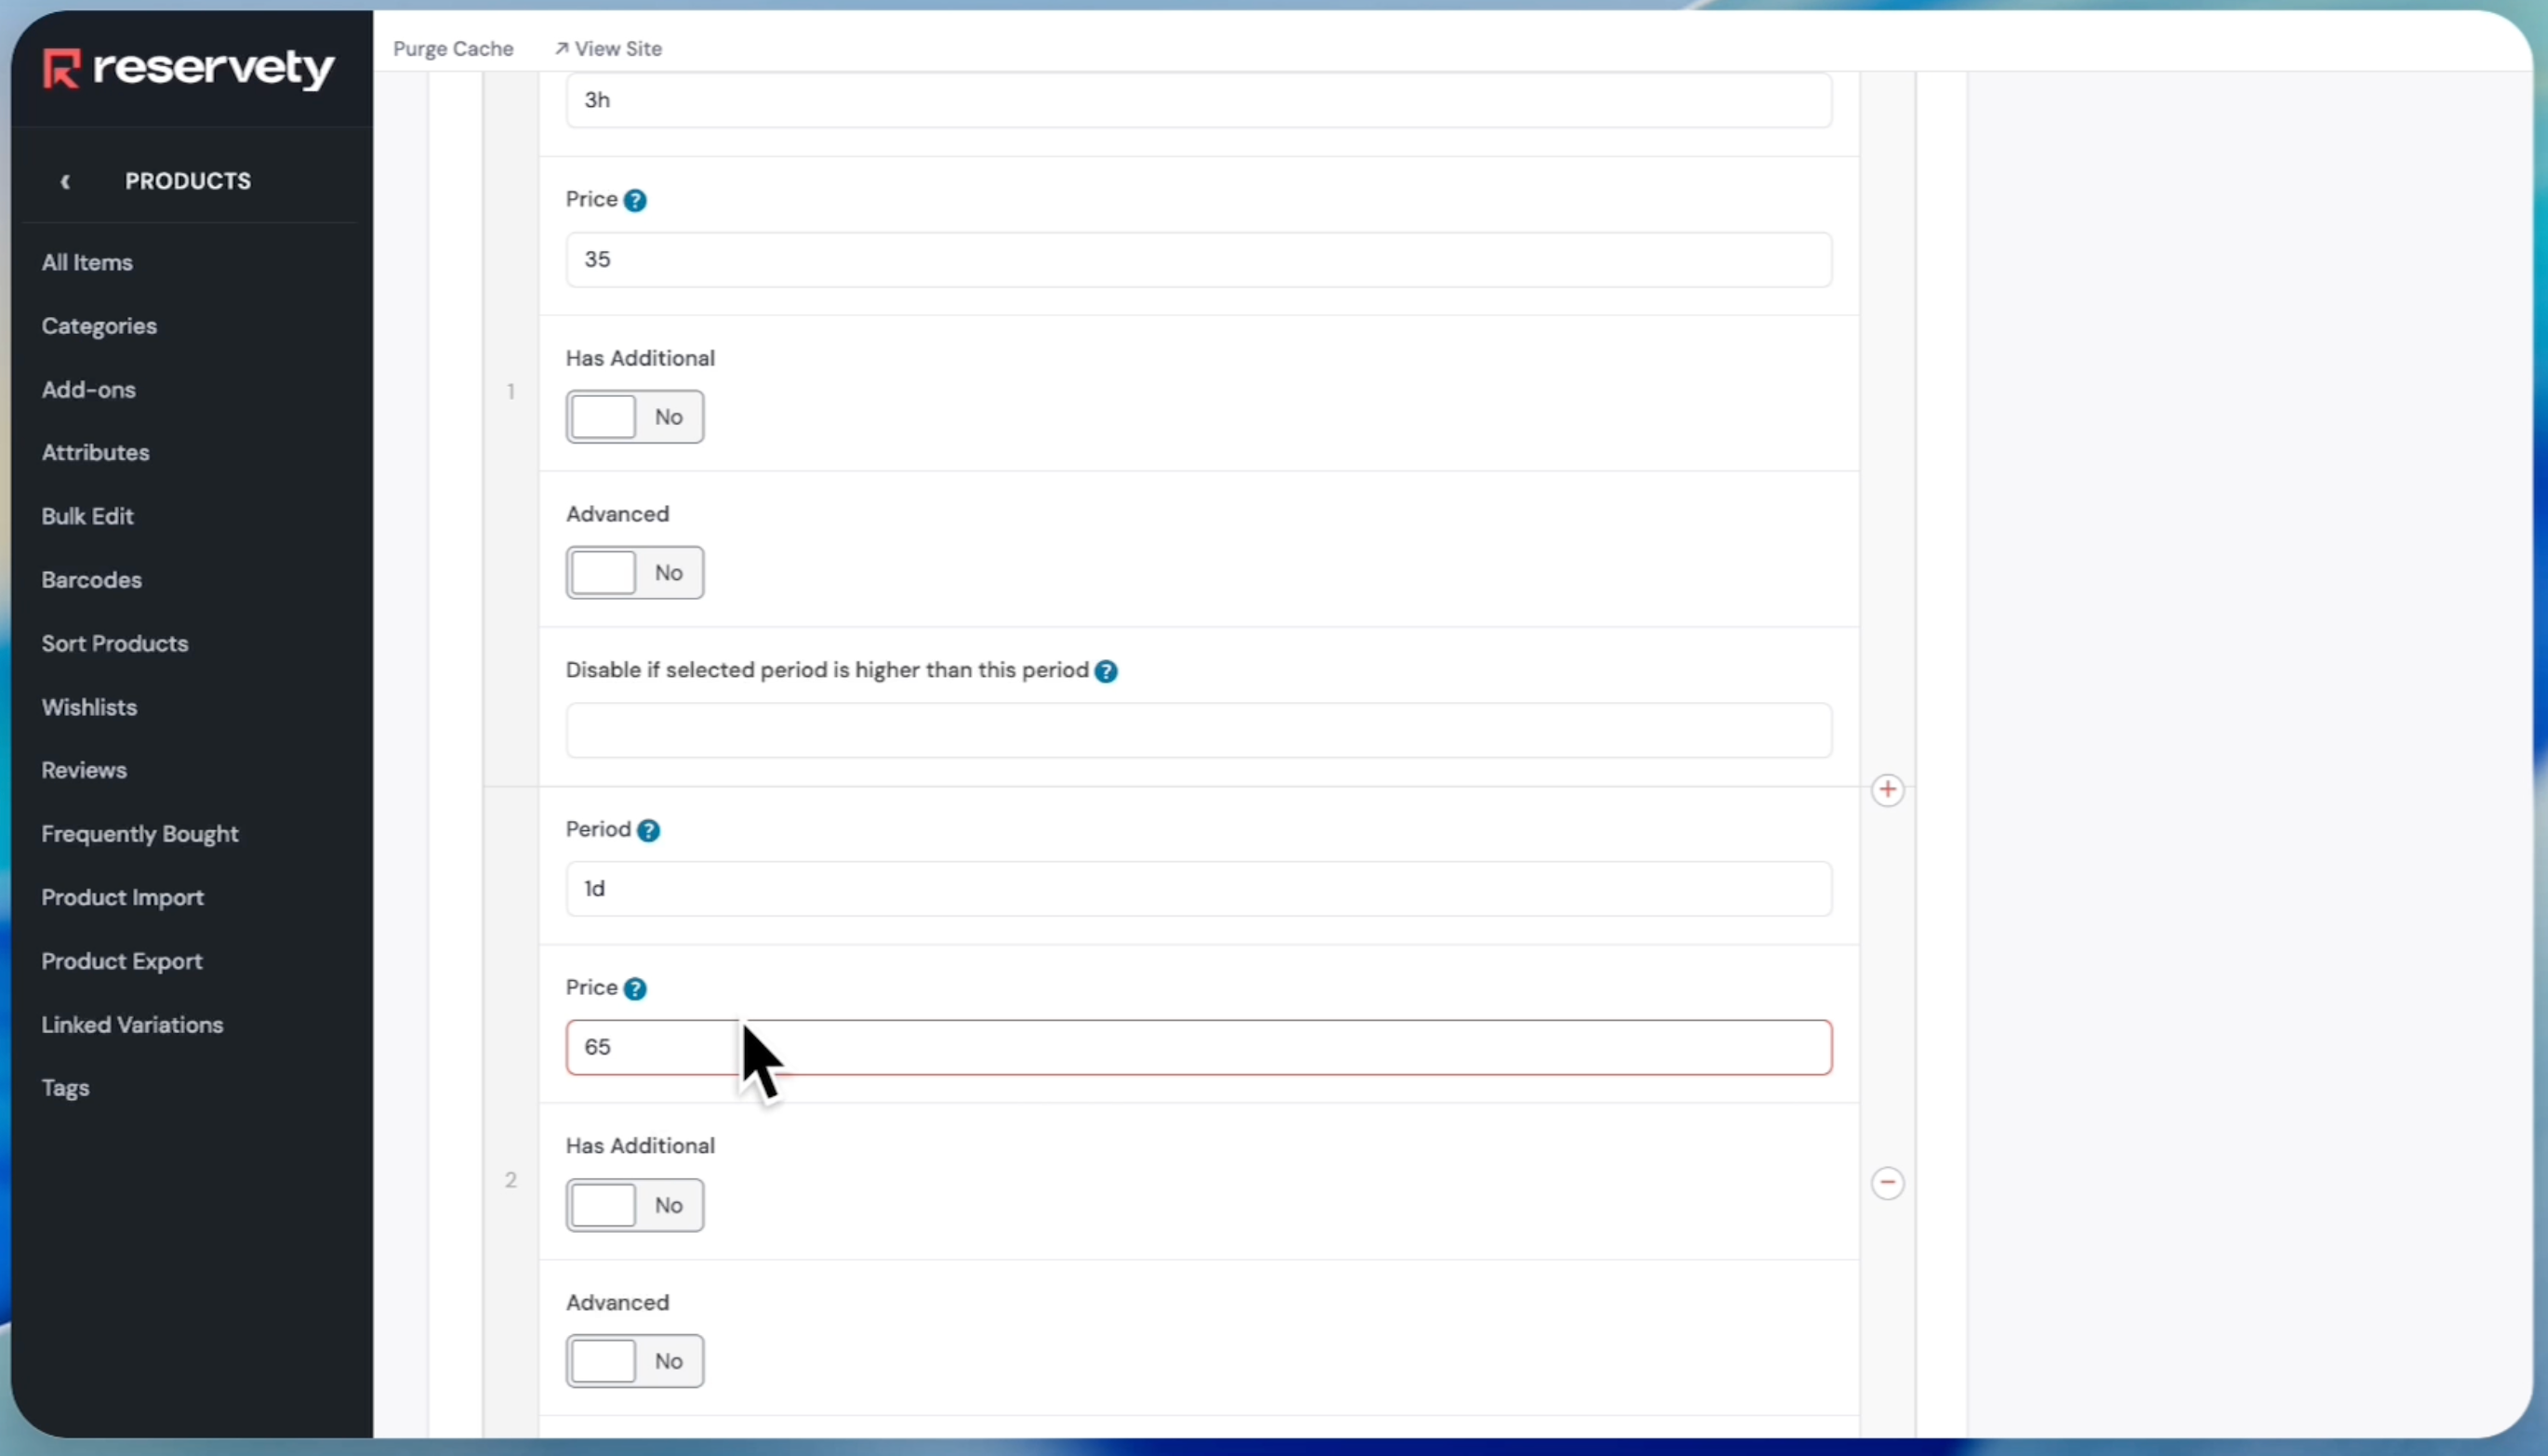
Add pricing.
Step 52
53
Go up and select a category for the product.
Step 53
54
Add images by clicking on the Set product image and "Add product gallery images" buttons.
Step 54
55
Click the Publish button.
Step 55
56
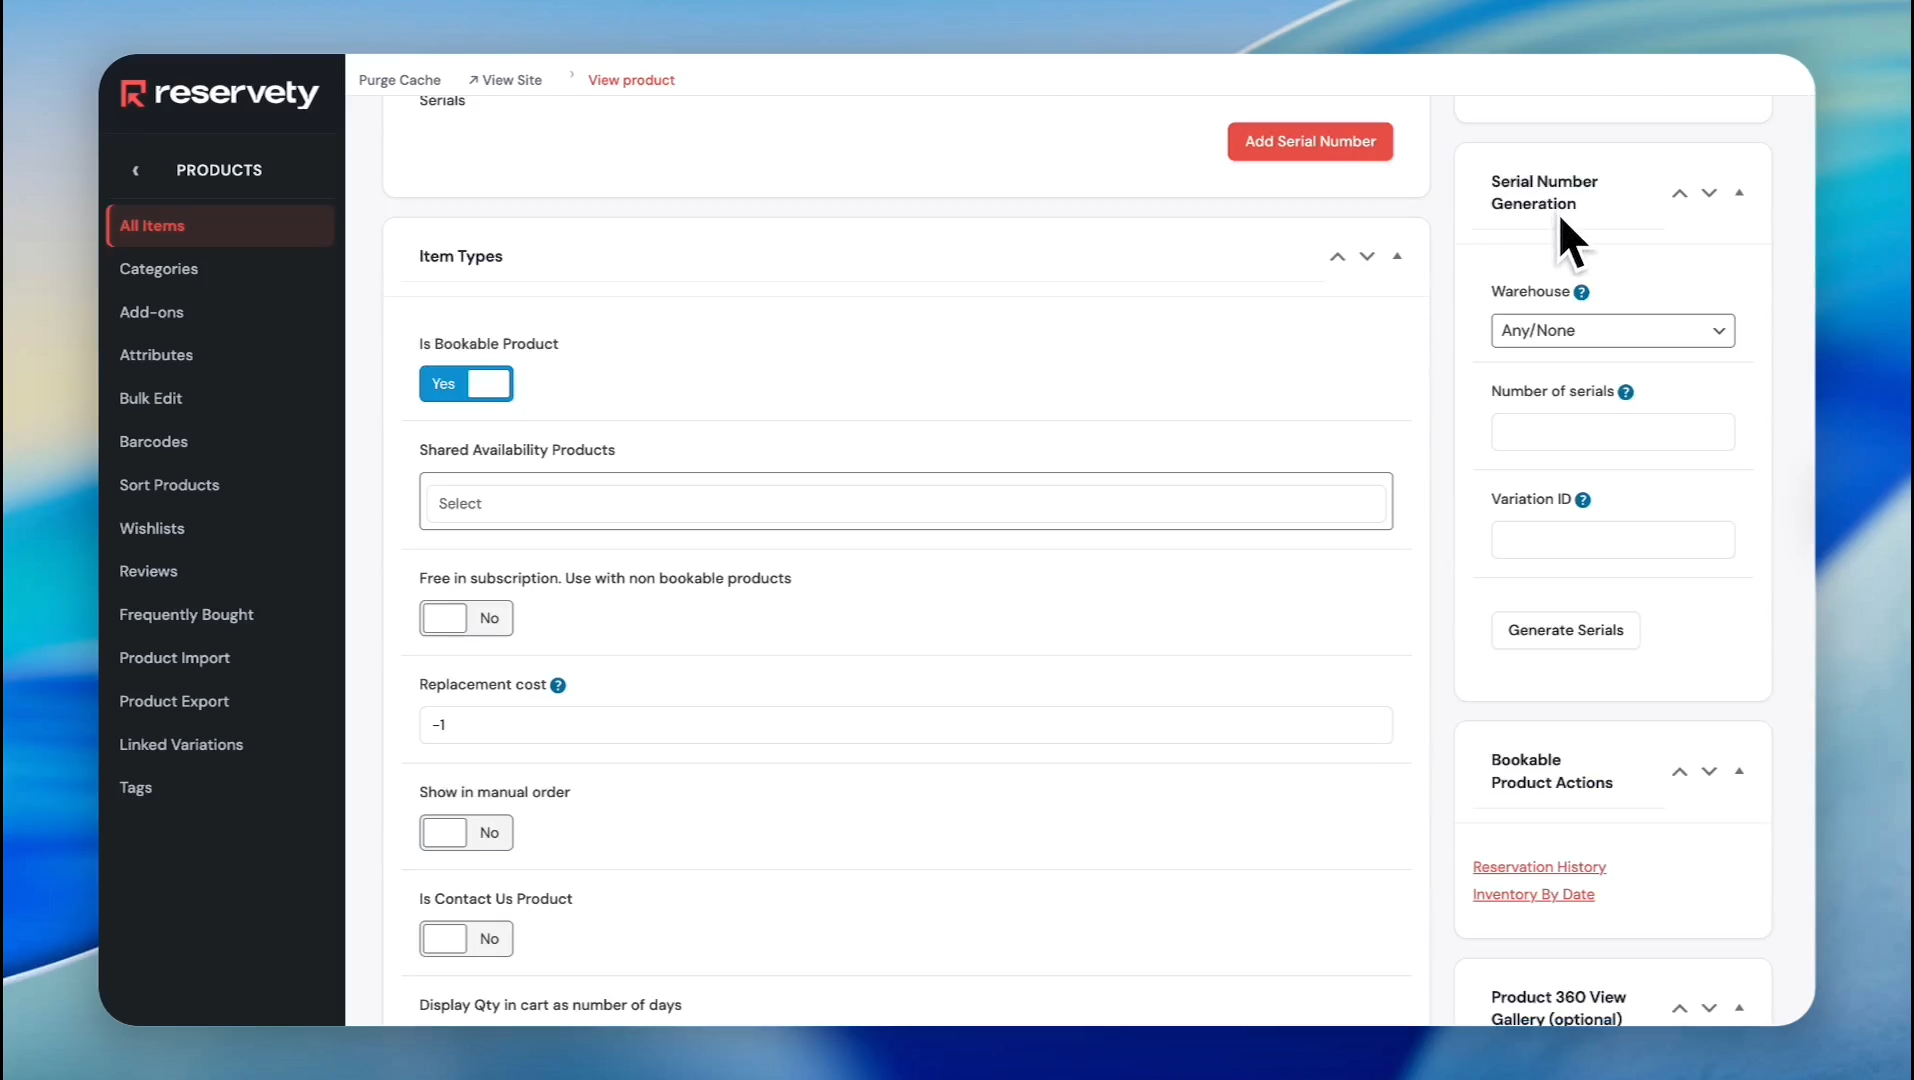
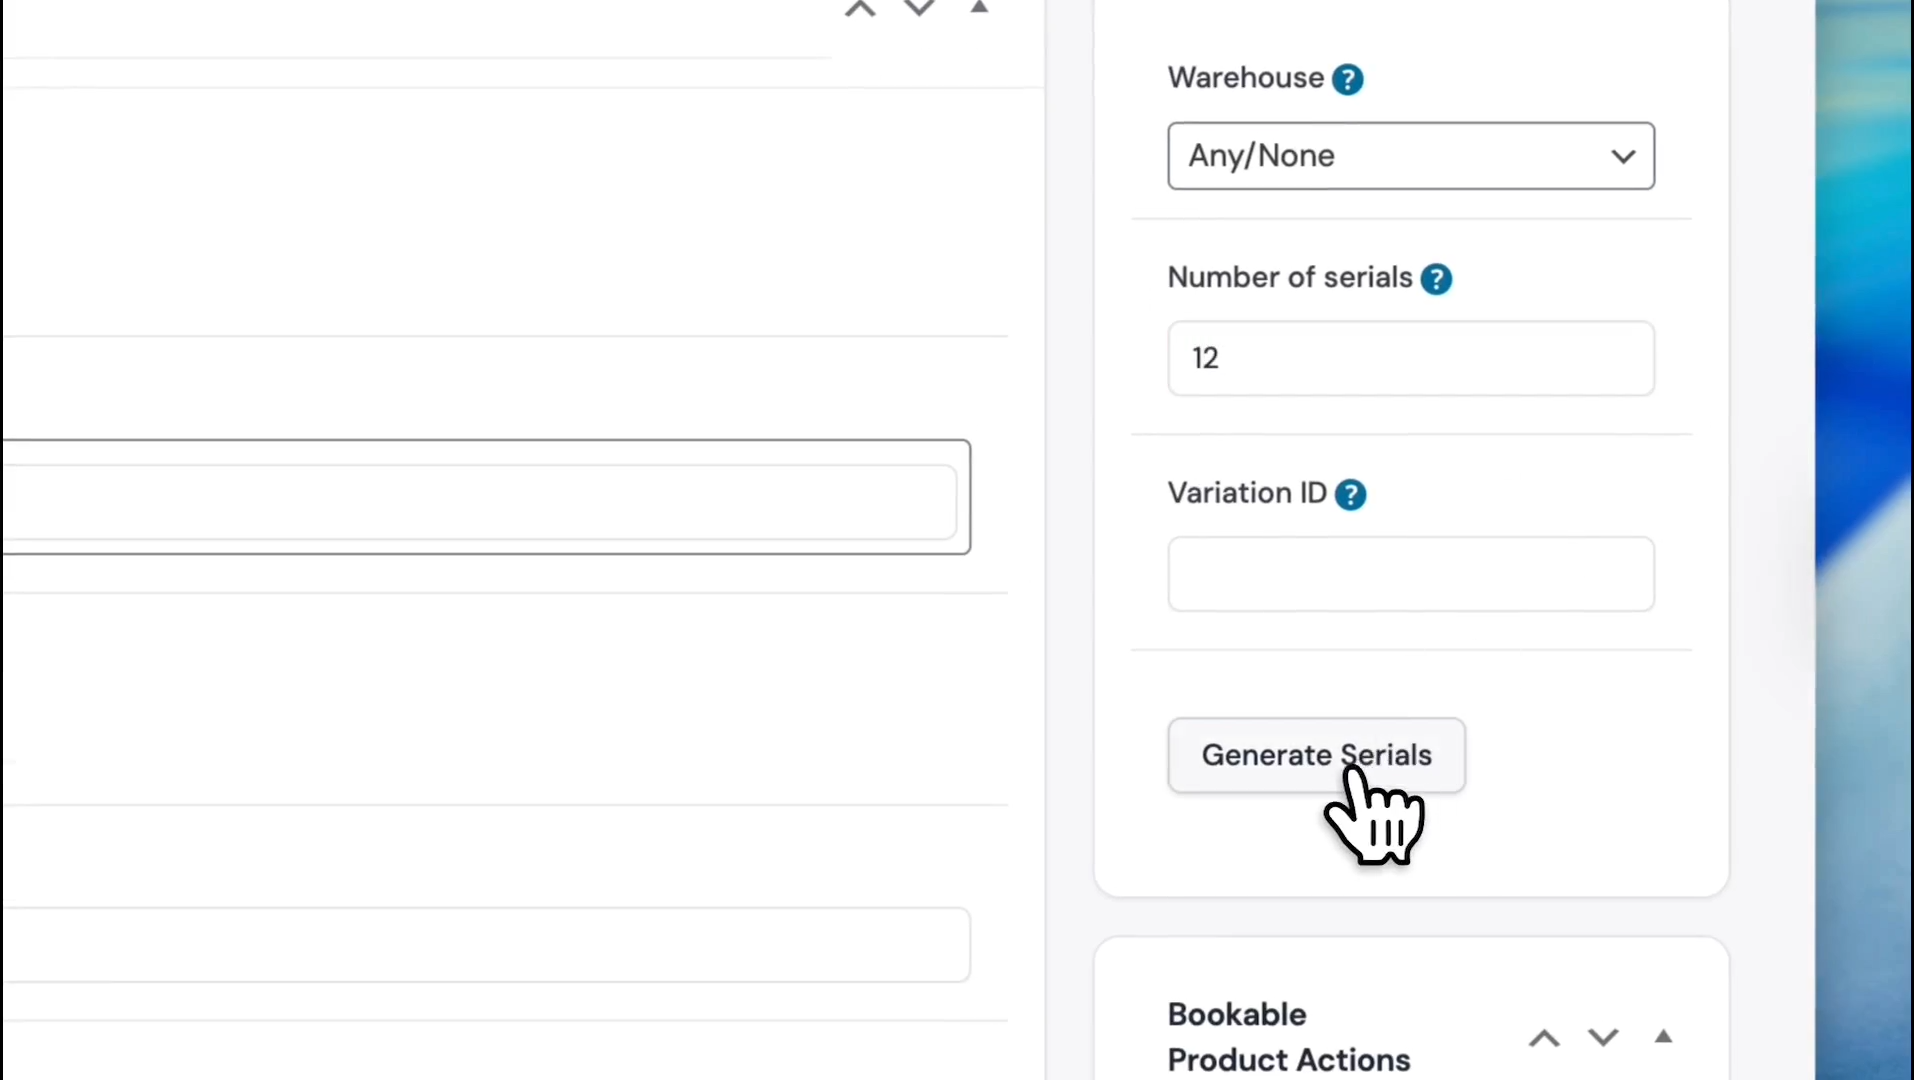
After publishing the item, stay on this page. Scroll down, look at the sidebar, and find the section labeled "Serial Number Generation."
Step 56
57
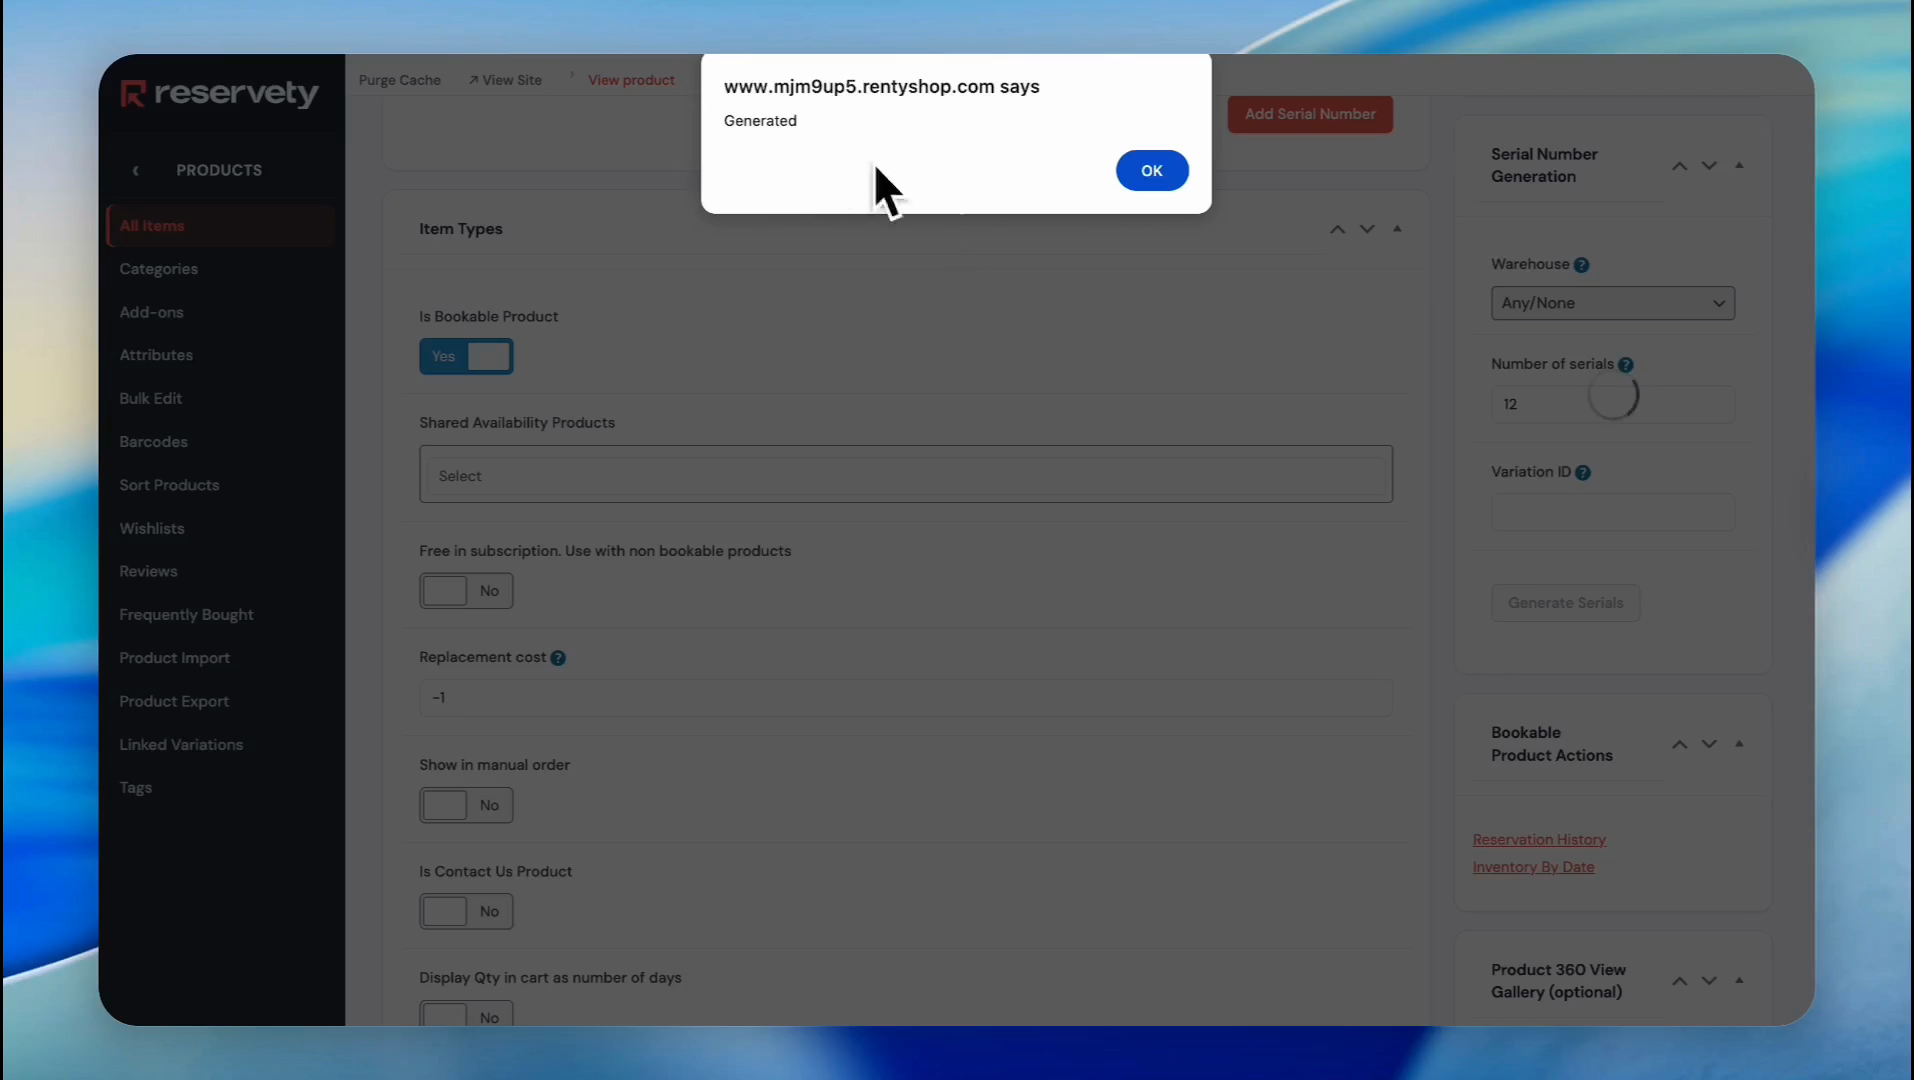
In the Number of serials field, write the number of items or serials you need. For example, we need 12. Click the Generate Serials button.
Step 57
58
Click OK on the Generated confirmation pop-up.
Step 58
59
Scroll up and click the Update button.
Step 59
60
Now let's test the automatically generated serials with a test order. Click on "View Product."
Step 60
61
Select the start and end dates for the test order by clicking the calendar icon.
Step 61
62
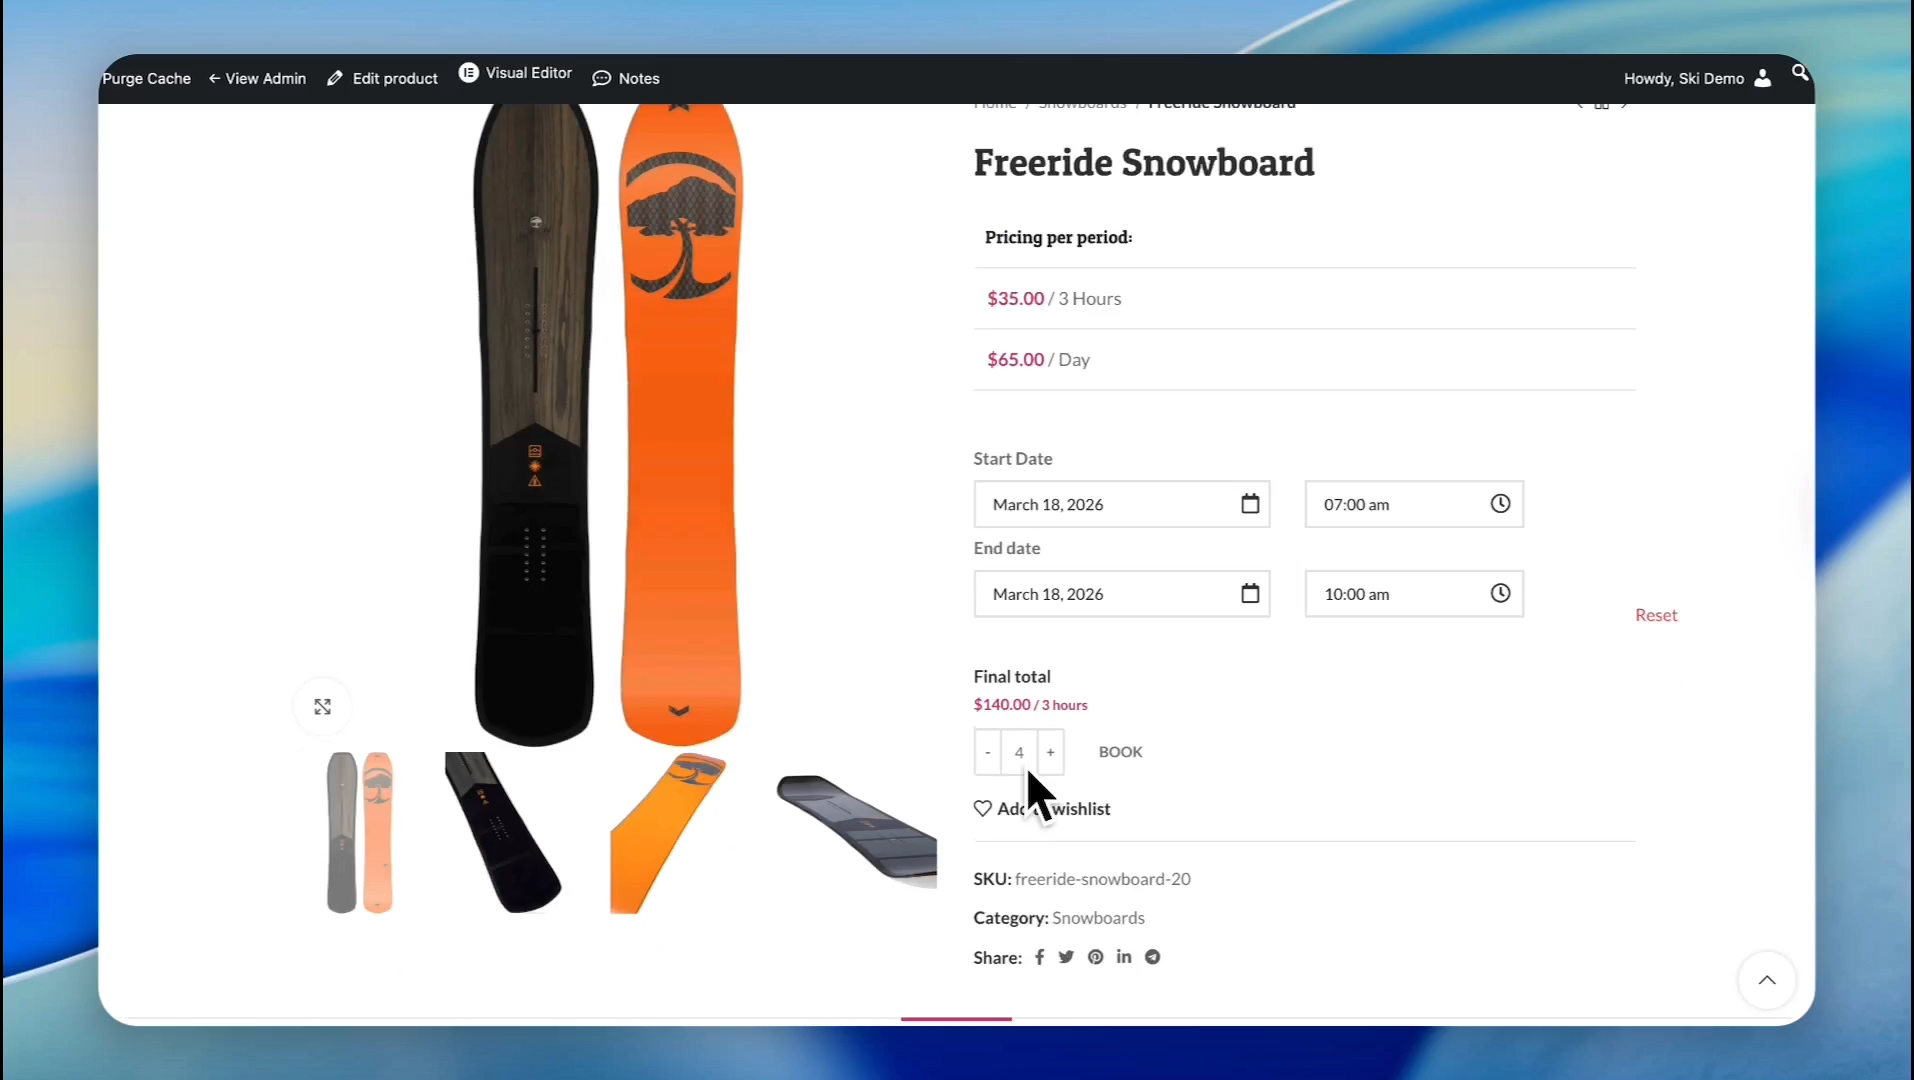
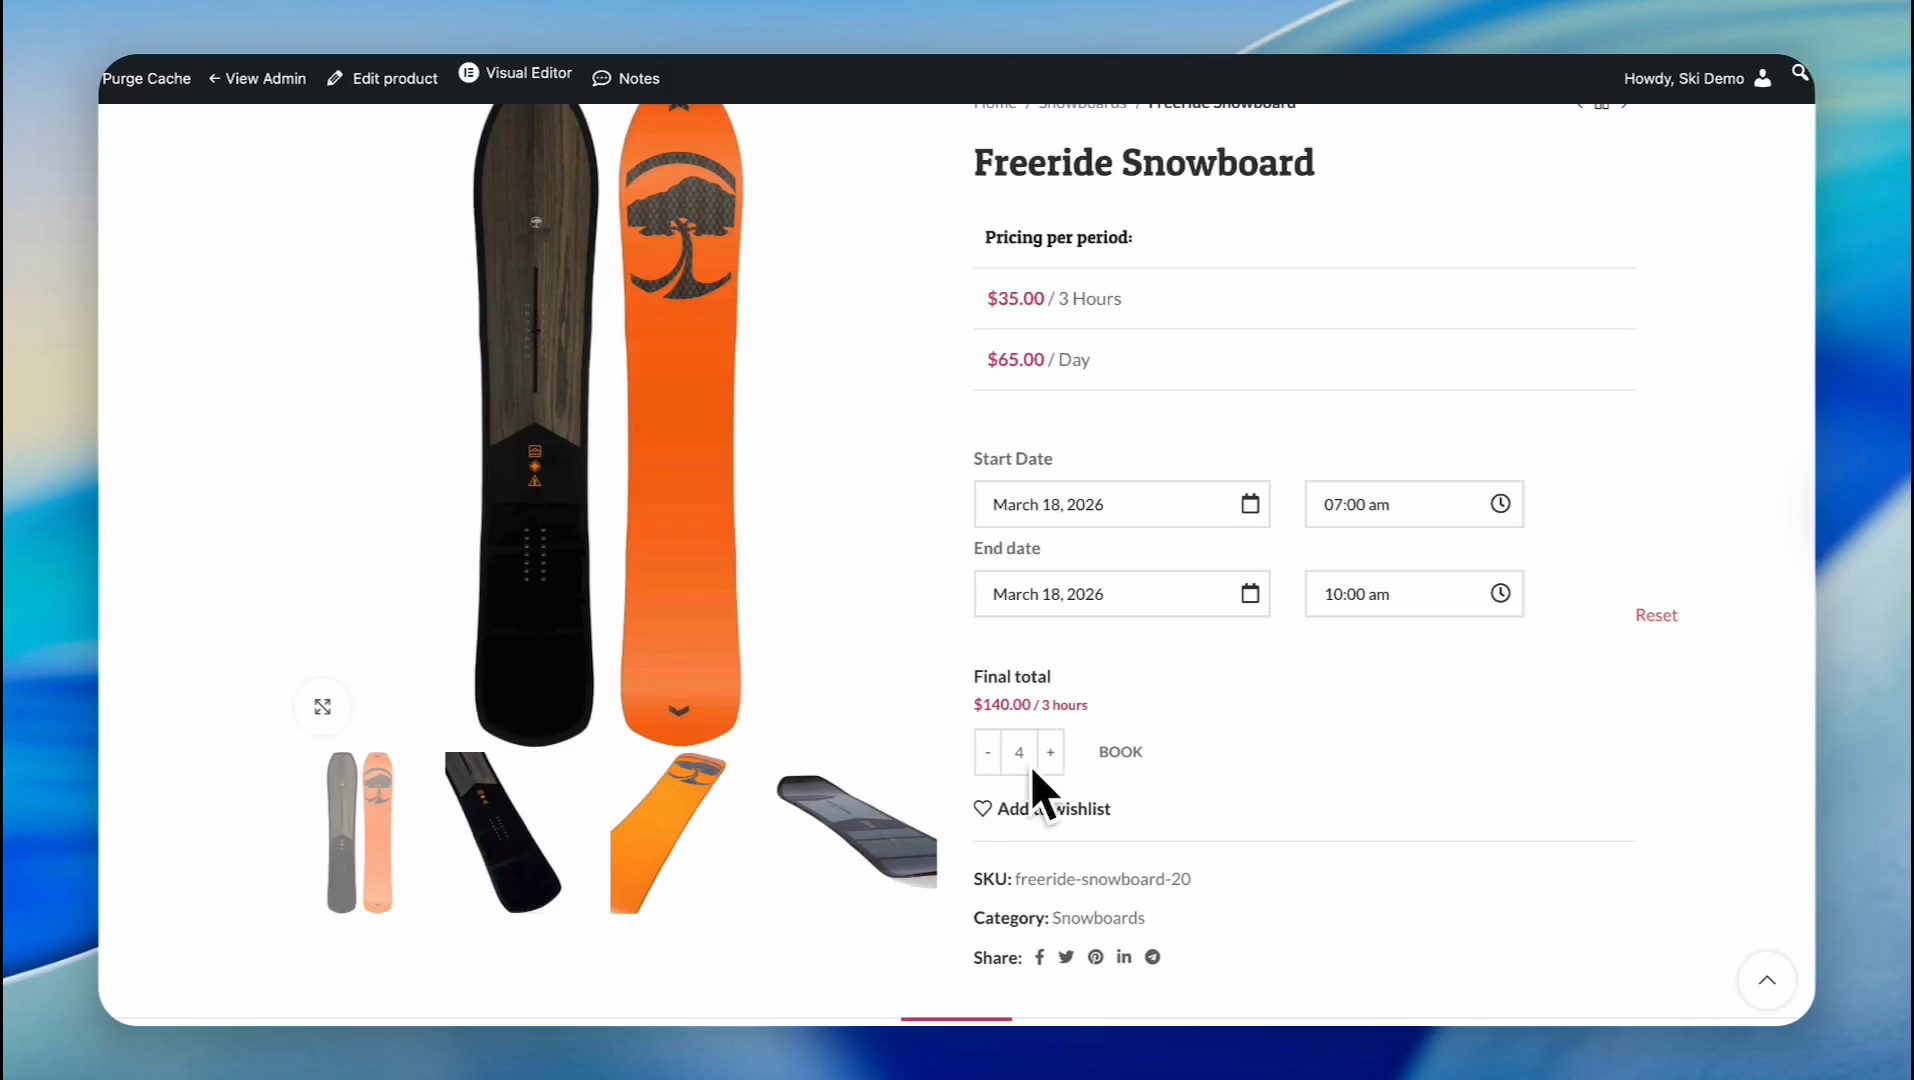
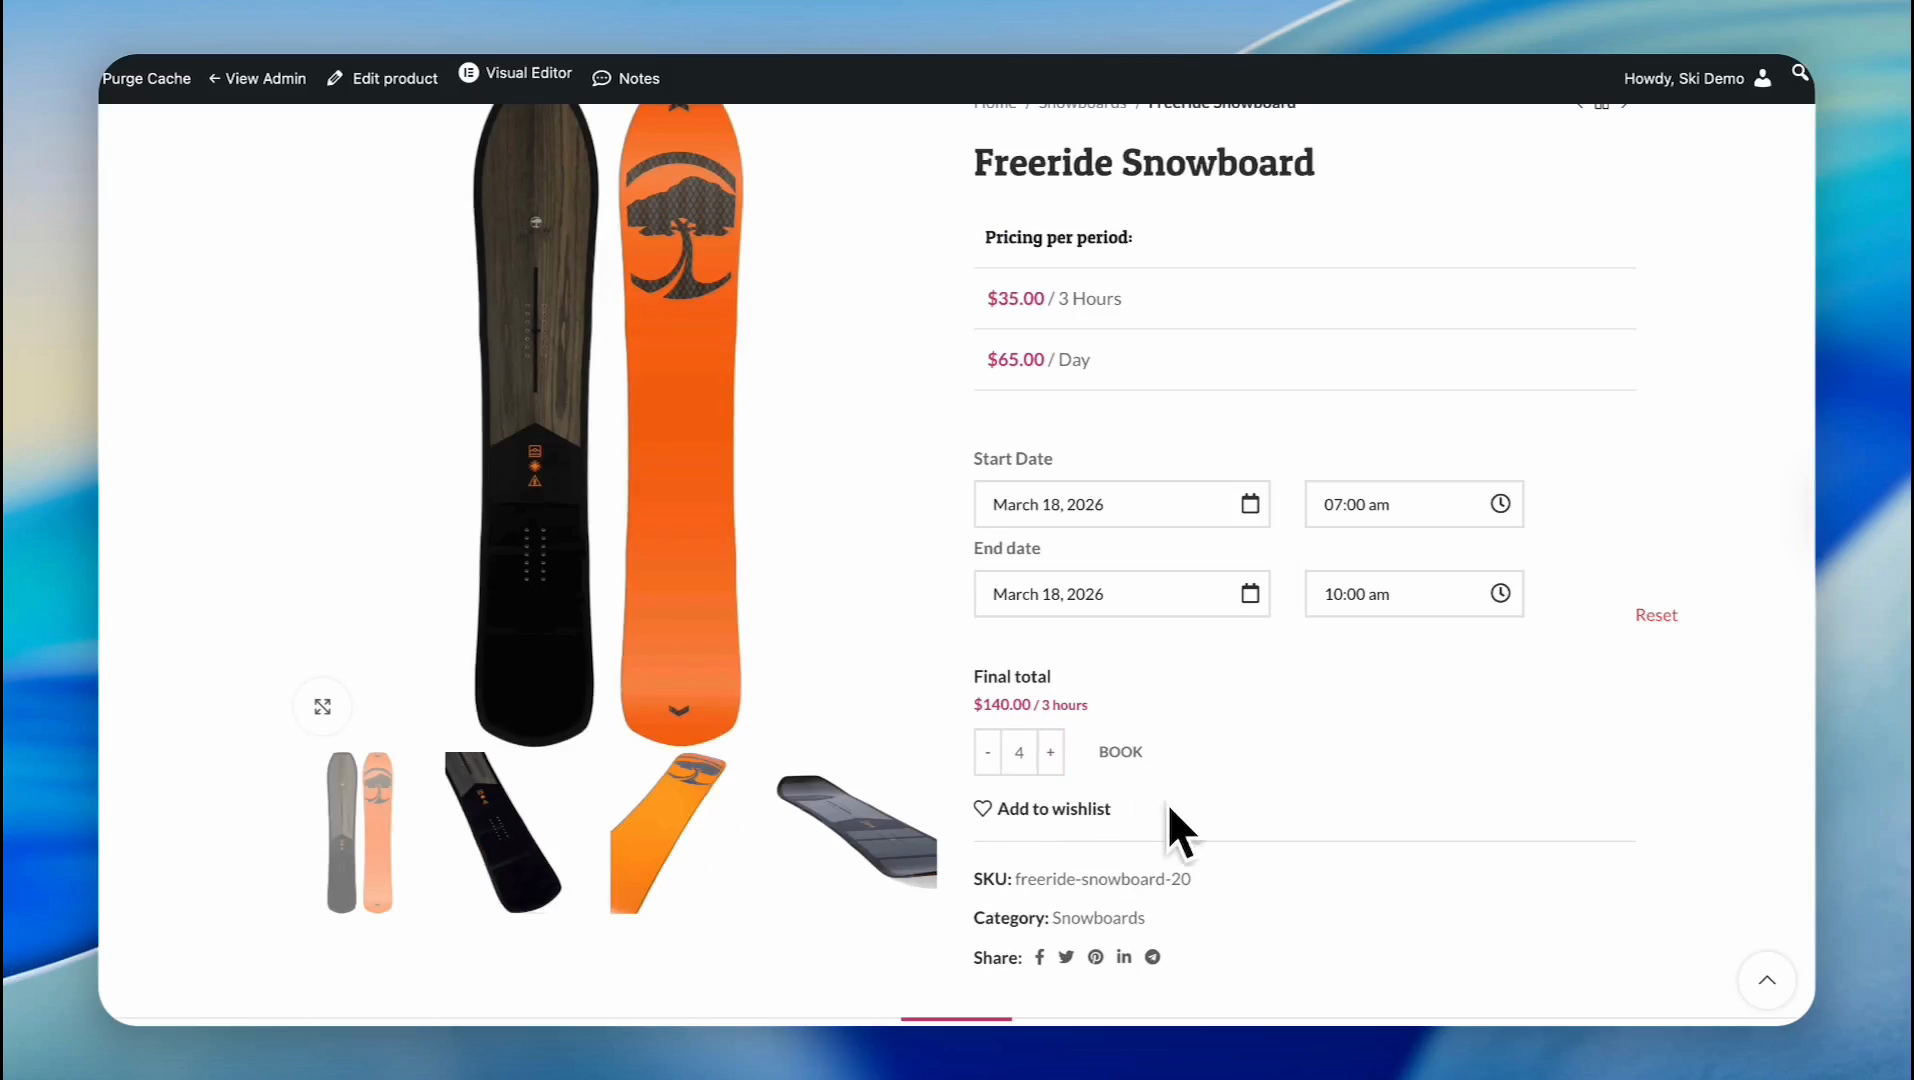
Select the quantity for the test order. For example, we need four snowboards.
Step 62
63
Click the BOOK button.
Step 63
64
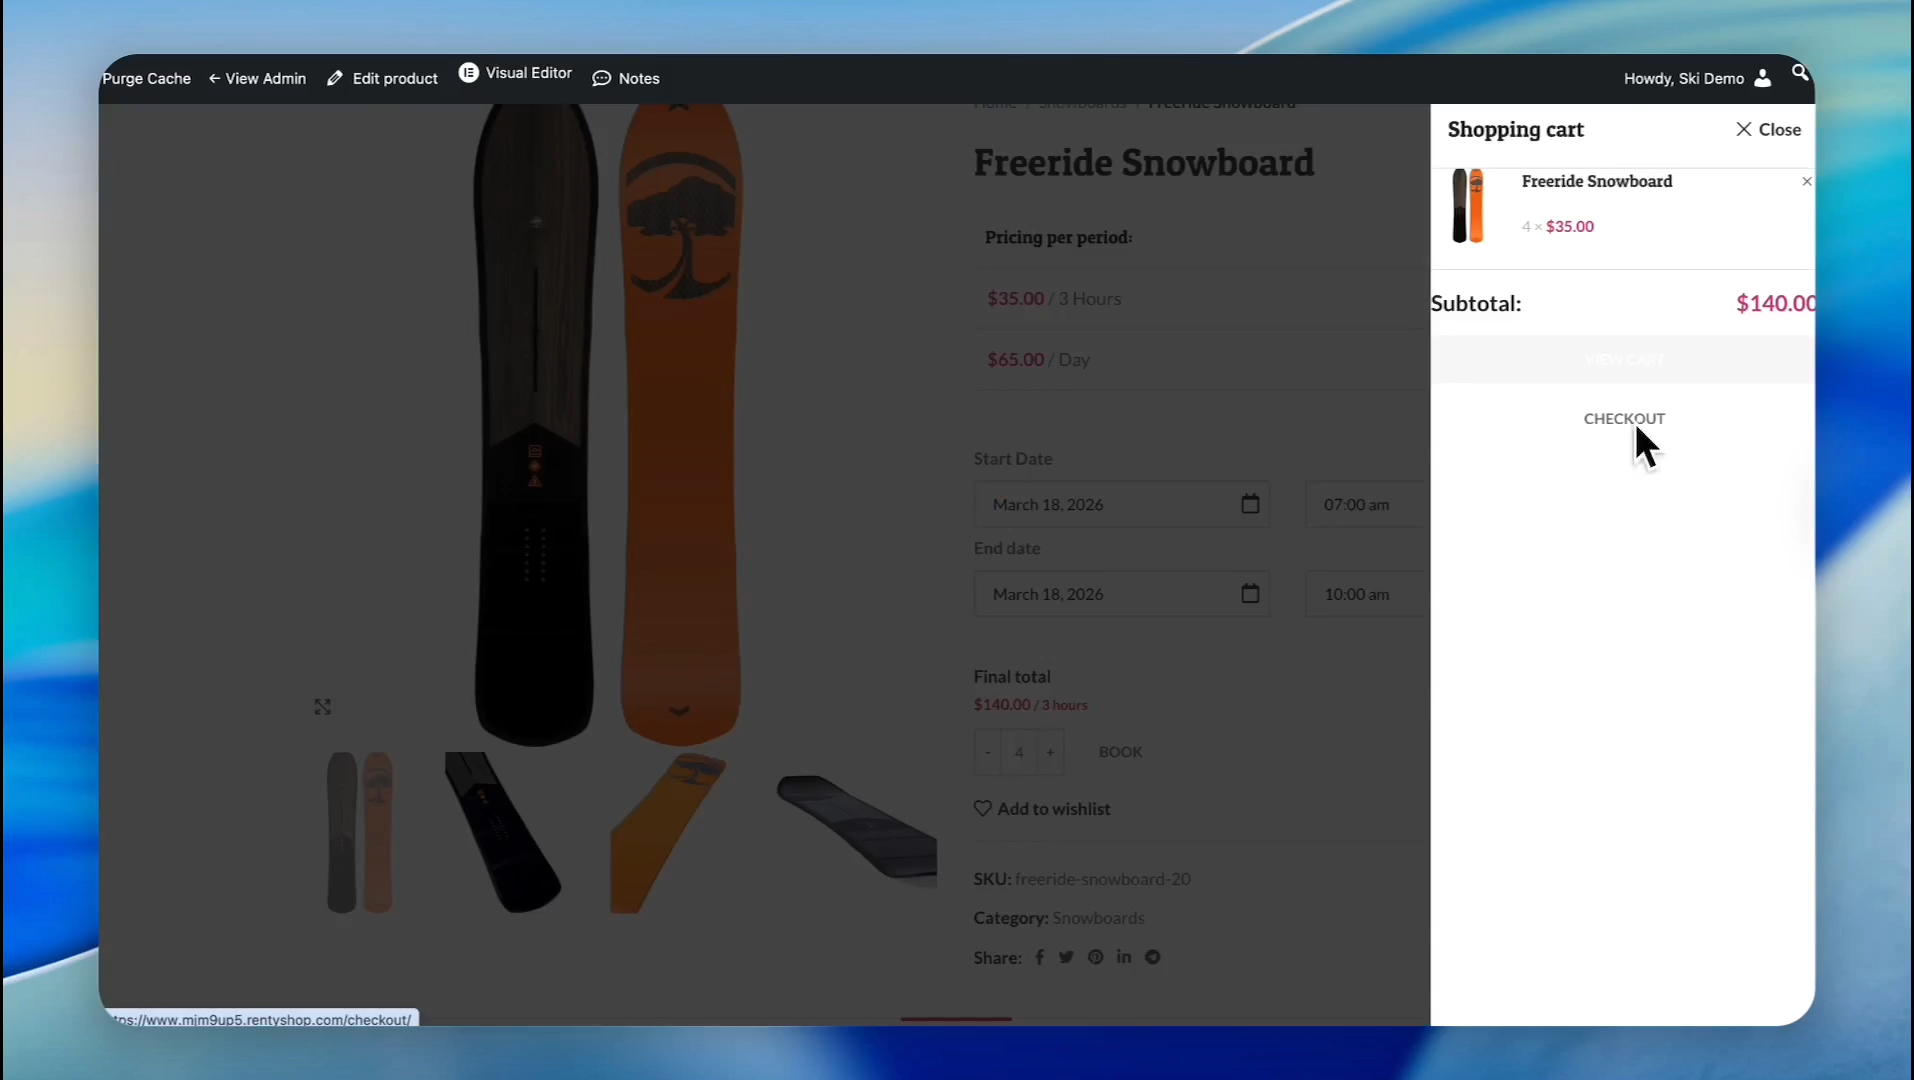
Click CHECKOUT in the shopping cart sidebar.
Step 64
65
Enter the customer information, select the payment method, and click Place order.
Step 65
66
Our order has been received.
Step 66
67
Now, let's go to the admin dashboard and click on Bookings
Step 67
68
Click on Orders.
Step 68
69
Click on the order we have just created
Step 69
70
Click the Order Actions
Step 70
71
Select Prepare Order from the dropdown menu.
Step 71
72
Before assigning serial numbers to this order, we should explain the barcode feature here. You can select rental items in seconds by scanning product barcodes with a barcode scanner or your phone. If your rental items do not have barcodes, you can generate and print them on Reservity.
Step 72
73
Now, let's add our automatically generated serials to this order. Click the settings icon to assign serial numbers to the order.
Step 73
74
Click on the field to view available serial numbers.
Step 74
75
Select the serial numbers to assign to the order.
Step 75
76
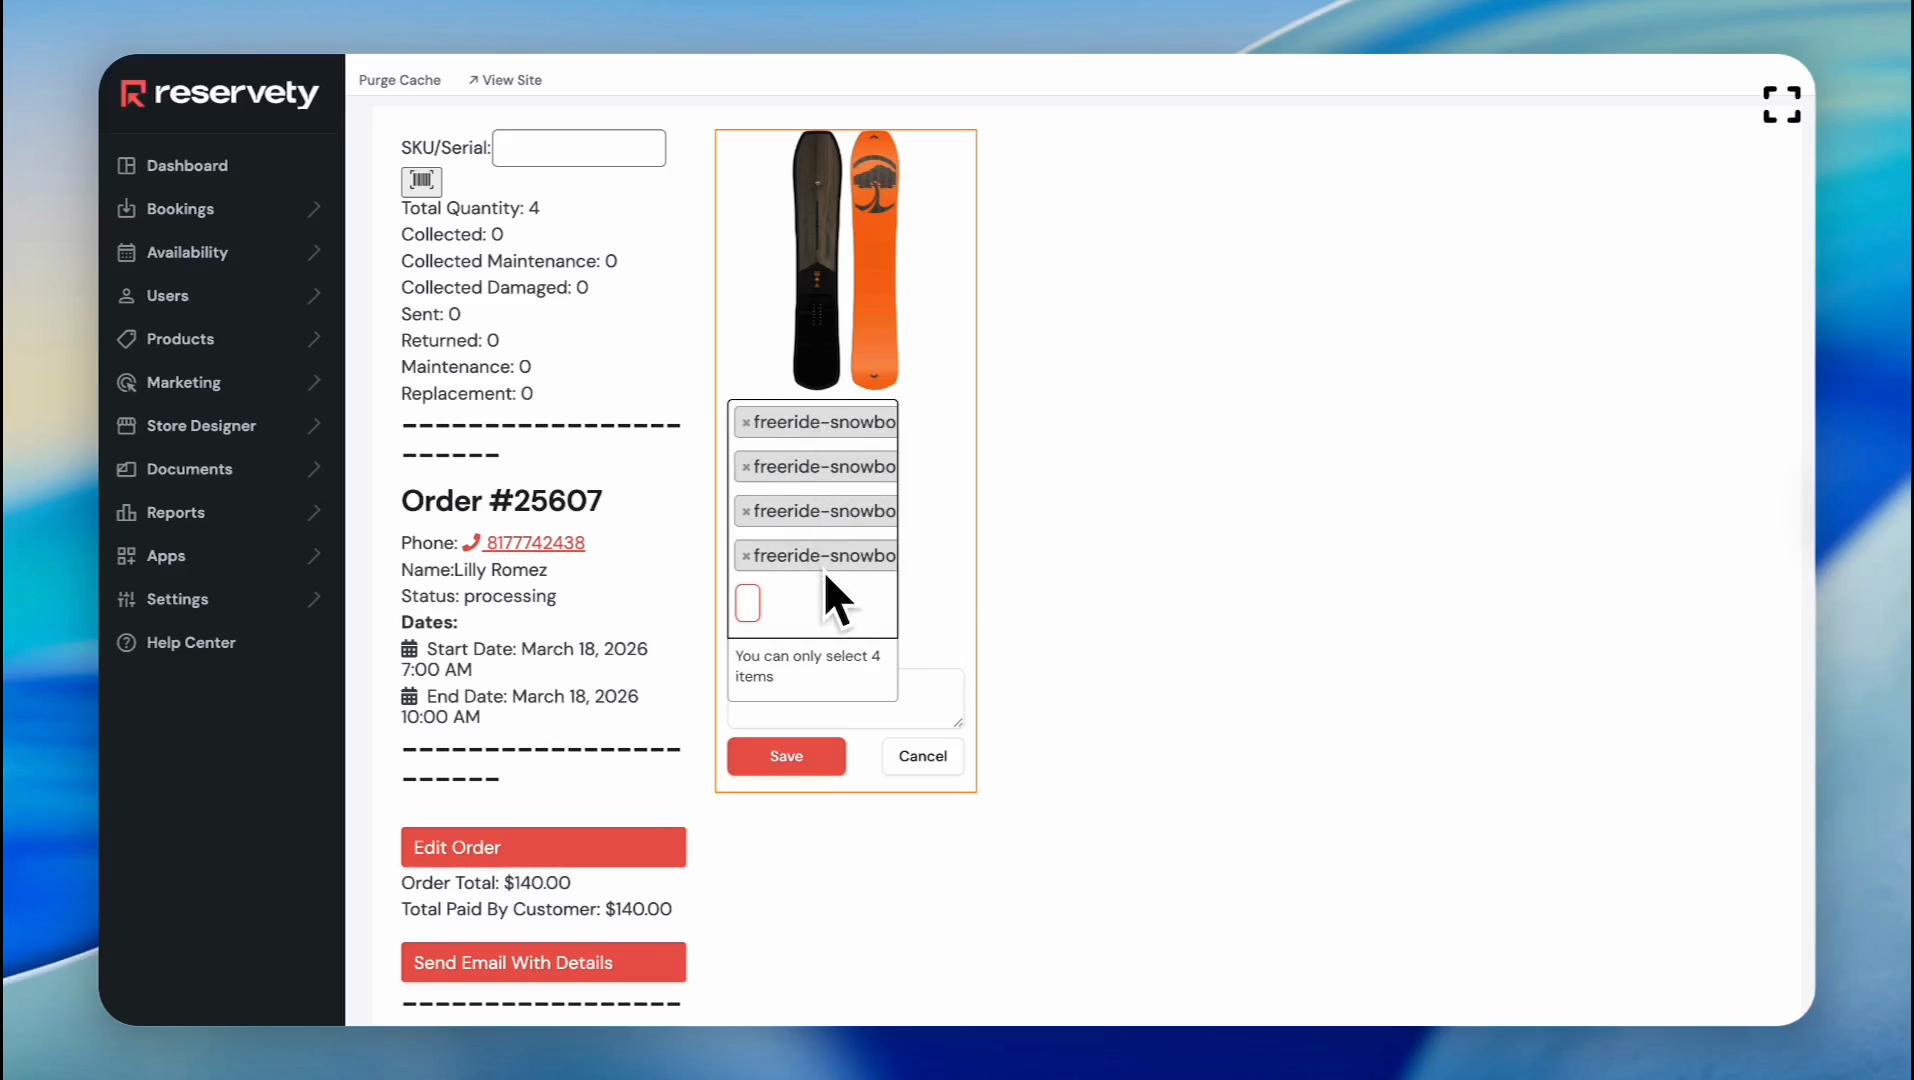
We selected four serials to assign to this order. Click the Save button.
Step 76
77
As you can see, four serials were assigned to this order. Once the customer picks up the snowboards, click on "Mark as Sent."
Step 77
78
Also, you can view which serials were assigned to the specific order by going to the order page.
Step 78
🛎️

Don't see what you need?

Remember, your plan includes Concierge Support. You don't need to learn technical settings. Just message us, and Ashish will configure it for you.
Chat with Support