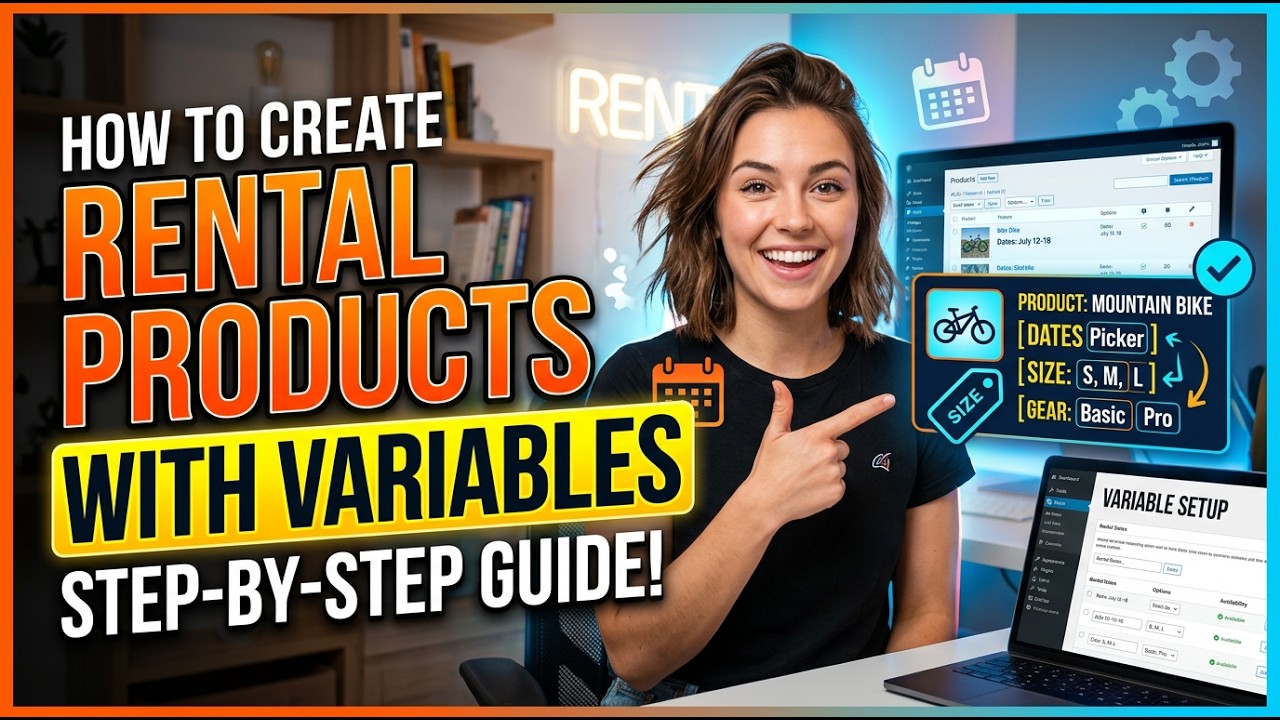
Learn how to create variable products in Reservety for rental items that come in different sizes or configurations. This guide covers creating product attributes, generating variations, setting individual pricing, images, and stock management for each variation.
Watch the video walkthrough
Step-by-step guide
Step 1: Create Product Attributes
1
Click on Products in the left sidebar.
2
Click on Attributes.
3
In the Name field, type the attribute name (e.g., "Tent sizes").
4
Click the Add attribute button to save it.
Step 2: Create the Variable Product
5
Click All Items and then the Add new product button.
6
Click the Visual tab and enter your product description.
7
Under Product categories, select the appropriate category (e.g., Tents).
8
Click the Product data dropdown and select Variable product.
Step 3: Add Attributes to the Product
9
Click on the Attributes tab.
10
Click the Add existing dropdown and select your attribute (e.g., "Tent Sizes").
11
Click Create value and enter the first variation name (e.g., "2 Person"). Click OK.
12
Click Create value again for the second variation (e.g., "4 Person"). Click OK.
13
Click Create value for the third variation (e.g., "6 Person") and click Save attributes.
Step 4: Generate and Configure Variations
14
Click the Variations tab.
15
Click Generate variations and confirm by clicking OK.
16
Click Edit on the first variation (e.g., 2-Person Tent).
17
Click Add image and select the appropriate image for this variation.
18
Enable the Manage stock checkbox and click Save changes.
19
Click on the second variation (e.g., 4-Person). Add the image and enable stock management.
20
Select the image for the 4-person variation from your media library.
21
Enable Manage stock and click Save changes.
Step 5: Set Up Pricing
22
Click on any variation and scroll down to the Bookable Pricing section.
23
Click Add Pricing. In the Period field type "1d" and set the price (e.g., $50).
24
Set Use Automatic Pricing on Product View and Category Listings to No if needed.
25
For the 4-person variation, enter a discount percentage (e.g., 20%).
26
For the 6-person variation, enter a different discount (e.g., 10%) and click Save changes.
Step 6: Add Images and Publish
27
Click Set product image and select the main product image from your media library.
28
Click Add product gallery images and select multiple images. Click Publish when done.
🛎️
Don't see what you need?
Remember, your plan includes Concierge Support. You don't need to learn technical settings. Just message us, and Ashish will configure it for you.